

http://www.talentedkidzone.com/sciencelinks.html <---- Link to my animation.My assignment, in my Adobe Animation class, was to create an animation that was interactive and responsive. I was to use Edge Animate for my project. Because I got a ahead of the game last week, and made my animation interactive, I started over this week and created a completely new animation.
I got a colorful vector graphic off of the Freepix web site and added a link in my final animation. Hopefully I will someday be able to create my own fabulous graphics, but for time's sake, Freepix was a lifesaver.
I am enjoying learning how to create motion graphics and animations and am excited to learn more and improve my skills.

This is a screen shot of my finished animation. The animation can be seen on my class web site at: http://www.talentedkidzone.com/sciencelinks.html

I made a different layer for each element in my vector graphic. I wanted to make sure I could animate certain things and leave others alone. Once I got my vector imported into Edge Animate, I created a group that included all of the images that were touching the green "Earth" image. I did this because I wanted that part of the image to rotate and move together.
I also animated some of the clouds and the sun. The sun rotates, one cloud slowly gets larger and smaller, and one tilts 10 degrees to the right, then back to the left. I added a saturation fade to one of the grey clouds.

Screen shot- I added a 360 degree rotation to the Earth part of my vector graphic. I did this by clicking on the rotate icon, in the properties menu, and adding a keyframe at the beginning of my animation. I then went to the end of my animation, which was 10 seconds long, and slid the rotation icon to 360 degrees. When I played the animation in my browser, it was a bit too fast so I increased the length of my animation to 20 seconds.
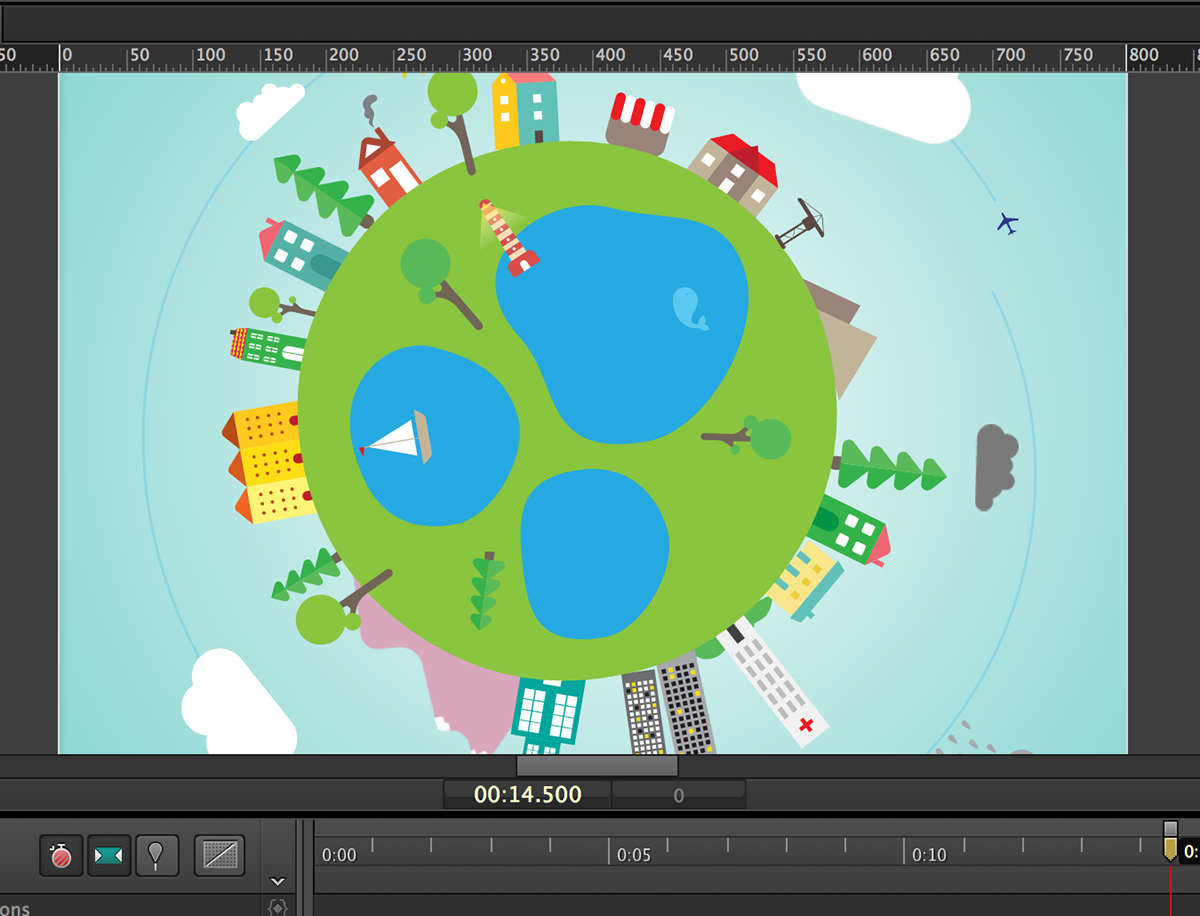
Screen shot 2- This image shows the rotation of the Earth part of my vector graphic.

I also added a roation to the sun image. I used the same process that I used on the Earth (described above).
Another effect I added to the sun was a hue rotation. In the properties menu, I clicked on hue rotation, added a key frame at the beginning of my animation, and moved forward 20 seconds. I then slid the hue rotation slider a few degrees. I repeated this process until I got to the end of my animation. I went several degrees in one direction, then reversed the process. Notice that the sun is gold in this screen shot. In the following shot it is a peachy/orange color.
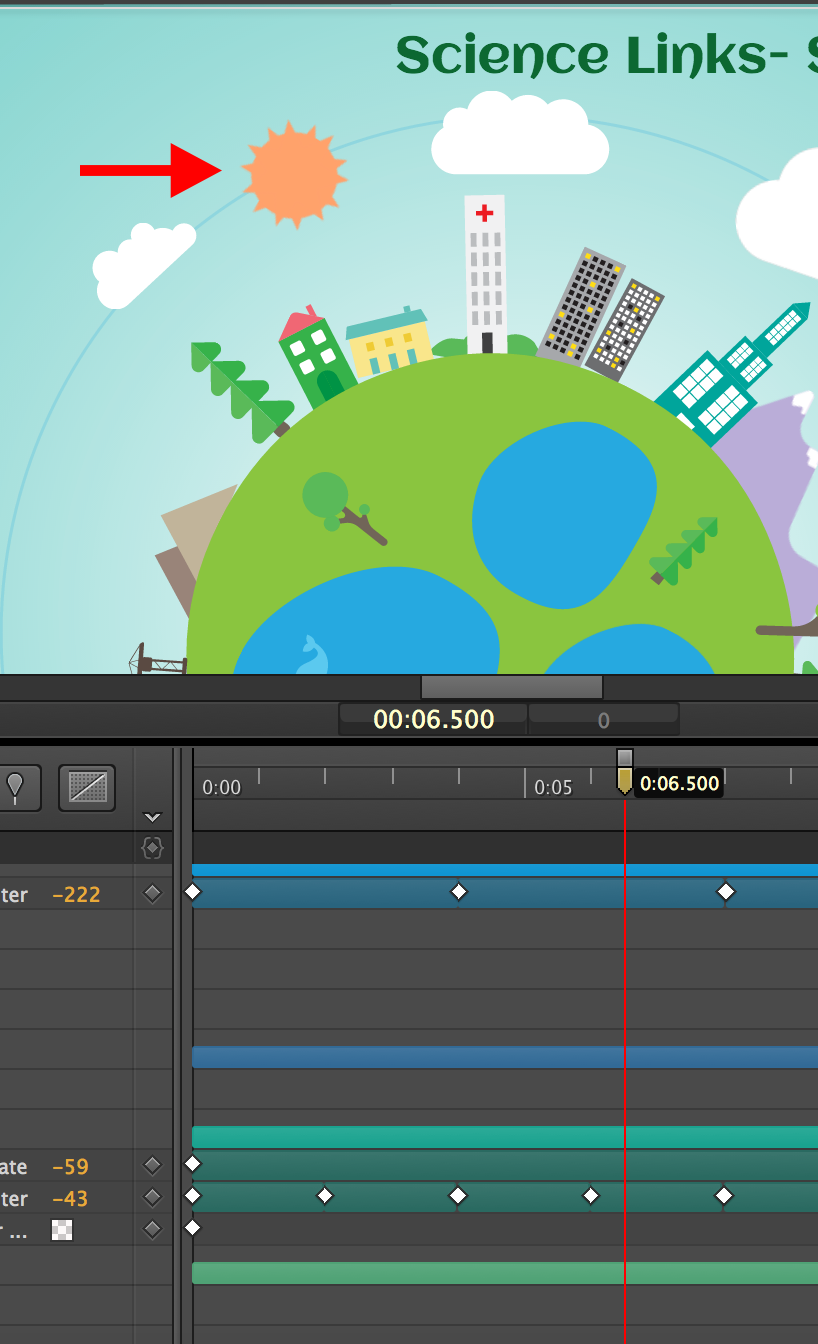
Screen shot of the hue rotation filter used on the sun graphic. In this photo the sun is a peachy/orange color. In the previous shot it was gold.

Hue rotation effect again- I also used the hue rotation effect on the large mountains. The color changes throughout the animation.

User interaction- In order to add an interactive piece to my animation, I clicked on the code button (red arrow) for various elements in my graphic. For each image, I added a link to a video clip that goes with the Sun, Moon, & Earth science unit I taught to my 4th graders. The links are mostly learning songs or online activities that the kids can do at home.
After clicking on the code icon, I clicked on mouse click, links, open in new window, pasted the URL for the link, closed the code window, went to the properties section, clicked on cursor, auto, and chose the white pointing finger icon.


