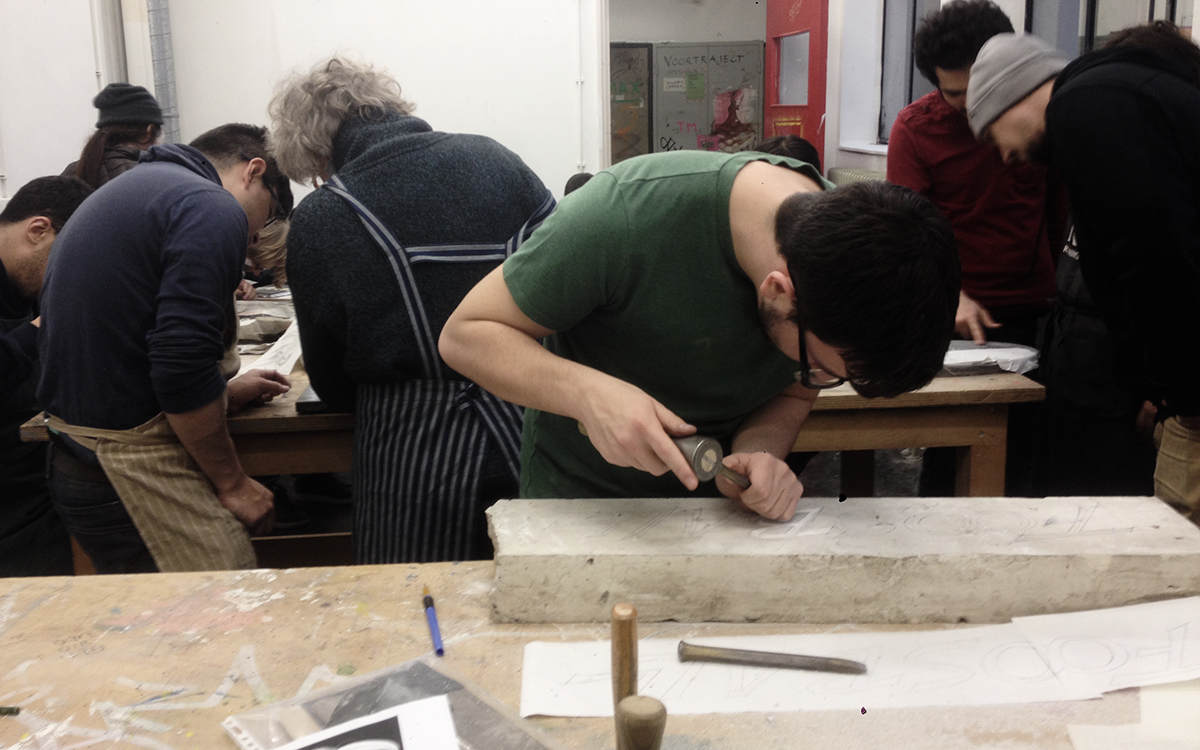
These are pictures from my stone carving classes in The Royal Academy of Art, Den Haag (The Netherlands). Of course, there was much more process and much more exercise :-) But I mostly uploaded pictures from my final assignment process. You had to choose a stone and a word/sentence and carve it. After thinking for a while, what do I want to carve, I went for "favourite word".
Our first exercises were "I" and "R". There you learn how to use the chisel and work with different stones. Some are soft, some are hard, and it feels completely different of course. Not mentioning that you have different kind of tricks and troubles.


First step for the every assignment is a sketch, of course. After I figured out what should my letters look like, I started to put them in combinations and try to fit in the circle.


After you digitise your sketch, you need to trace it to the stone. For example, with a sharp end of a metal pencil. The more precise, the better.

I was going to use "dig it up" technique, so I also had to sketch outer contour, to understand how muvh far I can go and make everything even.


My stone was quite hard, so I had to start with preparation strokes to preserve precise contour. And then to gradually dig deeper and deeper.

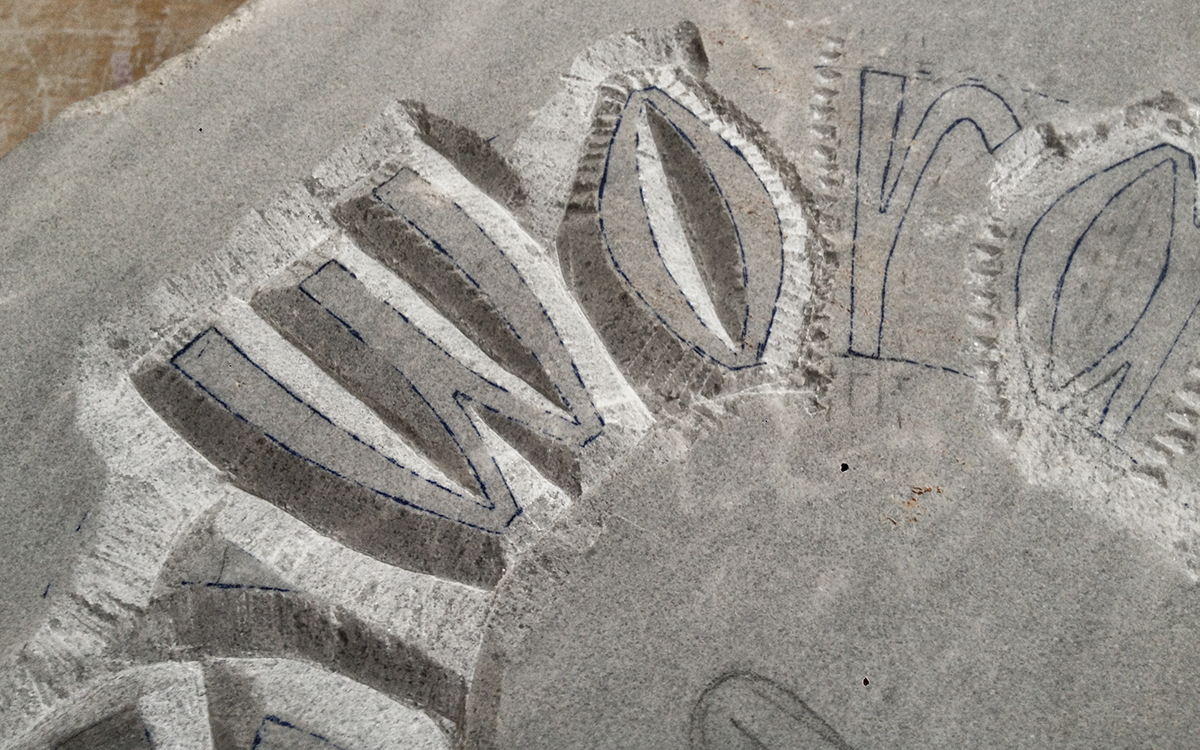

Almost there! Trick from our teacher, Françoise Berserik, to see what you really have, use a thin paper and a charcoal. Stone can be the same color inside and outside, so it's difficult to see, especially if the light is not that good at the moment.


Also, it's always a good idea to work extra on your general shape and make it more precise when you're almost done with everything else.


DONE :-)

Sometimes it's not easy to stop, you want to endlessly perfect some small details. But with stone it's really dangerous. You can overdo it and it'll start to crumble. So you can spoil everything, and there's no way back, you can't glue pieces or smth.


