Dark Spidey
Workflow
Workflow
Aqui vou mostrar como cheguei ao resultado final desta peça. Meu objetivo foi estudar modelagem e pós produção com Composite Nodes no Blender 3D. Usei o Photoshop em apenas alguns pontos.
English:
Here I'll show how I get the final result of this piece. My objective was to study modelling and post production with Composite Nodes in Blender 3D. I've used the Photoshop only in a few points.
English:
Here I'll show how I get the final result of this piece. My objective was to study modelling and post production with Composite Nodes in Blender 3D. I've used the Photoshop only in a few points.

Primeiro, modelei o personagem com poucos polígonos (first, I modelled the character with a low poly base mesh).

A textura UV do Dark Spidey foi fácil de se fazer (the UV texture of Dark Spidey was easy to do).
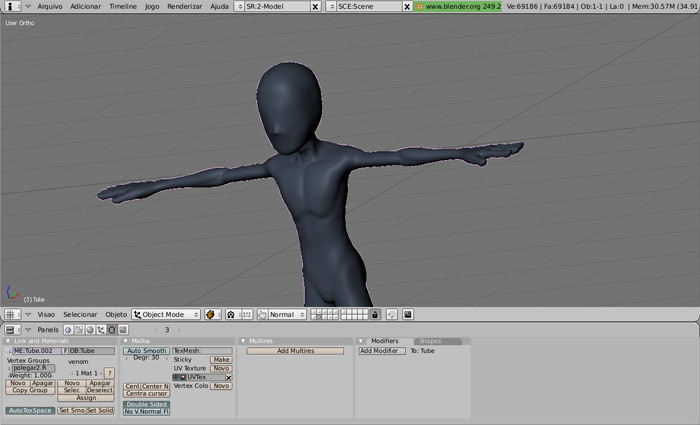
Depois, apliquei quatro níveis de Multires - Multiresolução - para suavisar o personagem, e modelei os músculos e o nariz. (Then, I apllied four levels of Multires - Multiresolution - to smooth the character, and modelled the muscles and the nose).
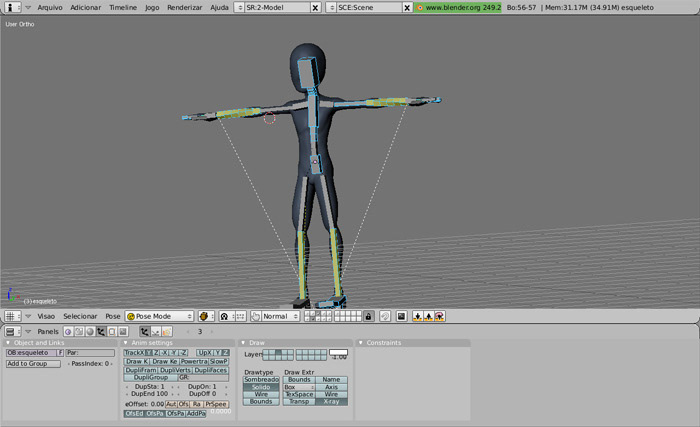
Com a modelo pronto, fiz o esqueleto usando Bones e Ik Constraints (with the model ready, I made the rigging with Bones and Ik Constraints).
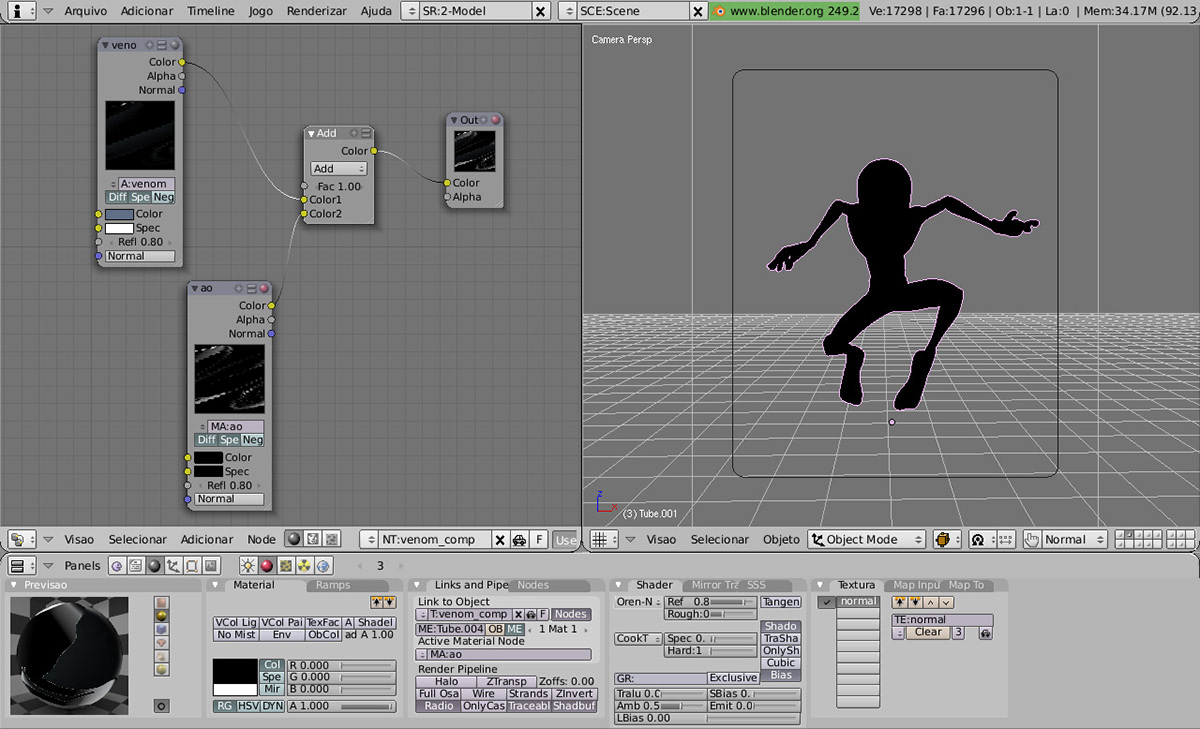
Para o material do Dark Spidey, eu usei o Composite Nodes. Um material para a textura, eoutro para simular o efeito de luz traseira, com color ramps (for theBlack Spidey's material, I used the Composite Nodes. One material tothe texture, and another to simulate the backlight effect, with colorramps).
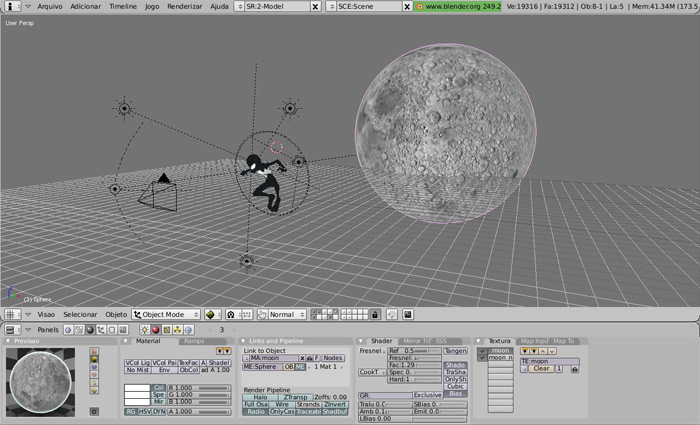
Com o Dark Spidey pronto, comecei a criar a cena. Criei uma lua, configurei a câmera, e a iluminação da cena. Criei uma luz traseira com Halo ativado para simular o brilho da lua com o Spidey. (with the Dark Spidey ready, I started to create the scene. I made a moon, configurated the camera, and the scene lighting. I created a backlight with Halo activated to simulate the moon shining with the Spidey).
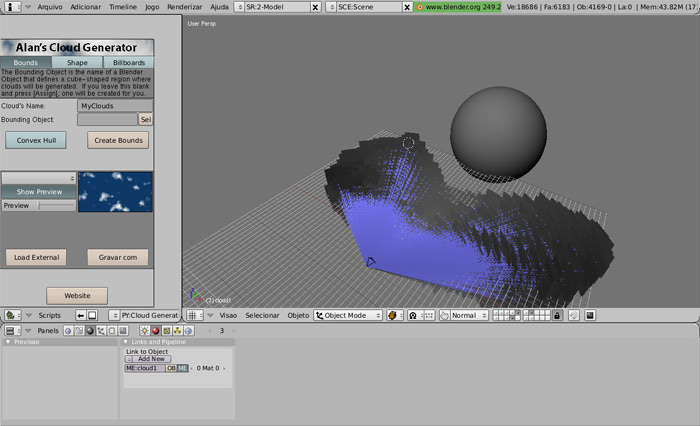
Graças ao script desenvolvido por Alan, o Cloud Generator, consegui criar nuvens para compor a cena. (Thanks to the script developed by Alan, the Cloud Generator, I could create clouds to compose the scene).

Aqui está a parte mais difícil, e a mais divertida também. Aprendi a trabalhar com múltiplas camadas de renders, para compor a cena final. Em uma camada, renderizei as nuvens. na segunda, renderizei a lua, e na terceira, o Dark Spidey, com ZMask ativado. Com essa três camadas, mesclei de diferentes maneiras, mudei os valores RGB, usei color ramp, e o canal Alpha de algumas layers para obter o resultado final (here is the most dificult part, and the funniest, too. I learned to work with multiple render layers, to compose the final scene. In one layer, I rendered the clouds. In the second, I rendered the moon, and in the third, the Dark Spidey, with ZMask activated. With these three layers, I blended in different ways, changed the RGB values, used color ramp. and the Alpha channel of some layers to achieve the final result).

... e aqui está o resultado do render. (and here is the render result).

Depois de renderizar a cena, adicionei estrelas e um brilho azul no céu, para finalizar a peça. E aqui está o resultado final (After rendered the scene, I added stars and a blue bright on the sky, to finish the piece. And here is the final result).