Pottery- Moose Design
Summer '10
Summer '10
This is one of my favorites pieces of the 29 I completed while taking a Beginning Pottery course at the ASUC Art Studio.


The Process:
This bowl was part of the last group of pots that I threw at the studio and was therefore rather symmetrical. It took me quite some time to decide what exactly I wanted to do with it. Eventually, I decided on a circular leaf design surrounding an image of a moose. In addition, there are 4 moose etched on the outer sides of the bowl.
This bowl was part of the last group of pots that I threw at the studio and was therefore rather symmetrical. It took me quite some time to decide what exactly I wanted to do with it. Eventually, I decided on a circular leaf design surrounding an image of a moose. In addition, there are 4 moose etched on the outer sides of the bowl.


Applying Slip:
Slip is basically moist clay that has dye added to it. I wanted to create a light blue silhouette around each leaf in the design, similar to a butterfly piece that I had created. I may have applied the light blue slip just a bit too thick as it didn't blend with the dark blue slip quite as I had hoped. I used real leaves as stencils. I loved the contrast of the orange/yellow leaves with the blues and wished that there had been some way that I could incorporate the actual leaves into the piece.
Slip is basically moist clay that has dye added to it. I wanted to create a light blue silhouette around each leaf in the design, similar to a butterfly piece that I had created. I may have applied the light blue slip just a bit too thick as it didn't blend with the dark blue slip quite as I had hoped. I used real leaves as stencils. I loved the contrast of the orange/yellow leaves with the blues and wished that there had been some way that I could incorporate the actual leaves into the piece.

Once the first firing was complete, I applied wax to the moose designs on the outer sides of the bowl. Wax resist prevents glaze from attaching itself to the parts of a piece where it has been applied. I am fascinated with the transformation the clay takes throughout this whole process, and liked that I could leave a part of this bowl that remained au natural.
Once the wax was applied and had dried for 2+ hours I was ready to begin glazing. I selected transparent brown, one of my favorite glazes, for the rim and outer sides of the bowl. I think it's fascinating that glazes appear such different colors before firing. Of course, this makes it somewhat difficult to create an exact vision you may have for a piece. On the bright side, it's always a surprise to see a piece that has been fired for the final time :)
Once the wax was applied and had dried for 2+ hours I was ready to begin glazing. I selected transparent brown, one of my favorite glazes, for the rim and outer sides of the bowl. I think it's fascinating that glazes appear such different colors before firing. Of course, this makes it somewhat difficult to create an exact vision you may have for a piece. On the bright side, it's always a surprise to see a piece that has been fired for the final time :)

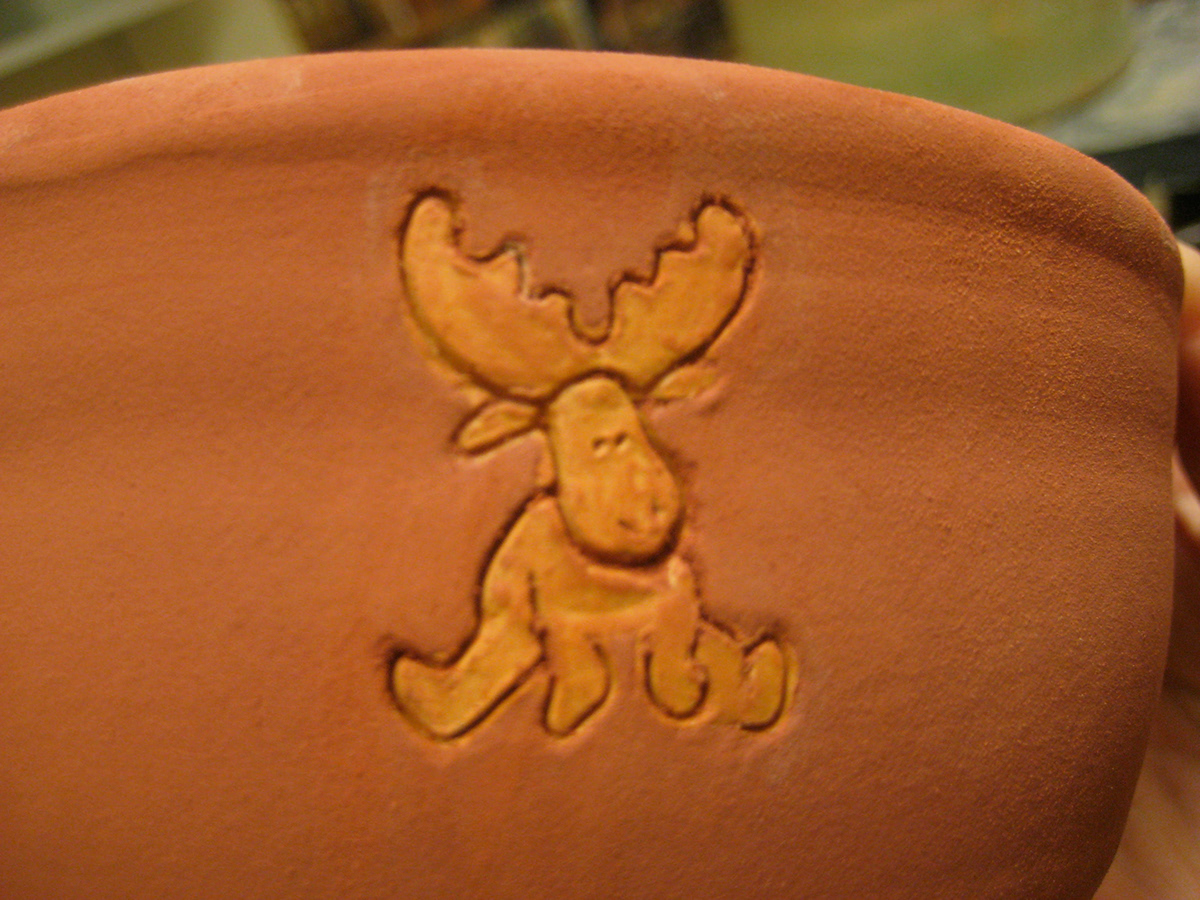
I decided to use transparent brown again to fill in the outline of the moose, sponging off the remaining glaze.


The final step was to apply a layer of clear glaze to the inside of the bowl. Again, I am pleasantly surprised by the color changing nature of the glaze. At first, it perplexed me that a clear glaze, when applied wet, would not be clear at all.

Once again the final piece.
