
After Effects 3D WAVE SPECTRUM


3D WAVE SPECTRUM AUDIO VISUALIZER
AFTER EFFECTS CC TEMPLATE GUIDE:
BASIC USAGE:
1 - Choose a template from the downloaded .rar file and open the Project (some may take longer to load), locate the replaceMe.mp3 file in the project panel, right-click > Replace Footage, and select your audio file. Trim the composition length to match your audio, by default is set to 10 minutes.
1 - Choose a template from the downloaded .rar file and open the Project (some may take longer to load), locate the replaceMe.mp3 file in the project panel, right-click > Replace Footage, and select your audio file. Trim the composition length to match your audio, by default is set to 10 minutes.
2 - Render it, or customize the included camera and lights to your preference.
MODIFYING THE TEMPLATE:
The first layer, from top to bottom, called 3DSpectrumControls have all the controls to change and animate the aspect of the wave spectrum.
The first option called 3DLayersPadding allows you to change the distance, in pixels, between the spectrum layers to create the depth of the spectrum, a value of 0px makes it flat, it should at least be 1px.
(Note: Each layer by its own is flat, if you place the camera from an absolute side view, the spectrum will not be visible.)
All other options are from the AE Wave Spectrum regular effect, you can read the AE Manual to learn more about each control.
- Start Point / End Point: In pixels. Those are the 2D coordinates ( X, Y ) of the points that make the imaginary line where the audio wave is traced.
- Start Frequency / End Frequency: In hertz, represents the segment of the spectrum that is traced, from 0 to 22050 as min and max values for 44100hz files.
- Frequency Bands: This is the amount of subdivisions of the segment described in Start/End Frequency.
- Maximum Height: Height of the spectrum in relation to the audio amplitude.
- Audio Duration: The amount of time (in milliseconds) of the audio sample that makes the spectrum.
- Audio Duration: The amount of time (in milliseconds) of the audio sample that makes the spectrum.
By default is set to 300ms, greater values increases render time, lower values makes the animation less smoother, keep this value between 200/500ms.
- Audio Offset: Using the original AE Wave Spectrum, this option looks ahead (or back) in time, in milliseconds, to take the audio sample from. In this case, this option is the sampling time difference between each layer that makes up the entire 3D Spectrum, by default is set to 20ms. This means that the next layer is going to be 40ms, 60ms, 80ms... If you set it to, for example, 100ms, next layer is going be 200ms, 300ms, 400ms...
This is done automatically by an Expression script (see below) in the spectrum layers, you only need to change this option to apply the offset difference to all the spectrum layers.
audioOffset = thisComp.layer("3DSpectrumControls").effect("AudioOffset")("Slider");
thisComp.layer(thisLayer, 1).effect("Audio Spectrum")(11) + audioOffset
thisComp.layer(thisLayer, 1).effect("Audio Spectrum")(11) + audioOffset
The same happens with the 3DLayersPadding control.
padding = thisComp.layer("3DSpectrumControls").effect("3DLayersPadding")("Slider");
[ thisComp.layer(thisLayer, 1).transform.position[0], [ thisComp.layer(thisLayer, 1).transform.position[1] ], thisComp.layer(thisLayer, 1).transform.position[2]-padding ]
[ thisComp.layer(thisLayer, 1).transform.position[0], [ thisComp.layer(thisLayer, 1).transform.position[1] ], thisComp.layer(thisLayer, 1).transform.position[2]-padding ]
Both Audio Offset and Audio Duration affect the refreshing speed of the spectrum, the default values for each template are usually fine for most audio files.
- Thickness: The thickness of the line, in pixels, that makes the audio wave.
- Softness: The softness of the line that makes the audio wave.
- Inside Color and Outside Color: This is the color of the line and the color of the outline.
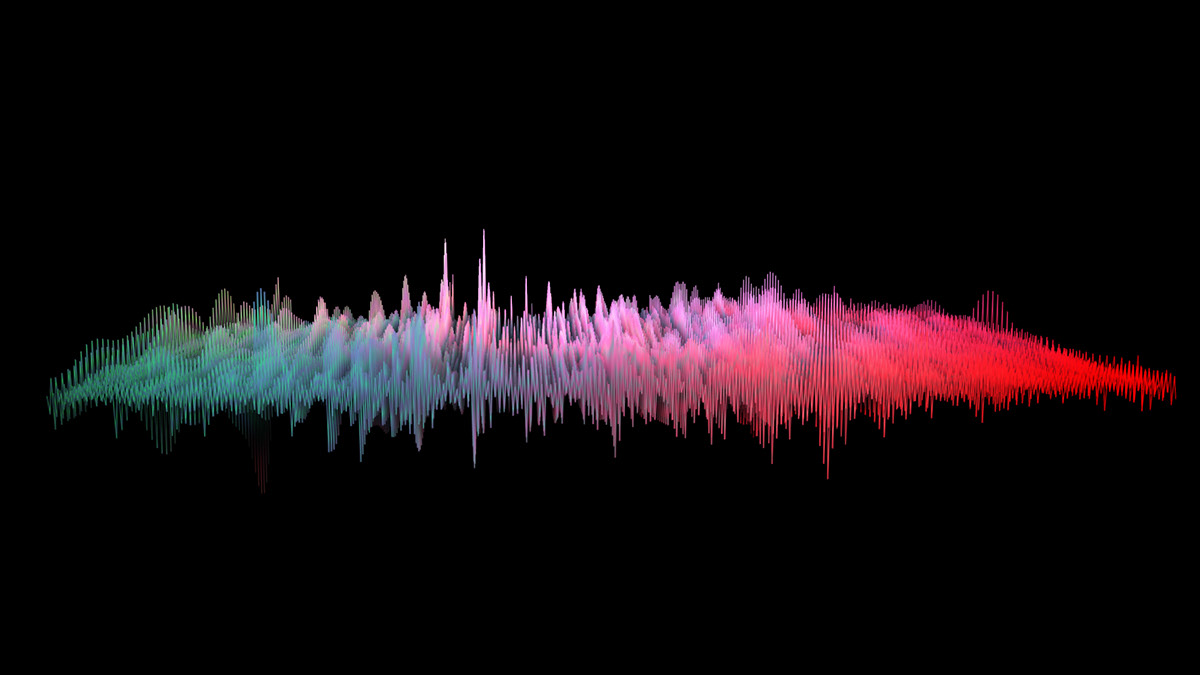
- Hue Interpolation: In degrees, this interpolates the previously picked color based on the hue wheel, if set to 360° it would show every color of the wheel starting at your picked color. By default is set to 35°, so if you for example, picked a blue color for the line, it would interpolate to cyan/green at one end.
- Dynamic Hue Phase: This uses information of the audio phase to switch colors randomly.
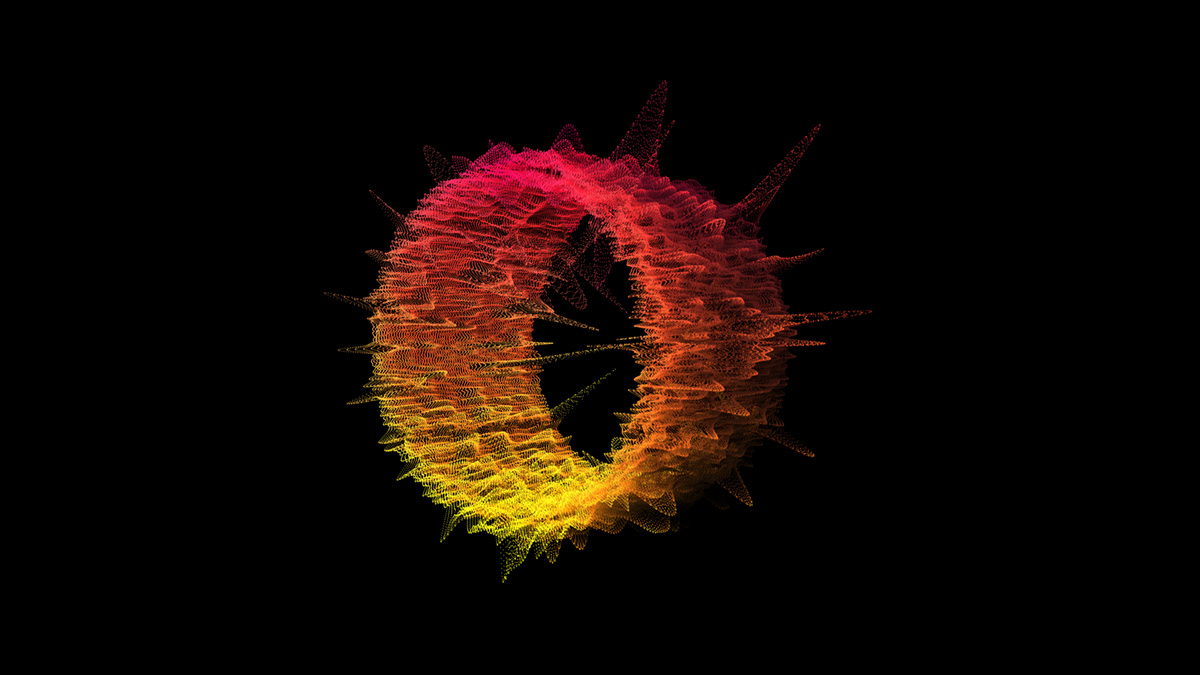
- Color Symmetry: This mirrors the colors along the line, useful in the case of a round shaped spectrum (template 04), to hide the seam between colors.
- Display(Digital/Lines/Dots): Changes the aspect of the wave between these 3 options.
- Side(A/B/A&B): This is the side of the amplitude wave that its displayed; positive, negative, or both sides.
- Thickness: The thickness of the line, in pixels, that makes the audio wave.
- Softness: The softness of the line that makes the audio wave.
- Inside Color and Outside Color: This is the color of the line and the color of the outline.
- Hue Interpolation: In degrees, this interpolates the previously picked color based on the hue wheel, if set to 360° it would show every color of the wheel starting at your picked color. By default is set to 35°, so if you for example, picked a blue color for the line, it would interpolate to cyan/green at one end.
- Dynamic Hue Phase: This uses information of the audio phase to switch colors randomly.
- Color Symmetry: This mirrors the colors along the line, useful in the case of a round shaped spectrum (template 04), to hide the seam between colors.
- Display(Digital/Lines/Dots): Changes the aspect of the wave between these 3 options.
- Side(A/B/A&B): This is the side of the amplitude wave that its displayed; positive, negative, or both sides.
To use a custom shape for the spectrum open the project "3dWaveSpectrum_shape.aet" . In the 3DspectrumLayer_1 you will find the original AE Wave Spectrum effect, which allows you to use a mask/path to trace the wave on. Then duplicate the layer ( CTRL+D / CMD+D ) as many times as you want to make the depth of the spectrum.
ABOUT THE AUDIO FILE:
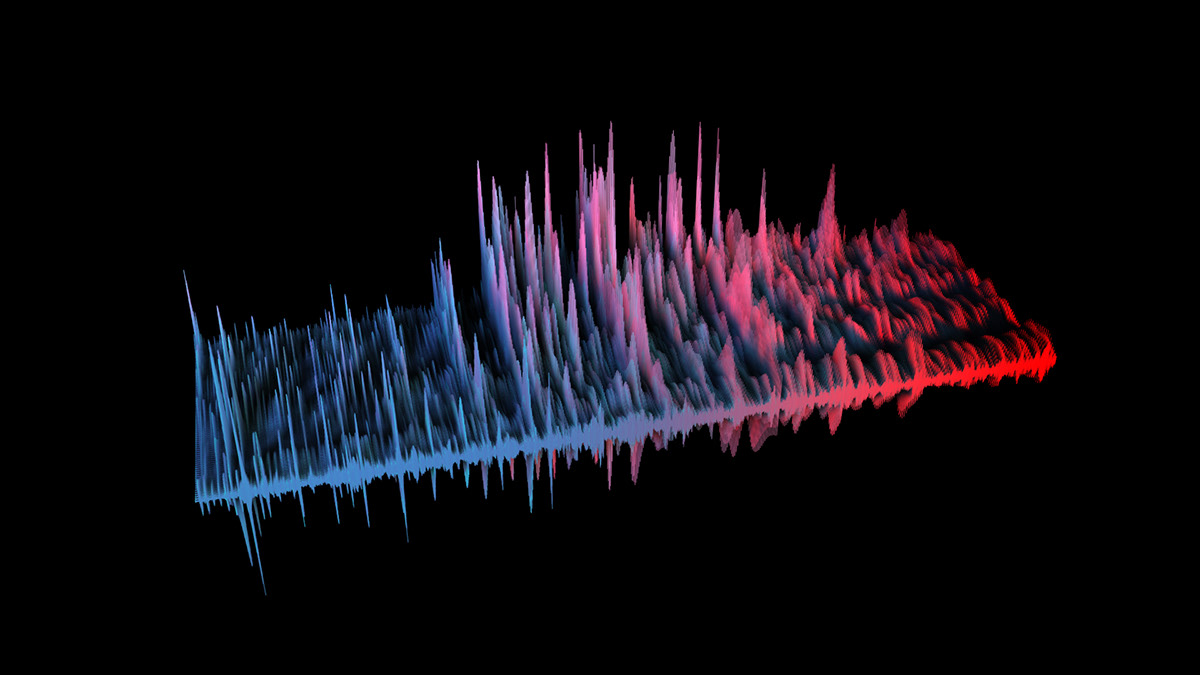
The AE Wave Spectrum effect, that is used in this template, represents the spectrum linearly, on both frequency and amplitude, different from most spectrum visualizers. This means that if you are displaying from 0 to 22000hz, you will see the most activity on the left side (low frequencies) of the spectrum with very high peaks and very few to none activity on the rest of the spectrum, even if you set the Max Height to the highest possible.
The AE Wave Spectrum effect, that is used in this template, represents the spectrum linearly, on both frequency and amplitude, different from most spectrum visualizers. This means that if you are displaying from 0 to 22000hz, you will see the most activity on the left side (low frequencies) of the spectrum with very high peaks and very few to none activity on the rest of the spectrum, even if you set the Max Height to the highest possible.
A quick way around to this is choosing a segment that doesn't go that high to 22000hz, for example from 20 to 2000hz, but is not always the best solution, because you are loosing the higher frequencies, and doesn't seems to always match the audio.
You can use AE native audio effects, like the parametric equalizer, to cut the lows and boost the highs. Do this on a pre-composition, and for the best performance pre-render it.
The best option is to use an external audio editor, like Audition.
Here you have a few more options to manipulate the file.
Use an equalizer (Parametric or Multi-band) low down everything from 0 to 800hz.
Use the Multi-band Compressor to address the lower frequencies first, then use the Tube Modeled Compressor on all the track to keep the volumes of everything more equal, you can also use the Hard Limiter and then the Declipper. The audio will sound harsh, but the plan is to use it just for the Spectrum input, and then use the original audio on top of the final sequence. See the Audition Documentation to learn how to use this effects.
ABOUT PERFORMANCE:
This is a heavy CPU/RAM usage template, it can take up to 100hs to render on an average PC, the more layers you have the more slow the project will get. To avoid slowness while editing:
- Don't use "Full" as preview resolution, set it to "1/4".
- By default each tempate has 3 lights, turn them off to edit, and back on to render.
- Don't apply any effect like Glow, Blur or anything else at this stage, also do not place any background image or footage, you can apply those to the finished sequence in a new project along with the matching audio clip.
- Use the Classic 3D Renderer and set the Shadow Resolution to the smallest value, this has a great impact on preview and render performance.
- Use an MP3 file or any other compressed format, avoid uncompressed formats like WAV.
- Don't use Depth of Field, nor Motion Blur.
You can also decrease the frame rate of your composition, 24 by default. Instead, use 18fps and after render you can use frame-blending options to smooth it.
RENDERING:
Render the composiiton as a PNG Sequence, this way you can keep the Alpha Channel to add a background image or footage later on a new project.
Render the composiiton as a PNG Sequence, this way you can keep the Alpha Channel to add a background image or footage later on a new project.
Using the command-line After Effects renderer (aerender.exe) to run 2 or 3 instances of the program can improve the render time.
Exampe code:
aerender -project X:\examplePath\exampleProject.aep -comp "exampleComp" -RStemplate "Multi-Machine Settings" -OMtemplate "PNG Sequence" -output X:\examplePath\exampleSubPath\exampleOutput_[#####].png
aerender -project X:\examplePath\exampleProject.aep -comp "exampleComp" -RStemplate "Multi-Machine Settings" -OMtemplate "PNG Sequence" -output X:\examplePath\exampleSubPath\exampleOutput_[#####].png
Make sure that whatever -RStemplate (Render Settings) you use, it needs to have previously activated inside AE the "Skip File if Already Exist" option. Multi-Machine Settings comes already with AE, you can use this.
Also, create an -OMtemplate (Output Module) with the PNG settings or any sequence format that you want (also inside AE).
Also, create an -OMtemplate (Output Module) with the PNG settings or any sequence format that you want (also inside AE).
You can use this same code if you have another computer with AE installed to render the same composition.
Read the AE Manual to learn more about multi-machine rendering.
Read the AE Manual to learn more about multi-machine rendering.
DOWNLOAD
3DWaveSpectrumTemplates.rar
>
3DWaveSpectrum_temp00.aet
3DWaveSpectrum_temp01.aet
3DWaveSpectrum_shape.aet
3DWaveSpectrumTemplates.rar
>
3DWaveSpectrum_temp00.aet
3DWaveSpectrum_temp01.aet
3DWaveSpectrum_shape.aet
3DWaveSpectrum_temp03.aet
3DWaveSpectrum_temp04.aet
3DWaveSpectrum_temp05.aet
3DWaveSpectrum_temp06.aet
3DWaveSpectrumExamples.jpg
This Plug-In is free, and it's delivered as-is with no support beyond this document.
Copyright laws apply to it, YOU CAN CREATE UNLIMITED COMMERCIAL PROJECTS WITH IT, BUT YOU CANT SELL OR DISTRIBUTE ANY OF THE TEMPLATES.
tested ONLY in After Effects CC 2017.2 (Version 14.2.1.34).


