

drawing by Kelly Abalus
It is recommended that students carry a sketch book with them and draw everyday. Daily drawings must be dated, documented and posted.
Create a new First Name Last Folder on the local hard Drive. Create a Drawing Unit folder, a Story Unit folder and a Concept Art folder
ALWAYS name your digital files: first last anm_U1_A#.psd and first last anm_U1_A#.jpg in your Unit 1 folder

Activity 1 - Drawing
- Line
- Shape
- Value (light & Dark)
- Form
Activity 2 - Space
- Size
- Overlap
- Placement
- Detail
- Colour
- Light
- Tone
- Converging Lines
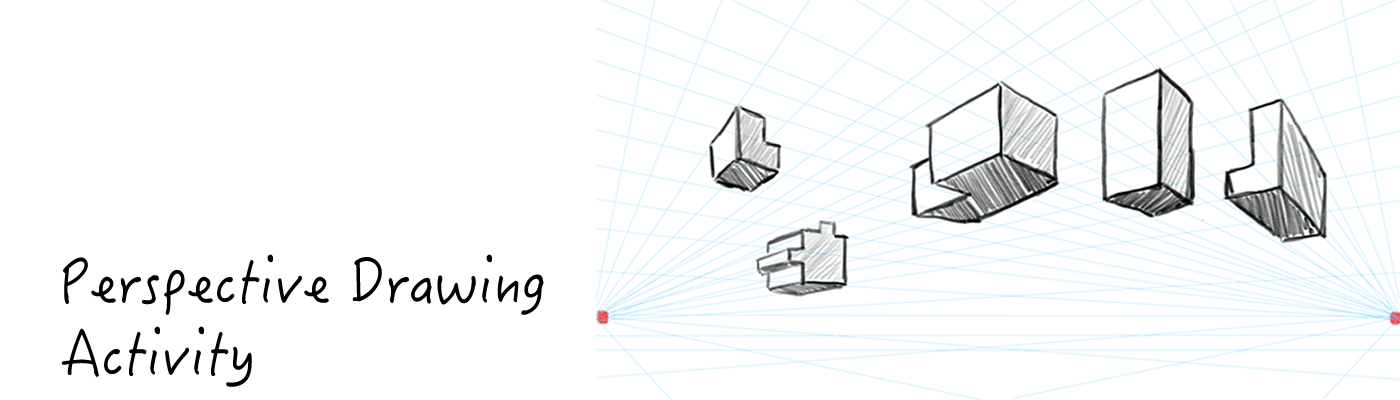
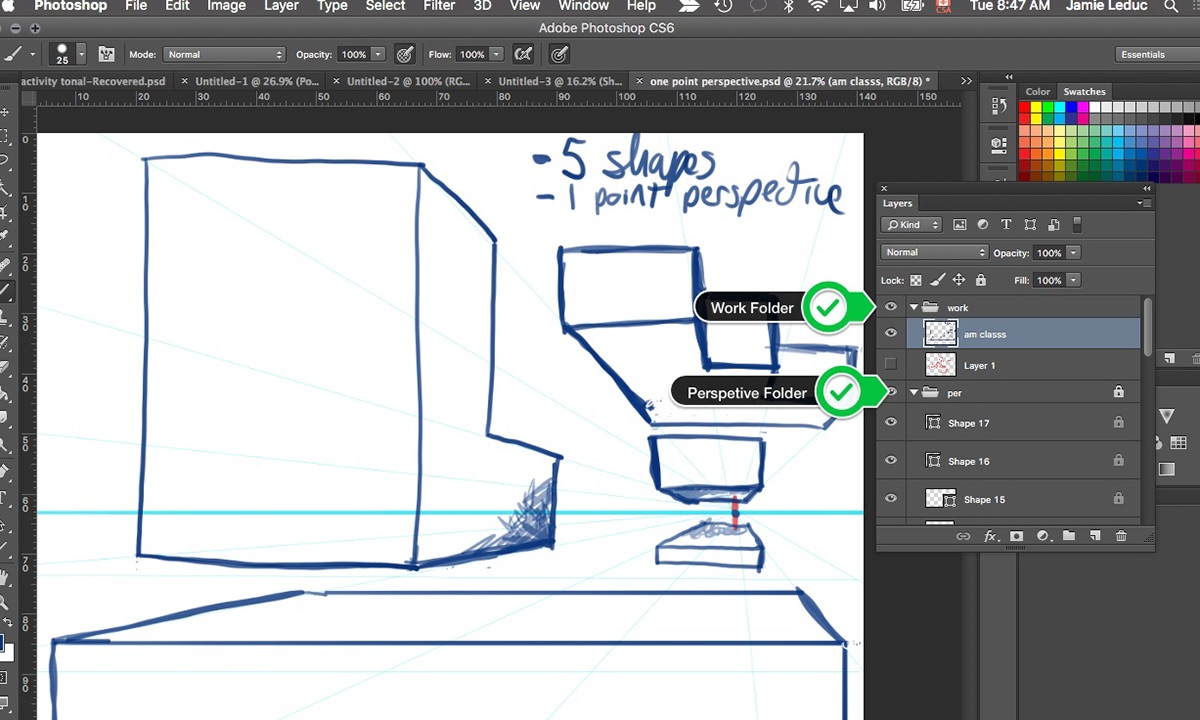
Activity 3 - One Point Perspective
- Horizon line
- One focal point
Activity 4 - Two Point Perspective
- 3D drawings using Two Point Perspective
- Geometry
- Adding additional perspective points
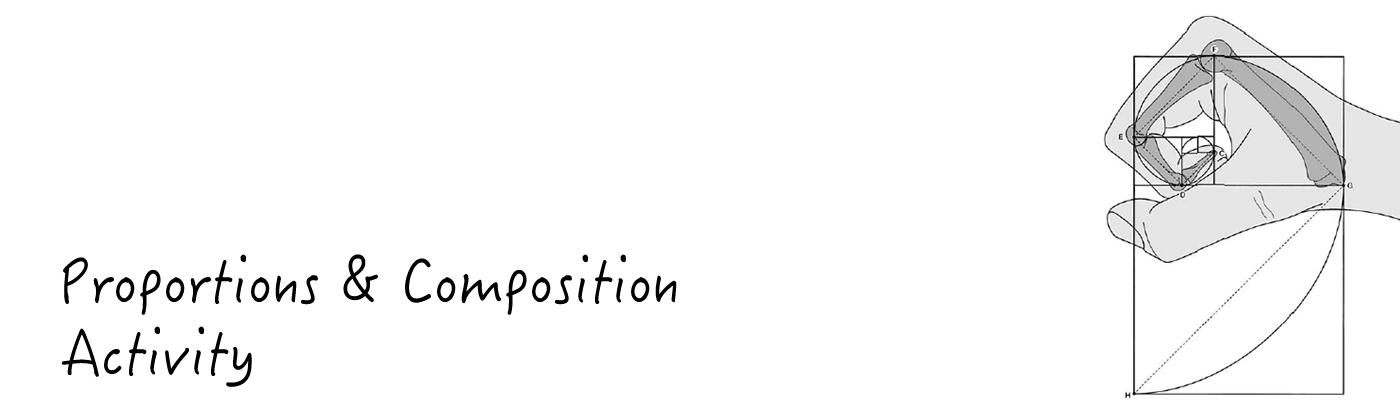
Activity 5 - Proportions & Composition
- Golden Mean
- Rule of Thirds
- Angles
- Shots
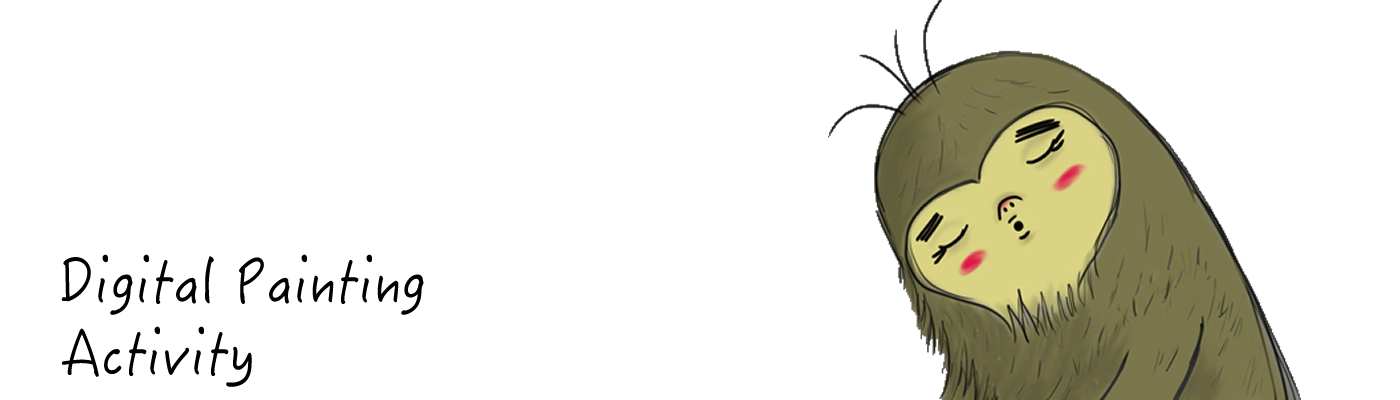
Activity 6 - Digital Painting
- block values
- underpainting
- develop features
- add light & form
- tighten focal points

Cover:
-Reflect theme of Course
-Art Cover image 404 X 316
-Text "Digital Drawing & Painting Unit"
Settings:
Creative Fields:
-Apply 3 project theme-related "Creative Fields"
Tags:
- 10 theme generated tags (use key concepts)
Project Description:
- "this is my concept art portfolio"
Extra Information:
-Brand: Animation and SislerIDM
-Agency: Winnipeg School Division
-School: Sisler High School
Credits:
-Add the cast and crew with roles
Tools Used:
-Identify all tools used in this unit: i.e., Adobe Flash CS6, Adobe Audition CS6, Behance, paper, pencils, light-table
Content:
-Embed all Unit components
-Title each activity
-Use the portfolio Text styles appropriately
-Use the portfolio Text styles appropriately
Tips for Observational Drawing:
Drawing is the core method of researching, investigating, developing and communicating ideas.
1. Look at what you are drawing
2. Draw from real objects whenever possible
3. Don’t trace
4. Understand perspective
5. Use grids, guidelines or rough forms to get the proportions right before you add details
6. Be wary of ellipses
7. Keep the outlines light
8. Have a Good Range of Tone
9. Use mark-making to convey surface quality and texture
10. Include / omit detail as necessary
11. Insert your own soul

BEFORE WE BEGIN!
PLEASE HAVE THE FOLLOWING ITEMS:
- SketchBook or a stack of paper
- Smart Device to document and post work
- Drawing Pencils
- Coloured pencils
- Ruler
- Patience
- 3 Frames of your favourite movie
- And more patience
Posting
- Create a new Behance Project titled "Drawing & Painting Unit"
- Complete all setting requirements suitable for this project
- Post and caption/header each activity (excludes the 30 day challenge).

please note that you can view my notes by clicking the "Gear" icon on the bottom of the slideshow
The Difference between Beat Boards & Storyboards
Beat boards are distinct from storyboards. It represents a series of single drawings that depict a scene of the movie. It is similar to a children's book illustration wherein a single picture tells a complex story. It primarily serves as a guide for a director to pitch his story to the people involved in the making of the film. Beat boards can also be a form of art direction in which the shot is staged and given a colour ambience with simple dabs and not necessarily detailed sketching.
Storyboards show an intricate breakdown of actions taking place in a scene and a movie. The drawings will reflect the early ideas of what characters will look like, what the backgrounds and scenery will be some idea of dialogue, emotions, movement, camera shots, angles, and a general feel of the animation process. Storyboards are a form of a blue print (a plan) for the production team.
Task:
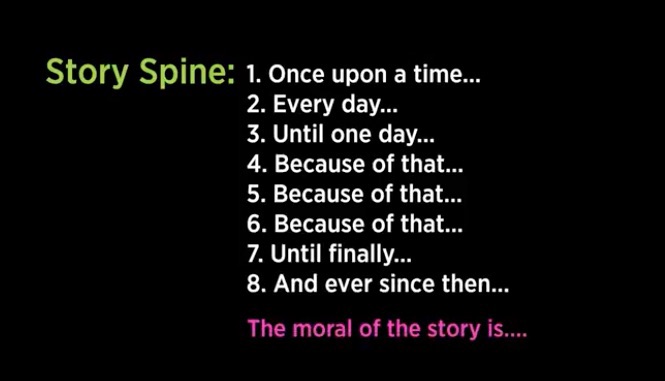
- create a Story Spine using the following 8 full page (image below) Beat Board format
- beat boards must be large enough to present to class (recommended a minimum of 8 X 11 inches)
- you may work solo or with a partner
- brainstorm as many ideas as possible
- use all elements covered in the "intro to visual language" presentation:
- Line
- Shape
- Space
- Motion
- Tone
- Colour
- convert beat boards into digital files and prepare a presentation using Google Slide, which will be embedded into your Behance unit project. Title the Slide story file: Story Spine Beat Board by your name(s). Share the presentation admin rights with your partner (if you have one).
- pitch beat board of your story to the class.
PRESENTATION DATE: Wednesday or Thursday of this week.
Intent:
When we first picked up a pen or pencil and started making marks on paper, we began with line. Whether self-taught, through trial and error, or guided by others, we learned how line defines form, creates structure, divides a frame, traces contour, creates tonal variation (cross-hatching, for example) and leads the eye from one part of a work to another. Initially a mechanism for getting outlines onto paper – identifying edges – we begin to applaud lines for their own merit: celebrate their presence…whether a quiet flick of charcoal on paper or a streak of graphite.
source: http://www.studentartguide.com/articles/line-drawings
Drawing Key Terms:
Hatching, cross hatching, and other line techniques
As well as representing contours, line can also be used to apply tone (light and shadow) to a drawing. This can be done by altering the:
- Gap between the lines
- Lightness / darkness of the line
- Thickness of the line
There are many line techniques can be used to create tone, as illustrated in the worksheet below. Common techniques include:
- Small dashes
- Hatching (long, parallel lines on an angle)
- Cross-hatching (parallel lines at right angles)
- Stippling (dots)
- Scribbles
- Small crosses
- Small circles
The angle that these techniques are applied may remain constant within a drawing, or it may change in response to the angle and direction of the forms. For example, cross-hatching may flow around the surface of an object in a similar direction as cross contour lines. These techniques are also a great way to create the illusion of texture


Line: A path of a point moving through space. Line is a mark or a stroke long in proportion to its breadth, made with a pen, pencil, tool, etc., on a surface
Value: Value drawing can be used to create an image that feels so real and spacious that it seems like you could reach right into it! It helps us create believable space, mood, atmosphere and various "special effects" in our pictures. It is an incredibly versatile tool when understood and used correctly! "Value" simply means how light or dark something is.
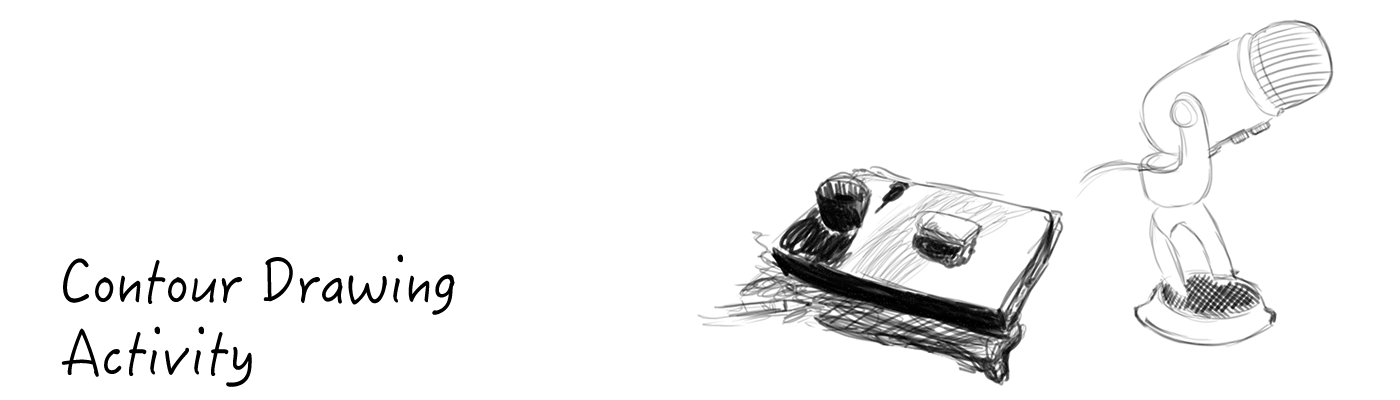
A contour drawing shows the outlines, shapes and edges of a scene, but omits fine detail, surface texture, colour and tone (‘contour’ is French for ‘outline’).
According to Wikipedia:
The purpose of contour drawing is to emphasize the mass and volume of the subject rather than the detail; the focus is on the outlined shape of the subject and not the minor details.
A blind contour drawing contains lines that are drawn without ever looking at the piece of paper. This forces you to study a scene closely, observing every shape and edge with your eyes, as your hand mimics these on paper. The aim is not to produce a realistic artwork, but rather to strengthen the connection between eyes, hand and brain: a reminder that, when drawing, you must first learn to see.
Form: Think With Forms, Not Lines: Take Your Drawing to the Next Level. The best advice I can give is to not draw anything ever again. Instead, SCULPT the images you’re creating using pencil and paper. Look at this famous handout image from Glen Keane:
source: Animator Island

Criteria:
- Line
- Shape
- Value (light & Dark)
- Form
- Contour drawing
Activity 1 - Task
This activity may be completed using Photoshop or on paper. Only line, no fill.
Hint! Start your 24 day challenge today. Do not wait until the night before the due date. A key to drawing is to draw every day.
When contour drawing, we are only focused on the edges. This means that you will draw only the outside of an object or the lines made by a fold or pattern. Don't get fooled into using the line to draw light and dark. The weight of a line -- that is, how dark and thick it is -- will give your drawing dimension.
- A strong, dark line will jump out from the paper.
- A light or thin line will sink into the paper.
Part 1 - Practice, practice, practice
- Class will participate in daily contour and blind exercises for two weeks to start each class. We will be doing 20-20 drawing activities (20 drawings in 20 minutes). Each day can be done on the same sheet or canvas. Do not waste time chaining paper. Title each sheet with your name and date before you begin. Each student will draw objects using the following time format:
- 1 minute of quick circle warmup
- 6 Five Second Drawings (30 seconds)
- 3 Ten Second Drawings (30 seconds)
- 4 Thirty Second Drawings (120 seconds)
- 3 Sixty Second Drawings (180 seconds)
- 2 Two Minute Drawings (240 seconds)
- 2 Five Minute Drawings (600 seconds)
- All drawings must be documented and posted in a slideshow/gallery on behance. Be sure to use captions to showcase dates of drawings.
Posting
- Upload to your Behance Project titled "Drawing & Painting Unit"
- Complete all setting requirements suitable for this project
- Post and caption/header each activity (excludes the 24 day challenge).
Part 3 - Posting
- Create a new Behance Project titled "24 Day Drawing Challenge"
- Complete all setting requirements suitable for this project
- Post and caption/header each Drawing Day. Include Date and Day Challenge.


Criteria:
- Size
- Overlap
- Placement
- Detail
- Colour
- Light
- Converging Lines
This activity may be completed using Photoshop or on paper. Only line, no fill.
Task:
Part 1 - Horizontal Tonal Activity
- Create one tonal canvas in. photoshop (4000 pixels by 4000 pixels)
- Use ruler in photoshop to set up guides to create 4 horizontal tonal planes (made up of 6 boxes)
- Using 4 different line patterns, create 6 instances of tone (light to dark). See video below.
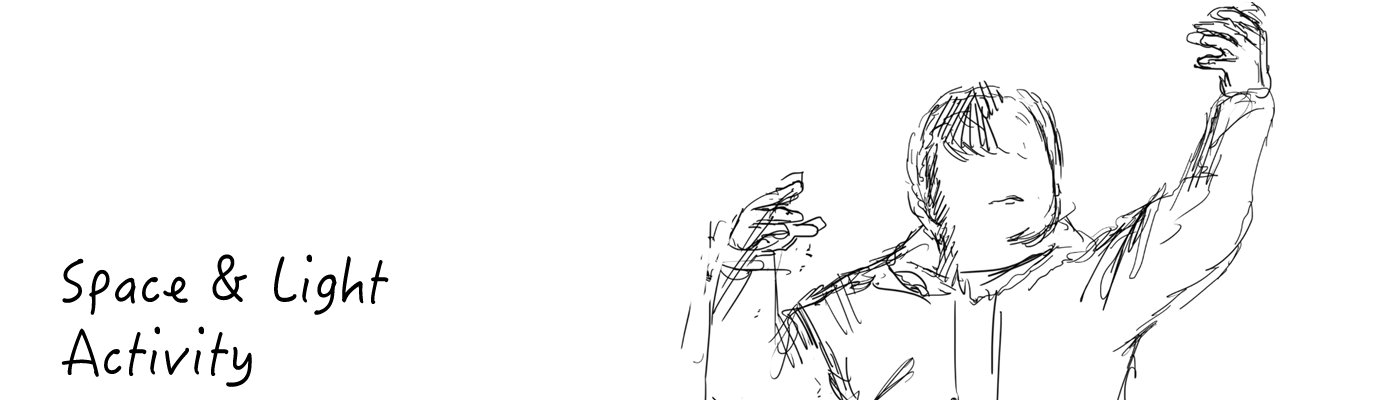
Part 2 - Drawing real objects in space and Time
- With a peer(s), create a composition of 3 to 5 real objects on a flat surface
- Set up a posable light, make sure the light and value can be adjusted
- Draw 4 different drawings of composition.
- be sure to meet all the criteria of Space using shading
Convert your 4 into drawings into digital files.
Part 3 - Posting:
- Post in your Behance Project titled "Drawing & Painting Unit"
- Complete all setting requirements suitable for this project
- Post and caption/header each activity (excludes the 24 day challenge).


This activity may be completed using Photoshop or on paper. Only line, no fill.
Criteria:
- Horizon line
- One focal point
Task:
Part 1 - One Point Perspective:
1. Create a drawing that has a horizon line at a low angle. Using one-point perspective with the vanishing point placed off centered on the horizon line, draw a series of 3D "Tetris" shapes moving towards you. Each shaped object should be different in dimensions. Consider using L shapes, long rectangles, square, plus shape, three prong, etc.
2. Using a horizon line at a mid-angle create a country prairie road drawing that has a row of evenly spaced hydro poles just off to the left-hand side. Allow both the road and hydro pole to converge at one vanishing point on the horizon line.
Convert your 2 one point perspective drawings into digital files.
Part 2 - Posting:
- Post in your Behance Project titled "Drawing & Painting Unit"
- Complete all setting requirements suitable for this project
- Post and caption/header each activity
Activity 4 - Two Point & Three Point Perspective
This activity may be completed using Photoshop or on paper. Only line, no fill.
Criteria:
- 3D drawings using 2 Point Perspective & 3 Point Perspective
- Geometry
- Adding additional perspective points
Task:
remember to get some reference images before you begin.
Part 1 - Two & Three Point Perspectives:
Two Point Perspective Task:
With a high horizon line, create five two-point boxes anywhere in the drawing. Try to vary where the boxes are positioned in the drawing.
Three Point Perspective Task:
Create a drawing that has a normal angle horizon line and uses two-point perspective. Create a three point perspective drawing of a tall building or world renowned monument. Get lots of reference.
Convert your 2 perspective drawings into digital files.
Part 2 - Posting:
- Post in your Behance Project titled "Drawing & Painting Unit"
- Complete all setting requirements suitable for this project
- Post and caption/header each activity (excludes the 24 day challenge).

This activity may be completed using Photoshop or on paper. Only line, no fill.
Criteria:
- Golden Mean
- Rule of Thirds
- Centre biased
- Background, Midground and Foreground
- Focal Point - Contrast
- Focal Point - Camera Blur
- AsymmetryTask:
Part 1 - Composition:
- Create a fictions storyboard demonstrating the following different compositions:
- Centre Biased
- Rule of Thirds
- Background, Mid-ground and Foreground
- Focal Point - Contrast
- Focal Point - Camera Blur
- Asymmetry
- Golden mean
Part 2 - Posting:
- Post in your Behance Project titled "Drawing & Painting Unit"
- Complete all setting requirements suitable for this project
- Post and caption/header each activity (excludes the 30 day challenge).


Criteria:
- block values - underpainting
- develop features
- add light & form
- tighten focal points
Task:
Part 1 - Composition:
- Take one of your previous drawings and demonstrate the following:
- block values - underpainting
- develop features
- add light & form
- tighten focal points
Keep it Simple folks!
Part 2 - Posting:
- Post in your Behance Project titled "Drawing & Painting Unit"
- Complete all setting requirements suitable for this project
- Post and caption/header each activity (excludes the 24 day challenge).
Steps:
1. Pencil Sketch (import digital copy)
2. Under paint layers
Hint: Use as many layers as possible. Organize layers in folders. Colour code layered to match colours used. Name all layers.
3. Multiple Blending all layers
4. Overpaint Fine Detail...develop features.
5. Fine tune (focal points, light and form)


