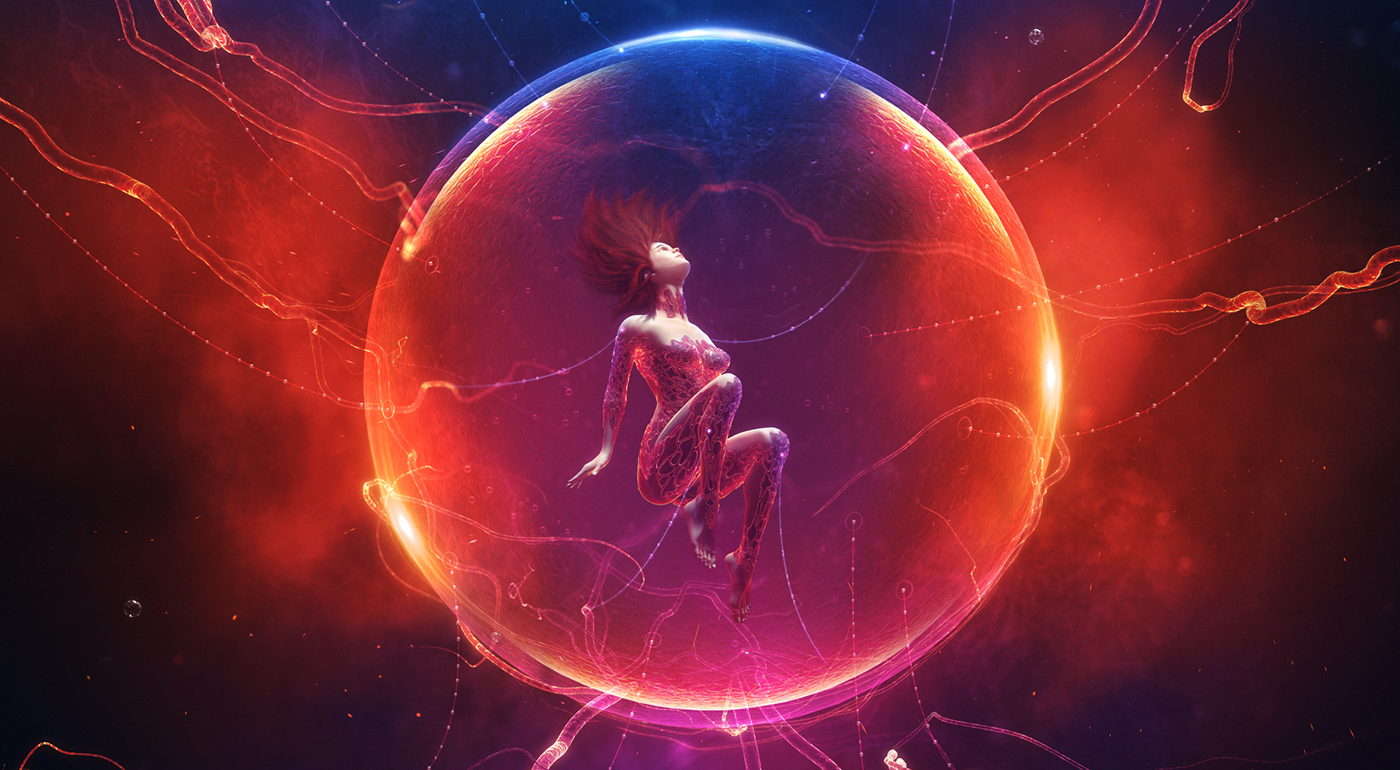
Wallpaper created for the Desktopography 2016 exhibition.
•
Download HD versions (Color & Black / White versions) here
•
Download HD versions (Color & Black / White versions) here

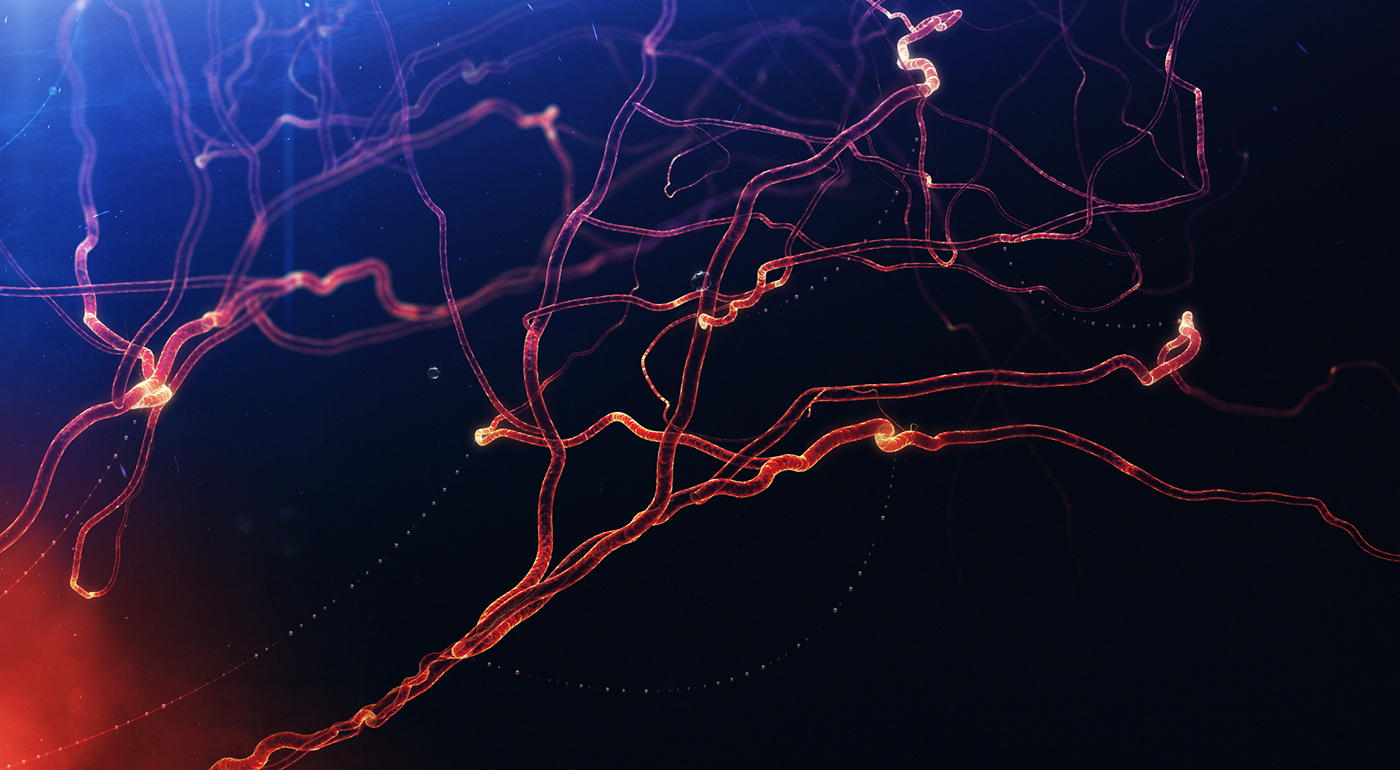
Close-up views

Quick 3D process
STEP 1
Creation of the girl body with the free open source software MakeHuman ( www.makehuman.org ).
In a second step, I exported the girl's body in an OBJ file to the software 3ds Max for the modeling and rendering.
Utilisation of the NVIDIA Mental Ray render engine for the whole project.
Creation of the girl body with the free open source software MakeHuman ( www.makehuman.org ).
In a second step, I exported the girl's body in an OBJ file to the software 3ds Max for the modeling and rendering.
Utilisation of the NVIDIA Mental Ray render engine for the whole project.

STEP 2
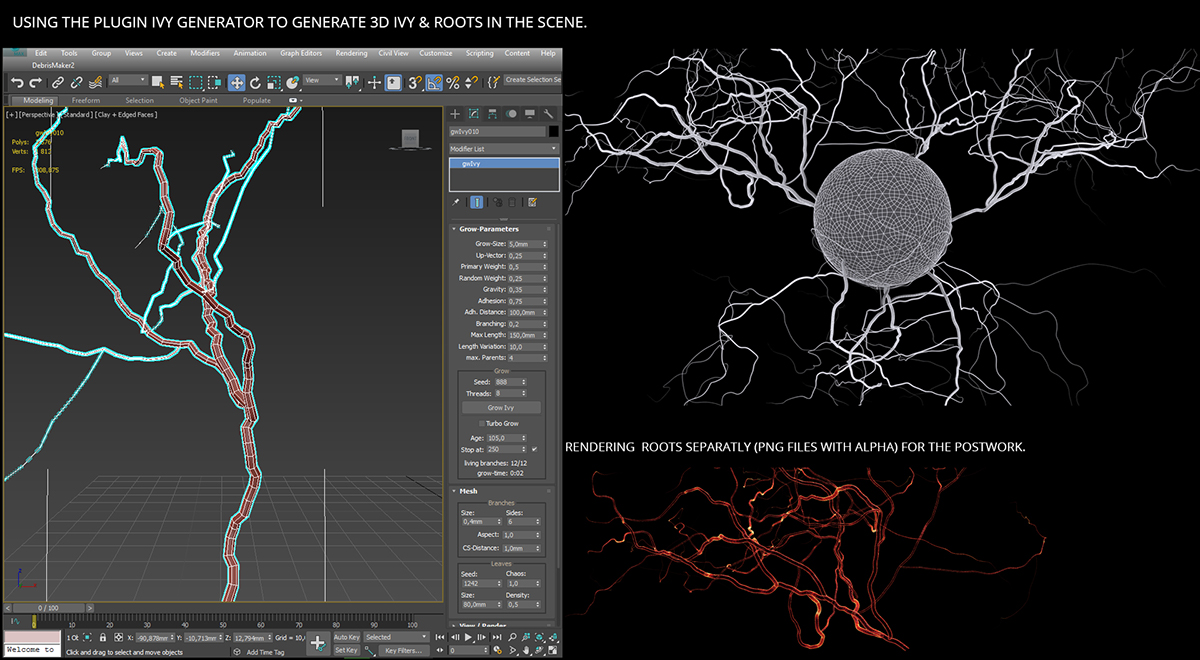
Creation of ivy and root shapes with the free 3ds Max plugin - Ivy generator ( http://www.guruware.at/main/ivy/index.html ).
I played a lot with the settings to generate different kind of shapes in the scene.
Also, I converted the root shapes into ' Edit Poly ' objects to move them correctly around.
Then, I did a rendering for each root for the future postwork in Photoshop ( PNG files with alpha channel).
The final shader is a very basic one, Standard material with a self-illumination + opacity with a gradient ramp (red/ orange) for the main color + Noise bump mapping.
STEP 3
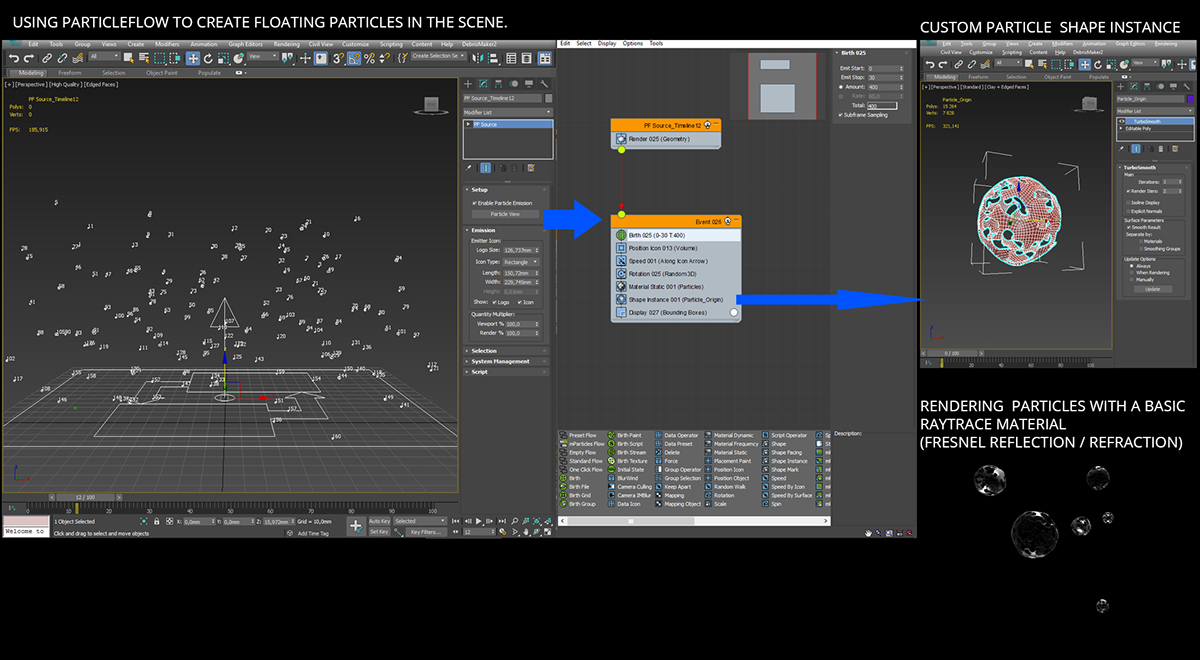
Particles generation with the integrated 3ds Max tool PFlow.
Here I created a very basic Particle emitter with an upward direction in the scene.
Here I created a very basic Particle emitter with an upward direction in the scene.
Then I put a custom shape linked to my PFlow emitter as an instance shape to avoid the default particles.
I did the rendering of the particles emission with a basic Raytrace material over to get the reflection / refraction / specular lights. I exported the final pictures as a PNG with alpha channel again.
GIF animation main steps
Just few steps to show the workflow from the 3D shapes to the postwork in Photoshop.
Of course, I realized digital painting to add much more details everywhere and surely to add lights, glow effects, depth, textures and the back ground.
Of course, I realized digital painting to add much more details everywhere and surely to add lights, glow effects, depth, textures and the back ground.