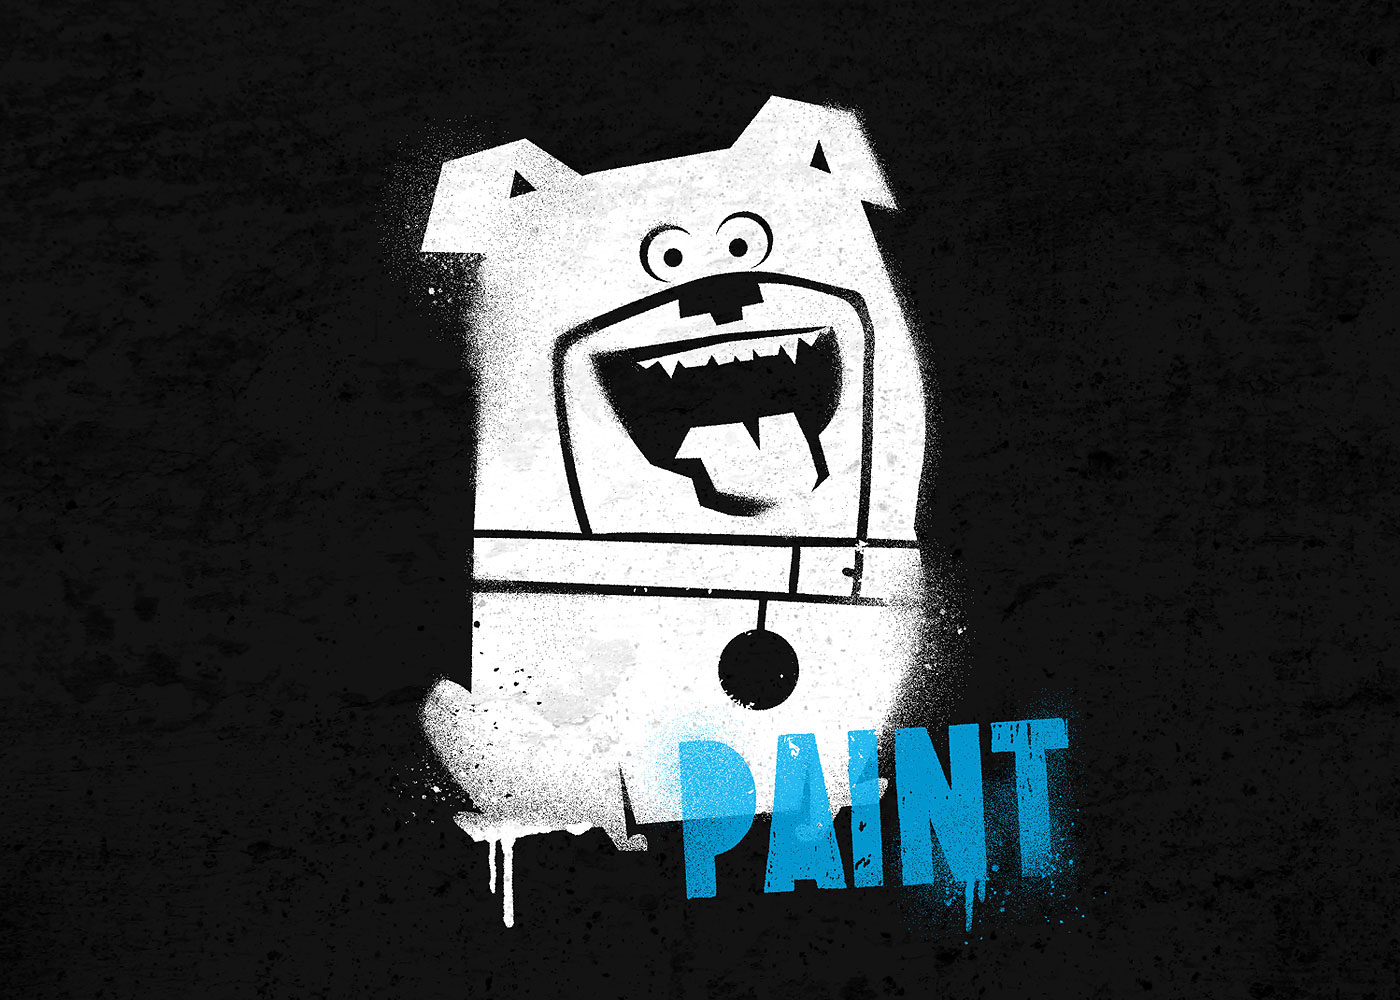
For some reason I've found myself doing a bit of faux spraypaint art lately. While I have definitely manually spray-painted hand-cut stencils, and then digitized the art, it can be messy, and more importantly, time-consuming, especially when multiple graphics are needed. While not quite the same as the real thing, this can be a great alternative if you don't have a can of spray paint handy! (Note: This tutorial is for fairly quick mass production of multiple pieces of stencil art. I might be more specific and careful if creating a more deliberate piece of art.) Enjoy the tutorial.

I generally start with a stencil created in Illustrator. (You can create your stencil in Photoshop, and if so, just skip anything that has to do with "Vector Smart Objects".) Think of your art as a stencil, knocking out all negative spaces. In the above example, all the black shapes are a single compound path. Fairly chunky lines and shapes tend to work best and look more stencil-like.
The black in my above example will become my spray-paint. So far it doesn't look too much like spray paint. It needs some gritty spray, and some blurred edges as if the stencil lifted and flapped in the spray, creating a feathered edge. So next, we'll move on to Photoshop for those effects.
Paste the Vector stencil into a Photoshop document, 300dpi, and ideally at least 8 x 8 inches.
Paste the Vector stencil into a Photoshop document, 300dpi, and ideally at least 8 x 8 inches.
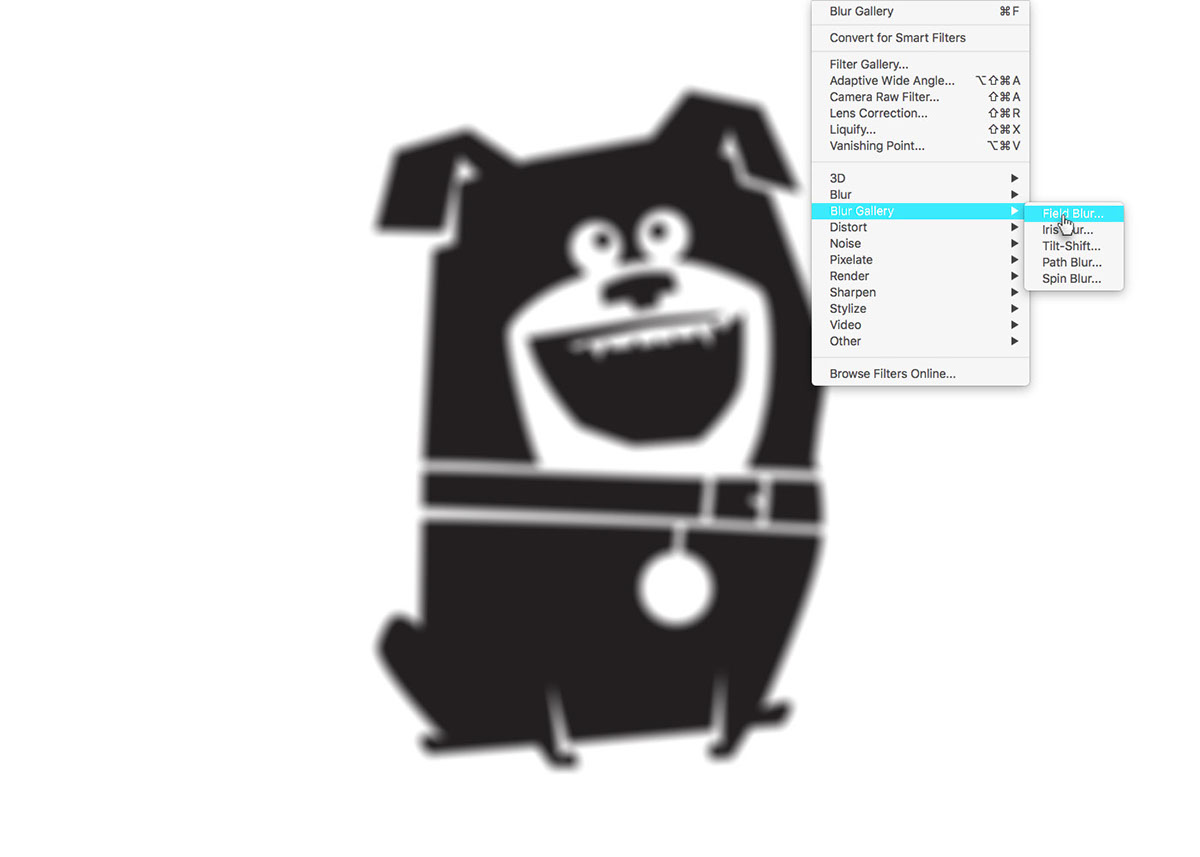
Apply a blur to the vector smart object. (I chose Field Blur, but Gaussian blur works just fine too).

If you used a smart object, you'll notice that your vector smart object layer thumbnail now has a blur effect applied to it, with a mask associated with the blur. Click on the mask, and fill the mask with black. Now the blur should disappear from your image.

Using a brush or eraser set to white, paint in a few feathered edges on your stencil edge.
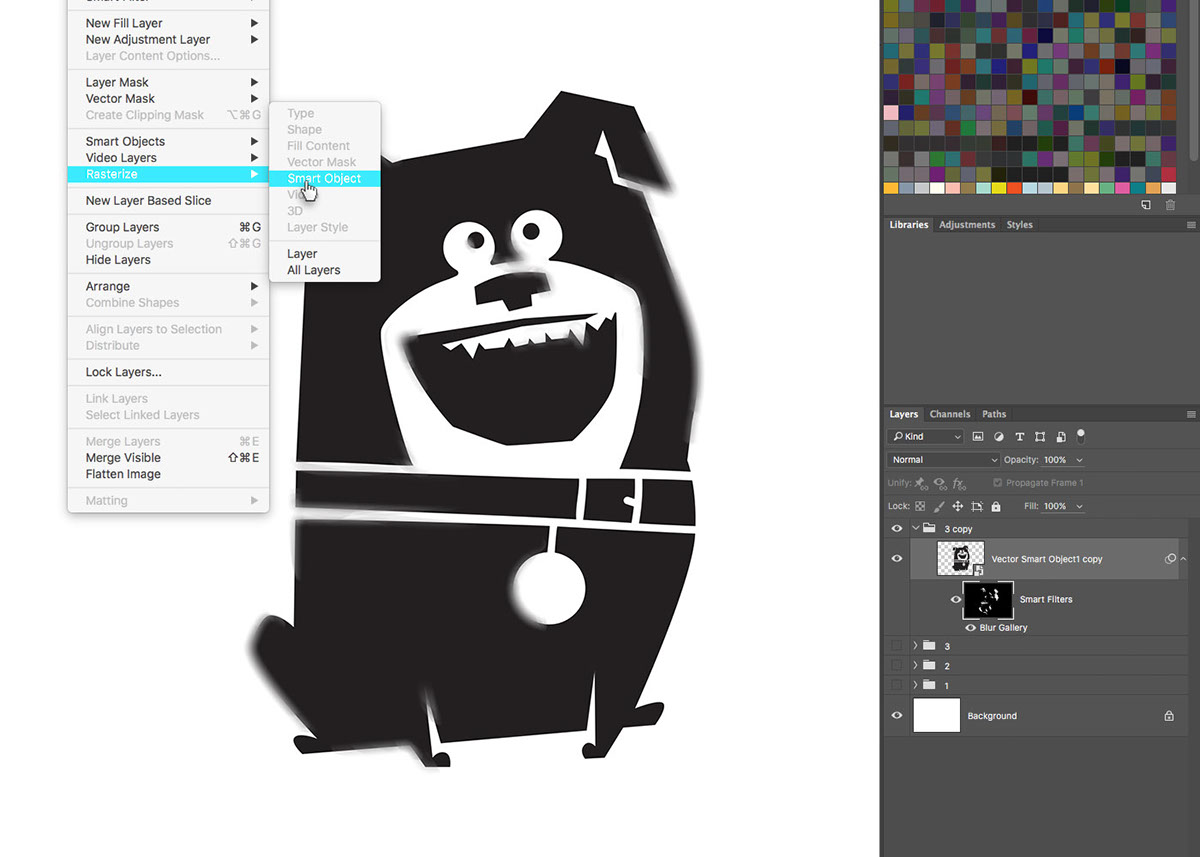
Once you've feathered a few spots to your satisfaction, go ahead and rasterize the layer. (I generally make a copy, turn one of them off, and rasterize the other one; just so you can edit the stencil later if you want to).

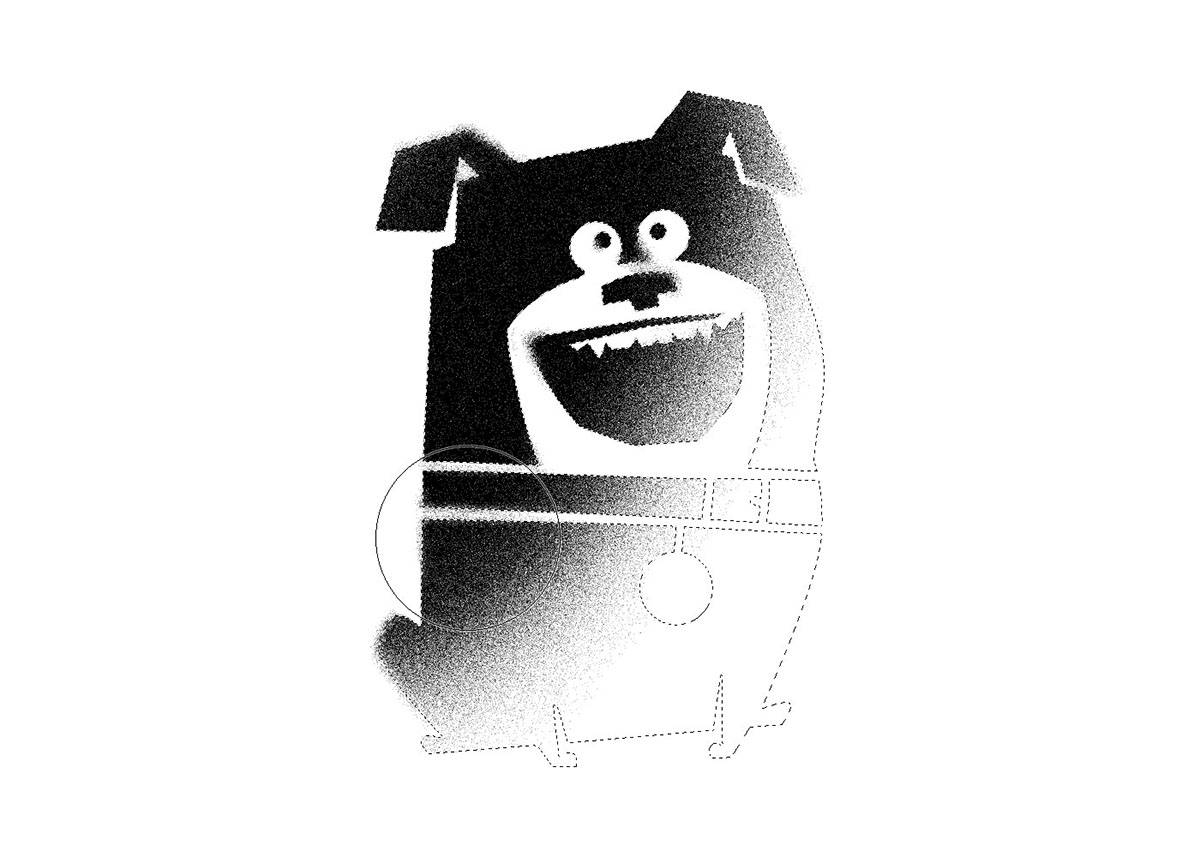
Make a selection from the stencil by Command+Clicking the thumbnail of the newly rasterized stencil layer.

Turn off the stencil layer and make a new layer.

Now here's where you get the spray-paint effect: select the paintbrush tool, and choose a soft round brush. Then set the brush mode to "dissolve".
You'll see the brush provides a pretty nice gritty effect, similar to spray paint.

I intentionally left a few spots just slightly under-painted, to get a nice gritty effect as if the paint wasn't fully applied evenly. You could stop here, and call it good! Or, if you want, you can add in a couple of little details to enhance the spray paint look.

I went in and hand painted a couple of stray paint splatters. I have the advantage of a Wacom Cintiq brush, however, which allows me to vary the size of the dots according to the pressure applied. Another great option could be to grab a stock vector spray texture online somewhere, and place them around similar to what I did above.

There ya have it! Modify this to your liking, but hopefully this gives you a good start!