These are some of the Icons I made for Grofers App.
With the help of "Specials" Icon I will show you how a sad looking painting comes alive in Photoshop.
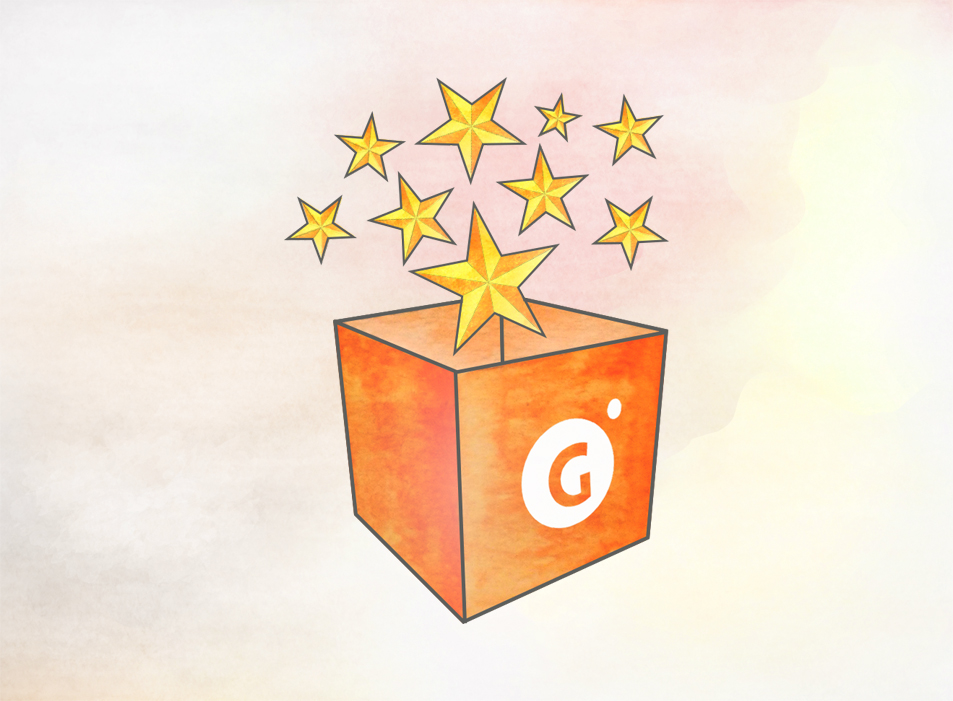
This is the Final Product.
Step 1 is to paint on Acrylic Sheet

Step 2 is make shape of your Icon In Photoshop.

Step 3 is Adjusting what you made on paper and Photoshop together.

Step 4 is playing with Hue, Saturation, Levels and Curves to make it look brighter and more attractive.

Step 5 using White & Black Brush(Hardness = 0%) to show where the light is coming from then set the opacity of the layers till it looks perfect.

This is how it finally looks.
Some more Icons which were made by following the same steps.
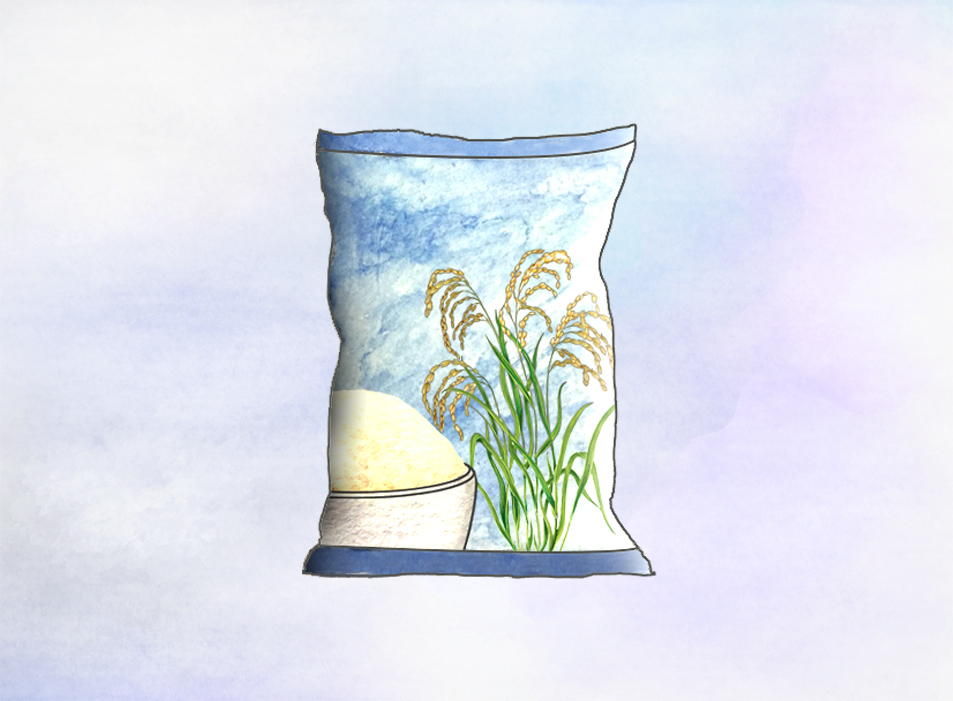
Grocery & Staple

Toy & Board Games

Other-Chocopie
Organic: Processed Food
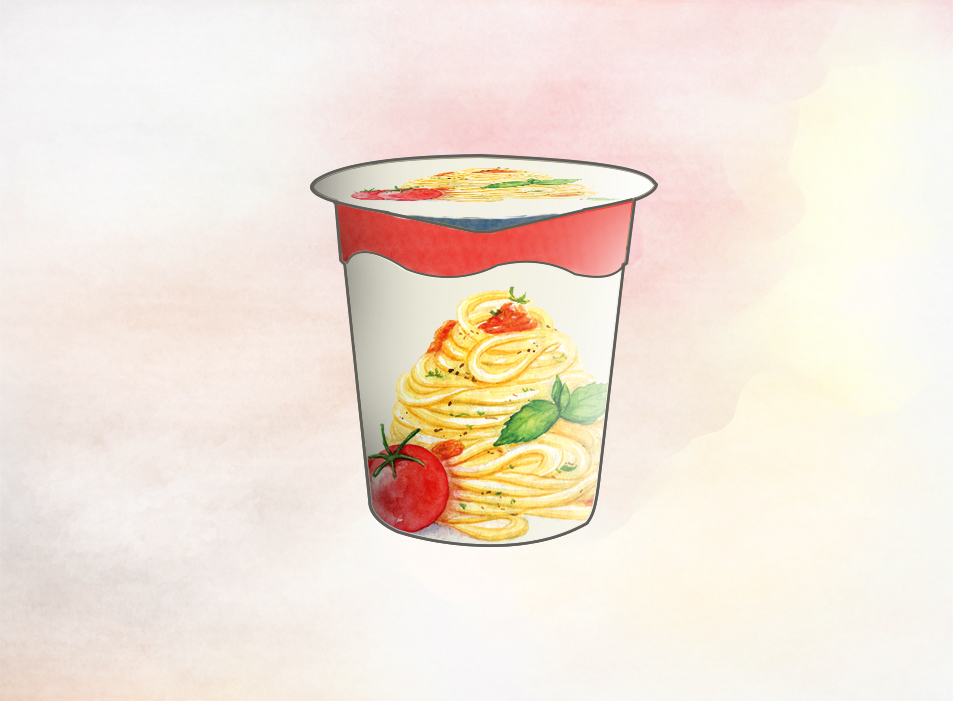
Processed Food
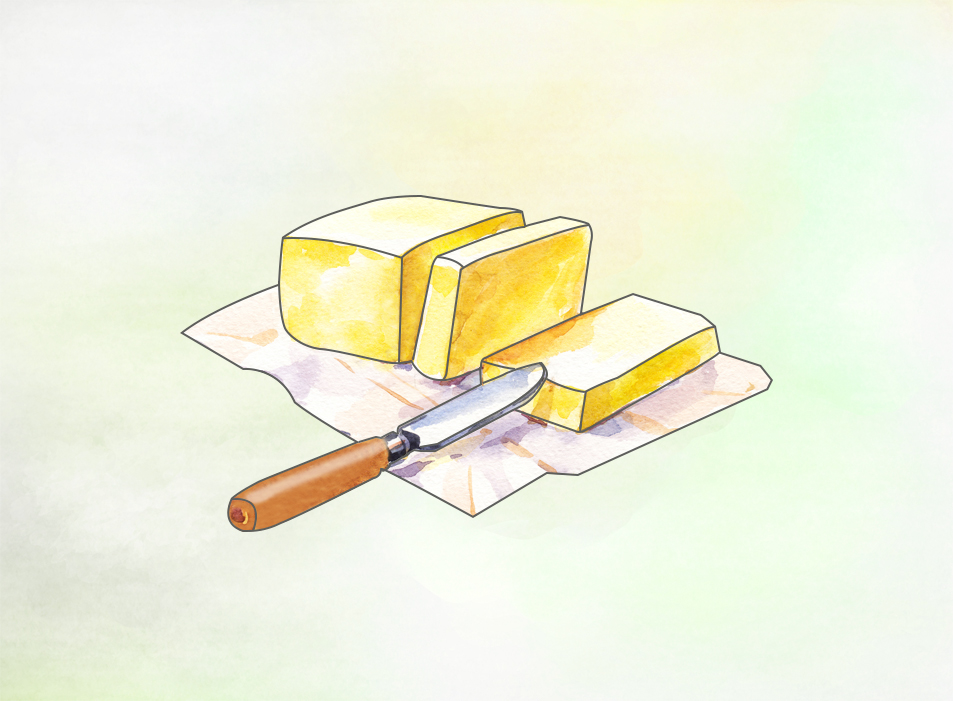
Breakfast & Dairy
Sauces & Dressings

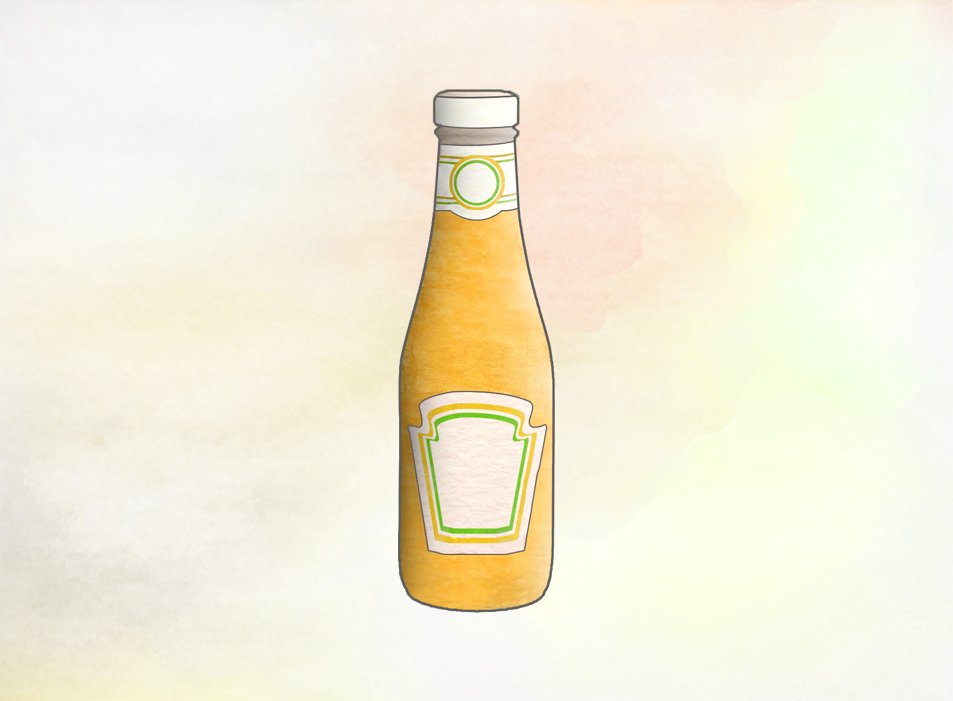
Juice
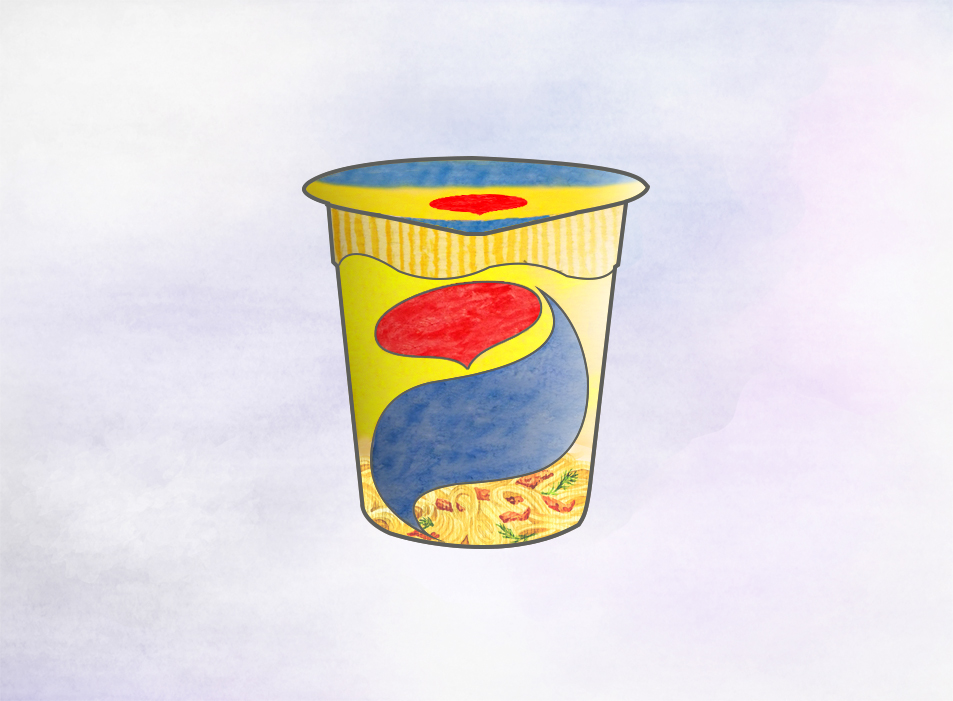
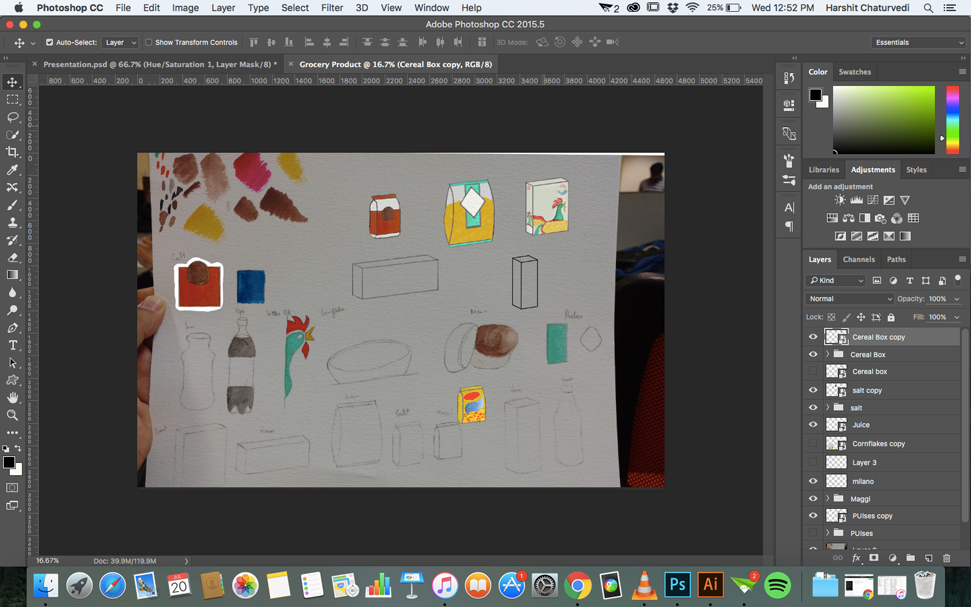
This is how an unfinished psd looks.
This is how icons on the app looks.

Thank you for staying with me till the end.


