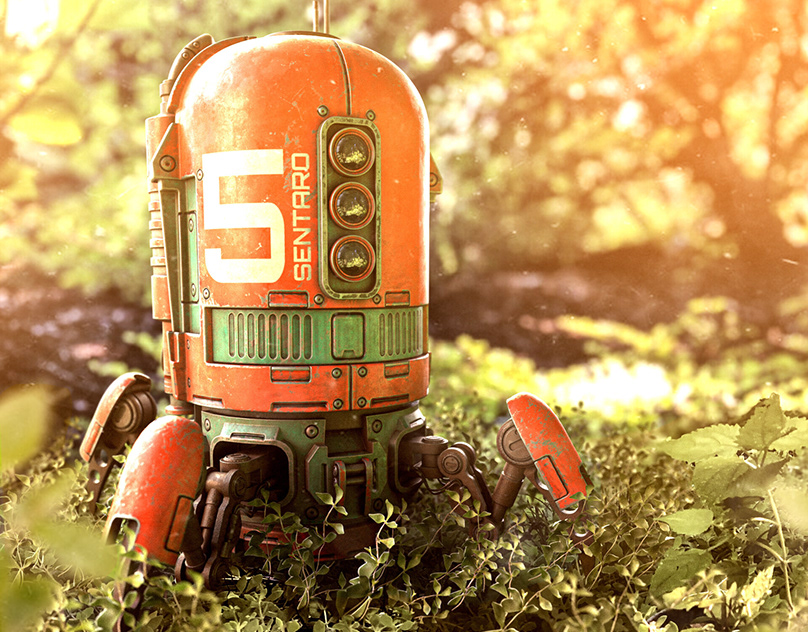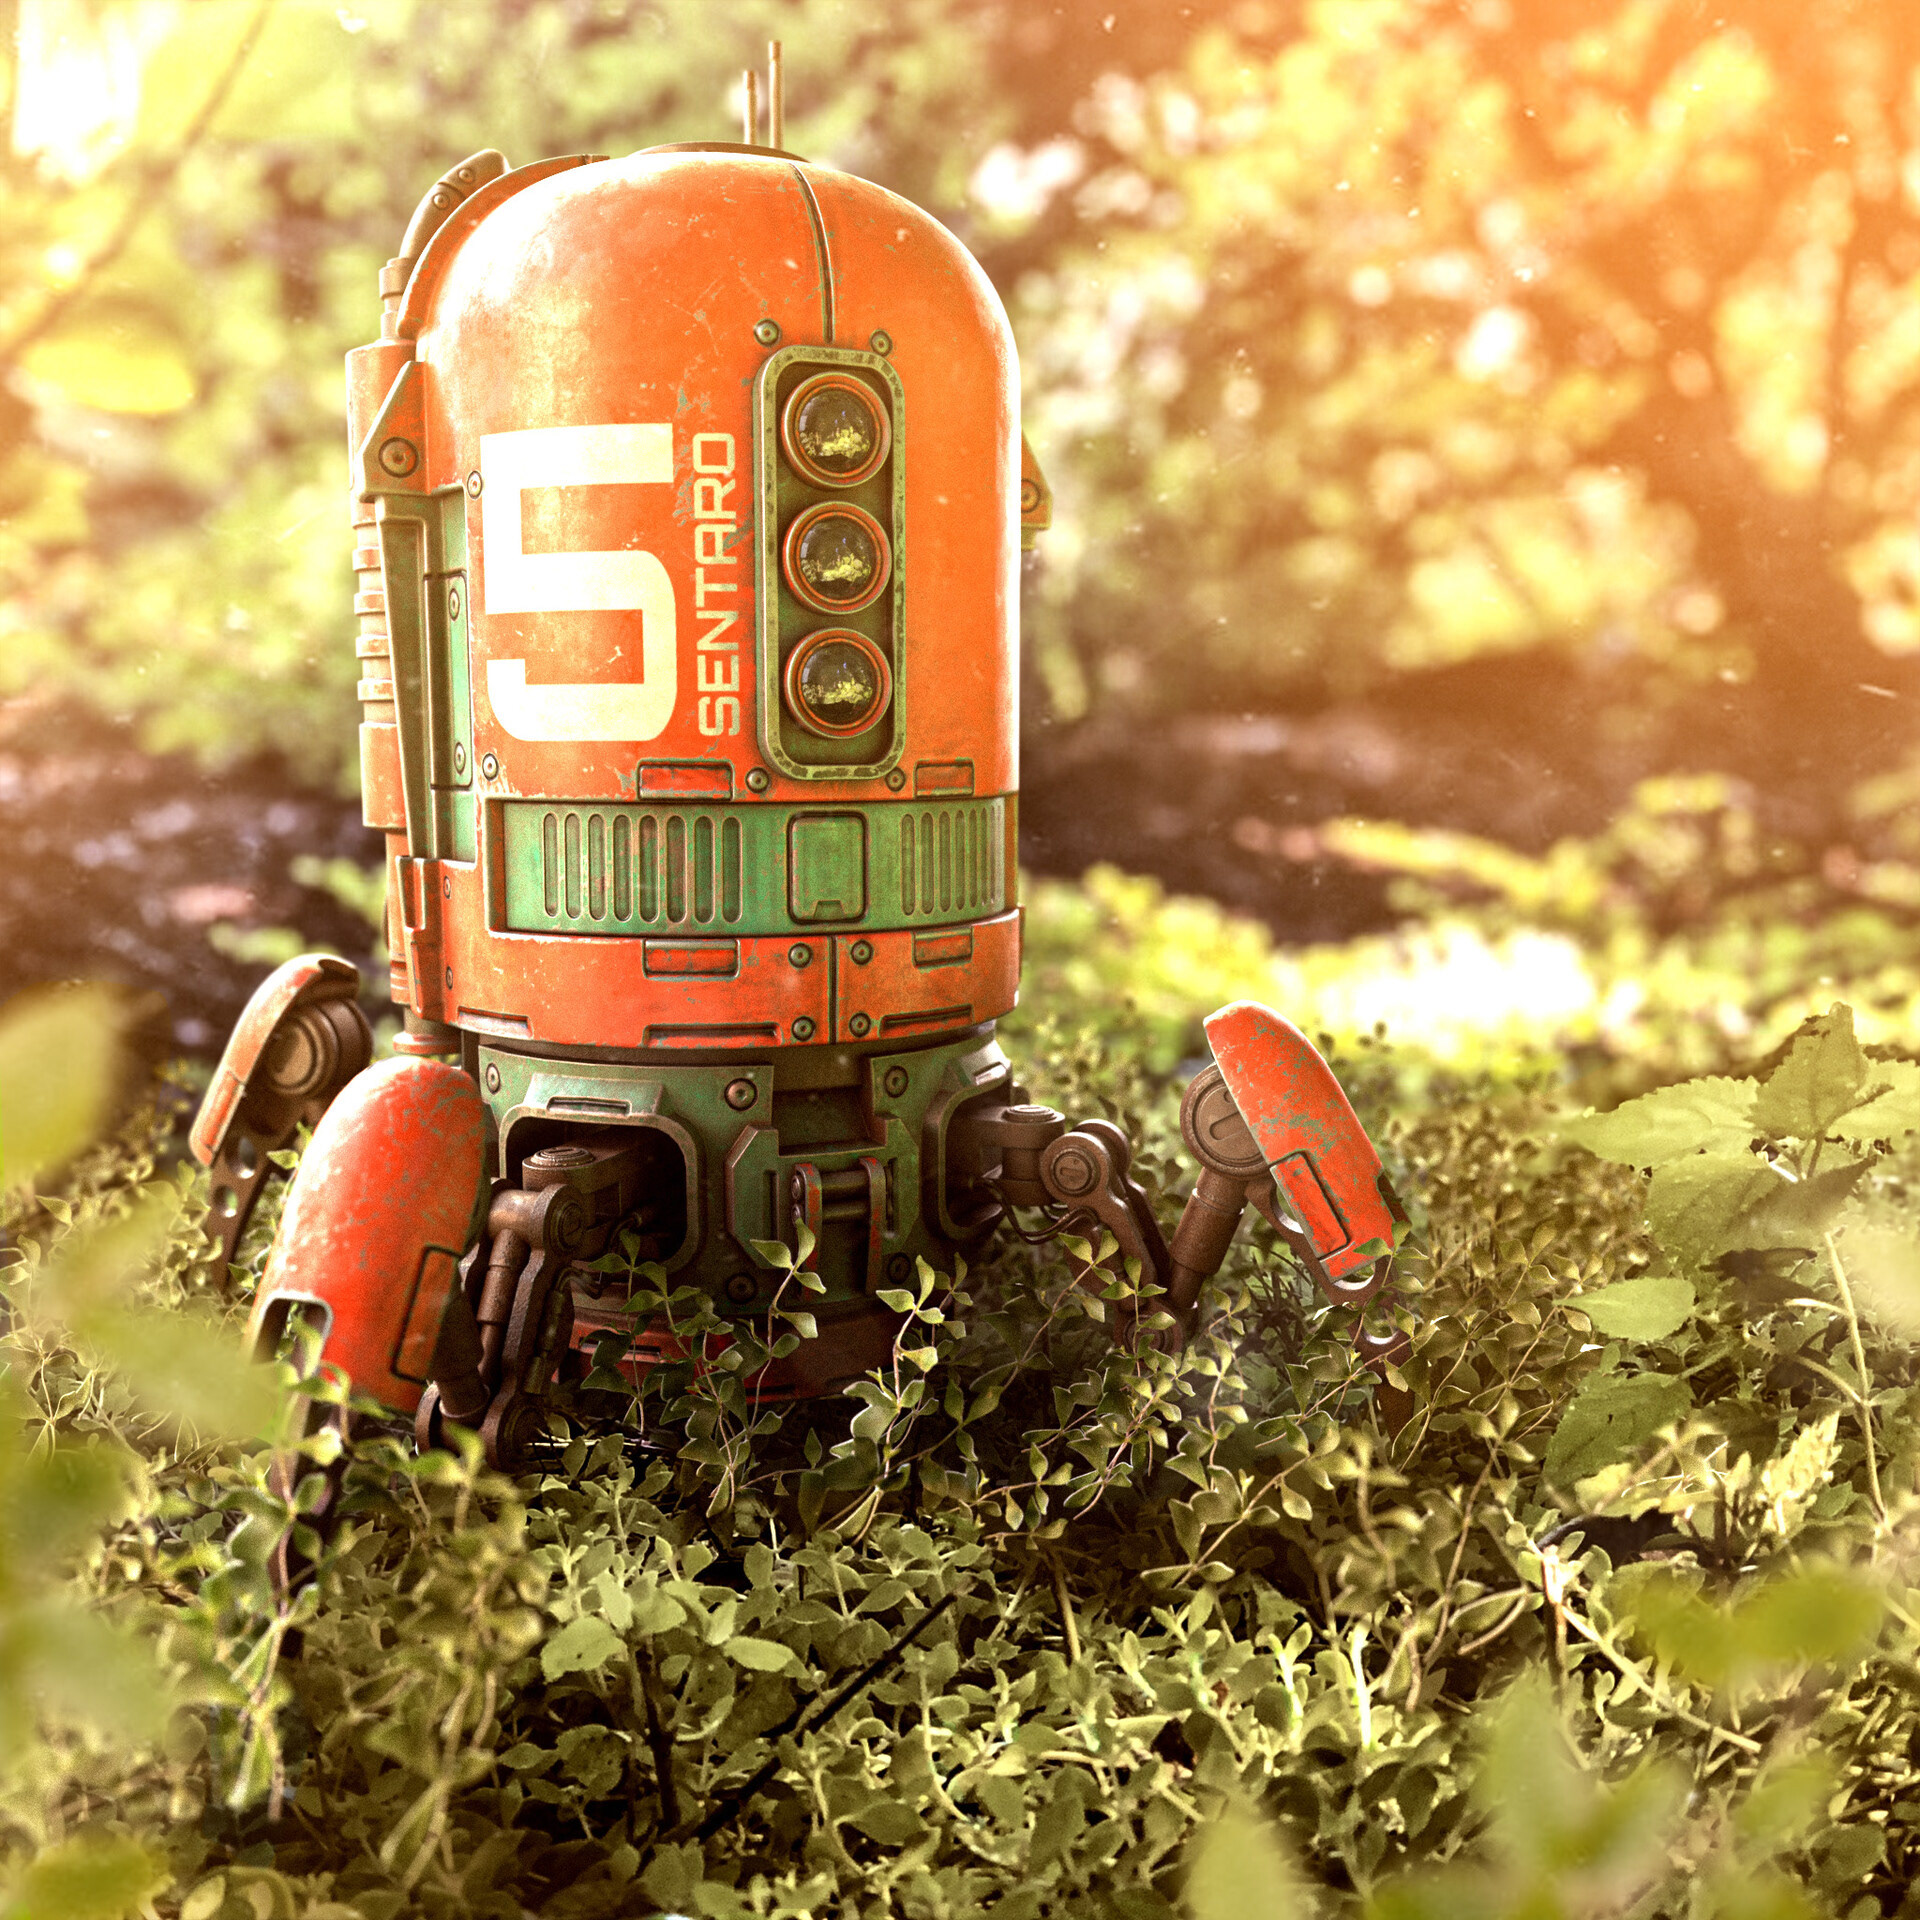

Rijksmuseum: The Beauty of Art in 3D
Adobe Dimension Tutorial - 1st part
I'be been always so grateful for those people who share their knowledge with others and create tutorials for others to learn from. Whenever I have to learn a new function or something new in the graphic industry I look it up on Youtube or Skillshare. So it's my turn to give back something to the community and share the making of one of my last big Adobe Dimension projects. It might be interesting to someone.
You can find the videos about this image creation on SKILLSHARE
I had the opportunity to create an interior for the Adobe blog using the amazingly detailed brand new 3D models from the Rijksmuseum collection and I'm pretty sure this is not the last time I used these assets. Now you can download 28 free models from Adobe Stock and create your own! I really recommend them! You can download them here.
My first post about this artwork is here.
This tutorial is an intermediate level Adobe Dimension tutorial, it requires some Photoshop knowledge as well.
Follow the steps and see how I created this image for an article on the Adobe Blog.
You can read the article here.
(The gifs might load a bit slower.)
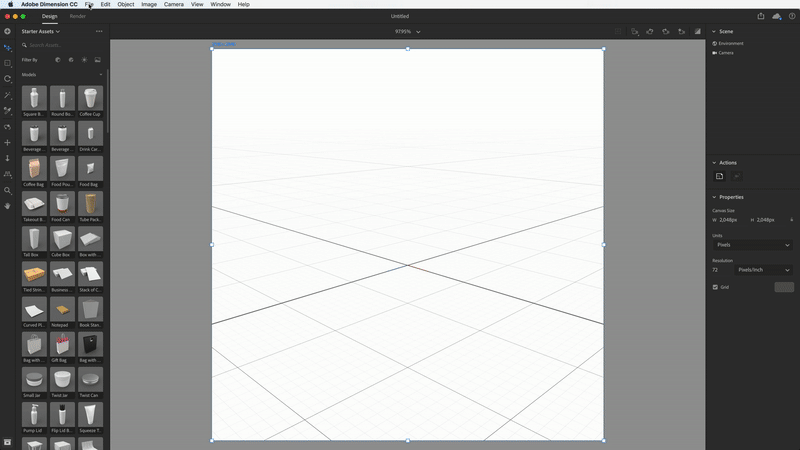
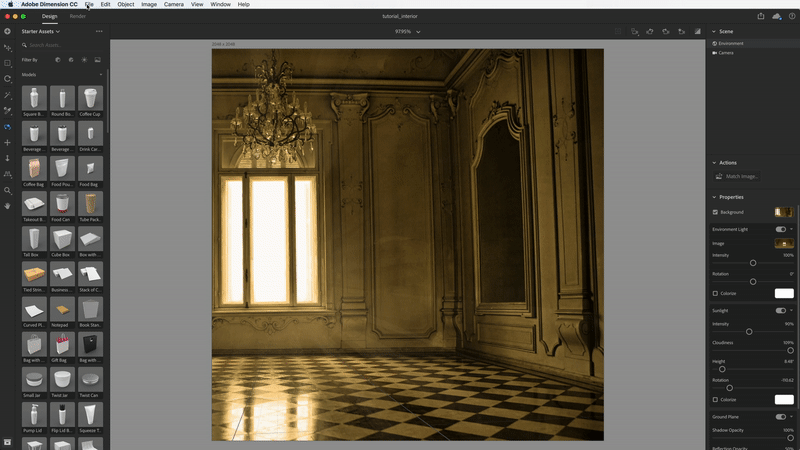
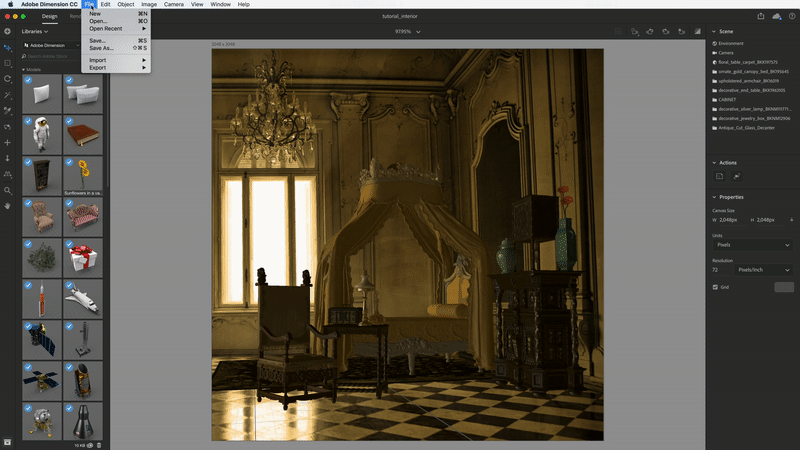
01
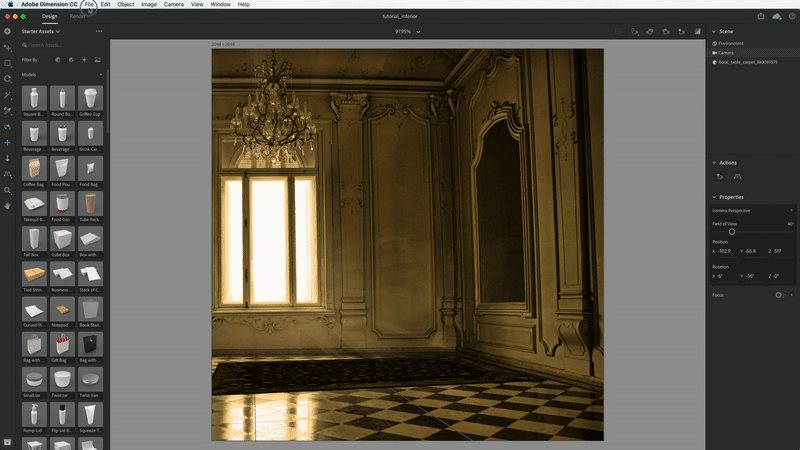
I Imported the background image to the scene.
Matched image size, perspective, and created environment light from the image.
02
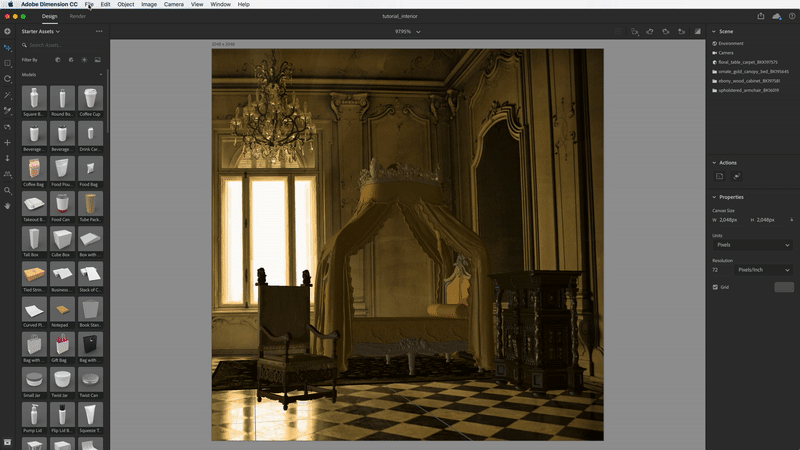
I placed the carpet and corrected the perspective manually. A little randomness can’t hurt, it makes the scene a bit more real if the things are placed a bit randomly.
03
Imported the gold canopy bed into the scene. Placed it on the carpet and rotated it. Scaled it so it’s longer.
04
Imported and placed the wooden cabinet next to the bed, scaled and rotated it. I used the bed as reference point to determine the right size and placement.

05
Imported and place the chair next to the bed, scaled and rotated it. It helps to sense the 3D space better if things are in front of each other so I place the chair to be in front of the window and the bed as well.

06
Imported and placed the table next to the chair, scaled and rotated it. It’s a smaller table so the armchair is my reference point to scale it to the right size.
07
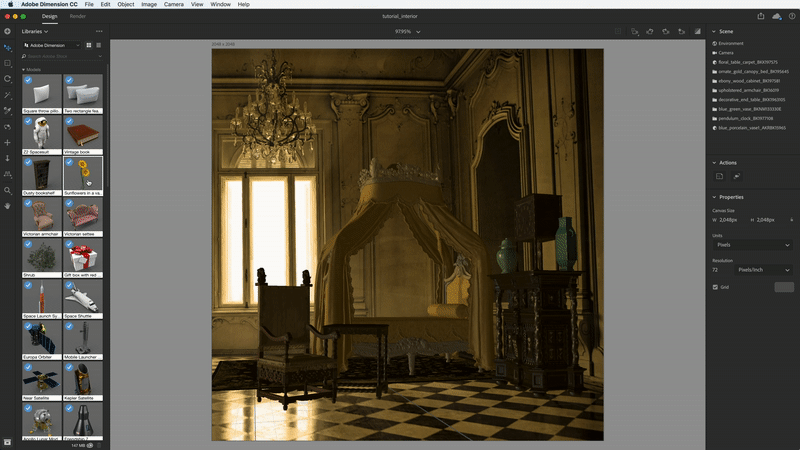
Imported and placed the objects on the top of the wooden cabinet. First I imported the Blue green vase, scaled and placed it. The cabinet is helping to find the best place for the vase. I first move it on the floor to find the left corner of the cabinet and than I move it upwards. This way I always find in the xyz axis in the space. Sometimes it’s difficult to orientate ourselves in the 3D space but when I use other objects as reference it helps a lot.
I imported the Pendulum clock into the scene. I also use the cabinet as reference to scale and place it at the right place. It’s better to check the objects from closer so I saved the camera position, than turned the whole scene and zoomed to the top of the cabinet to find the best size and placement for the clock. After I finished I clicked on the saved camera position to go back to the original position.
I imported the Blue porcelain vase, scaled and placed it on the right side of the Pendulum clock. I used the cabinet for reference. Turn the vase to the angle where the light reflections are visible nicely.

08
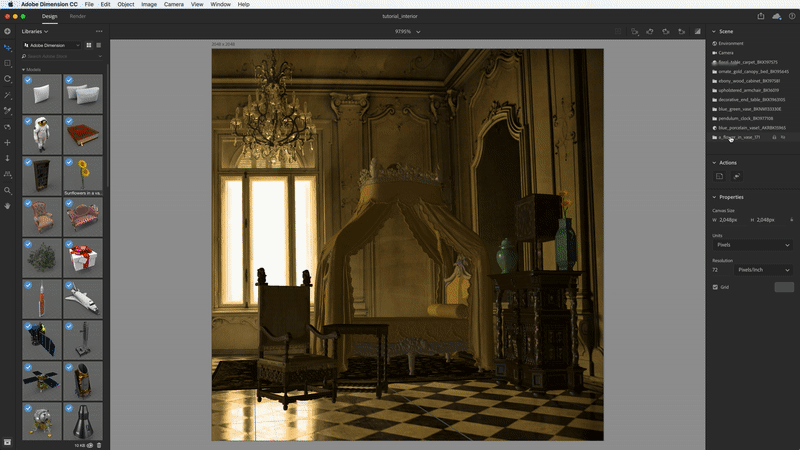
Imported the flower into the scene, deleted the original glass vase and place the flowers into the vase. I use the saved camera position again to place the flower right in the middle of the vase. In this view it’s always possible to tweak everything a little in the process. Grouped the objects so later they can be moved together. Don't forget to save the camera position so you can change angles and get back to the original position in one click.
09
Changed the color of the flower in Photoshop to a pale red color using the “Replace color” tool. When saved the psb in Photoshop, it overwrites the color in Dimension.
10
Imported and placed the objects onto the table. First the silver lamp which is the middle object and can be used as reference point for other objects.
Imported and placed the Jewelry box. Scaled it to the right size than check the objects from closer and from a different angle so they are not overlapping.
To make the scene more living, I placed two glass object in the scene. Imported and placed the glass decanter into the scene, on the table. Scaled it to the right size than check it from closer that they are not overlapping.
Imported, scaled and placed the champagne glass into the scene. Grouped the objects so later they can be moved together.
The tutorial continues here