


THE MATCH
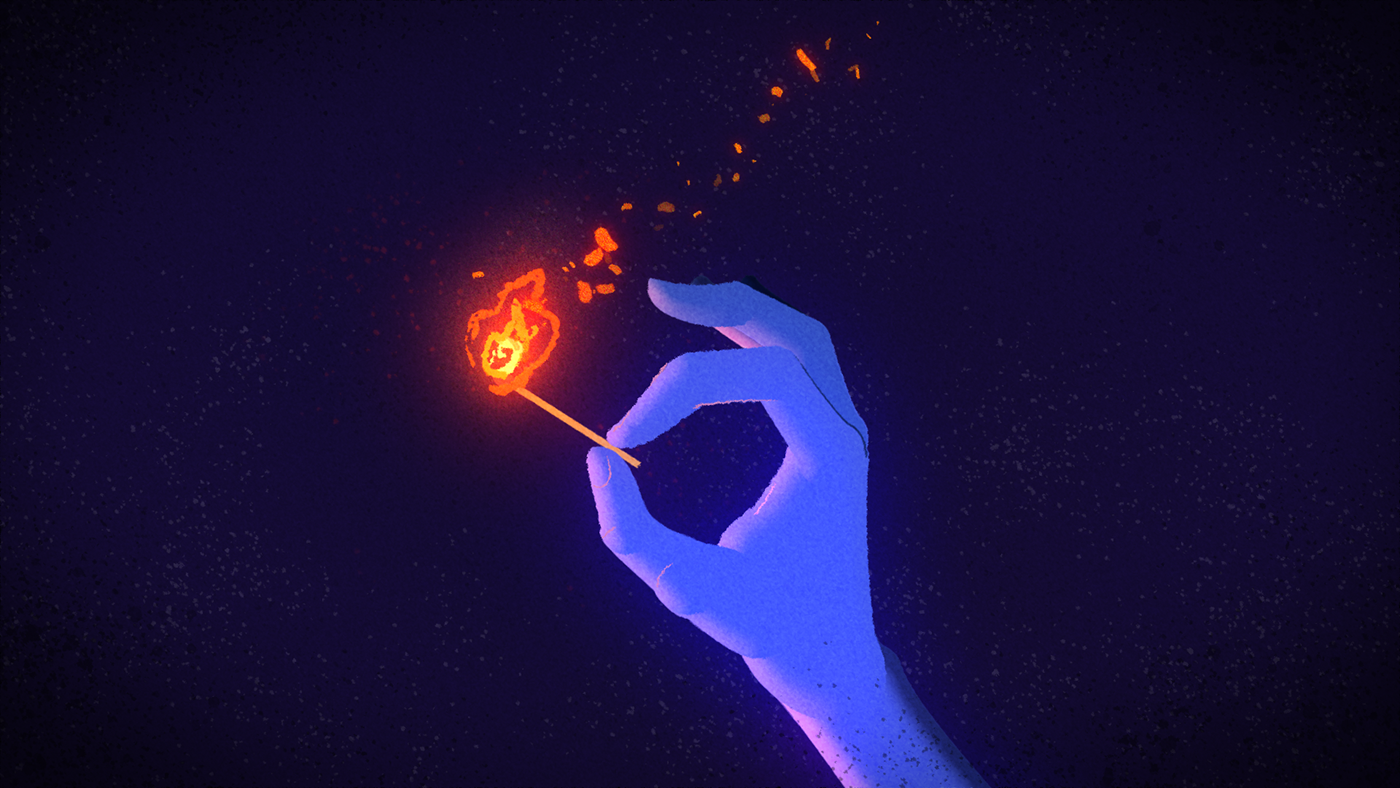
The Final product
Some weekend I just felt like making a short animation just for the kick of it. I had this hand in vector that had been lying around in some lost folder, and there was a candle next to the computer, so I just thought I'd animate a match being lit!
Quick walkthrough the compositing
After 5 or 6 hours, I finished the piece, and started realizing how heavily I was relying on effects. I love animating, but I just can't help but to add a ton of cherries on my cakes.
Detail of all the layers

A bit of playing around with the Layers Styles of AE to have the hand being lit from the left.

I animated this flame in a separate comp, looping a few different hand-drawn frames, with a Glow and Turbulent Displace on it. I also duplicated the flame, blurred the hell out of it and gave it a lot of Noise in Screen mode to have it a bit brighter.

The sparks were made with Trapcode Particular. I've drawn a few differents shapes of sparks, animated them inside of their own Comp, then used those Comps as Sprites input for Particular.
The "explosion" is made with 3 sets of particles, and the continuous trail is yet a fourth Particular.

To design my Glow, I work in 32-bits just like Andrew Kramer taught us. Meaning I use very small brightness values, but I use 2 or 3 times the effect, increasing the size of it and fixing its threshold to make sure that every layer of Glow picks up the right values.

Then I added the background, which I made in Photoshop with Kyle's splatter brushes. The brighter layer of dirt is duplicated and tinted orange, then I gave it a matte (parented to the tip of the match) so it would only be lit orange around the flame.
Vignetting is a classic, even more useful to enhance the impression of brightness for this piece. I also added some grunge in the corners (again with Kyle's brushes).
Another thing I love doing, in order to approach a more filmic/realistic look, is adding a Camera Grain in Overlay, and contrast it.
And a final personal touch is that instead of using Turbulent Displace or Roughen Edges to distort the edges, is using Displacement Map, using the Camera Grain layer as input. So far, I've never seen anyone else do it, but it's probably because Roughen Edges does what most people want.

Aaaaand the so-far unavoidable Posterize Time, set to 12fps, because I'm really so jealous of people who have the patience to animate in a traditional way.
Keep being lit, guys!
Thanks for watching. I hope I taught you at least one little thing.


