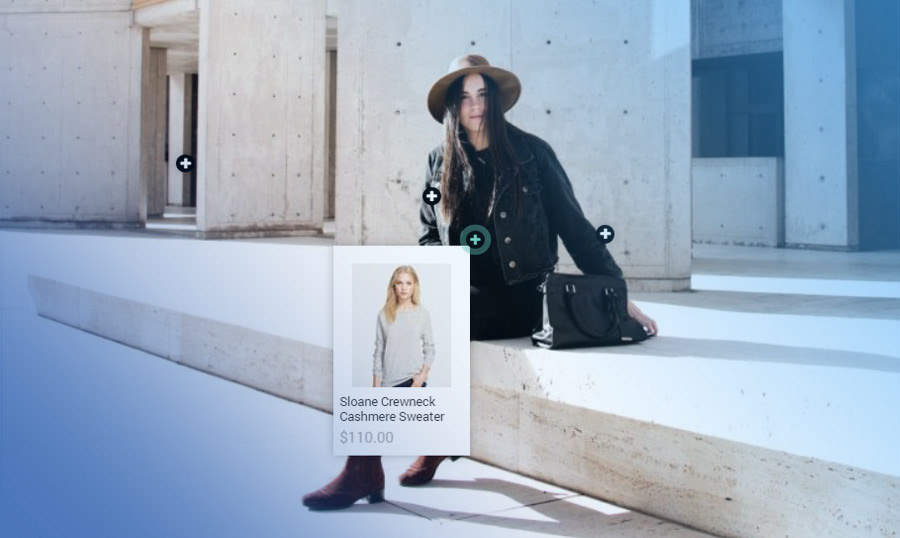
If you open the SuitUp demo you will see that the lookbook is placed on its homepage.

So when you hover any of these plusses you will find additional information about this item including image thumbnail, product name, and price.
Now let’s see how this thing works.
When you open the editor of the theme you will see the Shopify lookbook section in the sections list.

Click it to edit.

There you will see three buttons and three image alignment options. Everything is pretty straightforward:
Change - you can replace an existing image with another one from the gallery.
Edit - you can add alt description to lookbook photographer image.
Remove - will remove your image.
The thing we’re after here is the Content of the lookbook.

On the template demo there are three products added to the lookbook, let’s add another one.
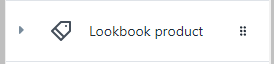
Click the Add lookbook product button.

The new item will appear on your list of products.
Click it.

As you can see there are just a few things that you need to change in order to add the hotspot to your lookbook section.
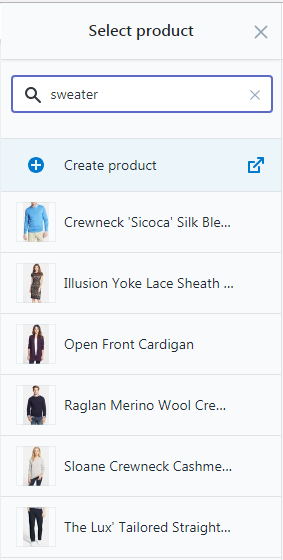
Let’s add a sweater, hit the button Select product and type sweater in the search field.
Here are the sweaters that we have.
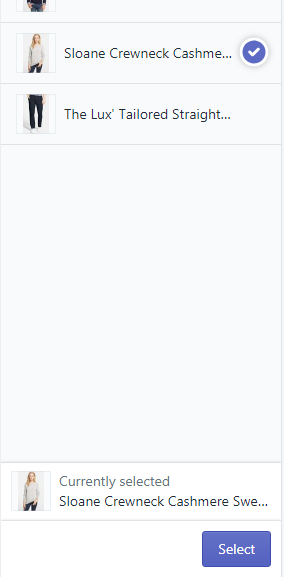
Select one and push the button Select.
Upon default, the hotspot’s position is the middle of an image, horizontal and vertical positions are 50%. By altering these values you can move the hotspot all around the image.

Now let’s put the dot on the girl’s left shoulder, we need to change those valued to 52% horizontal & 27% ventical, and here’s our dot:

No matter what type of goods you sell the photo lookbook section will be a perfect addition to your store especially if it’s a jewellery store, fashion store, or any other store.
More information:
Follow TM:
