
Step 1:
Coffee stirrer sticks. I've use some from Starbucks. But you can use any kind of wood you desire.

Step 2:
Stain the coffee stirrer sticks. By dipping them in indian ink solution or use some oil washs to achieve the stain desired.

Step 3:
Let the wood stain dry completely, otherwise you'll get the wood moist and not ready for the next layer of paint.
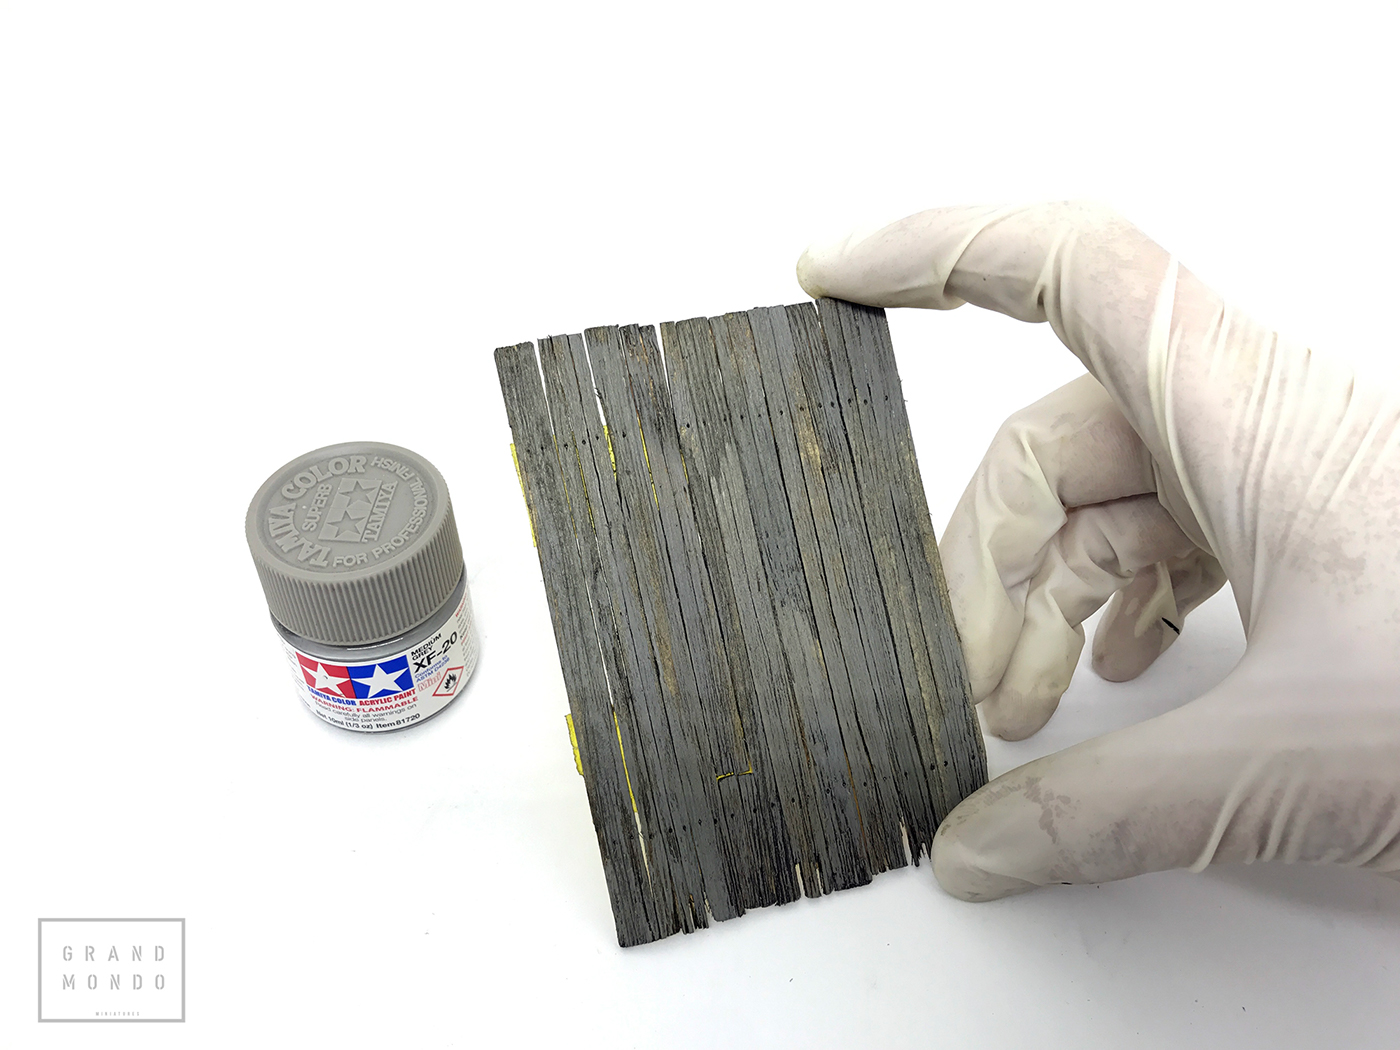
Step 4:
Apply a first thin coat of acrylic paint. In this case I use TAMIYA,Inc.Tamiya XF-20, but essentially any acrylics will do.

Step 5:
Gently give some scratches using a wire brush. You also can enforce the effect of the wood grains using this method in the early stages of the wood.

Step 6:
This how should look after some scratches with the wire brush.

Step 7:
Apply some hairspray to seal it off.

Step 8:
Give a thick second coat of lighter color using acrylics. I use here Tamiya XF-2.TAMIYA,Inc.

Step 9:
By using a masking tape I peel off the paint to give some crackles and peeled effect. To make this right you need to be quick while the painting is drying out.

Step 10:
Here how it should look after peeling.

Step 11:
Using a sponge I start to add the final layer of color also using acrylics but this time using Acrylicos Vallejo and the same process of peeling I make the blue patterns.

Step 12:
This is how should look after all colors applied.

Rusty washes are giving on the edges and metal parts.

The wood gate locker is a 0.2mm gauge wire
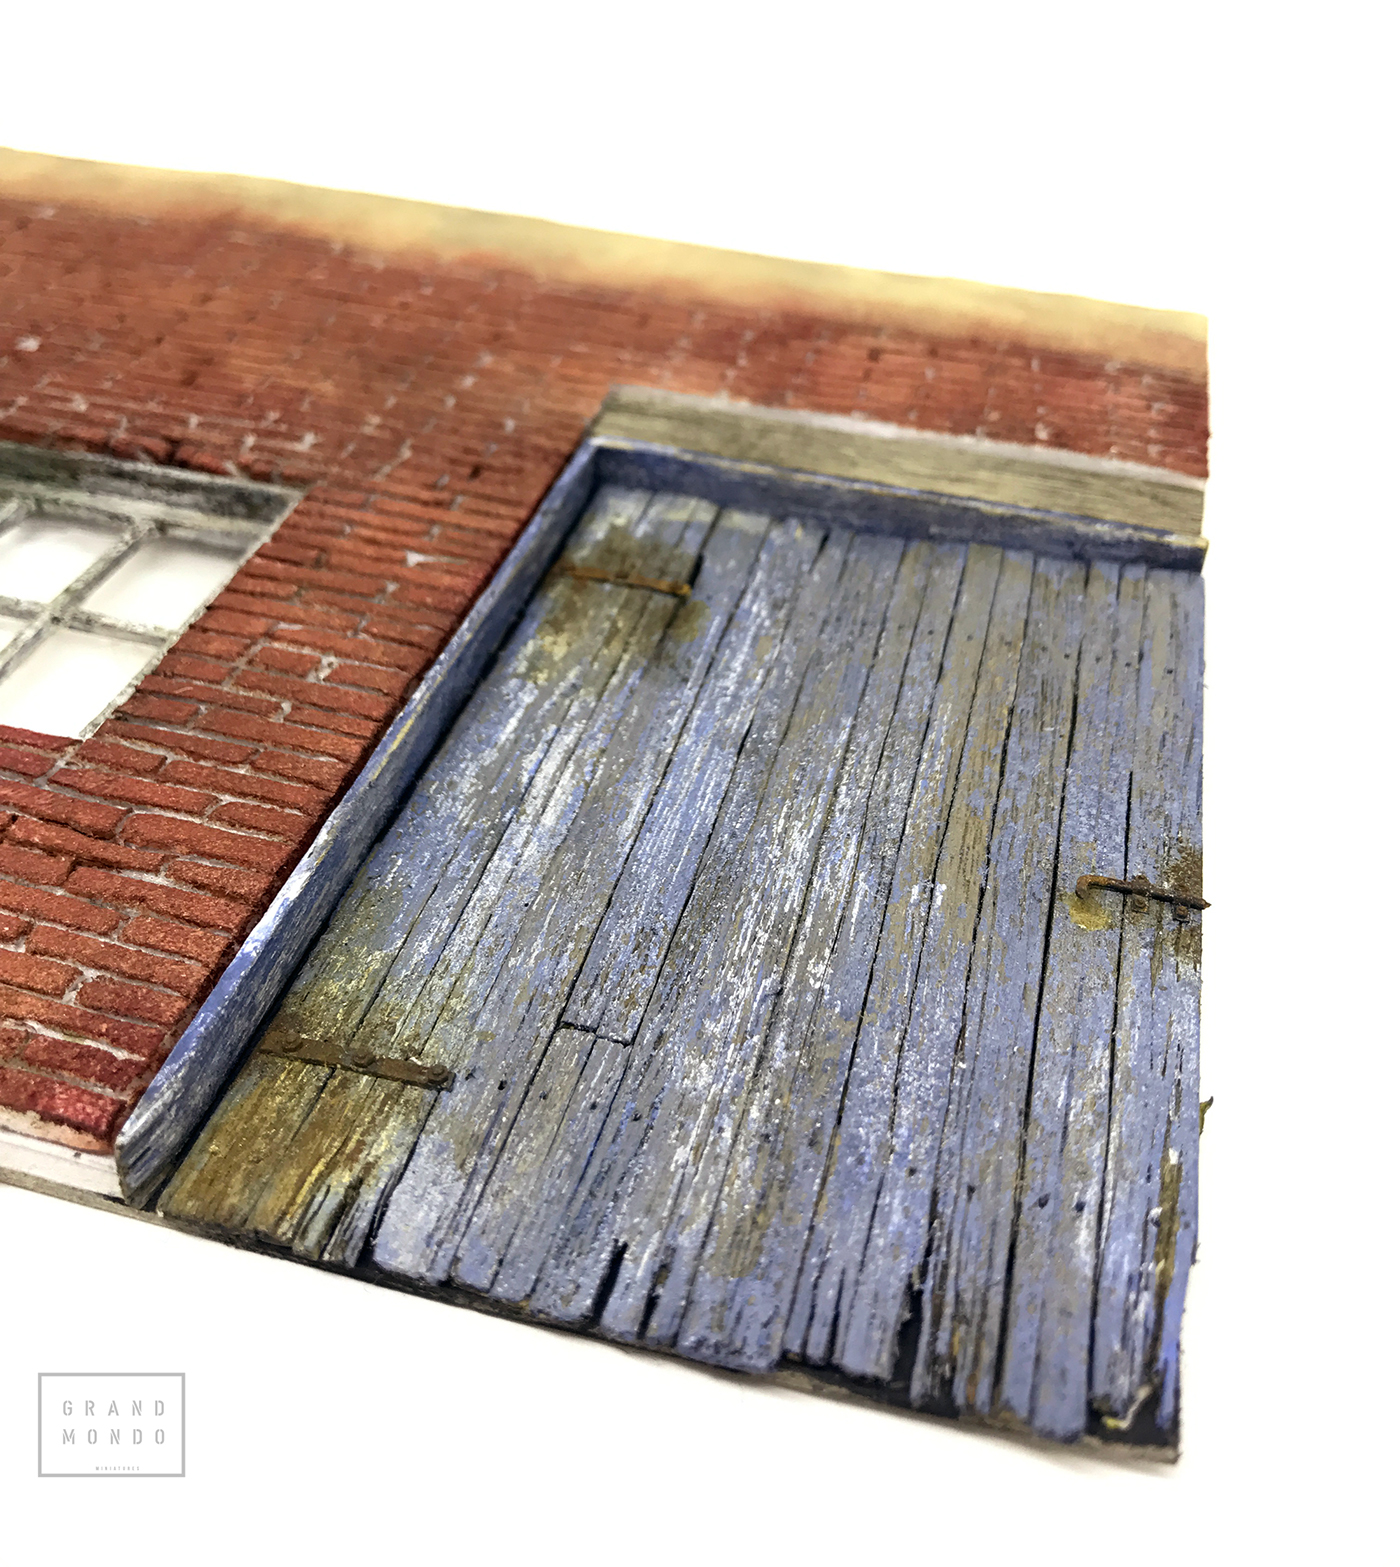
Distressed wood door!

Final assembly of the door with brick wall.

Vegetation and moss deposits are added.

Adding moss deposits.


