Sculpting 'The Hunt' figurine
This is a look at how I sculpted 'the Hunt' figurine using FIMO soft clay (it can also apply to using Super Sculpy). The figurine has a metal skeleton, which gets hot when you bake the figure. This means that the figure bakes from the inside as well as the outside, and as a result, doesn't have to be in the oven as long as the package recommends. I usually don't bake the figure longer than 7 minutes. It also means, that the oven doesn't have to be as hot as recommended on the packet. I usually don't have the oven hotter that 105°C.
Its a good idea to decide a scale for your figure. I chose to sculpt this figure 1/8 scale, and printed out a reference picture at a 1 to 1 scale to the sculpture.
The process I go through, is first I block out the figure. Bake it. When its hard, I carve out details, and maybe sand it. Then I add more clay and detail the area, and then bake it again. I tend to bake the figure allot, this is because if I build up detail which I am happy with, I don't want to risk accidentally putting my finger in the wrong place and destroying the detail. If the detailed are is really thin, then the figure doesn't have to be baked for more than 3 minutes.
Fimo Soft clay
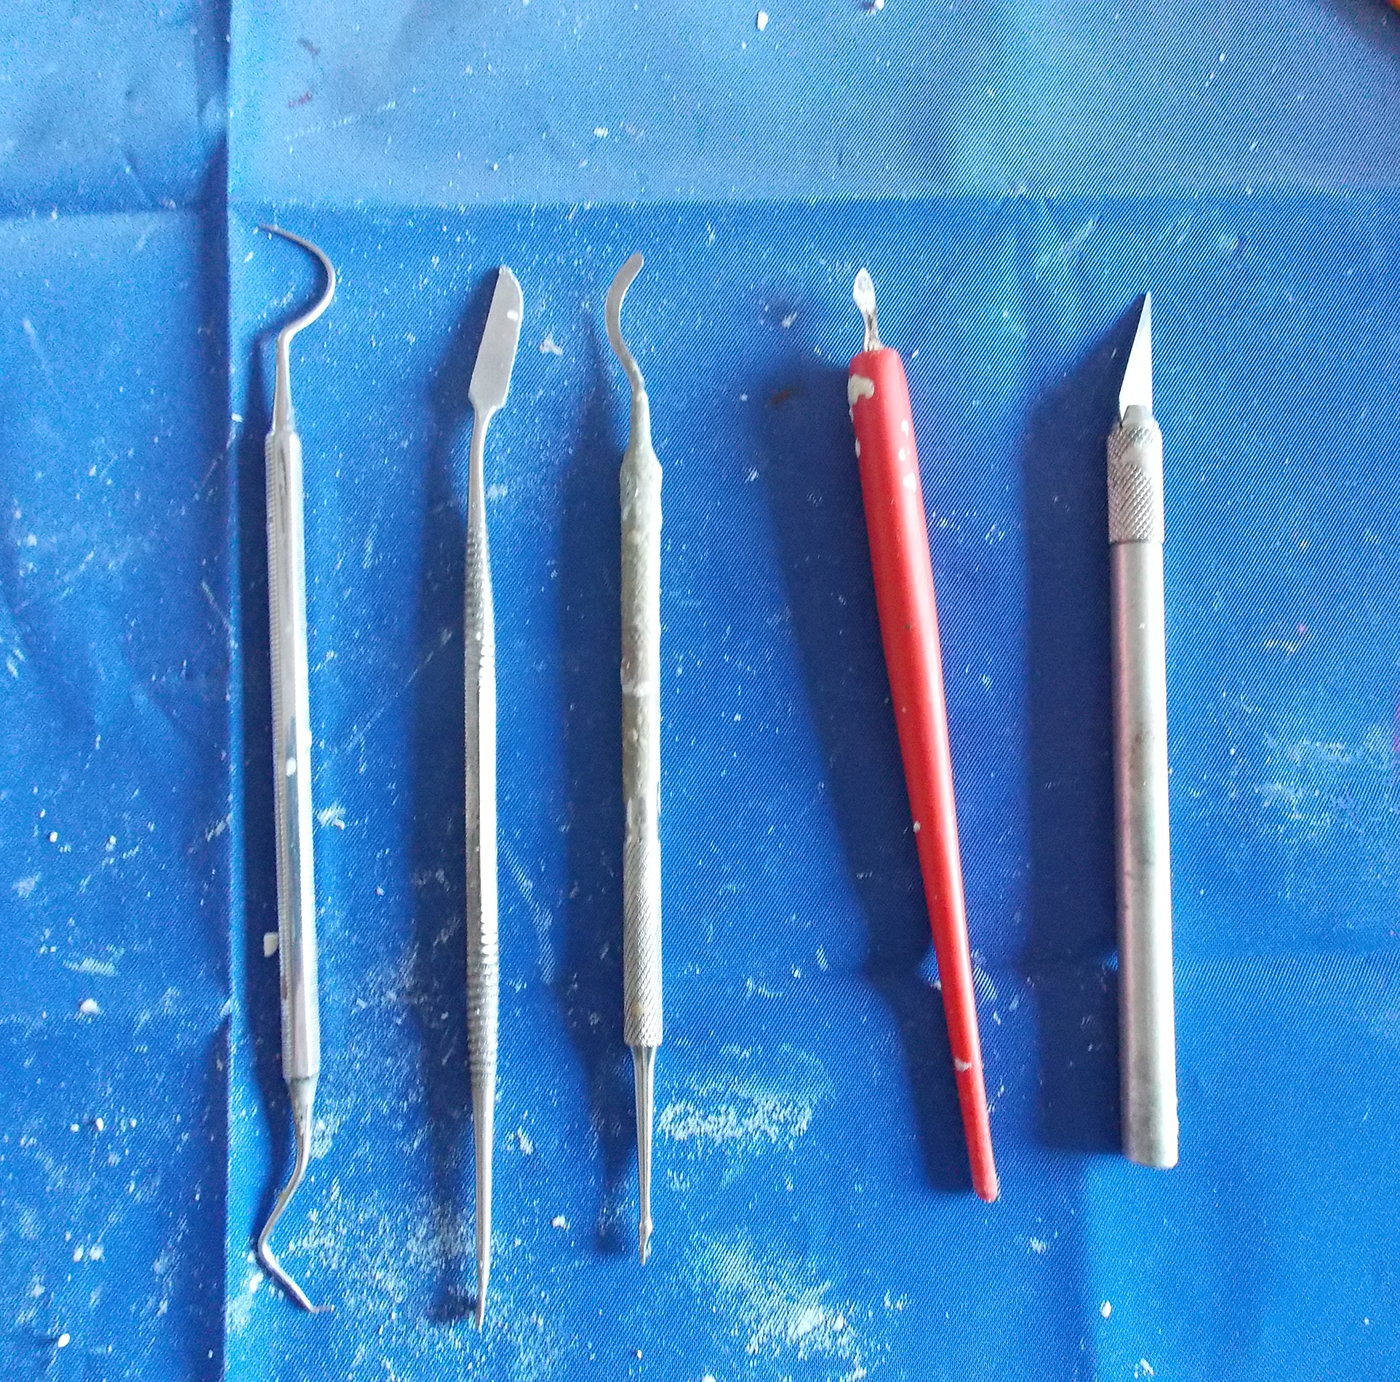
My sculpting tools. The red handle tool comes from one of those copper pictures covered in black paint, which you have to scrape off. I find its also a great sculpting tool
Sculpting the Horse
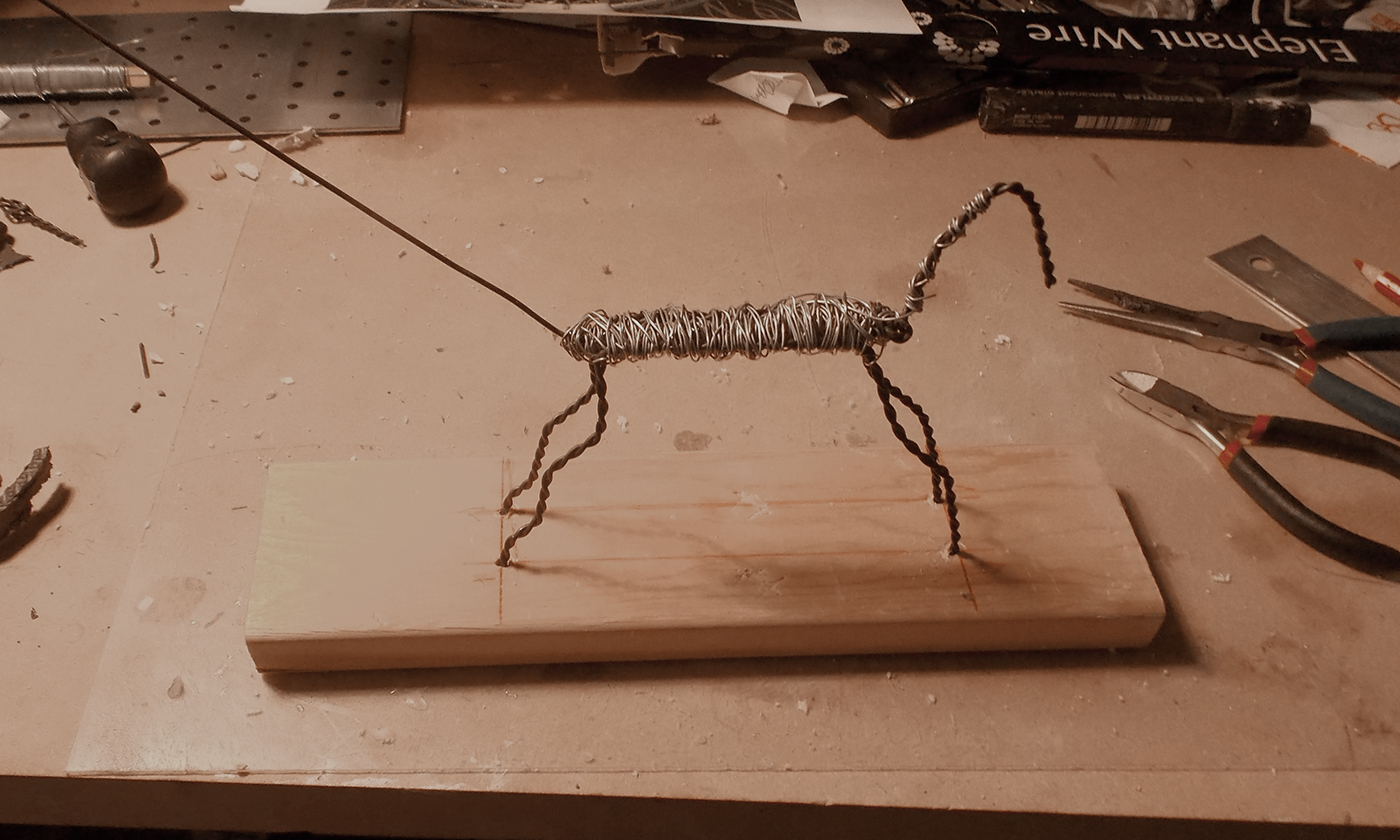
H01 The Horse skeleton. Its important to get the skeleton right at the beginning. The joints need to be strong. If a joint is too thin or flexible, then its easy for your sculpture to break at the joint. Even if you fix it, it will always be weak at the break point. Twisting the wire of the skeleton also gives the clay an easier surface to stick to.
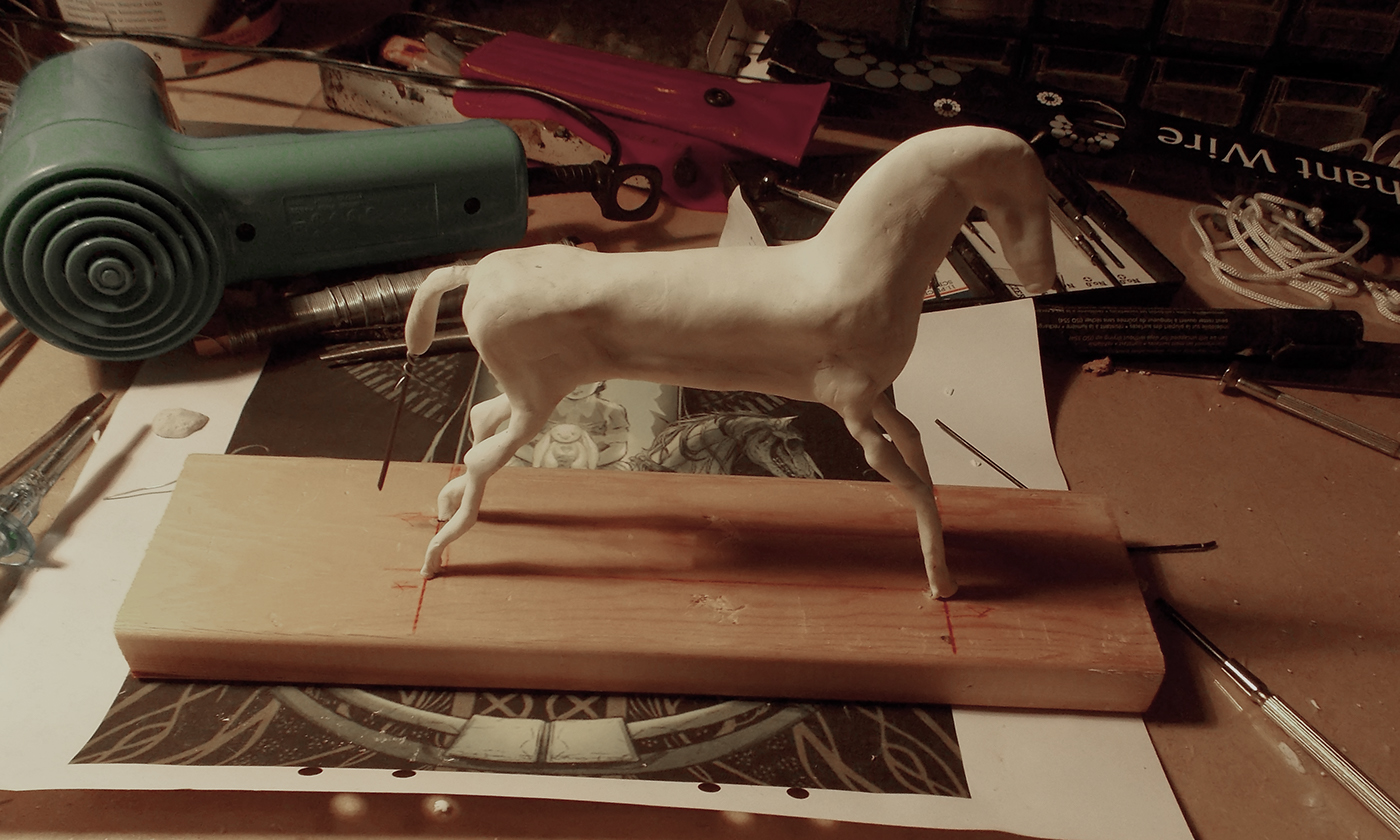
H02 I block out the bulk of the horse. I bake the figure at this point. Fimo sticks better to Fimo, than it does to the metal skeleton, So this will give me a better work surface.Baking it at this point also fixes all the points of the skeleton, so now I don't have to worry about bits moving as I work.
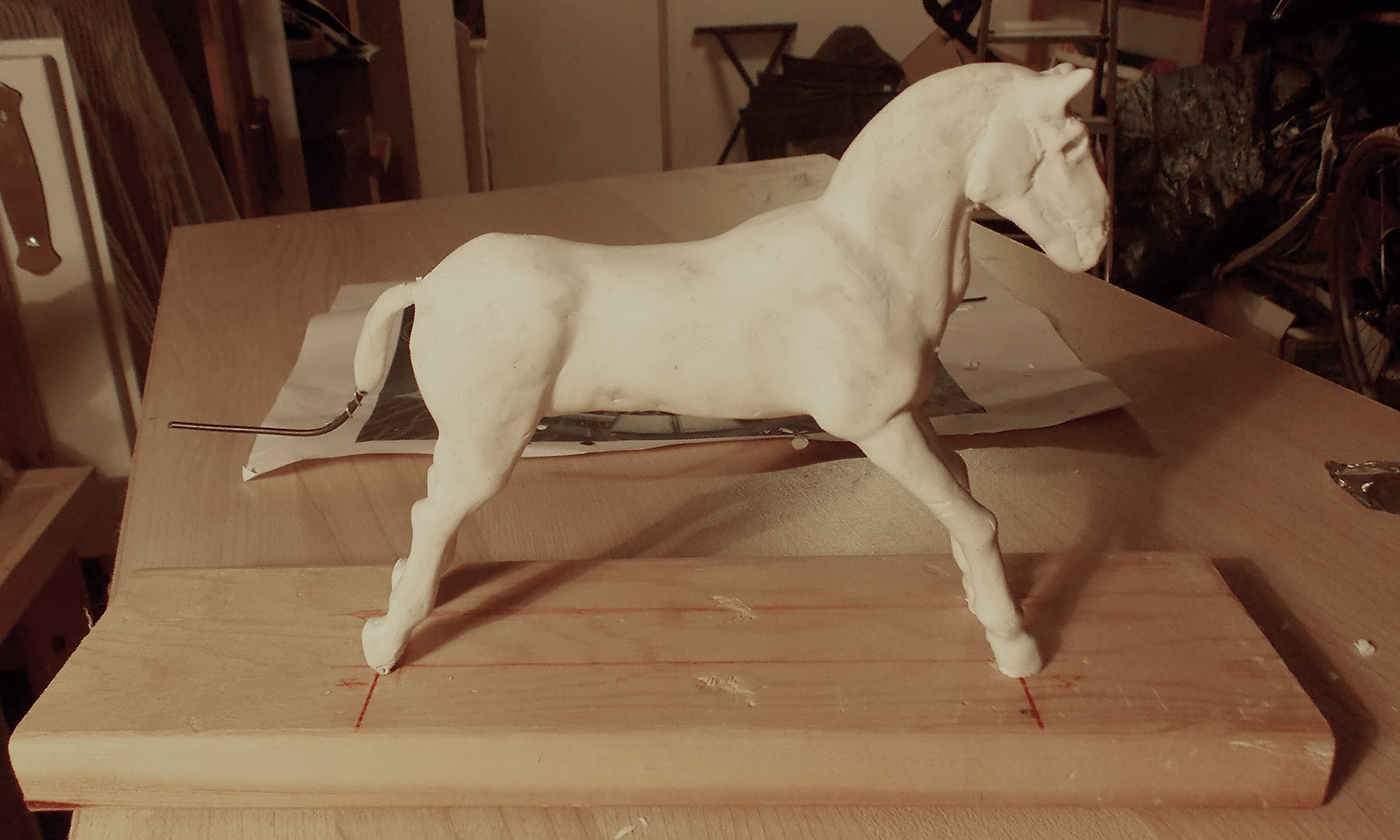
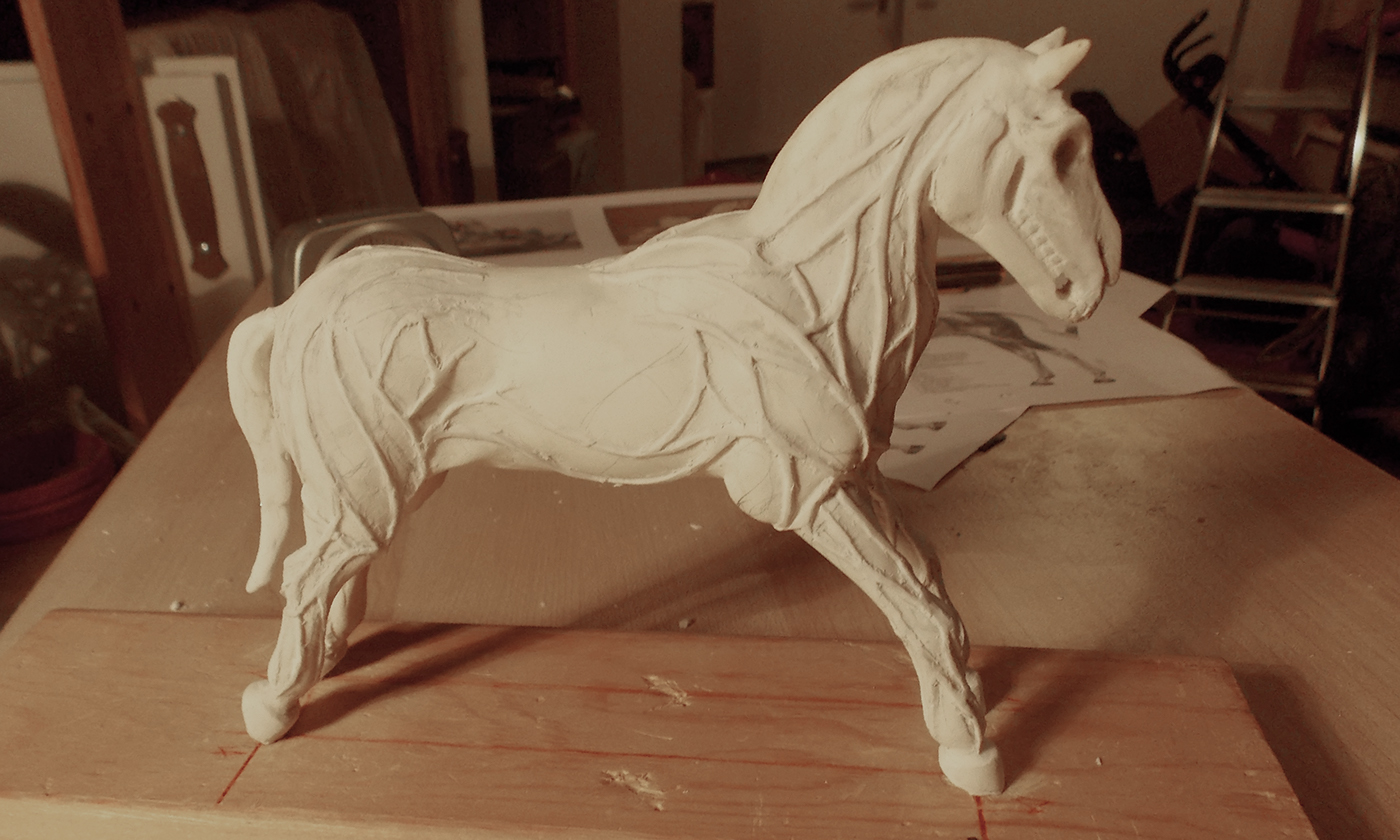
H03 I try and get the silhouette of the horse nailed down here. I put in as much detail as I can before baking the figure.
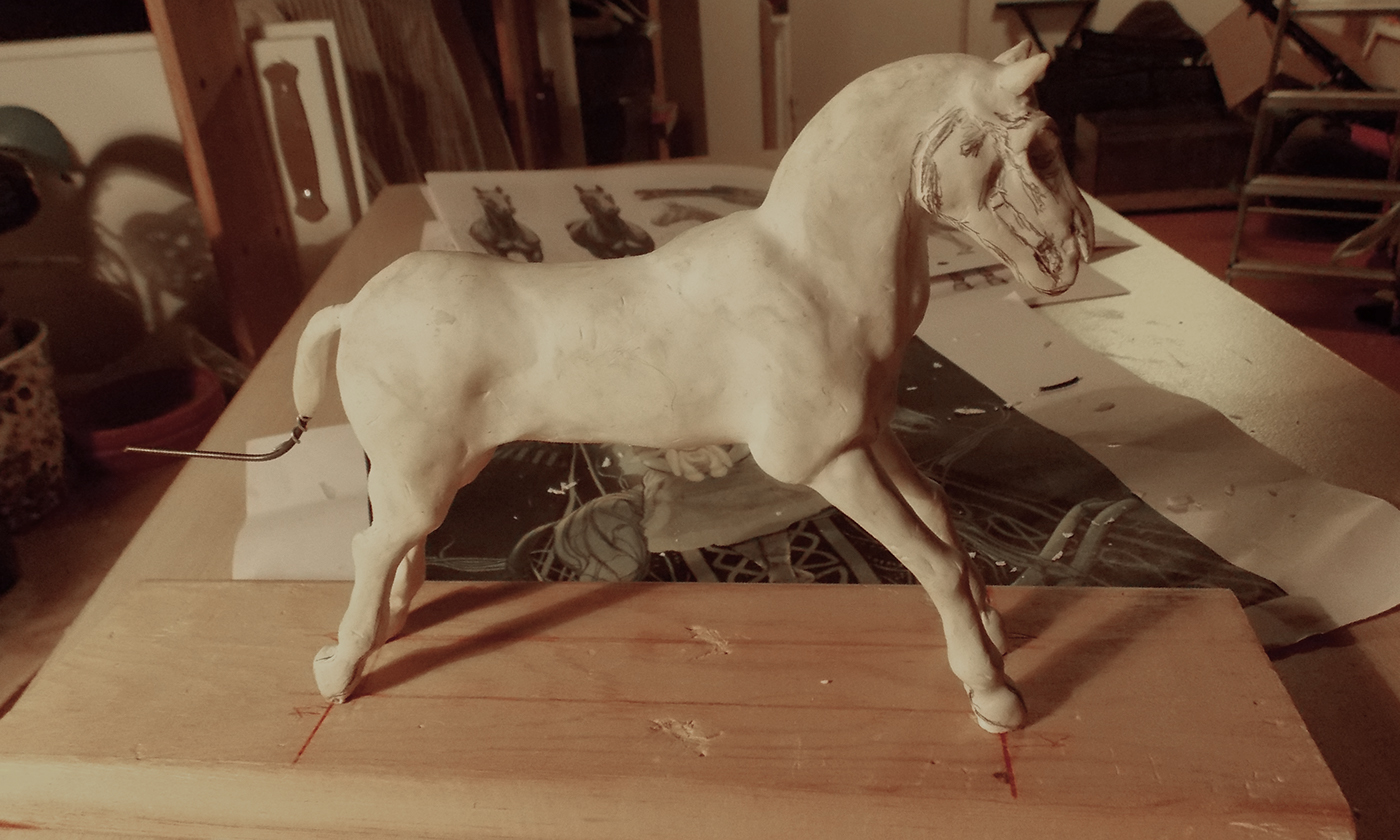
H04 I drew the horses skull with a pencil. Its very crude, but it gives me a guide to work with.
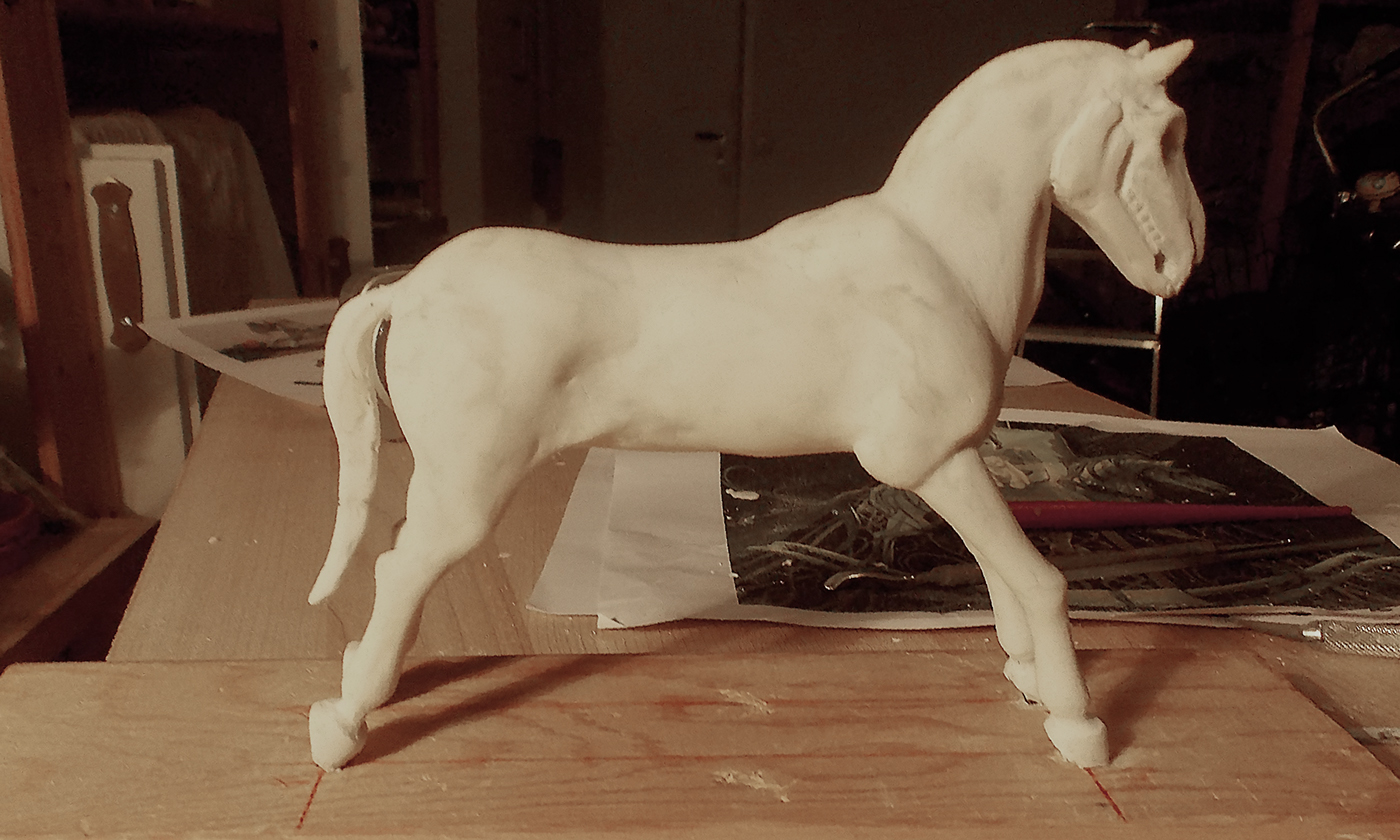
H05 I carve out the skull using the scalpel and the red handle tool. I also give it a light sanding.
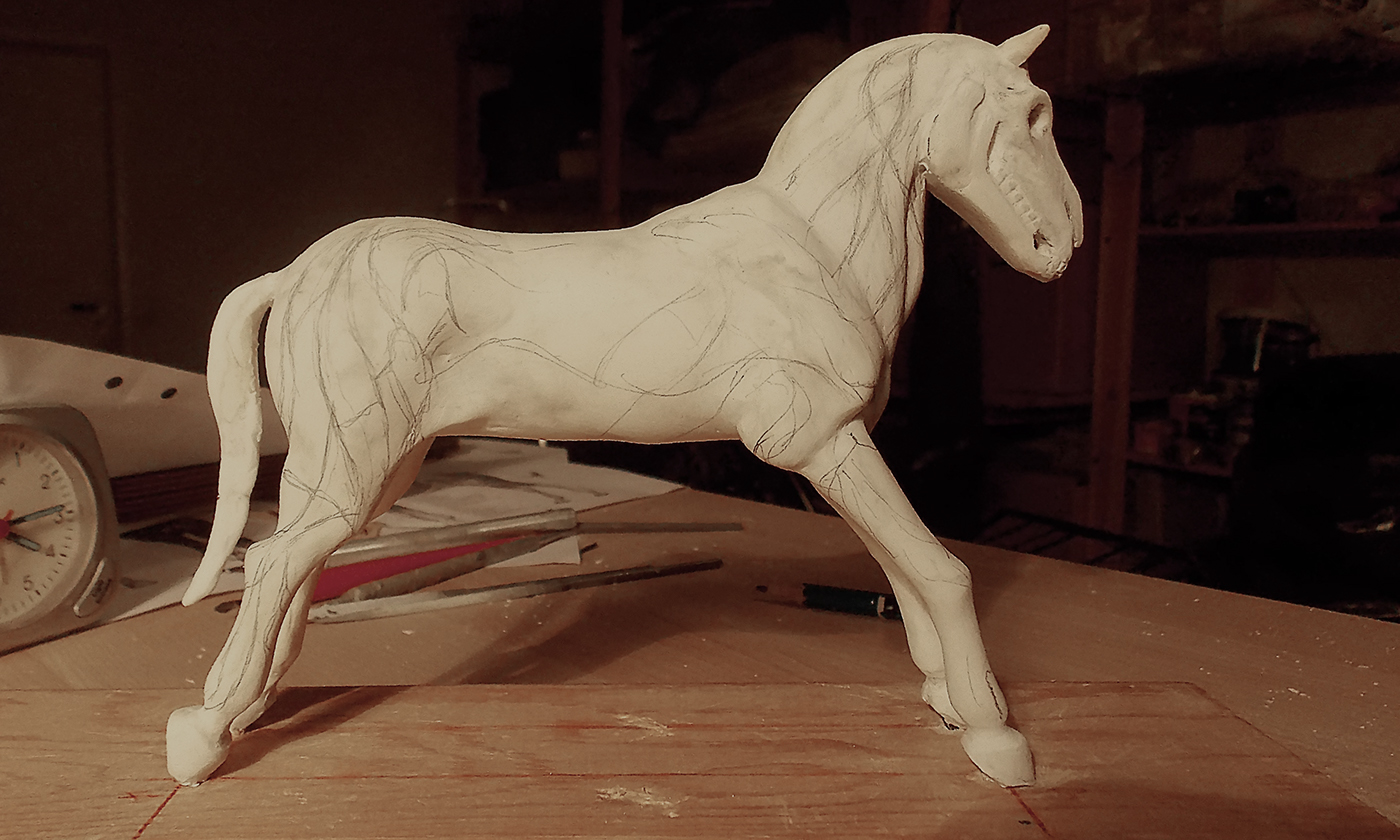
H06 I loosely draw the horses veins. These are a guide only. I also decided not to have the veins on the left side and the right side symmetrical.
H07 I added the veins with Fimo, then bake the figure
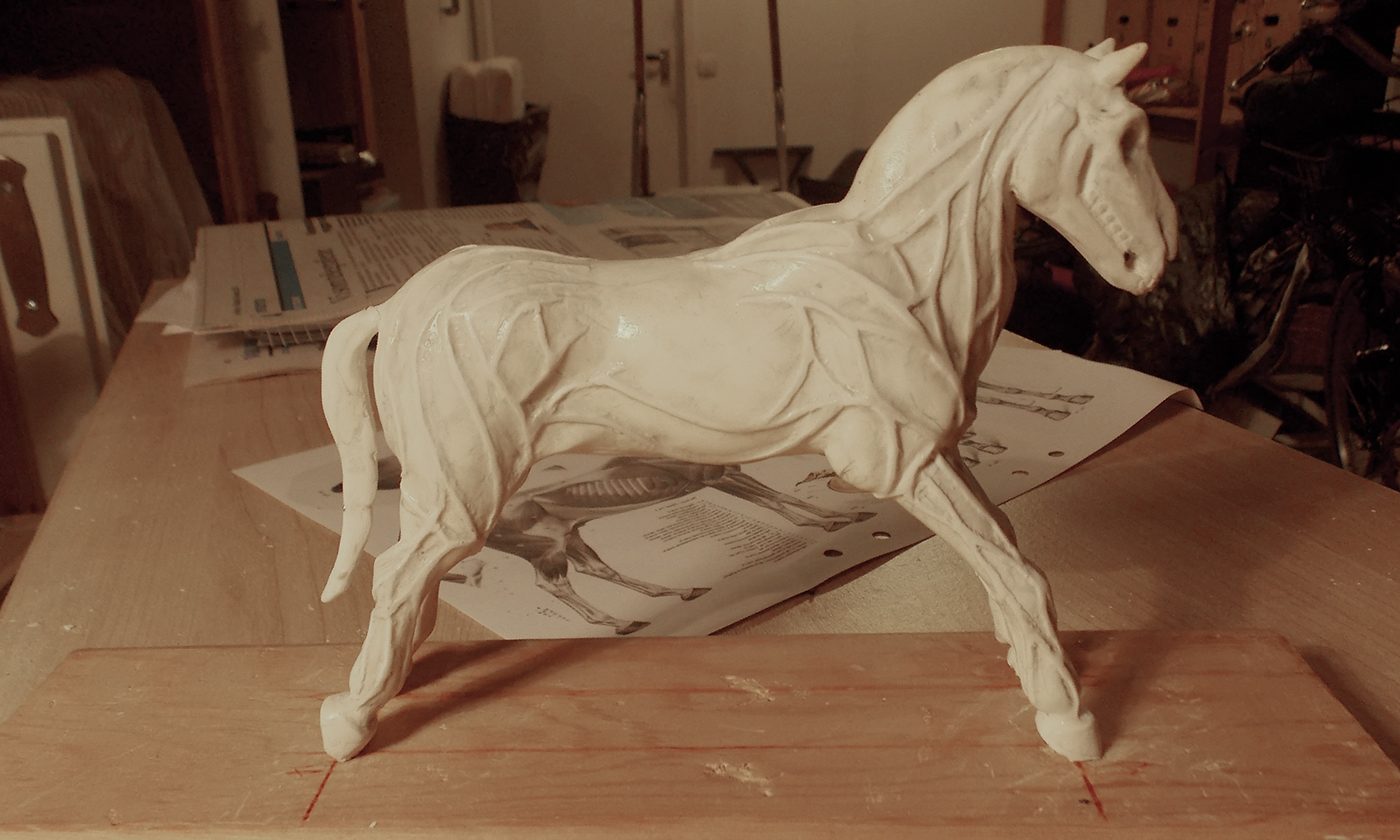
H08. Once the figure has cooled down I give it a light sanding.
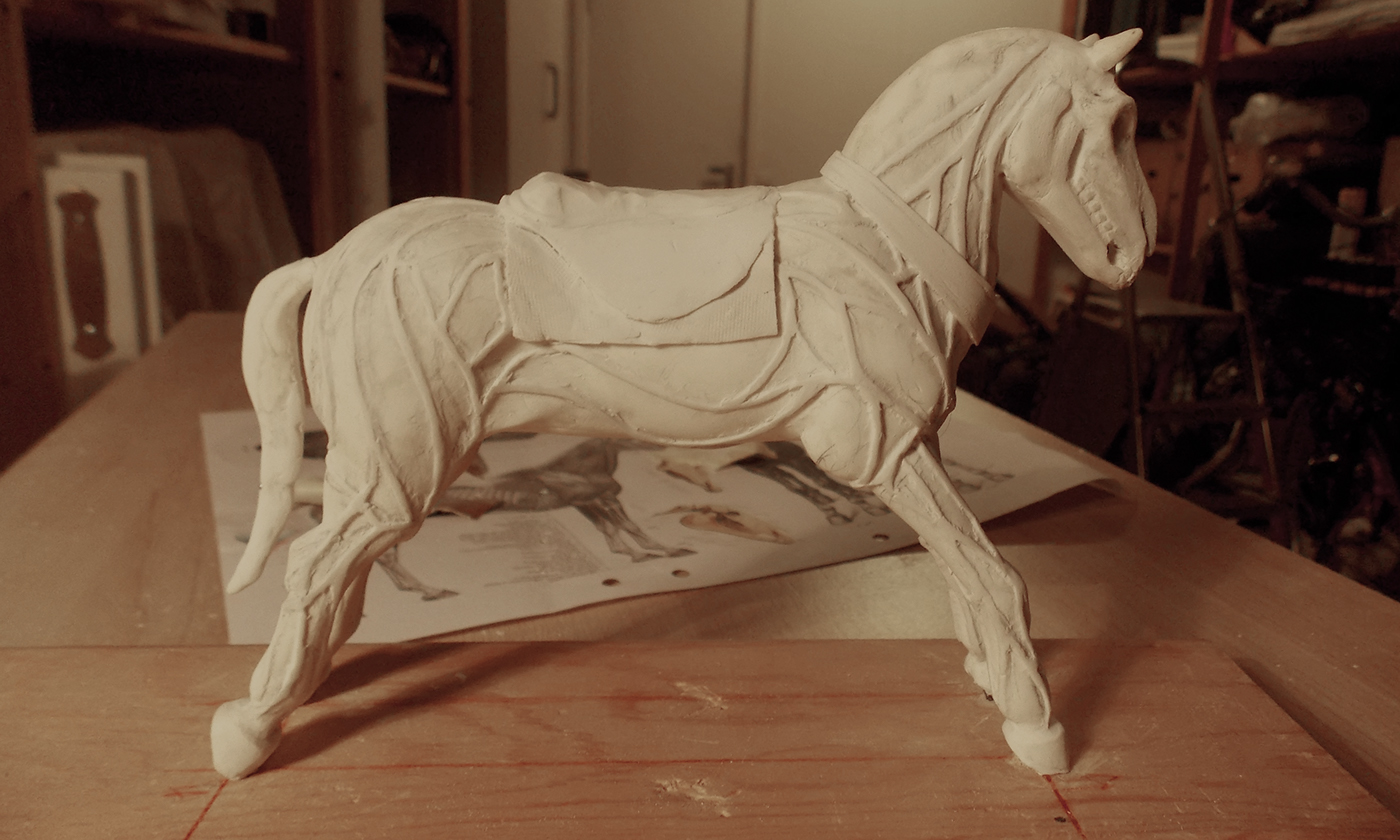
H09 I add the saddle and the harness. I made these in one go. I made the flat cloth piece on a sheet of plastic and placed it on the horses back. I trimmed the edges using a scalpel, while the clay was still soft. Then I baked the figure

H10 I added the mane and the tail hair. The mane hair was added last because it was going to overlap the veins and the harness.

H11 these are going to be the beams at the base of the rocking horse.

H12 I cover the wire with Fimo. The thin metal sticking up from the beams, is going to be twisted together later to help support the rectangle beam that will be added later. I bake the beams at this point and give them a light sanding when they have cooled down.

H13 I measure roughly where the horse is going to connect to the beams.

H14 I cut the Fimo away, down to the metal.

H15 I twist the ends of the metal skeleton from the horse around the exposed metal in the beams.
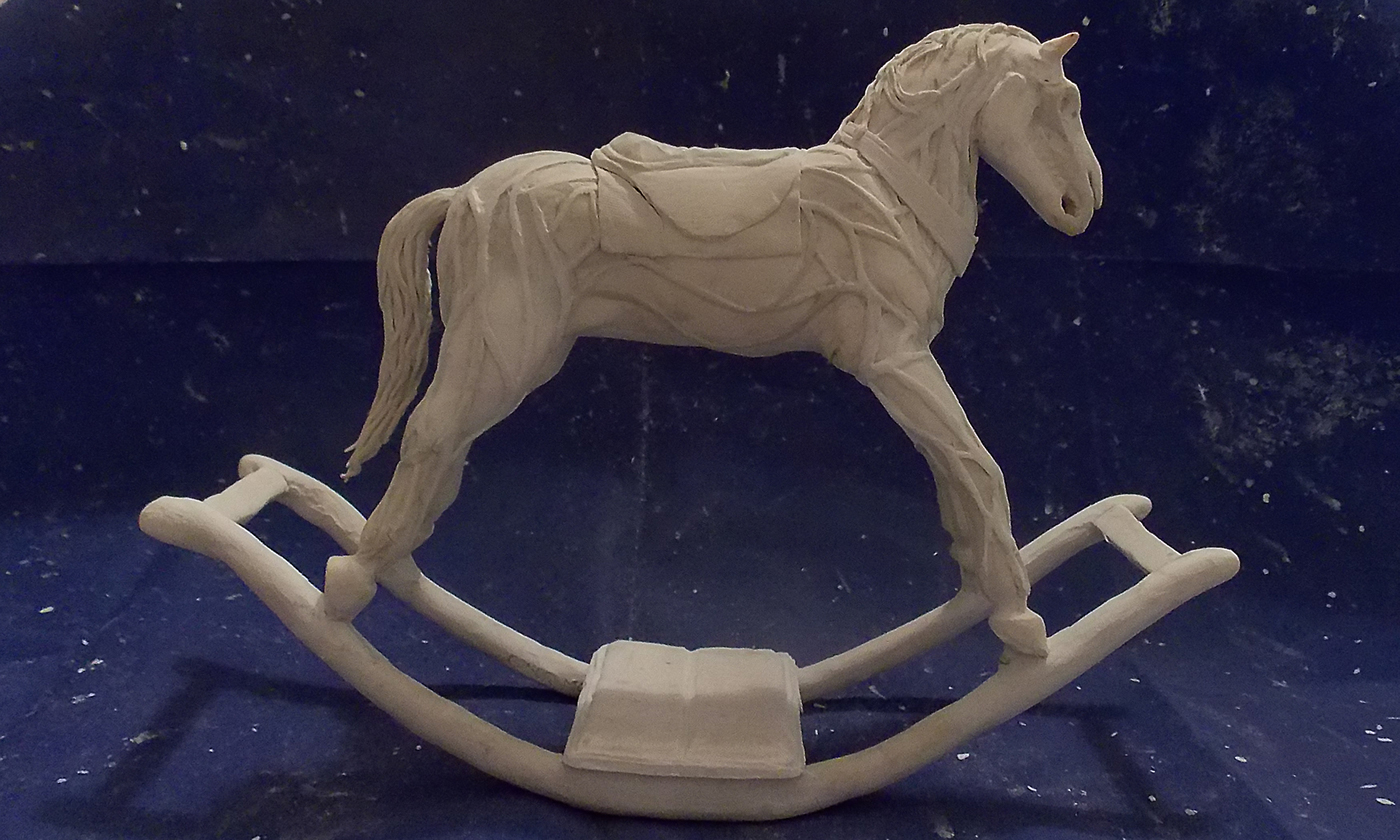
H16 I cover our the exposed metal with Fimo and bake it. Final details are added. The figure gets a light sanding
Sculpting the Rabbit
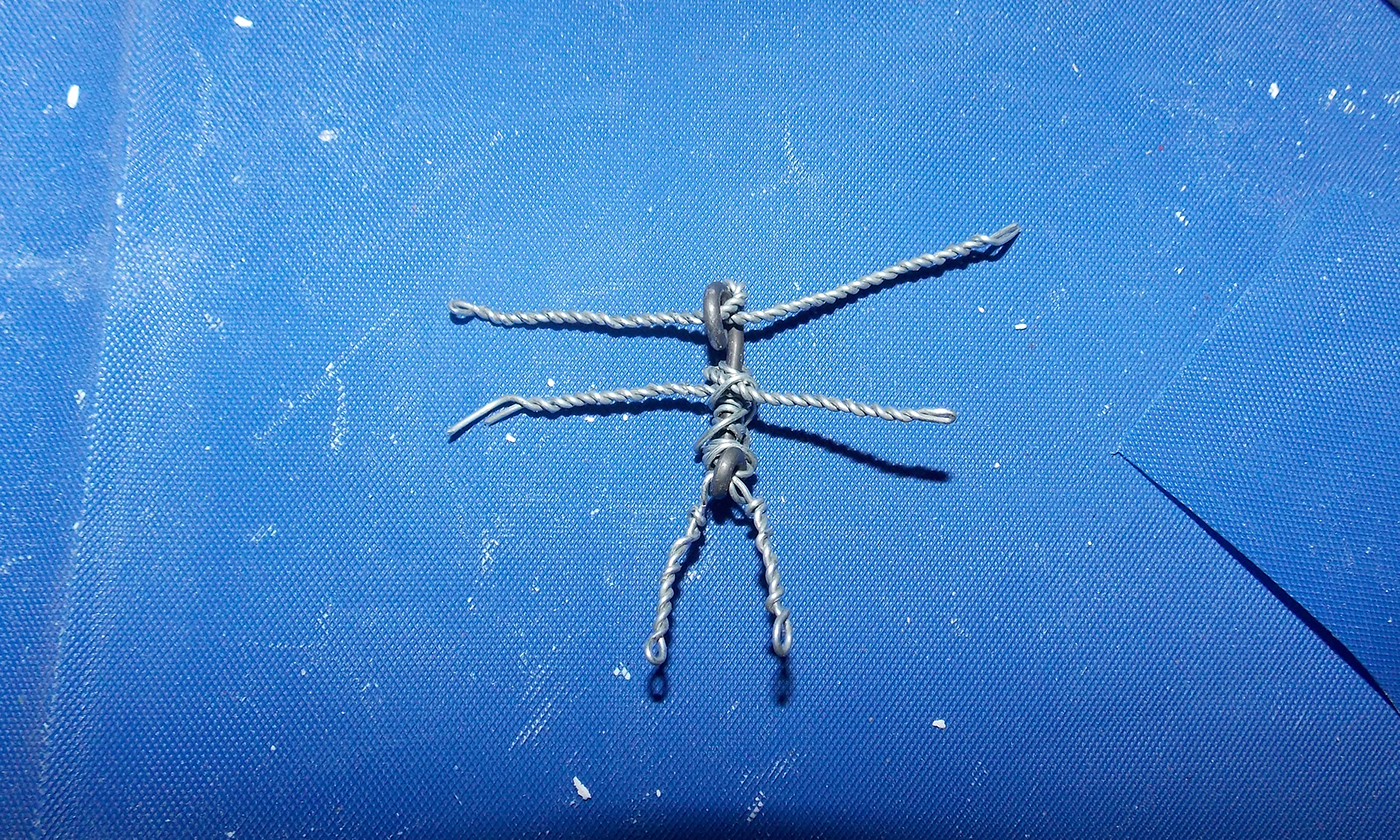
R01 the Skeleton. The thin wire is for the Ears, the Arms and the Legs.

R02 I block out the rabbit.

R03 At this point I make the decision to add an extra wire in the middle . This wire is for the girls arms and I'll use it to attach the rabbit to the girl.

R04 I start to detail the rabbit. I also add the girls hand to the figure. Its easier to add the hands now rather than later as the hand will eventually be covered by the rabbits ears and arms. I choose a special FIMO for the rabbit

R05 the finished Rabbit.
Sculpting the Girl
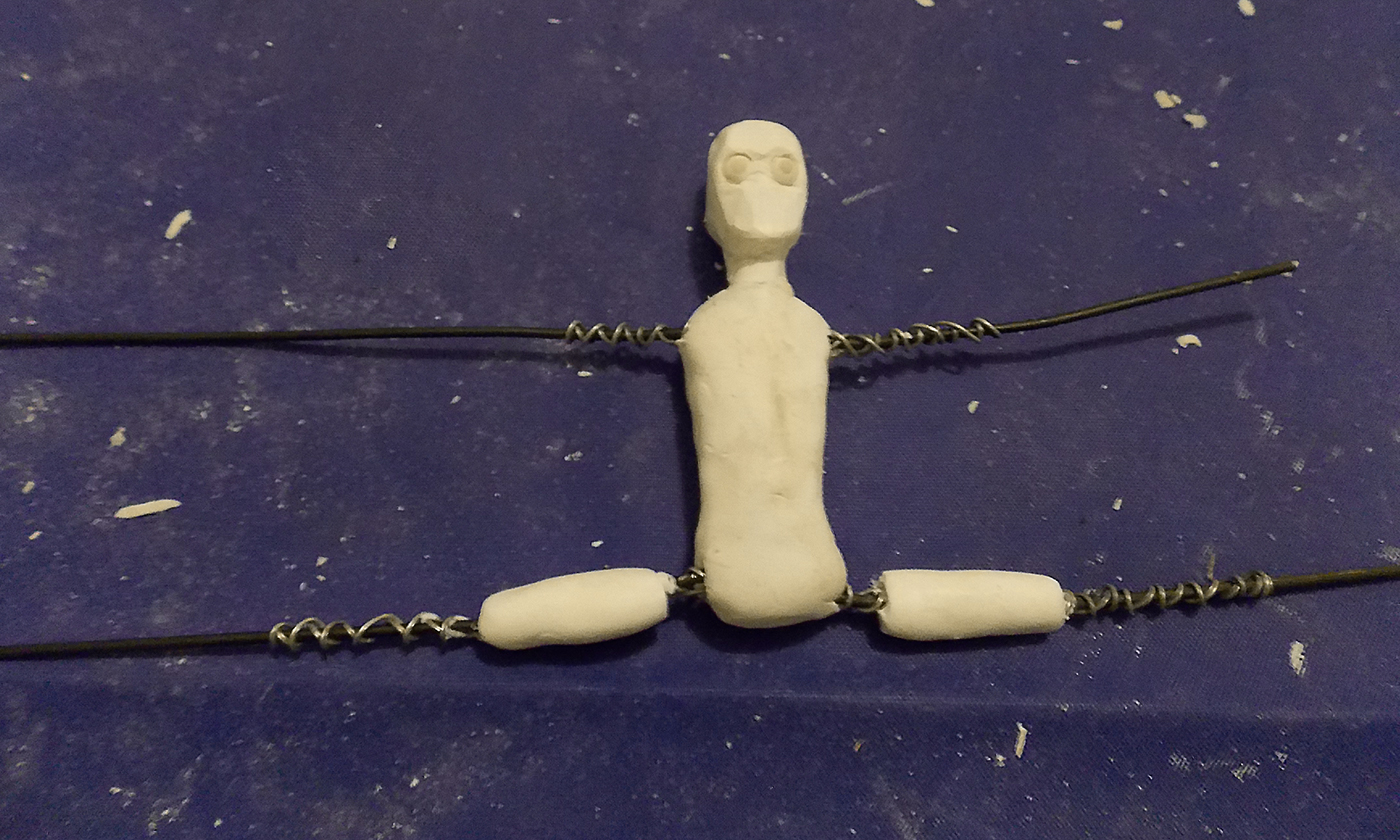
G01 Girl skeleton with first layer of Fimo applied

G02 when it comes to sculpting people, I normally sculpt the face first

G03 I positioned the legs of block out the torso and legs

G04 I apply detail to the legs and build up the core of the dress. I bake the figure and now have a good base from which to build up the rest of the dress.

G05 I build up the underskirt. After this is cooked, there shouldn't be any problems sticking the main dress down

G06 I now add detail to the dress. I sculpted all of this this part in one go.

G07 I cut the arm wires to length and position them
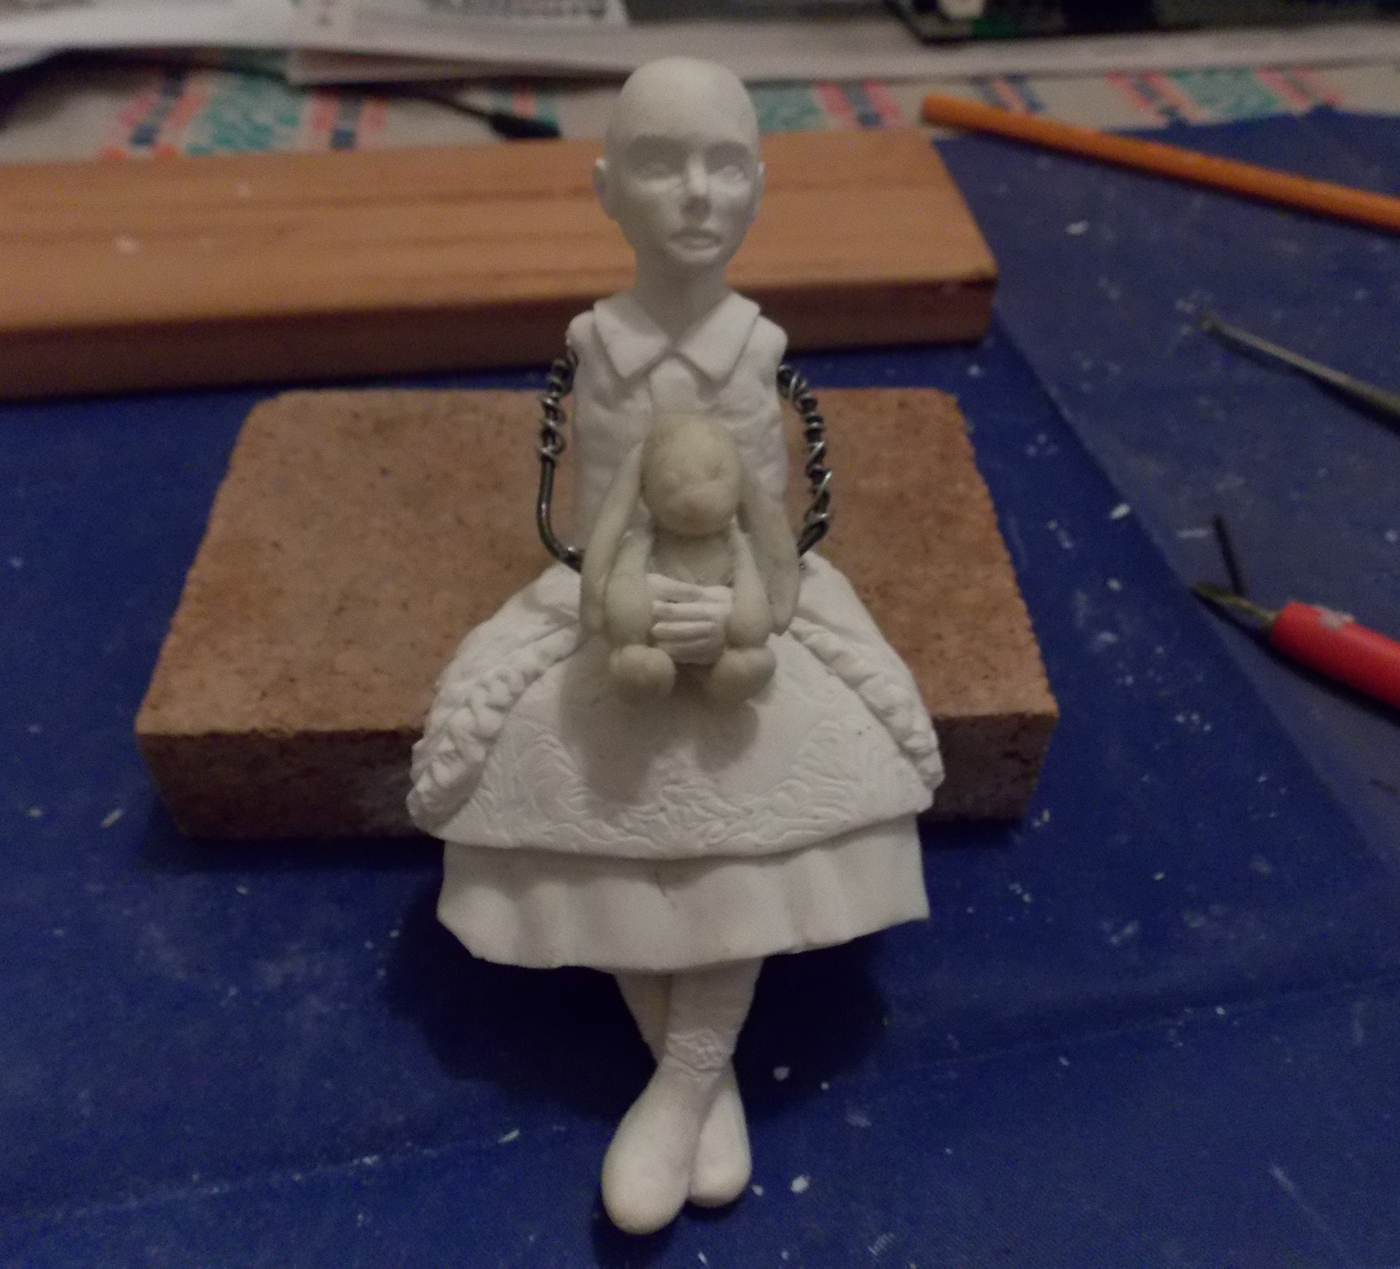
G08 I now add the toy rabbit. It was easy to wind the thin wire from the rabbit around the girls arm wire
G09 I build up the Fimo around the arms. Its main purpose is to hold the rabbit in place

G10 I add detail to the dress and cook it again

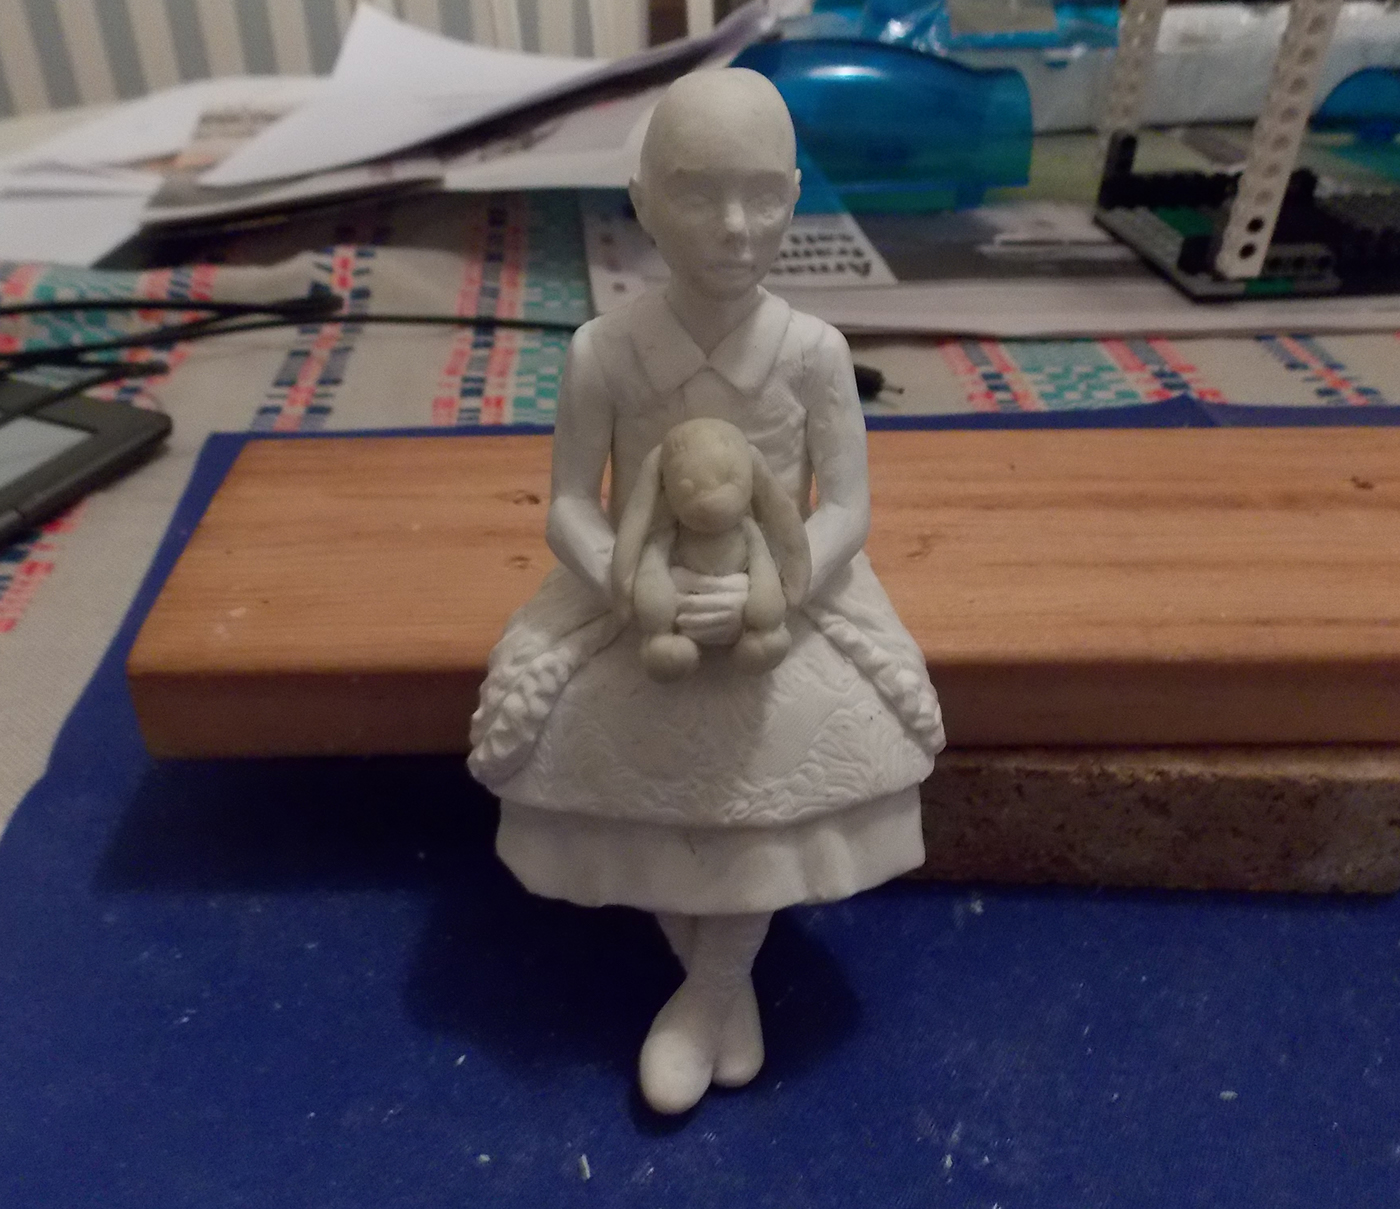
G11 Final touches, the girls hair and the frills around the dress.
The finished model

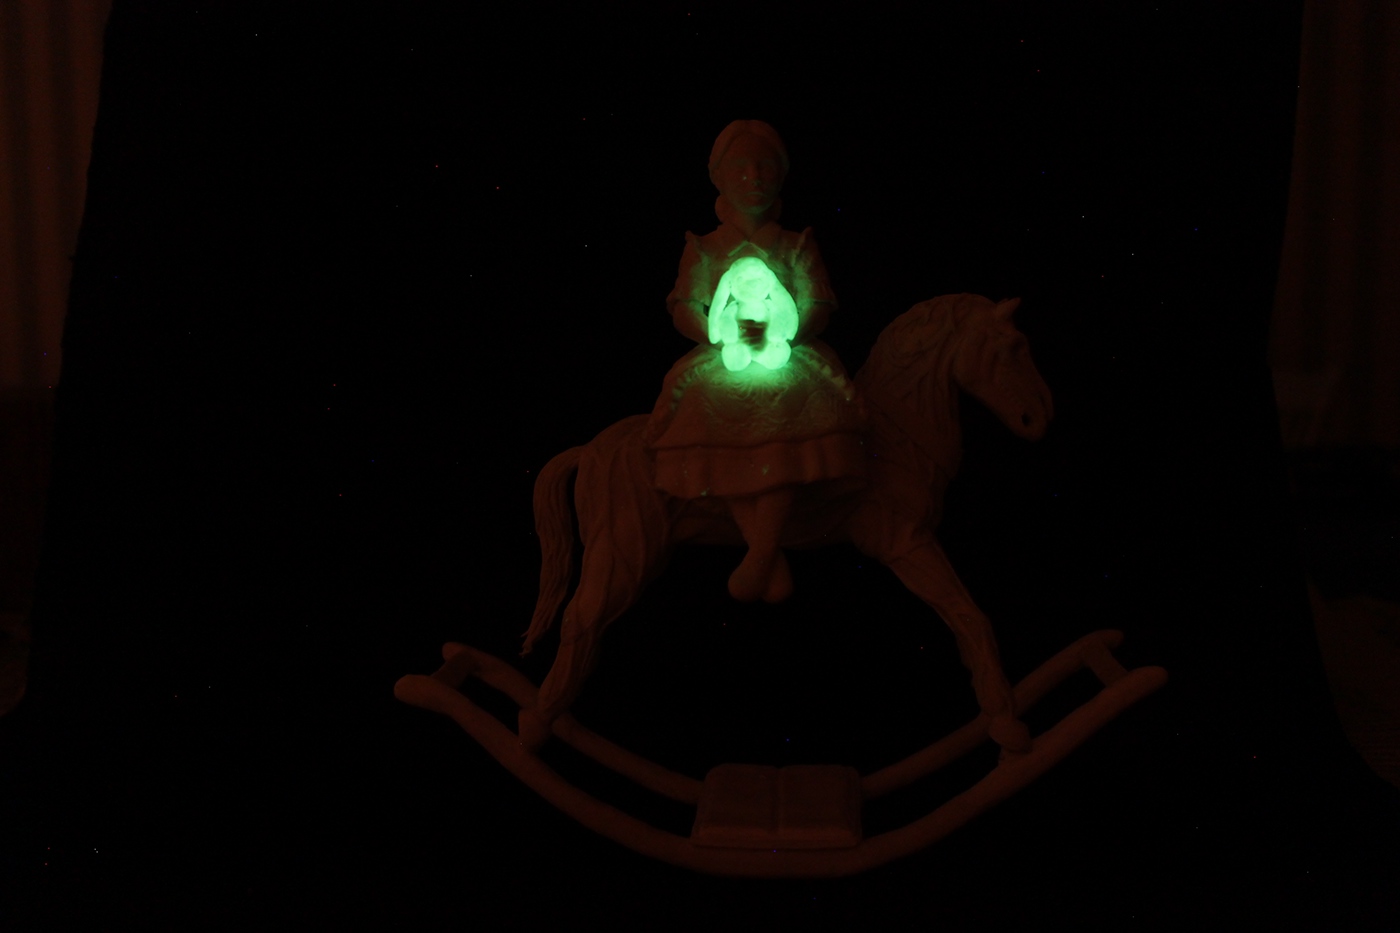
Glow in the dark Fimo
