This was the starting concept art that drove the project. Before I was struggling with creating a more metallic sci-fi chair, but instead grew frustrated and went a completely different route. Honestly, I think it turned out better this way.


This here is a Work In Progress screenshot taken inside of Maya. I wanted to display the wireframe and show the numerous references that were needed and used to create the model. The pelvic bone was much harder to model than I expected and might have actually been the hardest to model. Also, I realized that human skulls were hard, so I opted to make it blatantly non-human. This also gave me more creative flexibility with the proportions.

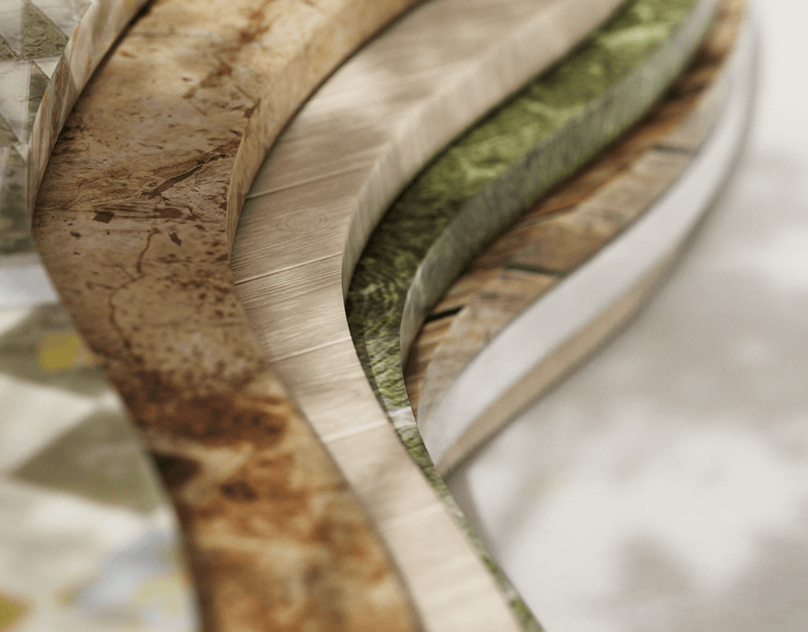
I'd say I was messing around with materials here, but this is actually a filter within Powerpoint overlaid on top of one of my WIP .png renders.

Basic render. I believe that this is just using a basic lighting setup with Lambert applied.

Textured render. This was the first time that I attempted to use Substance Designer to generate and customize the textures. For a first time through, I was pretty happy with it.

And then I made an environment made of simple objects and reused assets.

Lower Gamma Version

Higher Gamma Version