
This Project Page will document the processes of Anna Sachs, Cerys Whittle, Jason McLaren and Jimmy Pike in the creation of a magazine titled "Zeal." The publication is about photography and this issue is putting the spotlight on monochromatic images.
As a requirement for this Assignment we have to include the following:
Cover
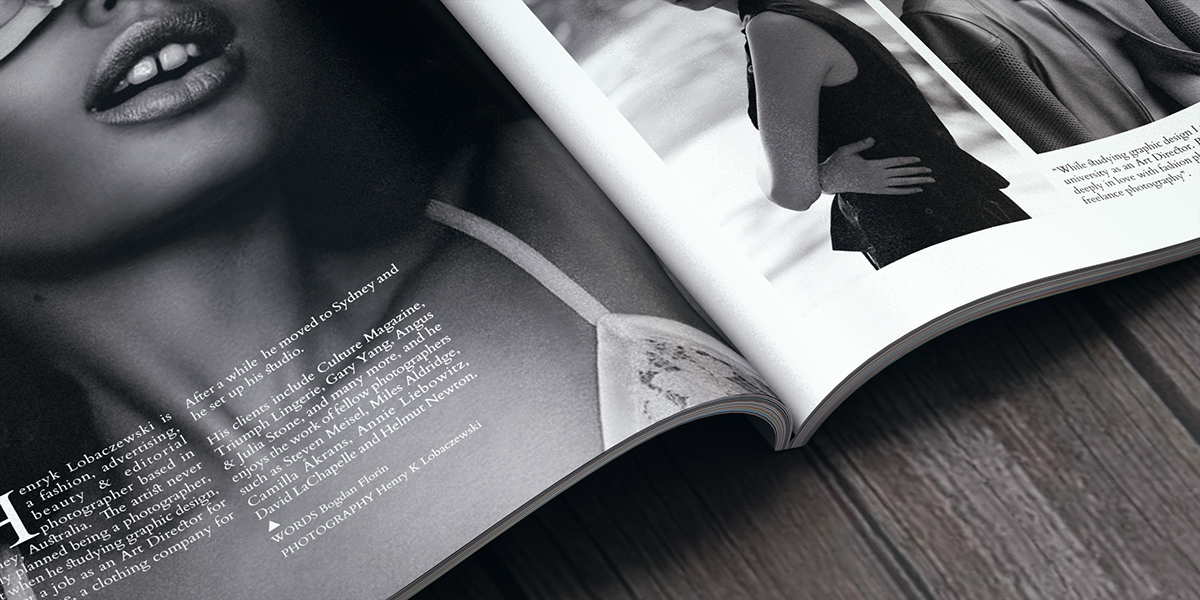
Feature Designer (8 Page)
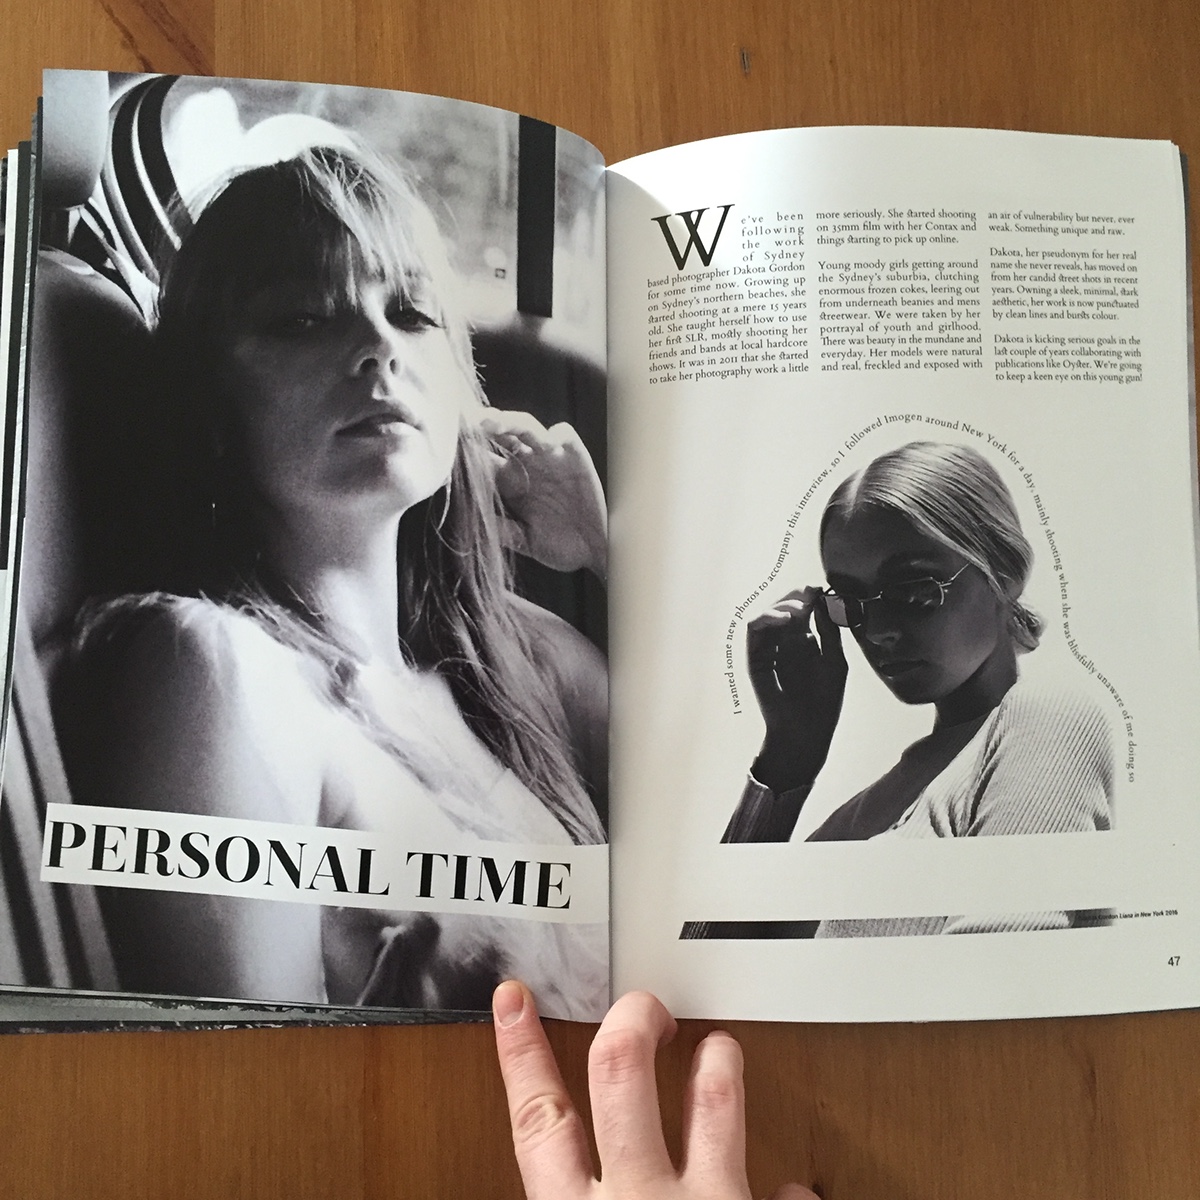
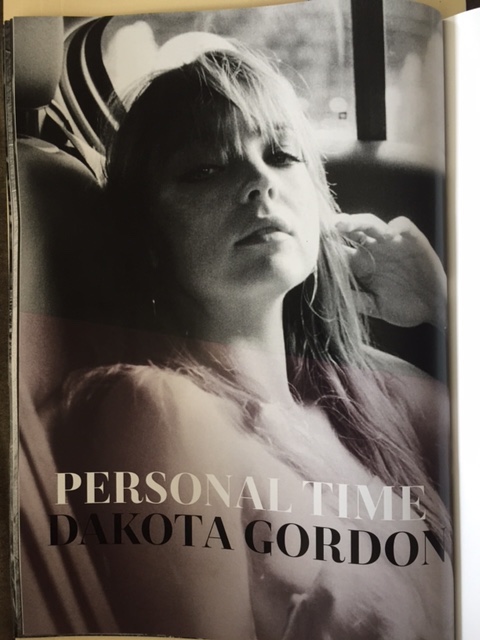
Personal Story (4 Page)
Contents/Publishing Info (2 Page)
Editorial (2 Page)
Feature Article (8 Page)
Events (2 Page)
News (2 Page)
Feature Article (8 Page)
Products/Books/Videos (4 Page)
Feature Designer (8 Page)
We decided to break the workload into four even workloads with 12 pages each to do. Together we would work on the Cover of the magazine.
Cerys would do the Feature Designer and Personal Story. Anna would work on the Content, Publishing Information, Editorial, and a Feature Article. Jason would work on the Events, News and a Feature Article. Jimmy would do the Products/Books/Videos pages and a Feature Designer article.
We have been shopping around for a reasonable printer price and have a couple of options available to us. What we have been able to ascertain for certain is that we will be printing on 115gsm satin coated paper, with a 250 GSM Cover. A4 with a 3mm Bleed, Saddle stitching.
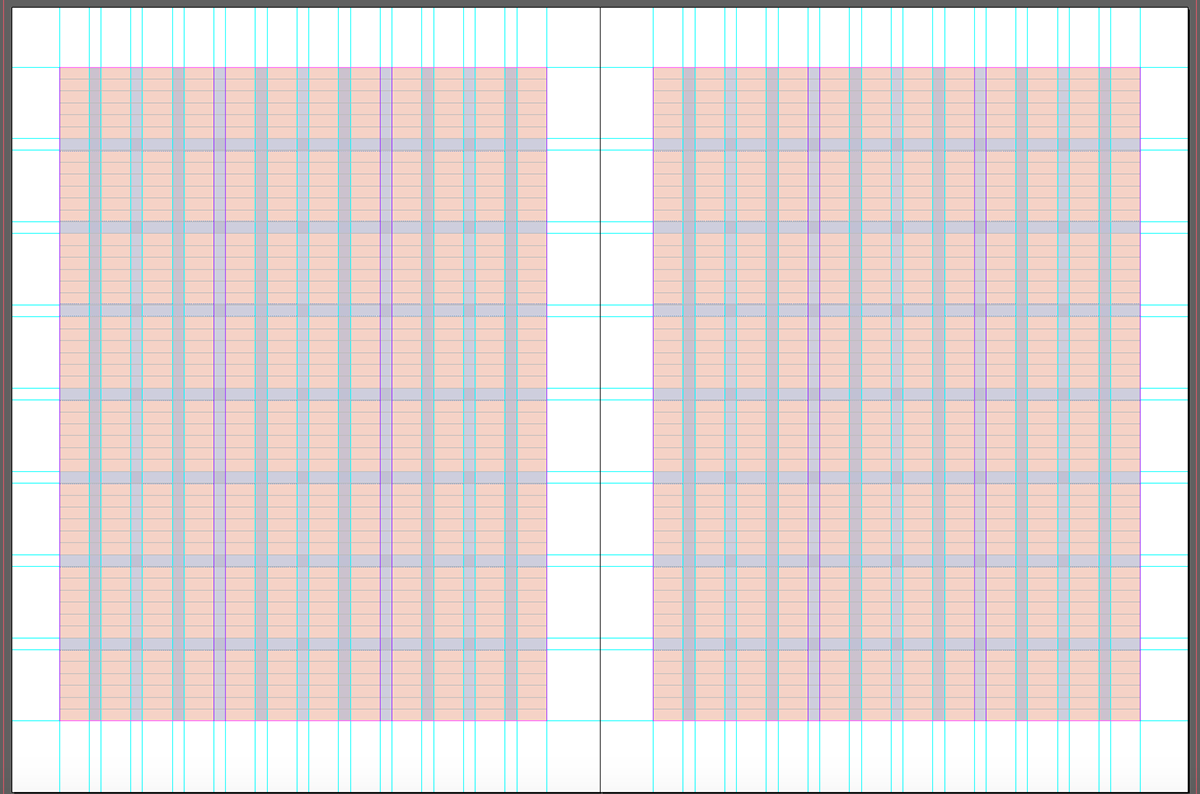
The Grid we are working with is 12 columns with 8 rows. As can be seen in the screenshots below.
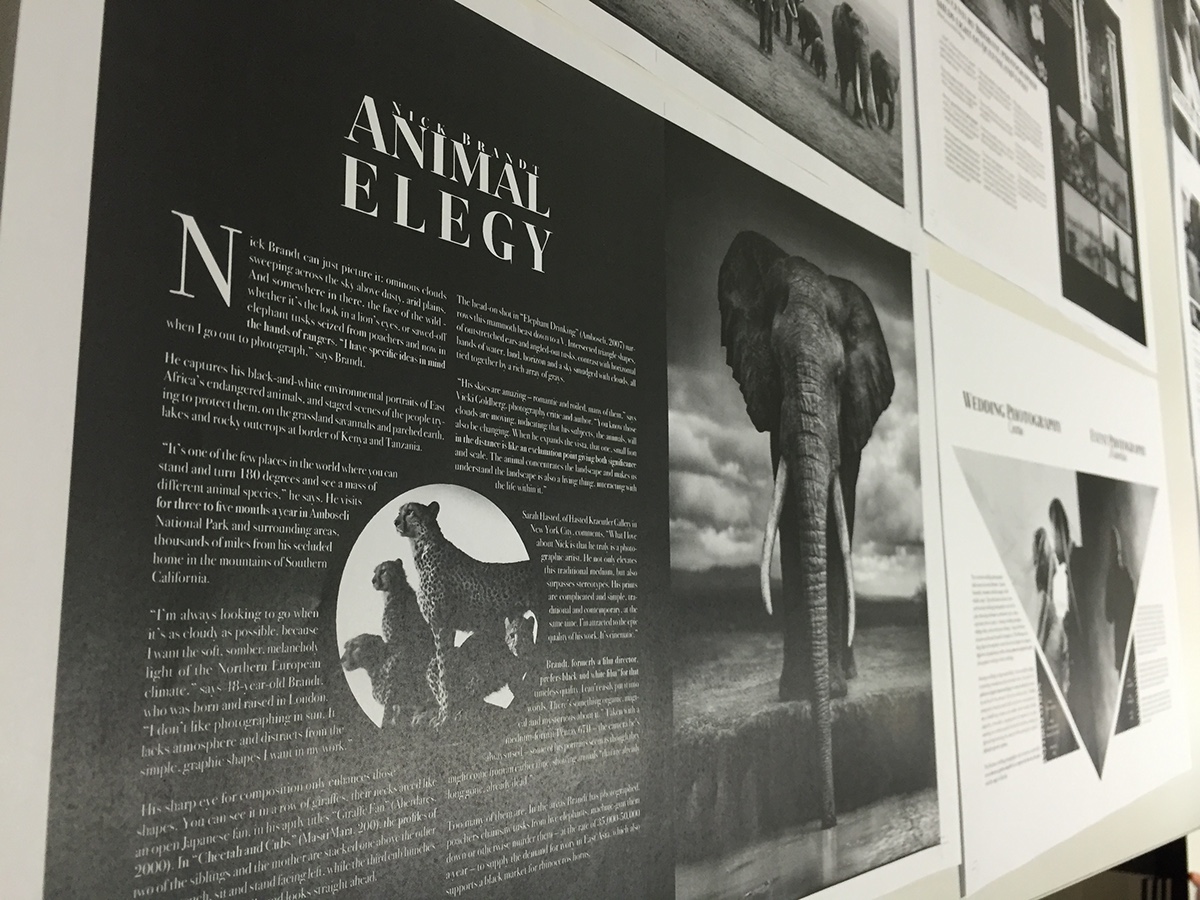
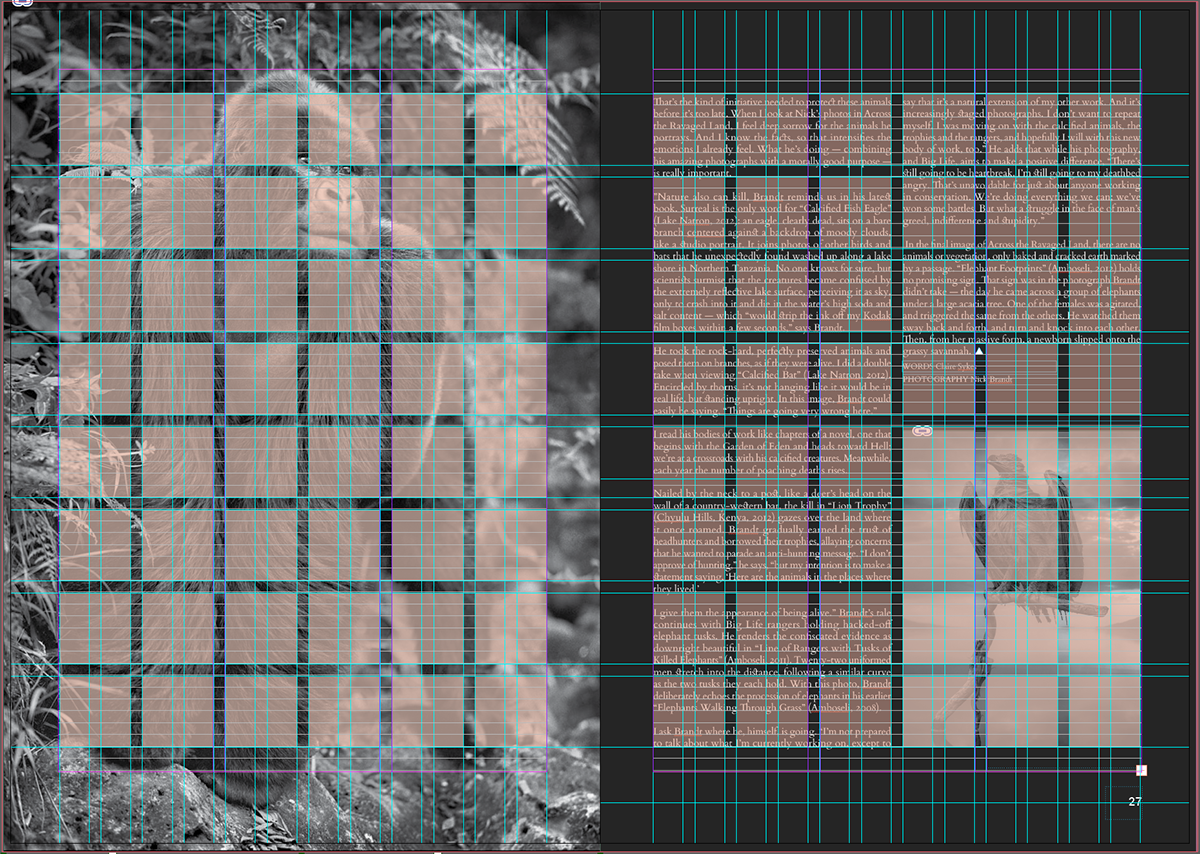
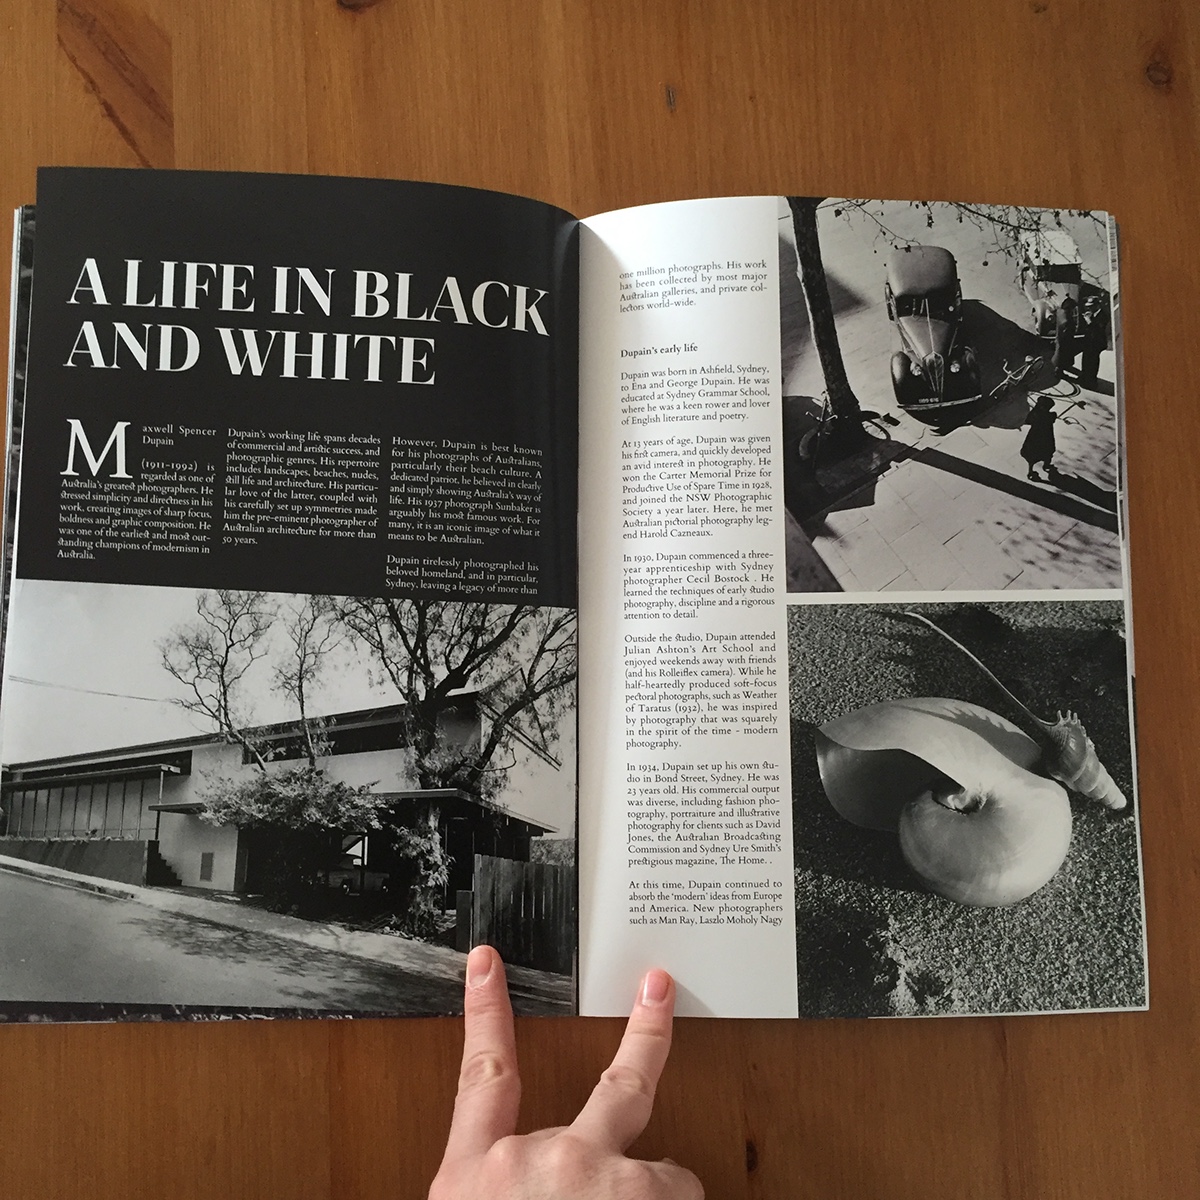
Example of Grid Use in Feature Article:

Our first Milestone check in with a full digital draft. Here is everyone's spreads. During this presentation we had a lot of feedback to implement each.


During our tutorial, we printed our spreads and got feedback from our tutor. This was able to give us many helpful pieces of advice before taking Zeal to a professional printer.

I had to adjust my article after feedback to not use circles, as it breaks the start of a line. I decided to change my design to use squares that fit into the column arrangement nicely.

A sneak peak of the Magazine at the printers before the bleed had been trimmed.

It was fascinating to see how the printing process worked. The printer Remko, shared with me how he separates the pages over into spreads that will be printed on the machine, the order is obviously quite different to the order in InDesign. I was also surprised to find the Remko's machine prints, arranges and staples the Magazine – Cover included. This meant that Remko required the cover to be part of the main file.
After taking our magazine to print the first time we realised we had quite a few issues. Firstly, due to an error on export some headings were missing from the magazine. Secondly, all of our images were in a different colour space to each other, some were even different across multiple articles. Thirdly, our Magazine Cover was not high quality enough. Lastly, Alex pointed out that our barcode would not technically work with white on black. We knew we would have to go back to print, so we decided to focus on the finer details. Below are some examples of the issues with the first print.

Low Quality Cover
Multiple Colour Spaces
Missing Heading

Inoperable Barcode
For our next round of printing, I had all the colour spaces converted to Greyscale, I adjusted the back cover to have a white Z and a black barcode. I redesigned the Front cover to something that would be of a higher quality. We used some gradients throughout the magazine to help the readability of some headings.
Also before printing this version we created a custom Drop cap style. We also all aligned our end marks together.
Also before printing this version we created a custom Drop cap style. We also all aligned our end marks together.
Example of End Mark Triangle

Example of Drop Cap style. This now aligned much better with the justification styles than the custom drop cap style.
Unfortunately, with the second round of printing, there still was some major issues. The gradients we used on the headings printed a different colour due to being made up of a CYMK colour space. Unfortunately leading us to repeat our old mistakes. This was then fixed by applying the gradients within Photoshop under the correct colour space.

In the next round of printing, thankfully everything turned out okay. I'm really happy with how the final product has come together. The magazine has a good flow to it, and reads like a single publication. I'll finish this documentation off with the final spreads for the magazine.


Photos Credit: Nick Brandt - http://www.nickbrandt.com


