So you have a nice concept! What’s next?
Let me show you a sneak peek into our Product visualisation FRP modelling.
Step 1: Make a good sketch
Step 2: Make your hands dirty ( I mean literally)
Make the clay with sufficient amount of water. (try it a few times you will get better)
Make the clay with sufficient amount of water. (try it a few times you will get better)
Step 3: Beat the **** out of clay till you get the desired shape

Step 4: Make a pop mould (POP –ve) using a clay model
Don’t forget to apply petroleum jelly on the surface of clay model

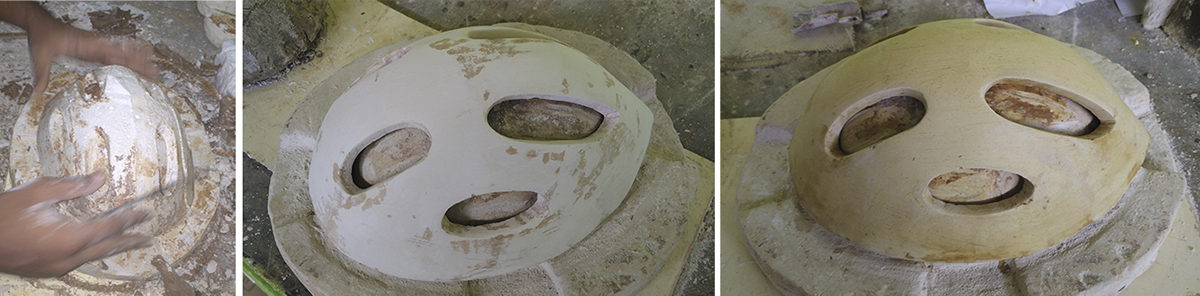
Step 5: Assemble all the parts of the mould
•Apply mud water for marking and P. Jelly for easy removal.

Step 6: Pour a mixture of POP and water as soon as it is made
Step 7: Wait for it
Tan - ta - dan
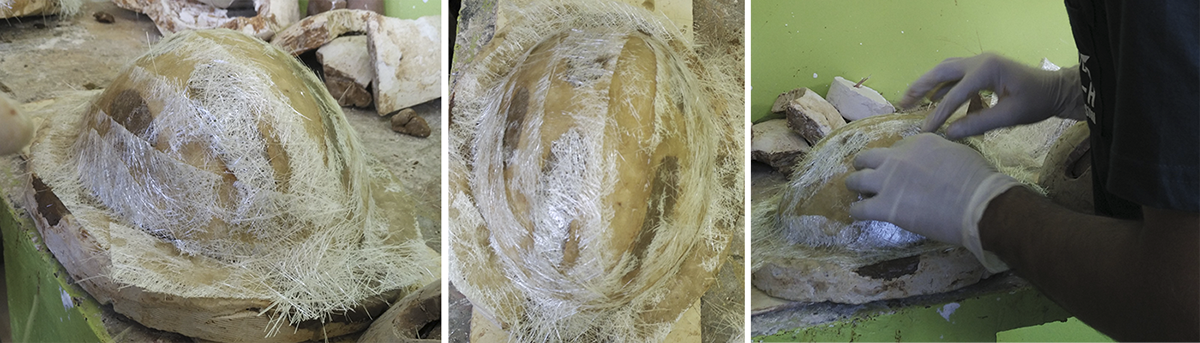
Finish the surface properly
Apply wax before going to the next step
Apply wax before going to the next step
Step 8: Preparation of resin mixture
Step 9: Apply thin layers of resin and glass fibre alternately ( min 3 layers each)
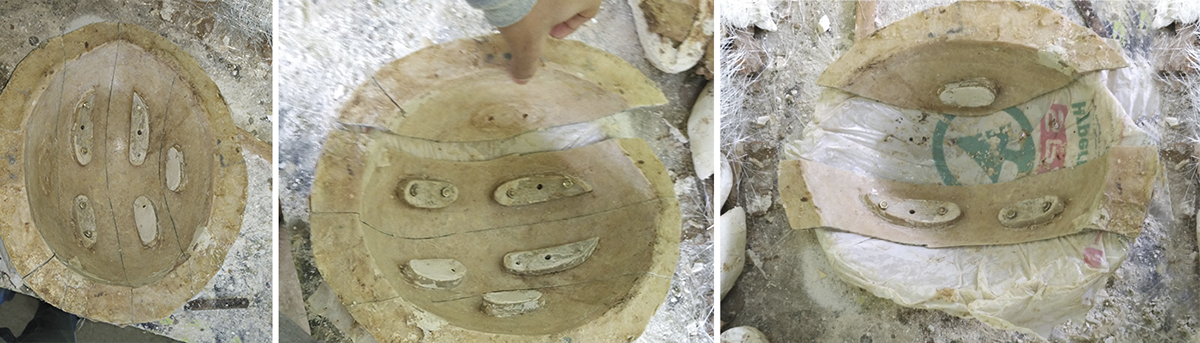
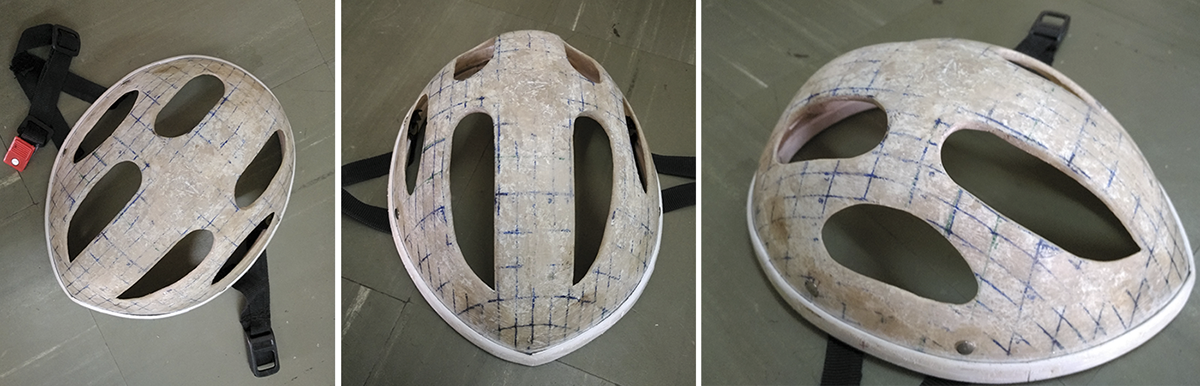
Step 10: After the healing process drill the FRP –ve and take out the POP +ve carefully.
Step 11: Assemble all the parts of FRP mould and apply wax
Step 12: Making the FRP +ve
Apply thin layers of glass fibres and resin alternately
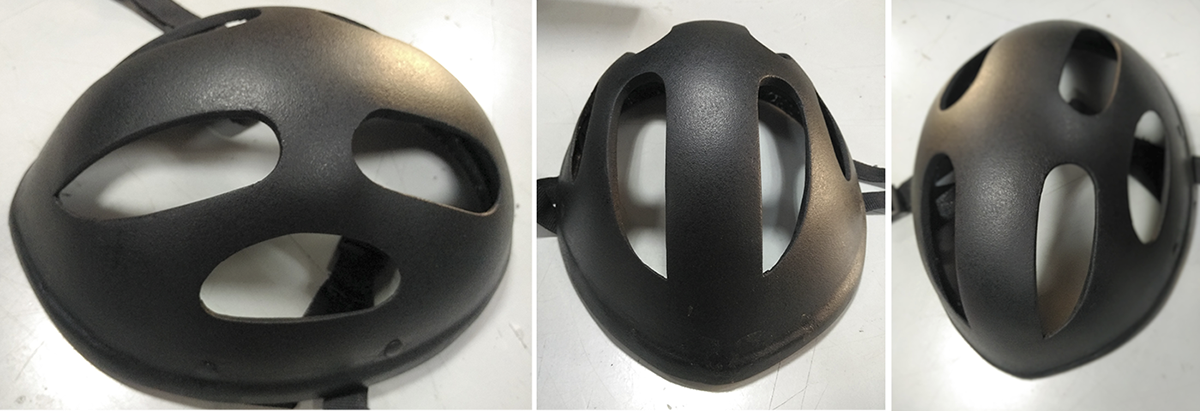
Step 13: Disassemble the mould and finish the FRP helmet surfaces properly
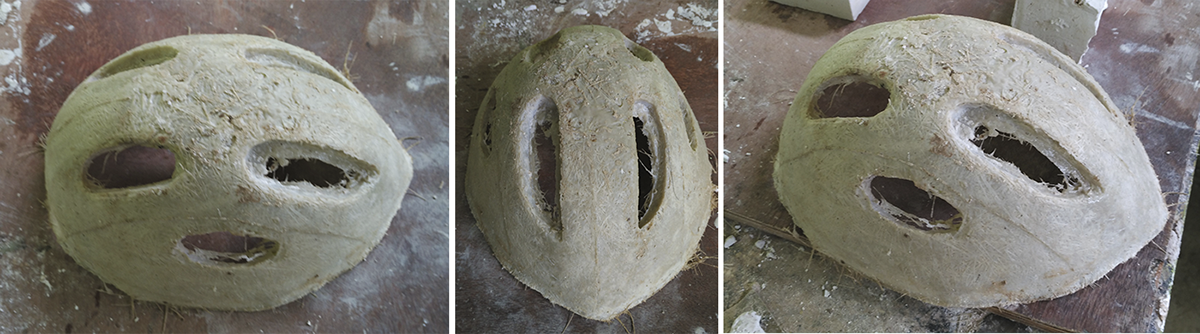
Finishing the FRP


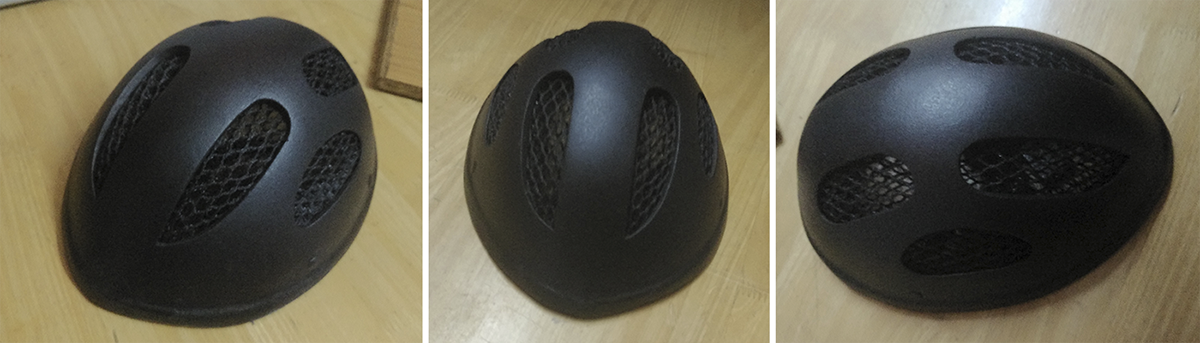
Colour and Cushion
Always wear a helmet while Riding
Be Safe
Thank you

