I accidentally broke my favourite martini glass, so I decided to recycle it and turn it into a Halloween prop.
The original idea was for this to be an inside prop, set on the kitchen table as a centerpiece, amid candles and tealights, but I changed my mind at the last minute.
I apologize for the quality of these photographs. My camera broke and I have yet to replace it. These photos were taken with the camera on my mobile phone.


I started off by pouring a small amount of two different colours of acrylic craft paint into the bowl.
I used Americana® Gloss Enamels® “Napa Red,” and Craft Smart® “Holiday Red.”
I used Americana® Gloss Enamels® “Napa Red,” and Craft Smart® “Holiday Red.”
Drizzling a liberal amount of hot glue into the basin to help solidify the paint, I allowed for several minutes of drying time and repeated the process. (It takes several hours for the mixture to dry thoroughly, especially if you add a lot of paint.) The paint will harden (dry) on its own, but since I intended to use a tea light with it, I did not want to run the risk of the warmth from the tealight heating the paint, which is one of the reasons I chose to add hot glue.)

With a toothpick, I swirled around the mixture, making certain to get some more of it up onto the sides.

I then drizzled a bit of paint onto the crest of the side that had been broken. I applied a thick coat of hot glue and set the broken off piece back into place.

After it dried, I added a bit more paint and a bit more glue. I then glued a foam bird to the rim.
It is supposed to be a crow, but I decided that I wanted it to be a raven. (The differences between a crow and a raven, are size (ravens are larger), the sound they make (crows “caw” while ravens “croak” ), ravens tend to travel in pairs while crows tend to travel in larger groups (a flock, or a congress, technically), and their tail feathers spread differently when opened.) However, this is a Styrofoam™ bird that I purchased at the Dollar Tree® intended for use as part of a Halloween prop, and I didn’t think anyone would dissect my piece if I said that it was a raven.
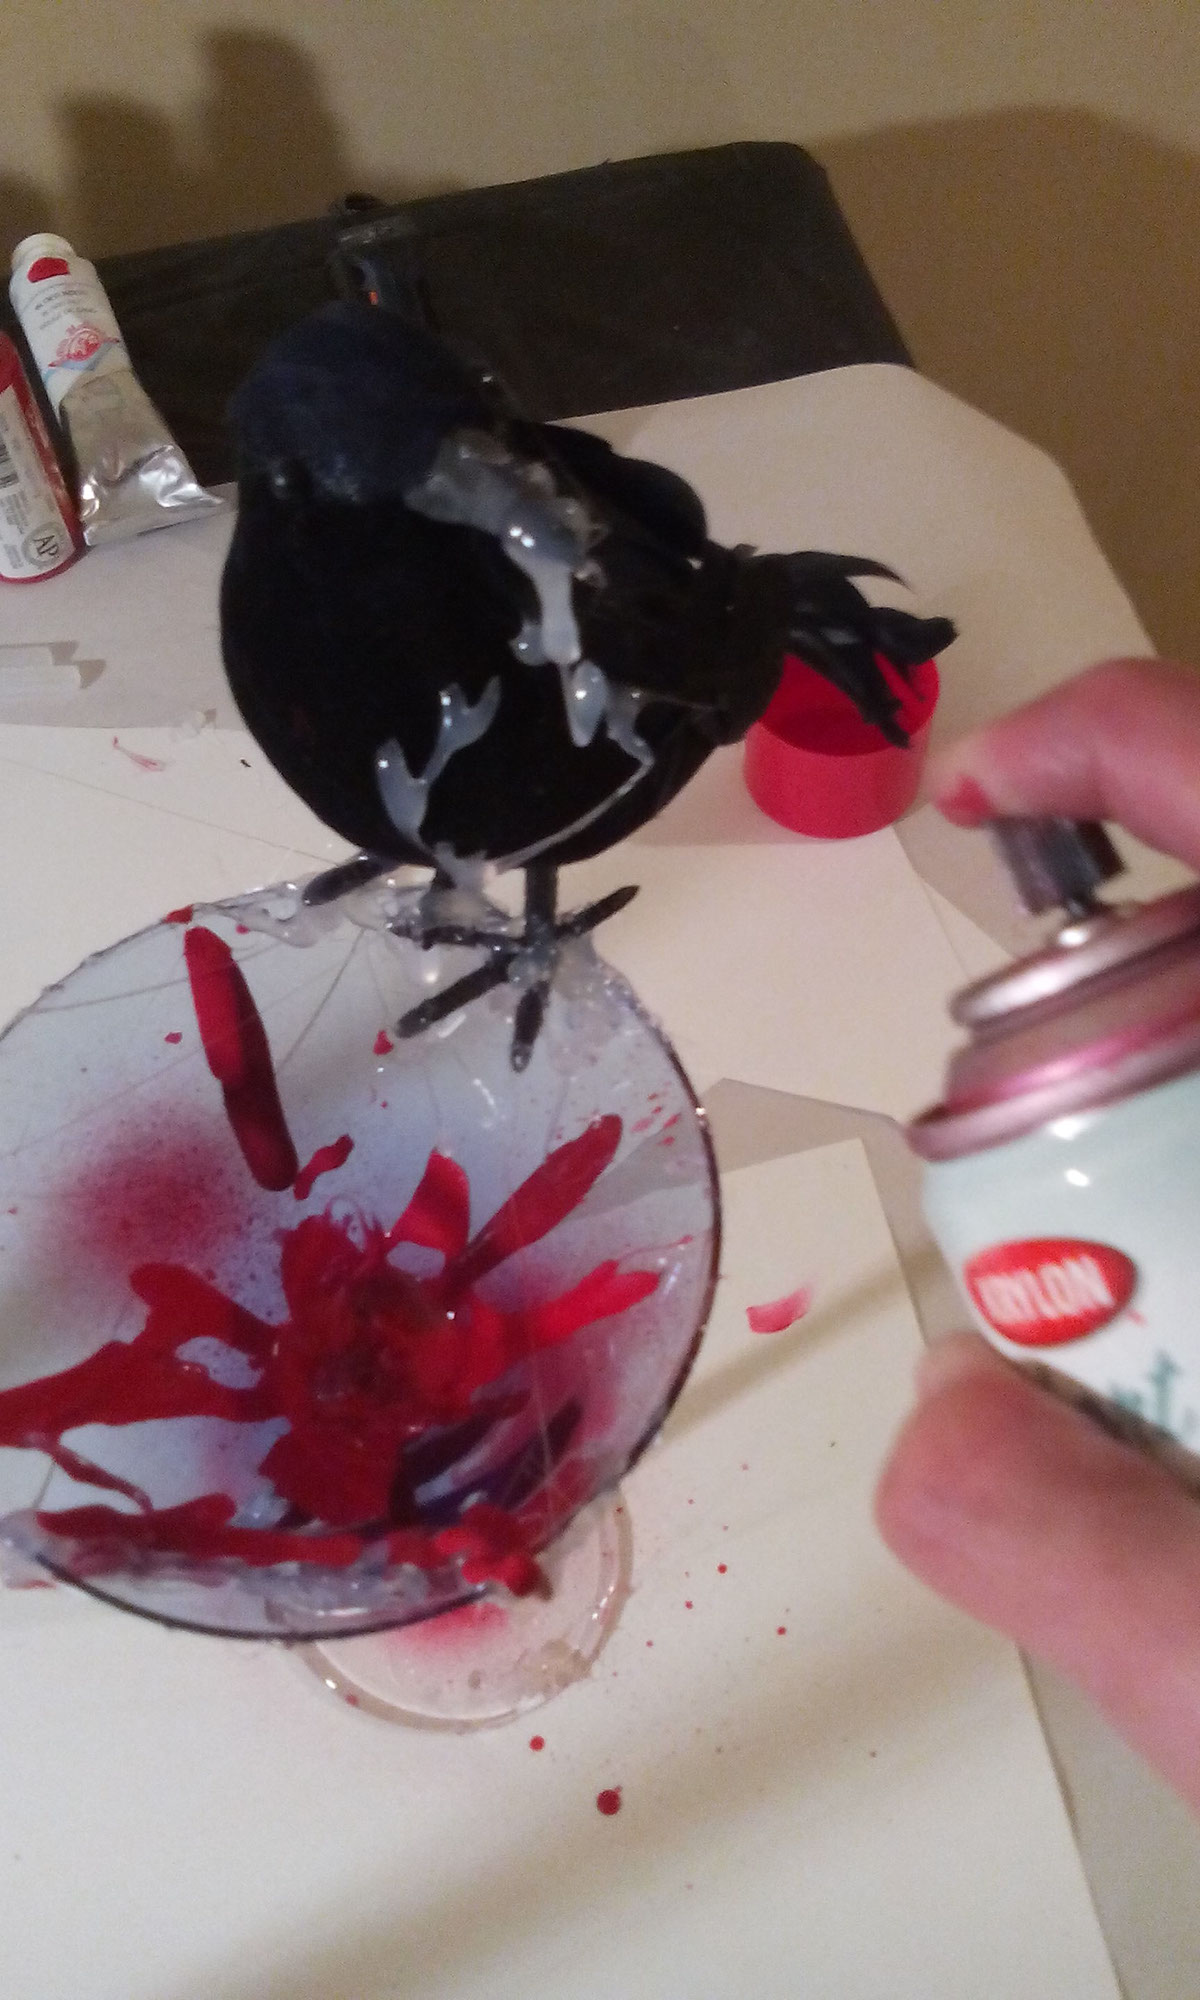
As the glue was hardening, I applied a fine mist of Krylon® Shortcuts® Hobby/Craft Paint in “Red Pepper” to the base of the martini glass. A fine mist gives the appearance of blood spatter. The trick to this effect is to refrain from applying too much pressure onto the nozzle. One wants short “spits,” of paint dispersed, not a steady spray.
I sprayed some onto the inside of the glass, as well as onto the body of my raven.

I continuously applied more hot glue about the piece until I got the desired effect. Once the hot glue had solidified, I used several different acrylic paints to paint the dried glue so as to appear as blood. The aforementioned craft paints (Americana® Gloss Enamels® “Napa Red,” and Craft Smart® “Holiday Red) ”were used in certain places. However, I also used Old Holland ® New Masters (Artist Grade) acrylic paint in “Blood Red.” This particular paint is a personal favourite. I use it on a lot of my Halloween props that require the effect of blood.

This is the piece, for the most part complete. (Side view).
The key to making it appear as though the blood is being sopped up (in this case, by my raven), or dripping from the object (such as the cup/glass) is all in how you apply the hot glue. To attain the desired effect, one must use more glue than really necessary, and apply it in repetition with a steady hand until it begins to almost “drip” from the object. Then, release pressure on the trigger and pull away gently, allowing the miscellaneous thin strands of glue to remain, even wiping them onto other sections of the piece. Once hardened (or dried), the glue will stay in place (If you are gentle) and then can be painted, which is what I did.
The key to making it appear as though the blood is being sopped up (in this case, by my raven), or dripping from the object (such as the cup/glass) is all in how you apply the hot glue. To attain the desired effect, one must use more glue than really necessary, and apply it in repetition with a steady hand until it begins to almost “drip” from the object. Then, release pressure on the trigger and pull away gently, allowing the miscellaneous thin strands of glue to remain, even wiping them onto other sections of the piece. Once hardened (or dried), the glue will stay in place (If you are gentle) and then can be painted, which is what I did.
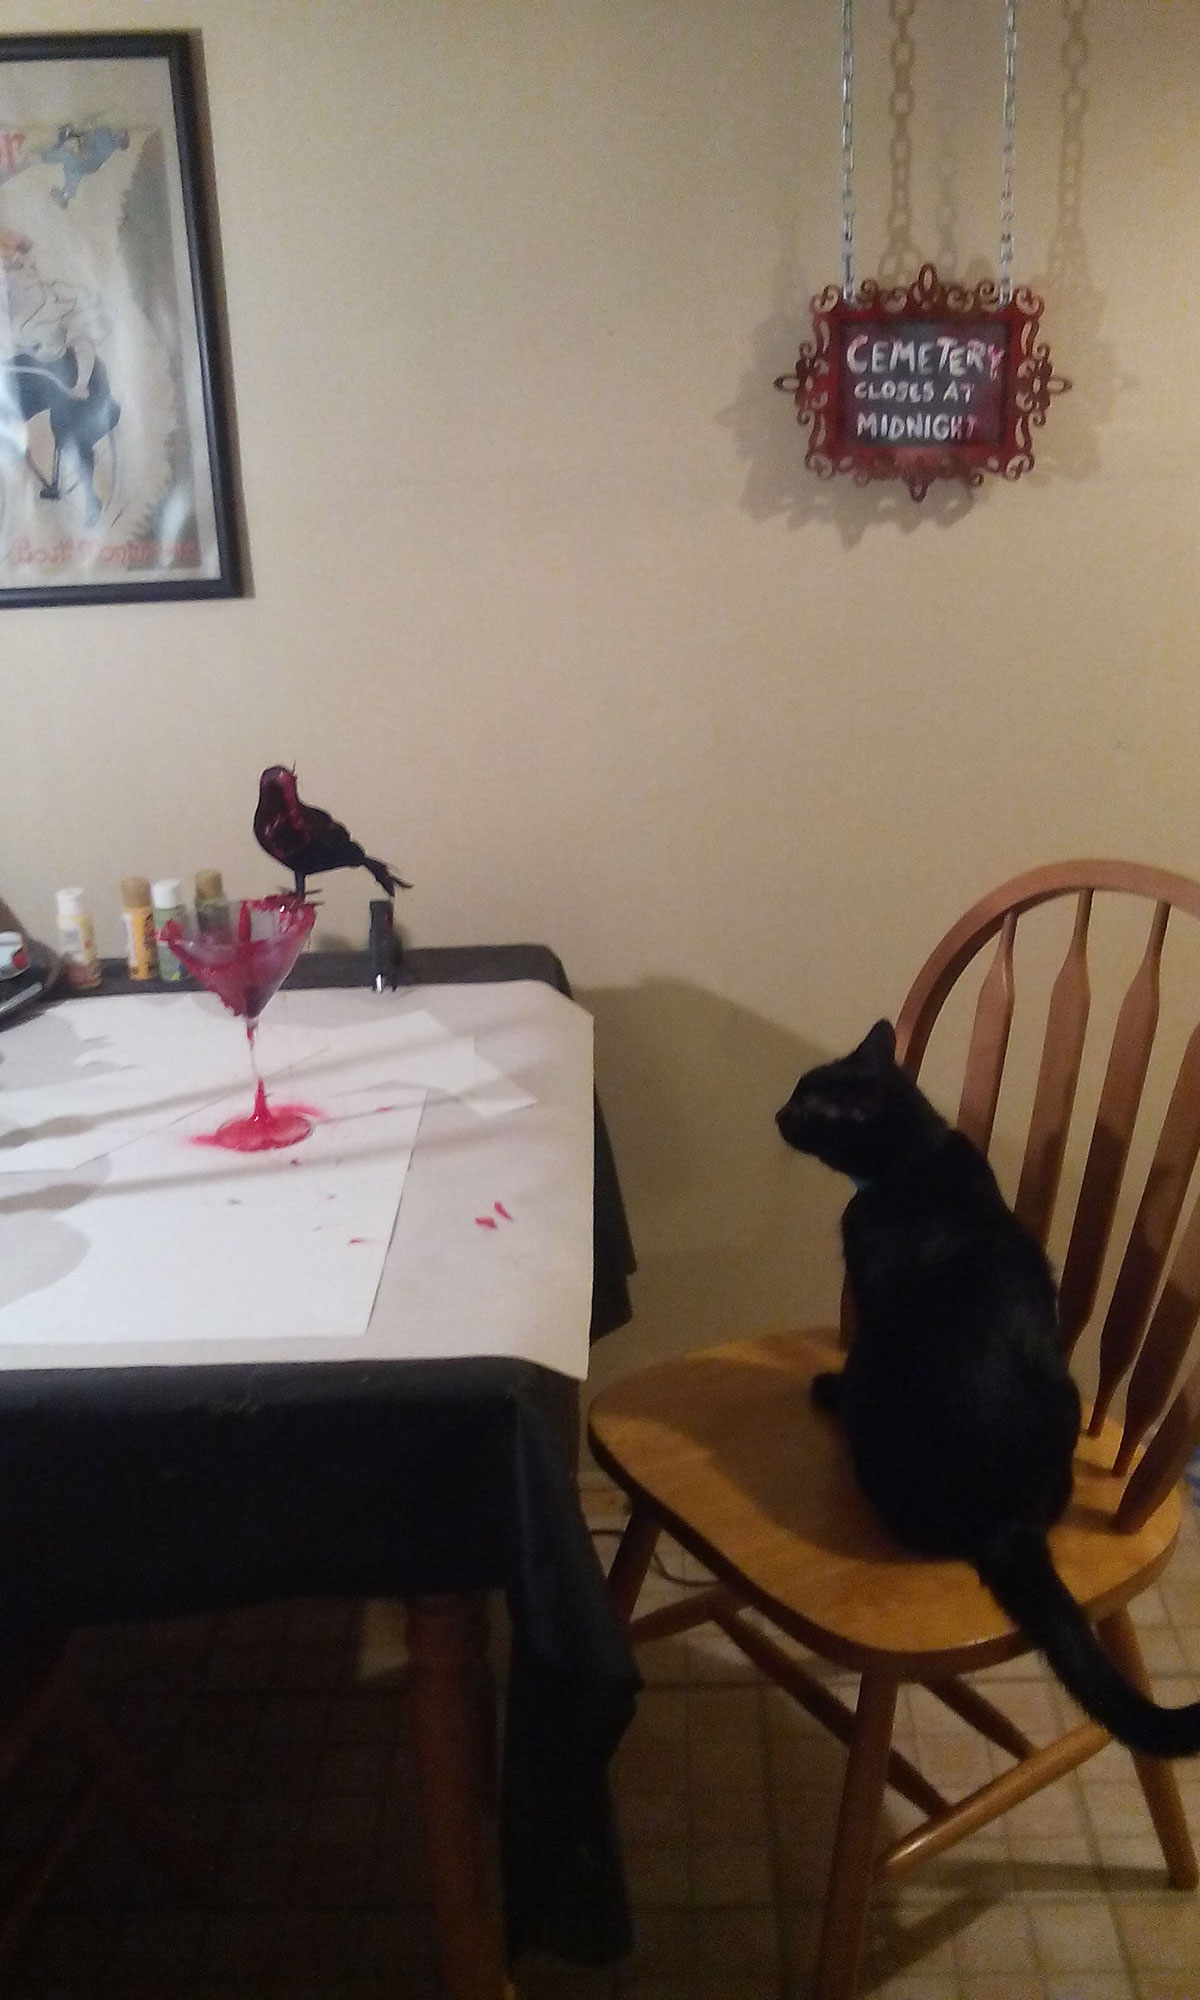
I let the piece dry. My cat was checking out the progress.

Once complete, I sprayed parts of it with Krylon® Kamar® Varnish, being careful not to get too much into the basin, since it is flammable, (even after drying) and I intended on using a tea light inside for added effect on the display.
I placed a red tea light in the centre of the cup (removing the tin covering from the bottom) and lit it. As the wick burns and the wax melts, it provides the appearance of a pool of blood inside the cup. (The solidified glue and dried red paint at the bottom help the wick not to fall into the triangular “bottom” therefore being extinguished, as well as provide the basic idea.) The tiny bit of light emanating from the tea light also helps it to be seen a tad better in the dark.
I decided to place the cup outside, so I put it onto a makeshift table/altar along with my crystal ball (c. 2012), bleeding candles (purchased at Five Below®) and some LED tea lights.
I decided to place the cup outside, so I put it onto a makeshift table/altar along with my crystal ball (c. 2012), bleeding candles (purchased at Five Below®) and some LED tea lights.
This was just before dusk, on Halloween. (10/31/15)

This was just before dusk, on Halloween. (10/31/15).
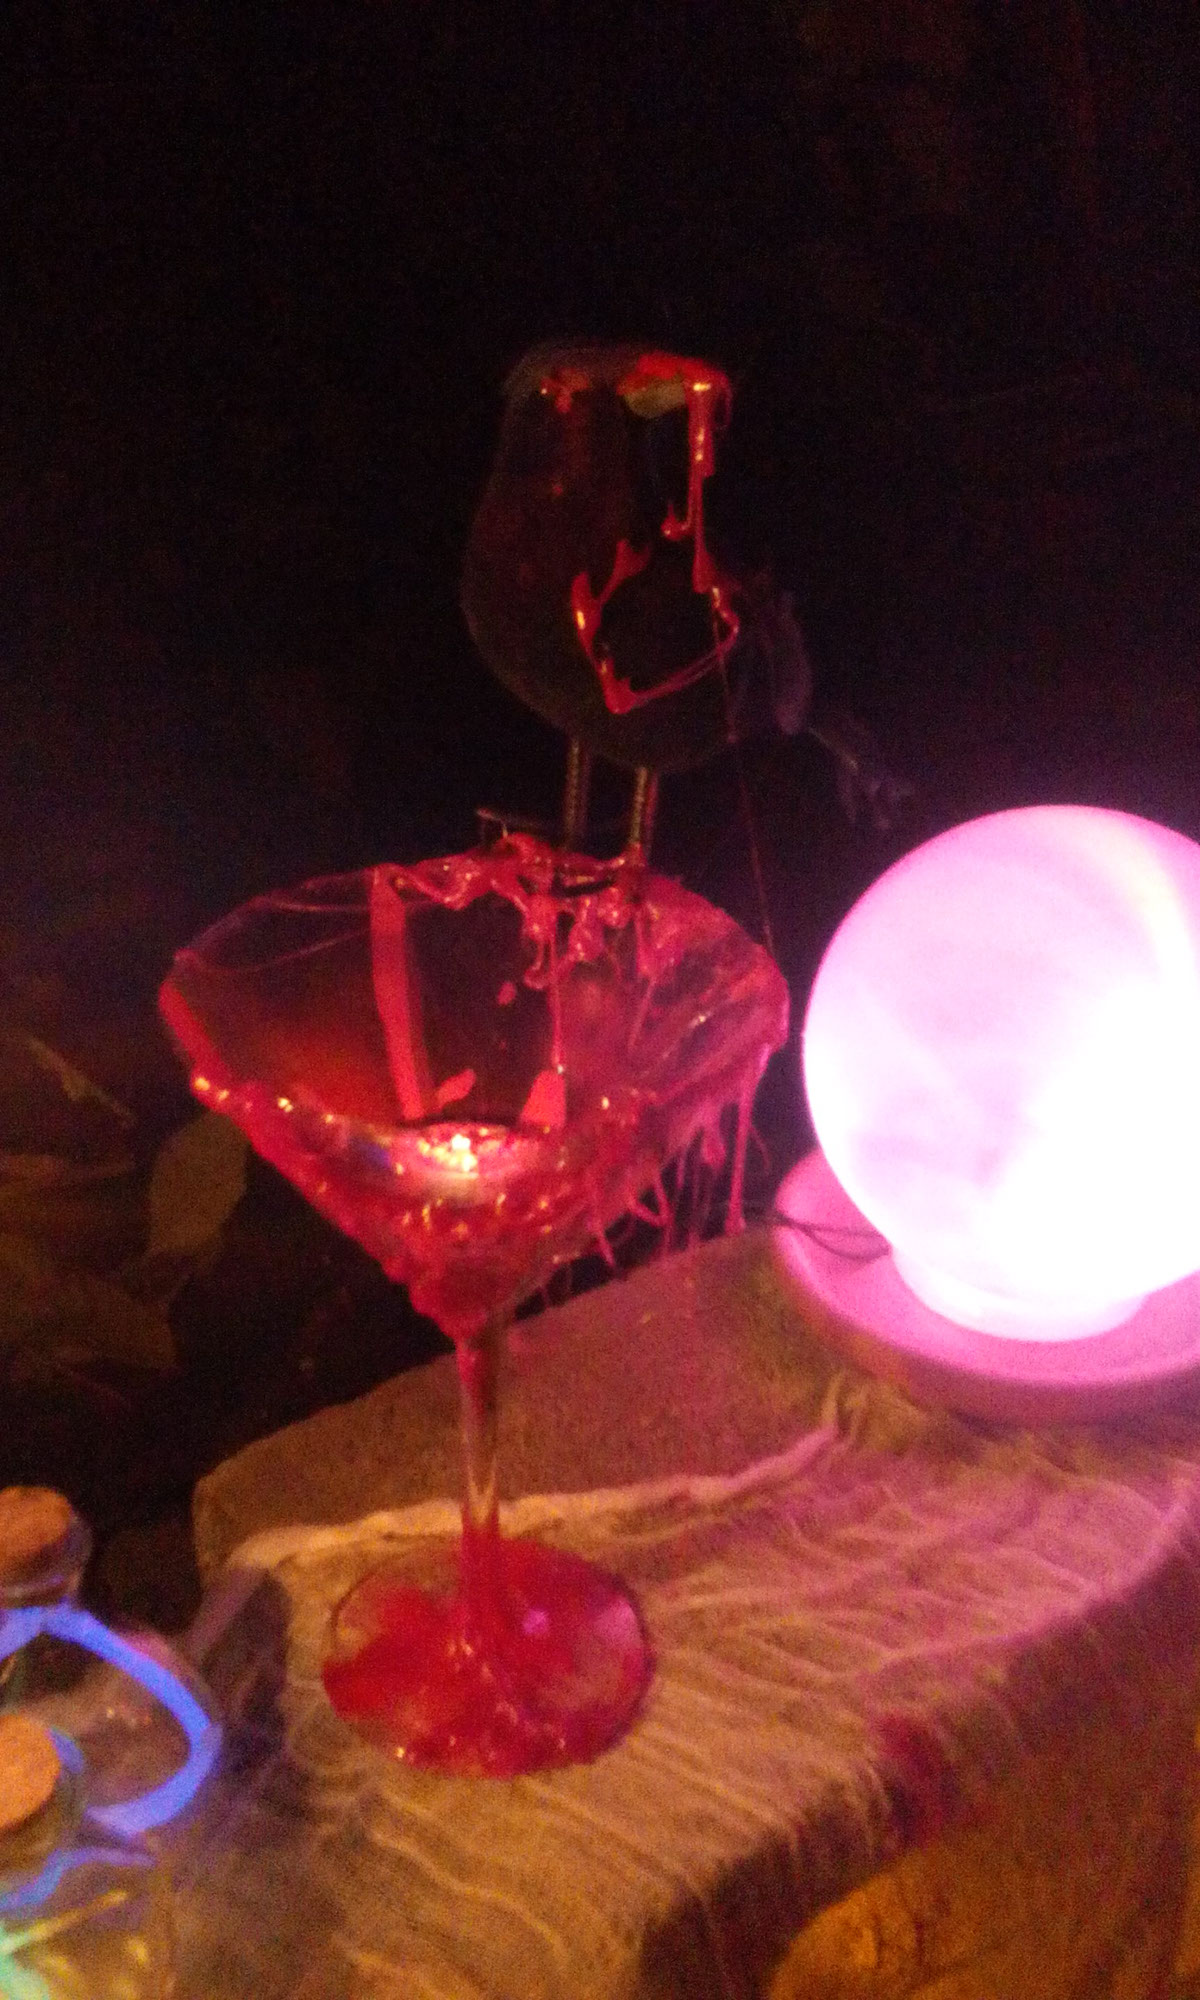
Close-up. This is how it appeared, after nightfall, on Halloween. (10/31/15).

From a distance. This is how it appeared, after nightfall, on Halloween. (10/31/15).

Close-up. Sideview. Additional lighting. This is how it appeared, after nightfall, on Halloween. (10/31/15).

