
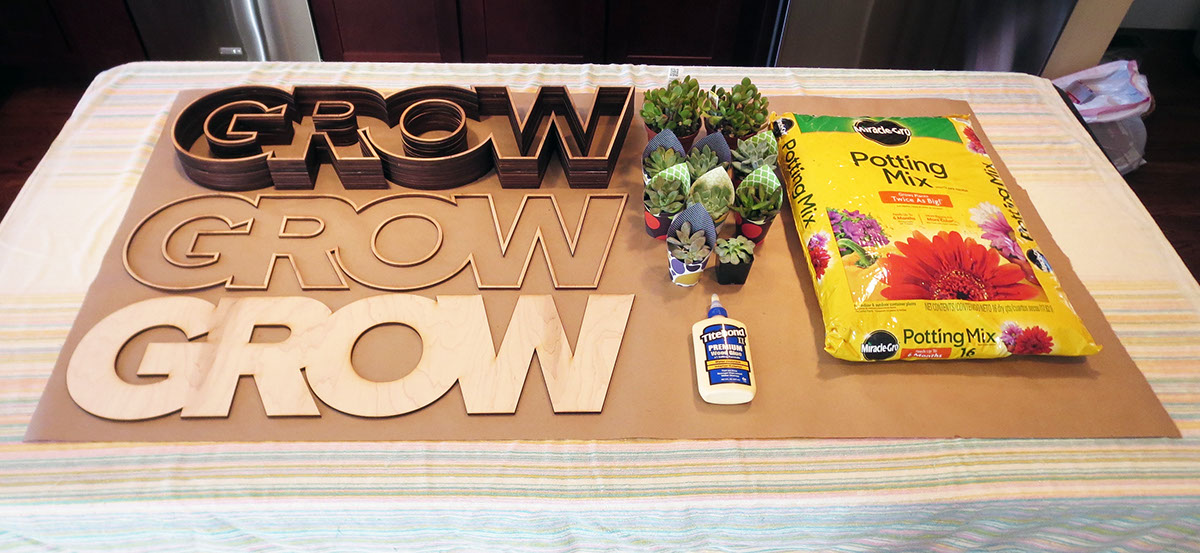
To build the project, I first had to assemble all of the materials. This began with laser cutting the maple plywood boards. There were 14 boards in total, each 10" x 32". After three hours of laser-cutting, I went out and purchased wood glue, several different types of succulents, potting soil and wood varnish.
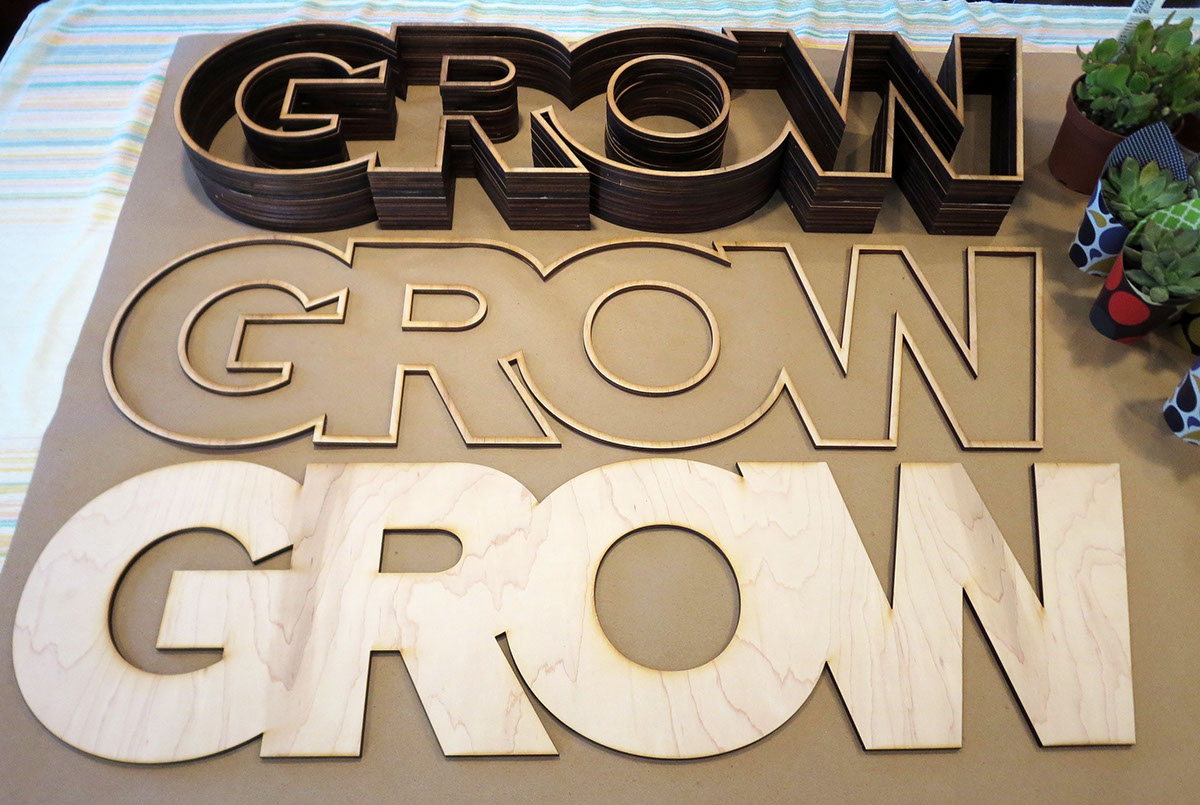
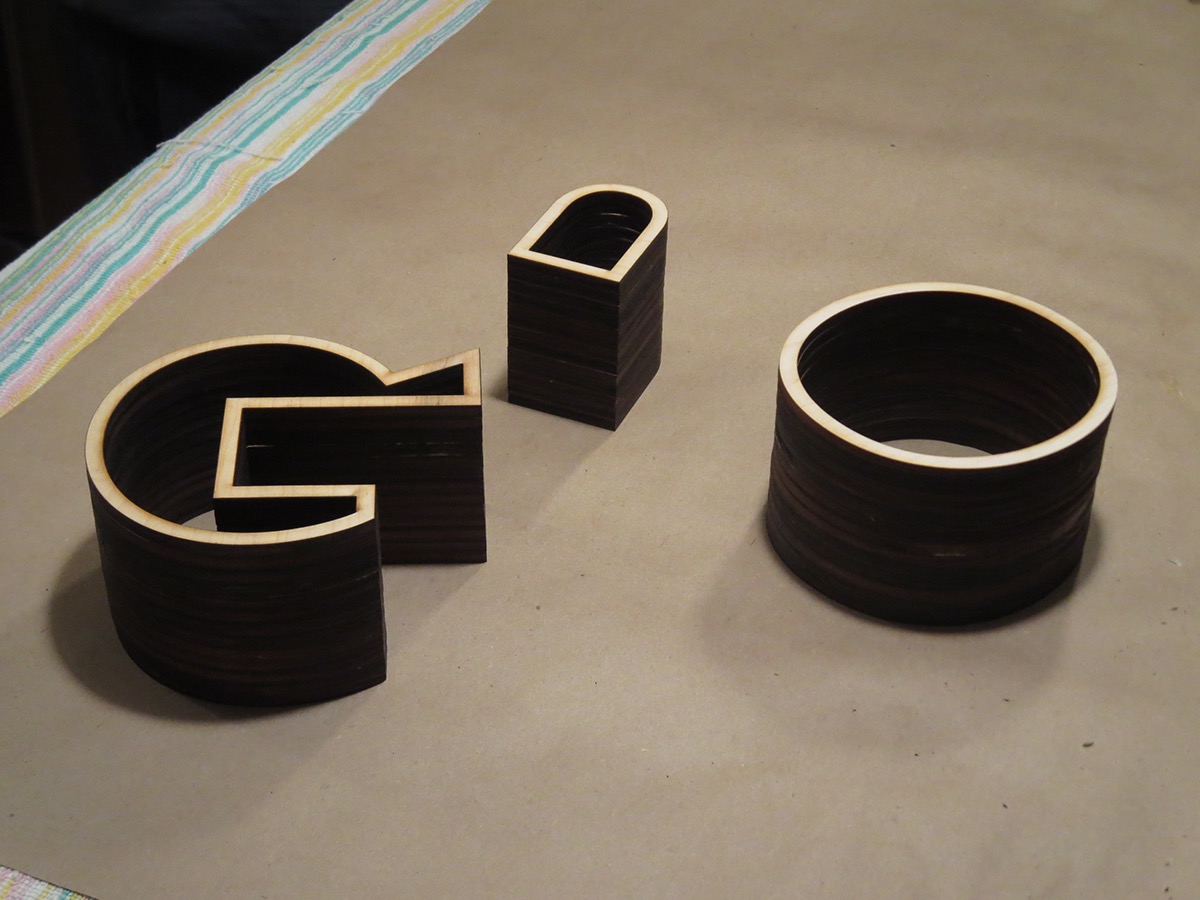
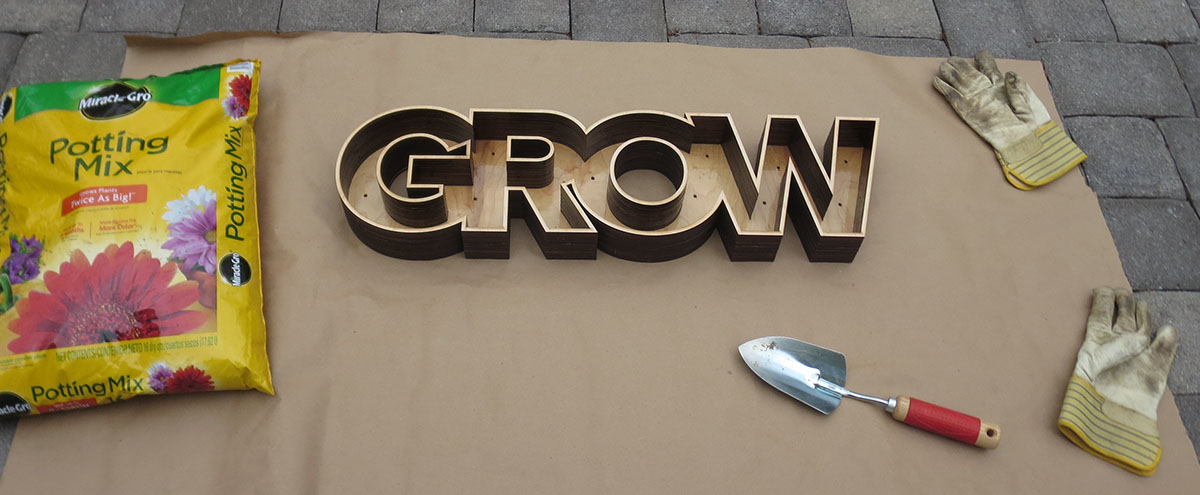
The maple plywood was untreated, but the laser-cutting process created a burned effect on the edges of the wood, which left a darker, smooth finish.
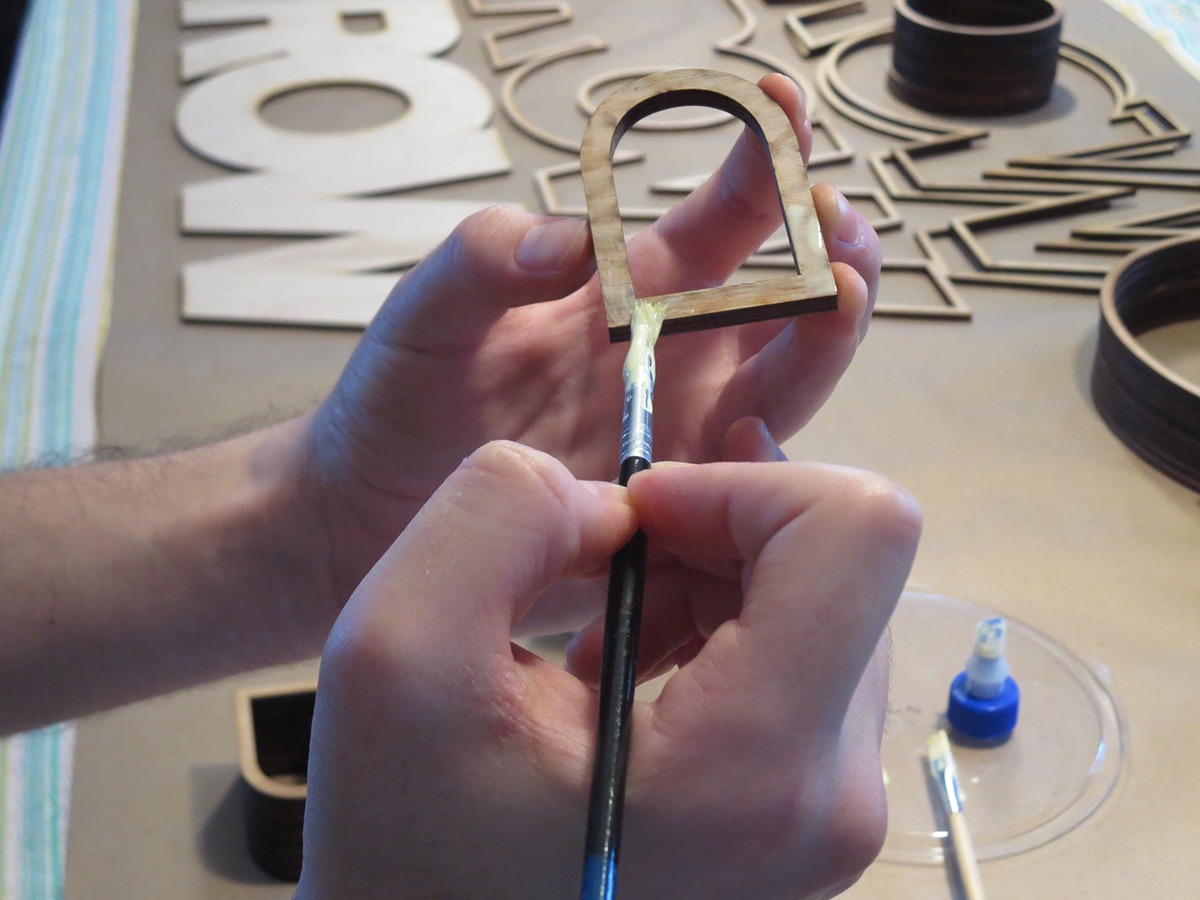
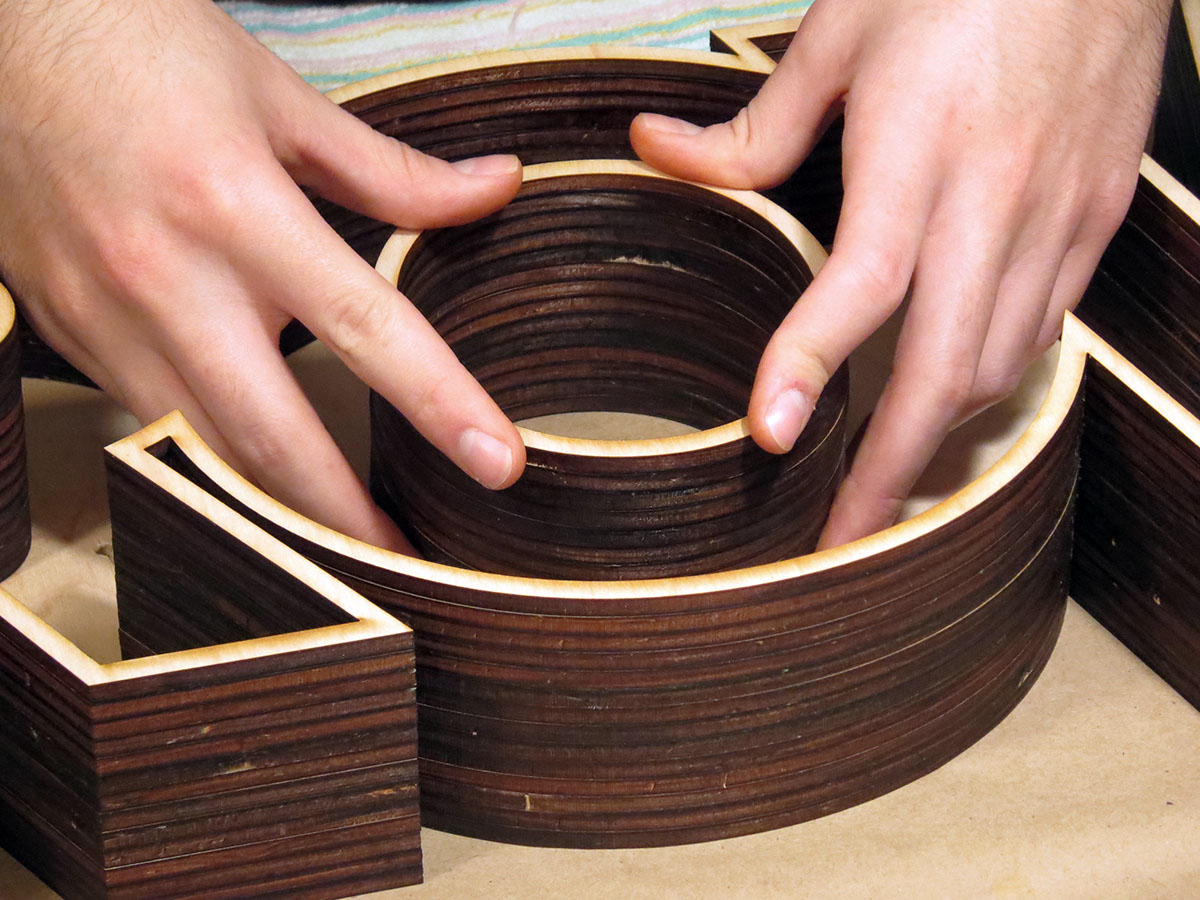
Wood glue was used to adhere the individual layers together. The glue dried pretty quickly, so I had to work fast while making sure the layers were as alligned as possible to create a flush exterior wall.
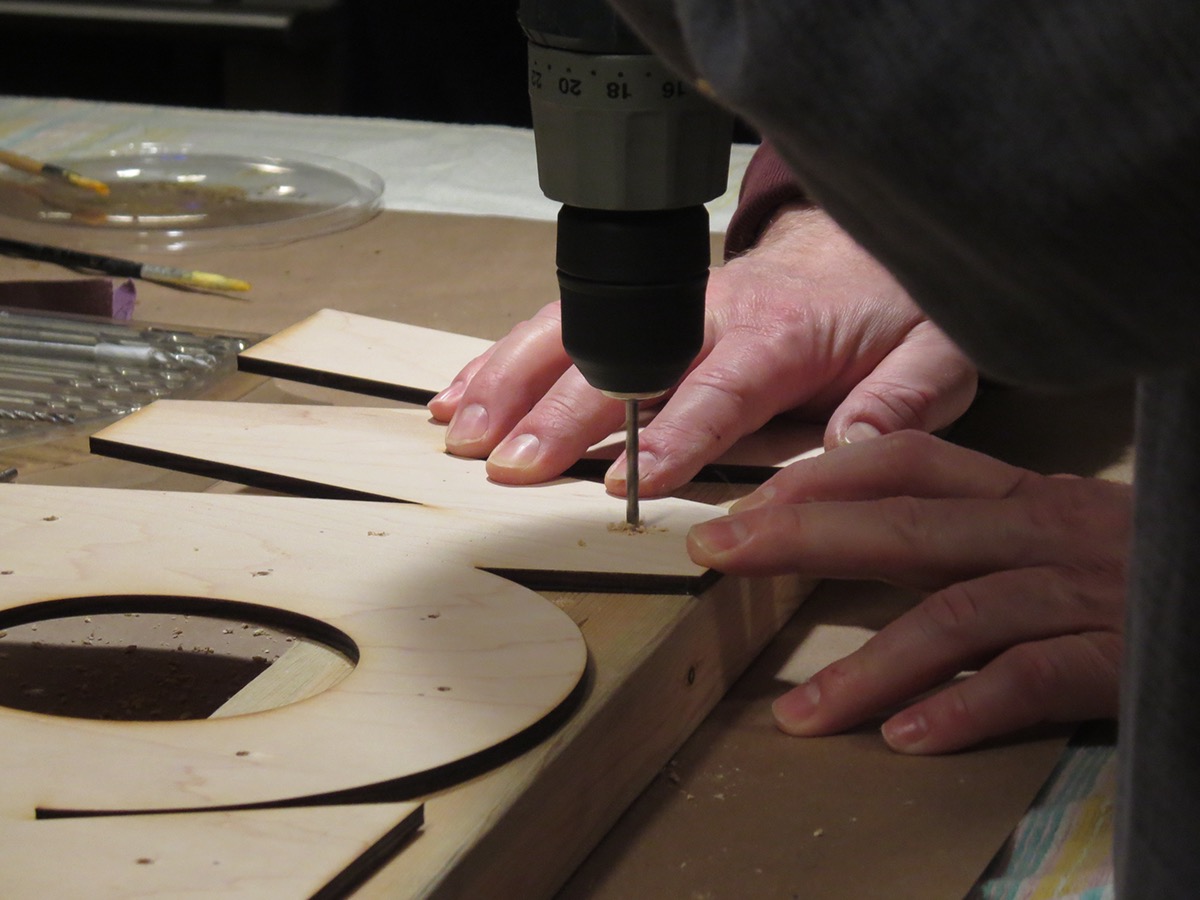
With some help from my family, we drilled drainage holes into the base layer so excess water could drain out of the box.
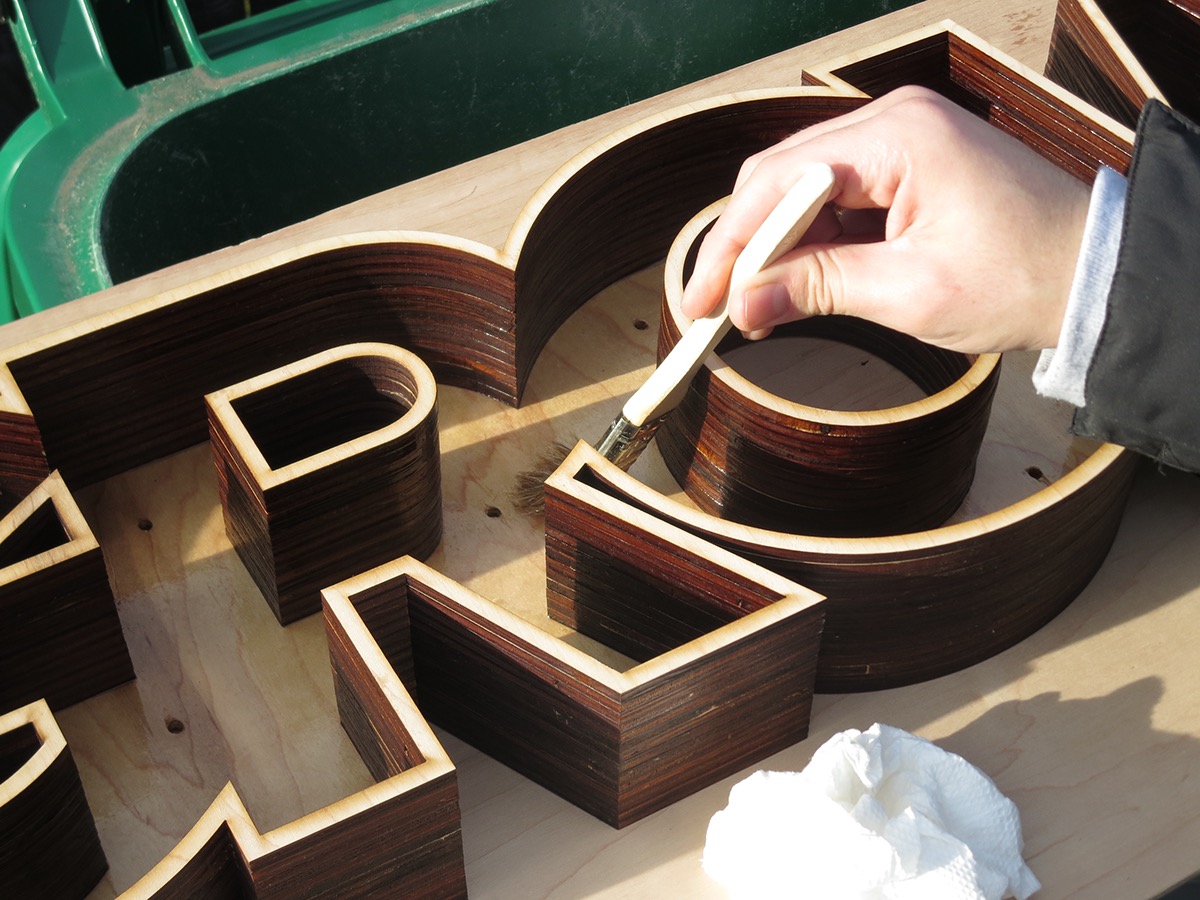
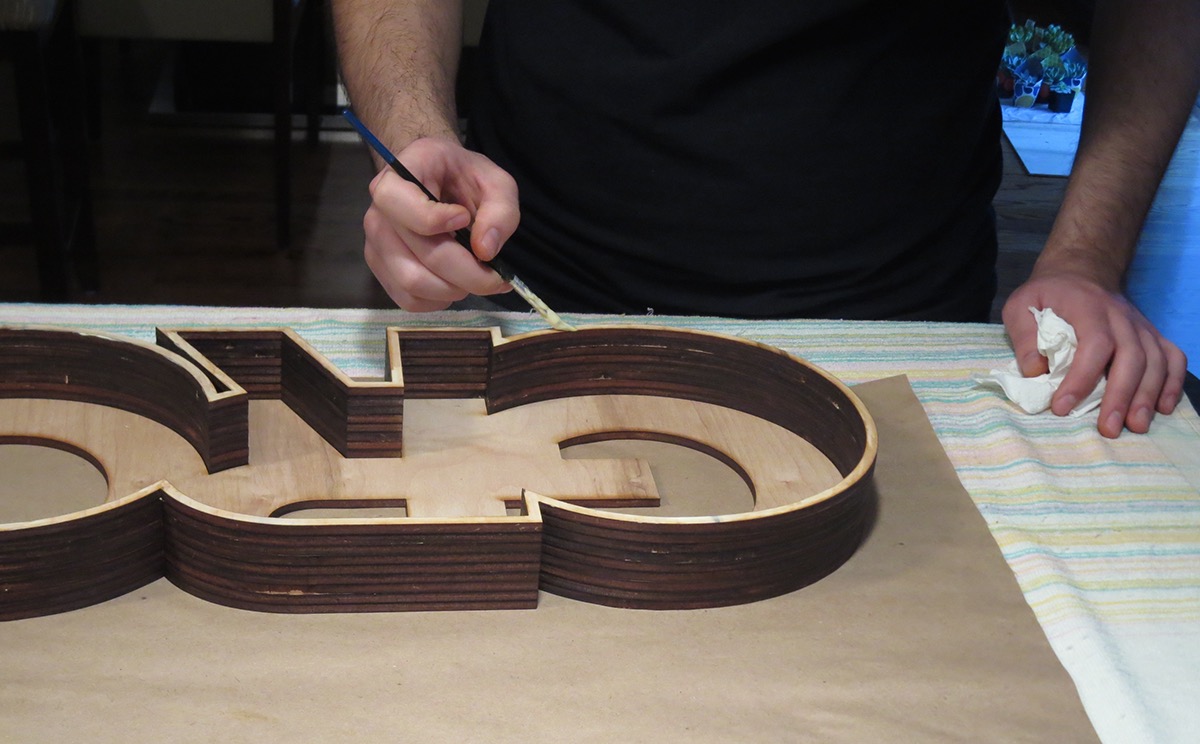
The next step was to coat the interior and bottom of the planter with spar urethane wood varnish to protect it from soil and water. I used an exterior-grade wood varnish to prevent water damage and rotting.
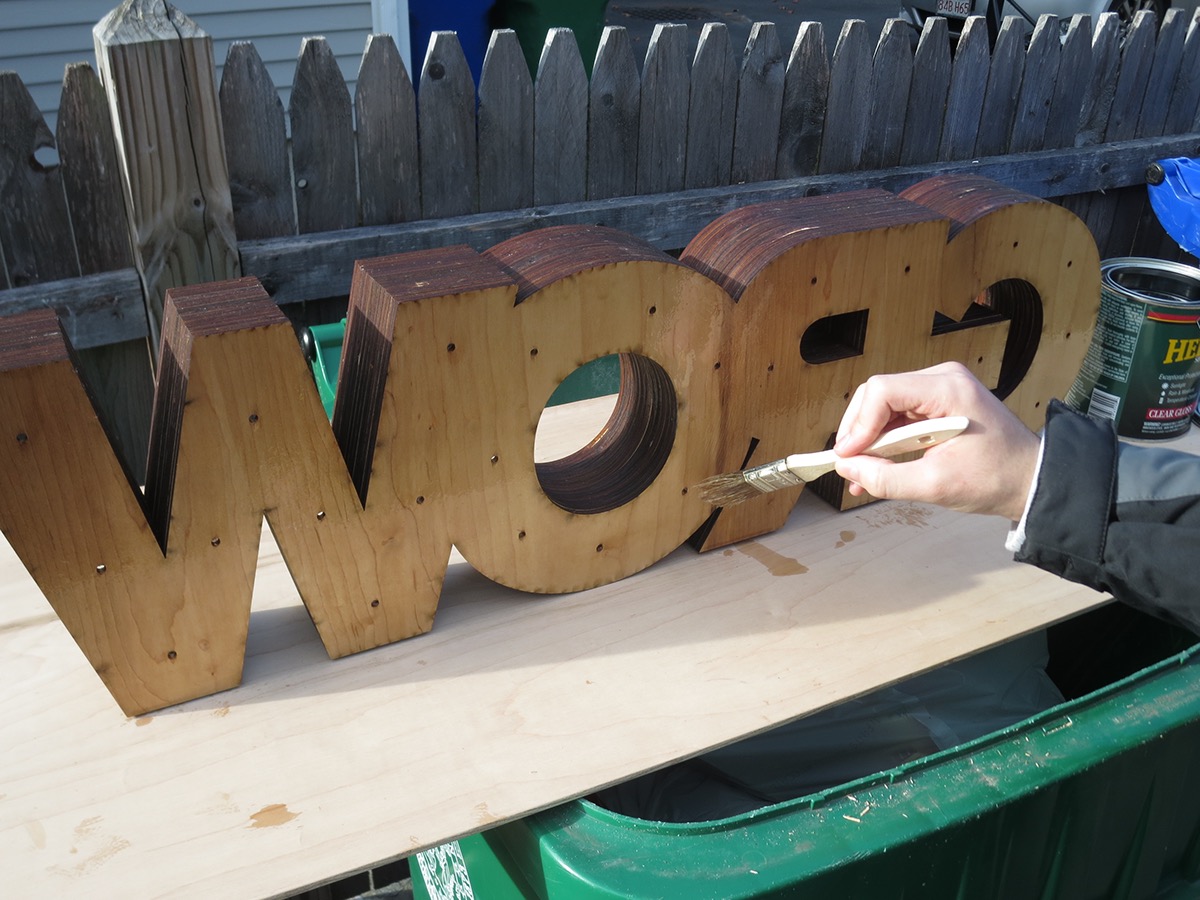
Don't forget the back! It took three coats of wood varnish for the planter to be complelety waterproof.
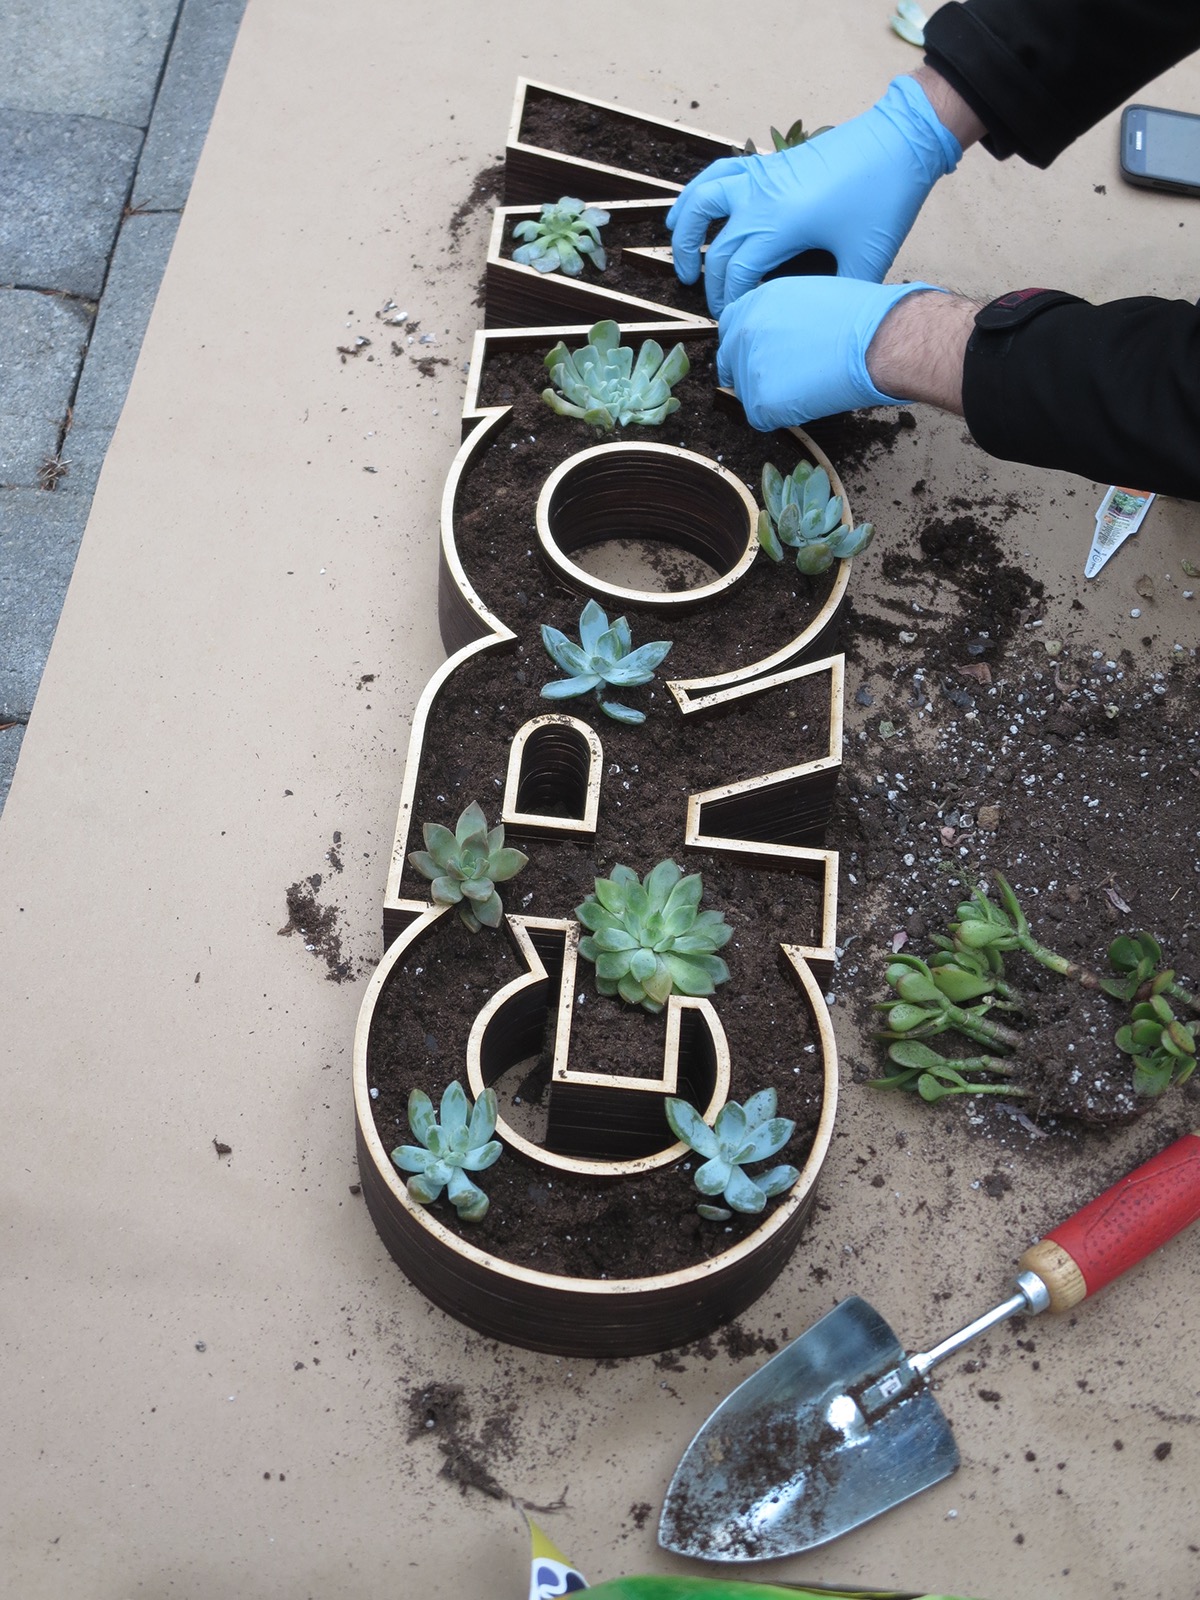
After waiting 24 hours, the spar urethane varnish was finally dry. Time to plant.

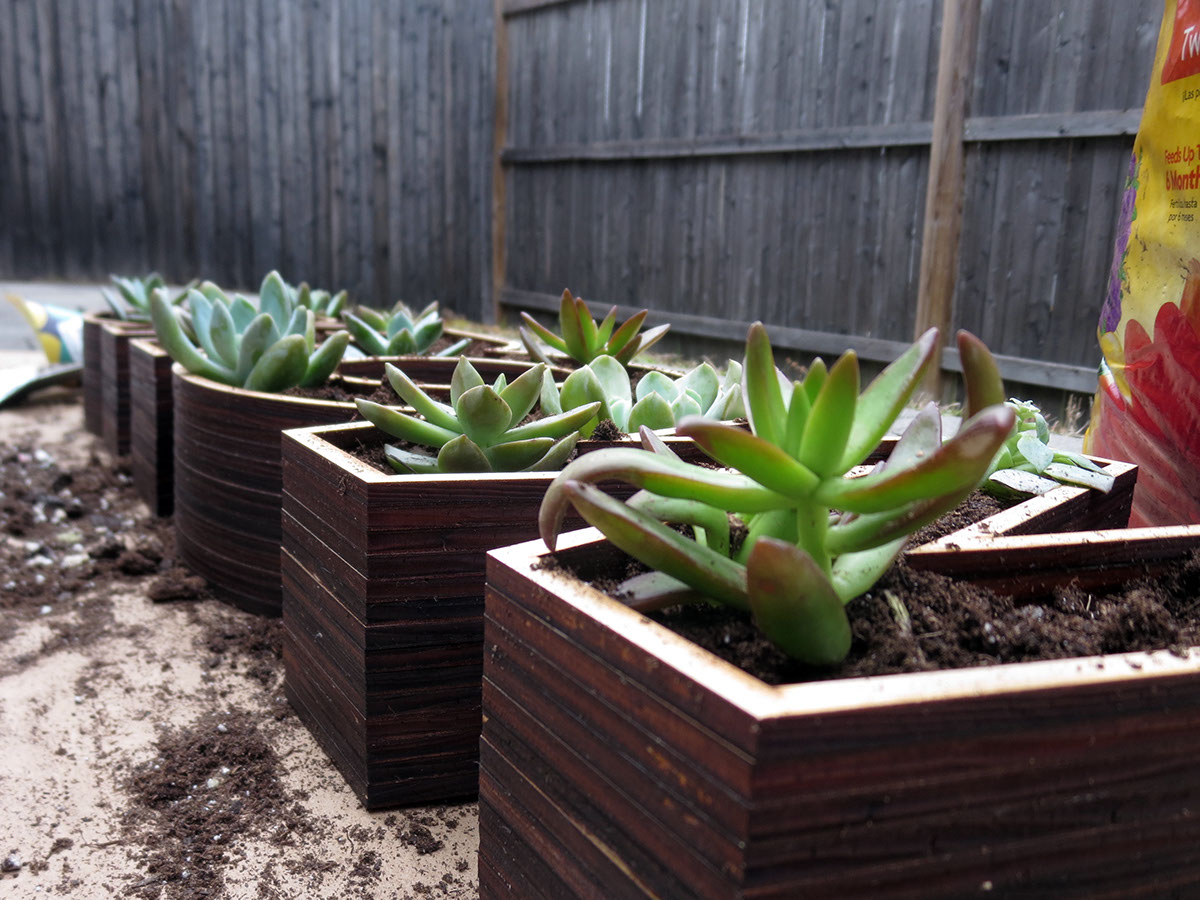
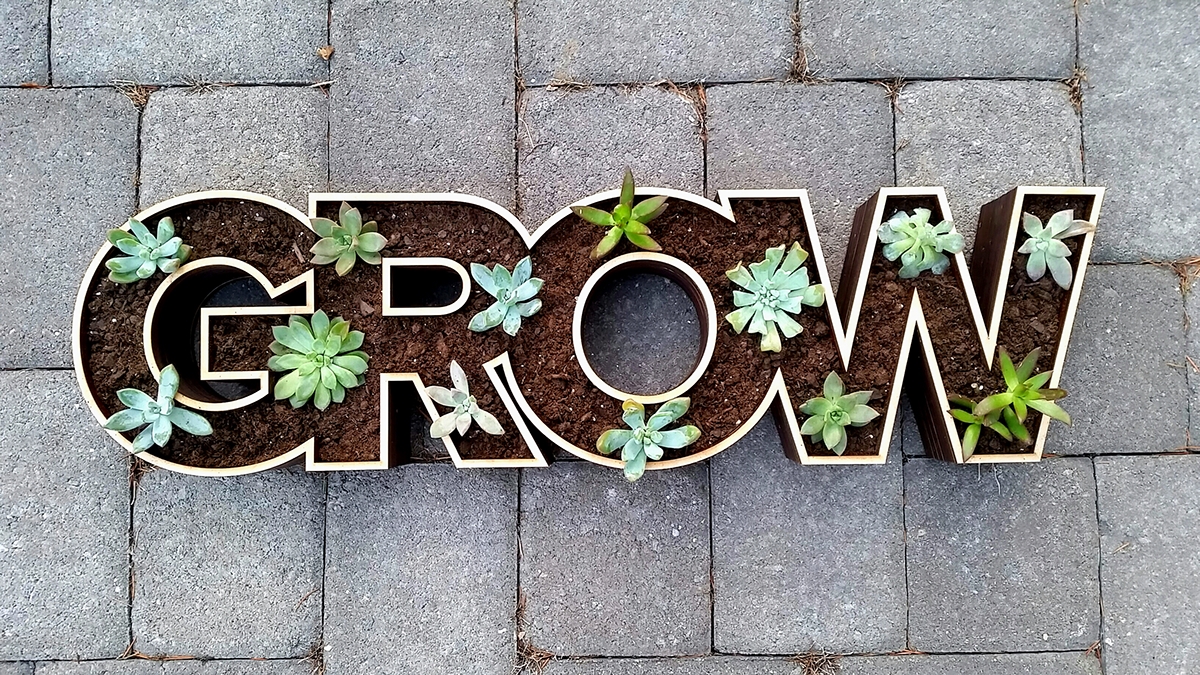
The final product, a fully functional planter box!
Final dimensions L: 30" x W: 8.5" x H: 3"


