
Green Screen Lighting
Chroma keying is a technique used for combining two frames or images by replacing a color or a color range in one frame with that from the another frame.
It is often used in film industry to replace a scene's background by using a blue or green screen as the initial background and placing the actor in the foreground. The principle behind chroma keying is that the color blue is the opposite color of skin tone, so a distinction between the two is very clear, making it easier to select the color without worrying about any part of the actor being included in the selection. The whole blue selection is then replaced with another frame as the background.
Chroma key is also known as color keying and color separation overlay; it is also commonly called blue screen or green screen.
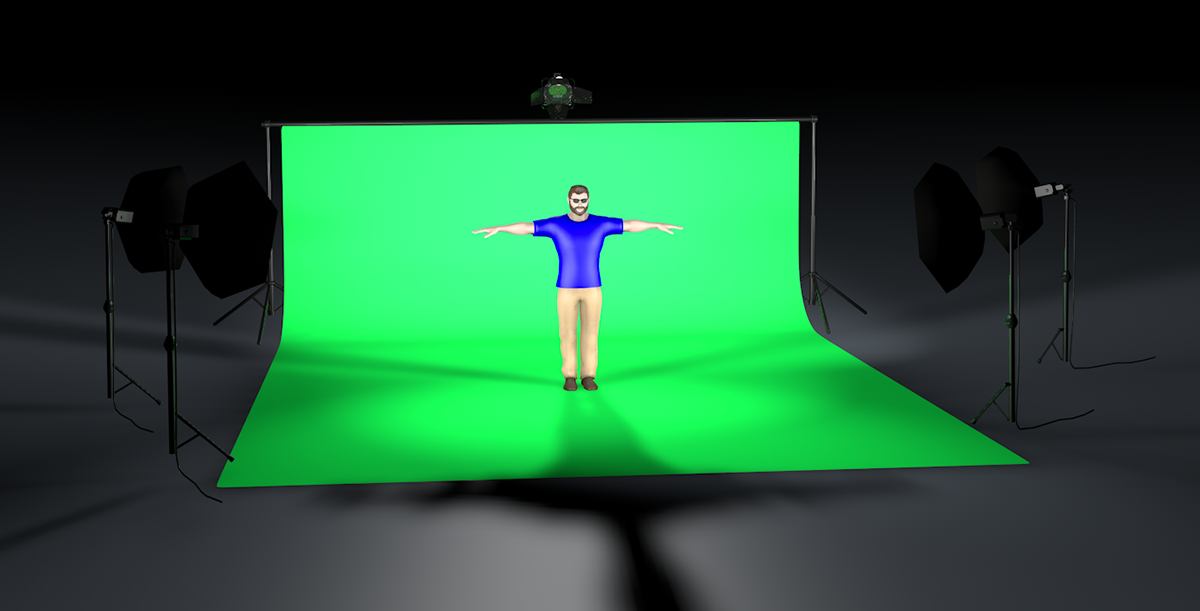
There are several different ways to light for a green screen. It all depends on the equipment you have access to and the space you can do it in.
Block out any unwanted light.
When outside or random lights splash onto the screen or your subject, it creates difficulties later when you are trying to key out the screen.Set up your screen
Depending on the setup you are using, make sure the screen is pulled tight and there is minimal amount of wrinkles as possible in the screen.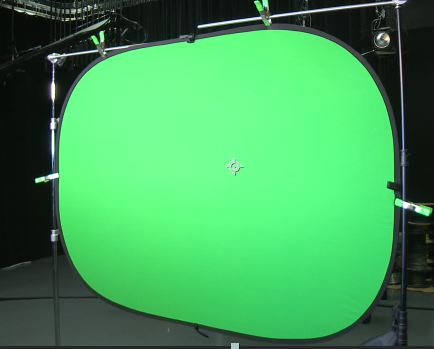
Pop-up screen

Chroma-key Muslin
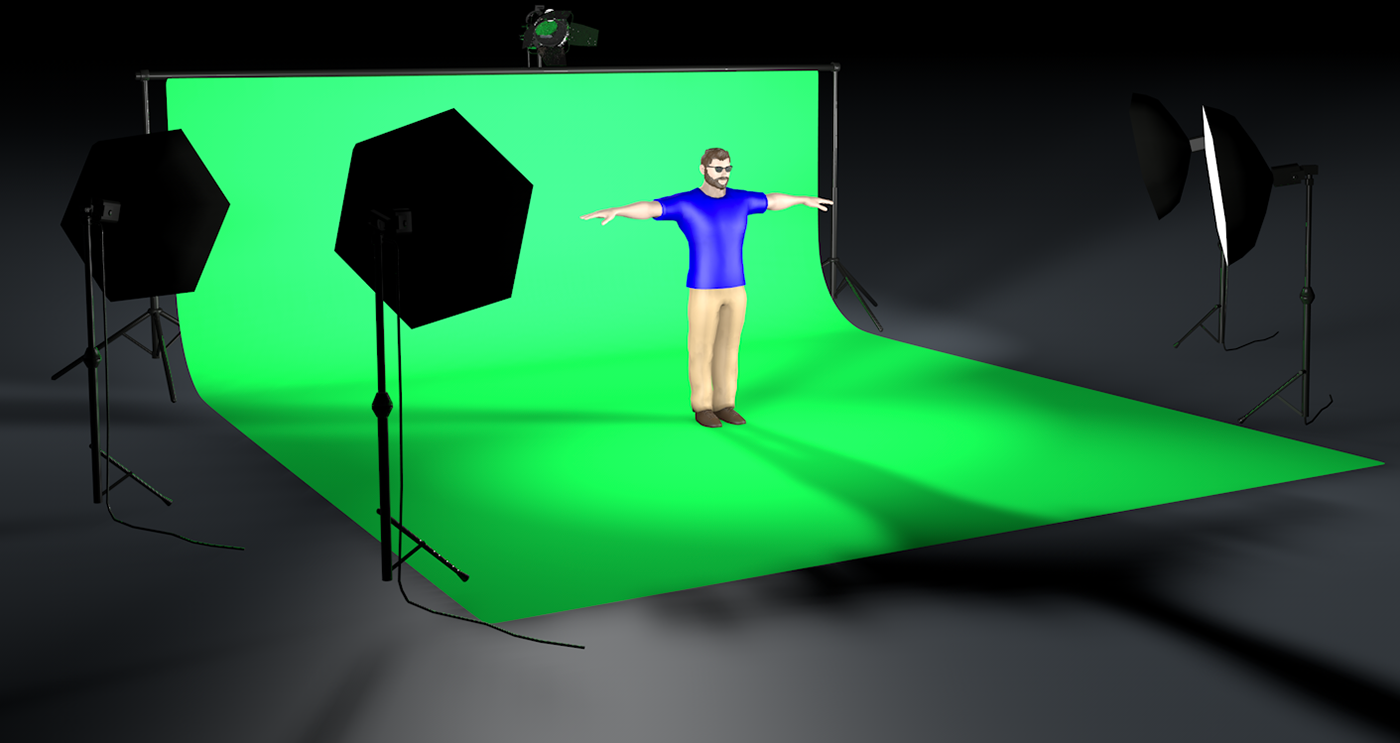
3-POINT LIGHTING SYSTEM
When lighting the screen with a 3-point lighting system, you are going to have some distance from your lights and your screen so that the subject is not going to cast shadows. Make sure that the screen is as evenly lit as possible.

3-POINT LIGHTING SYSTEM
You should have a good distance between the screen and the lights. When you light your subject, make sure they are not casting any shadows and that they are evenly lit. They generally will stand 4-5 feet from the screen itself.

3-POINT LIGHTING SYSTEM
The light behind the subject will create seperation between your subject and the screen itself.

3-POINT LIGHTING SYSTEM
Once everything is to the levels you like, turn everything on and start recording.
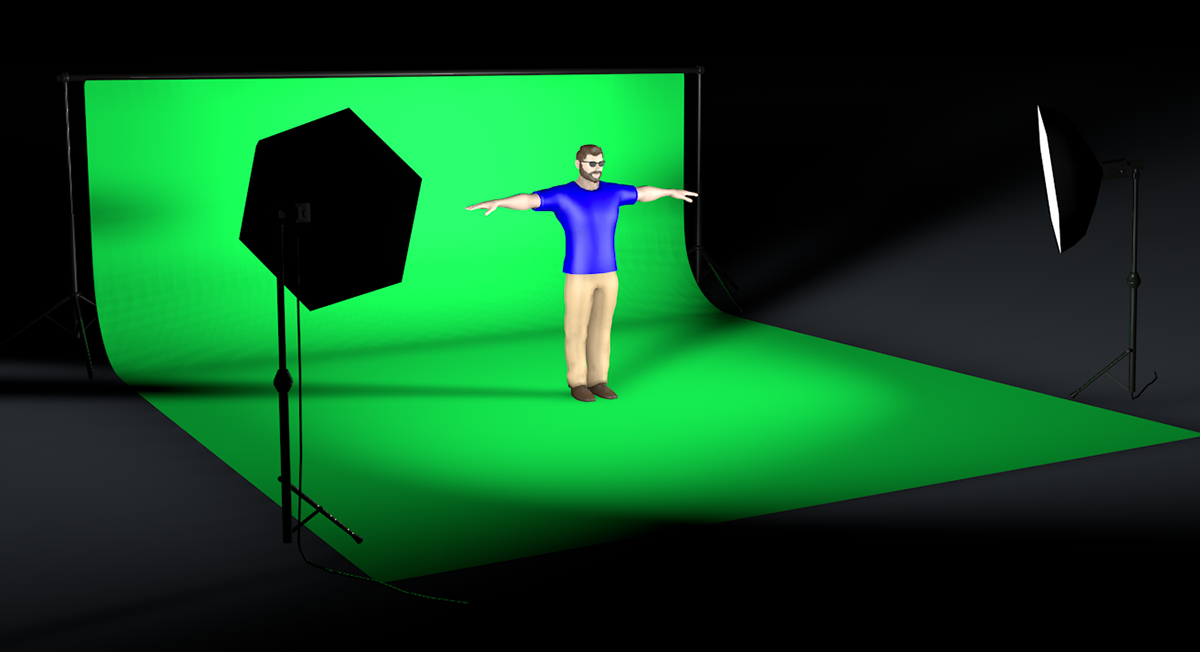
5-POINT LIGHTING SYSTEM
5-POINT LIGHTING SYSTEM
Turn on the flood lights to the green screen first, make sure that the screen is lit as evenly as possible.

5-POINT LIGHTING SYSTEM
Turn off the green screen lights and set your key and fill lights on your subject. Make sure the subject is separated from the screen by at least 4-5 feet.
*Do not over light (expose) your subject or green screen, it will lead to nightmares when trying to edit your video later.
**Advanced Users**
If you can adjust your iris on your lens, open it up so that the exposure is set at 70 for the green screen. Turn off your green screen lights and turn on your key and fill lights. Open the iris two stops and light your subject the same way. When it is set, your subject should be exposed at 7 and your background will fall-off to 50.
If you can not adjust your iris, you generally want to have the background be lit lighter then the subject and make sure it as evenly lit as possible and that your subject does not looked "washed out" or their skin looks reflective.
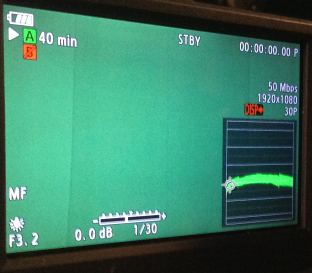
The light meter is NOT the histogram. This shows how much light is being allowed in the camera and can be seen easier by utilizing the Zebras on the camera.
5-POINT LIGHTING SYSTEM
Once you have your levels set on both systems, adjust the backlight so that it lightly outlines your subject and does not create a lens flare.

5-POINT LIGHTING SYSTEM
After that, make sure everything is on...
5-POINT LIGHTING SYSTEM
And start recording