This is the first Project that I did on my course. I chose to create a 3D Model of a Dalek. These are my progress screenshots, with their original text, giving a step-by-step almost on how I created the model.
This is my progress so far on my 3D Model of a Dalek from Doctor Who. I created the base half of the Dalek from various cylinder and sphere shapes, removing vertices and changing division to get the right number of faces for that part of the Dalek. (Images 1-2)


After this, I created the chest/neck area of the Dalek, using a single cylinder but using the “insert edge loop tool” to get the horizontal division on the cylinder for the detail. (Image 3)

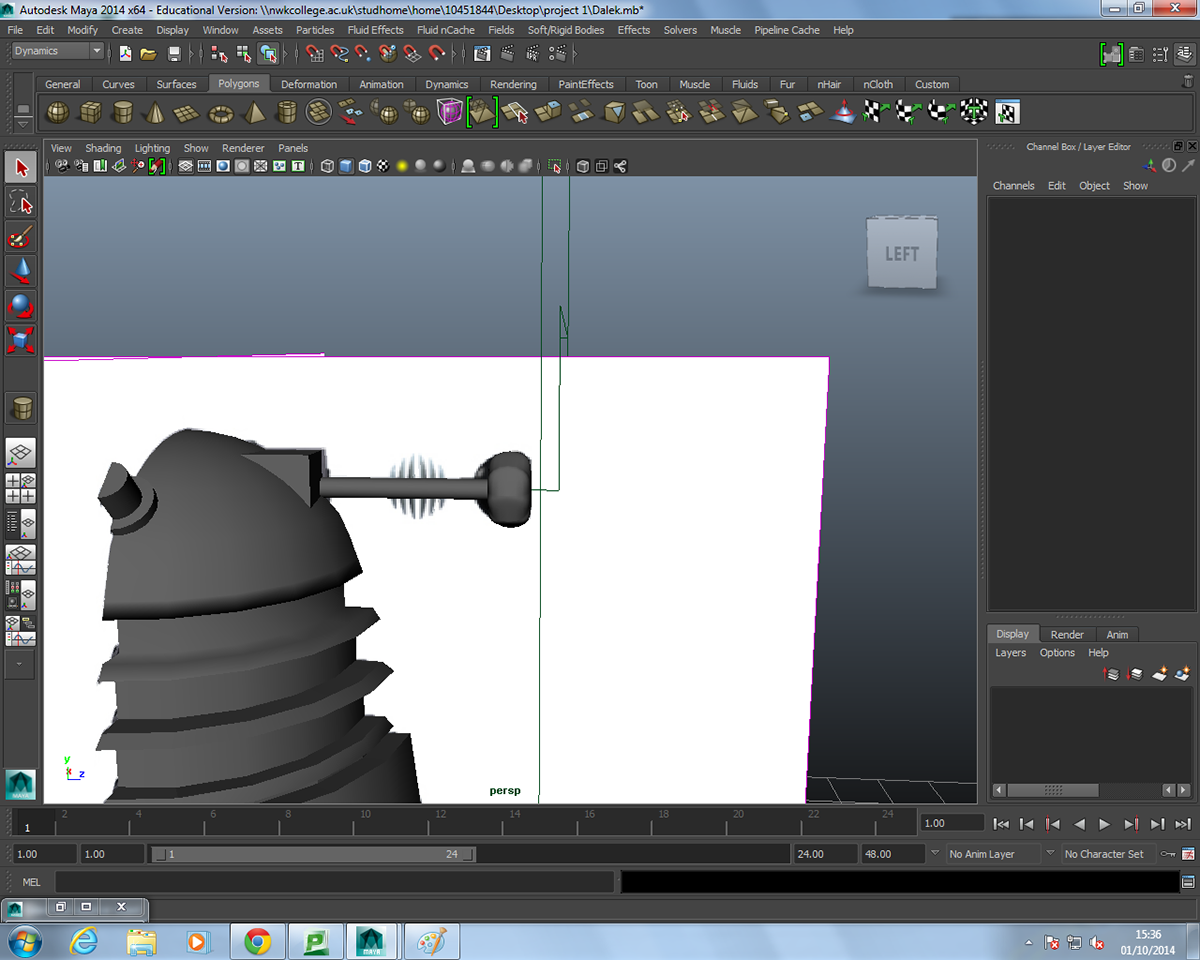
Next, I created a sphere and scaled it so the top half matched the shape of the Dalek’s dome head. I then cut the sphere shape in half horizontally. Next, I created a cylinder and positioned it accordingly using the image plane reference. (Image 4)

Once done, I once again used the insert edge loop tool to create the detail on the ear lights. I then duplicated the ear light and reversed its z axis rotation. (Image 5-6)


I then moved the duplicated ear light to the opposite side of the head dome. (Image 7)

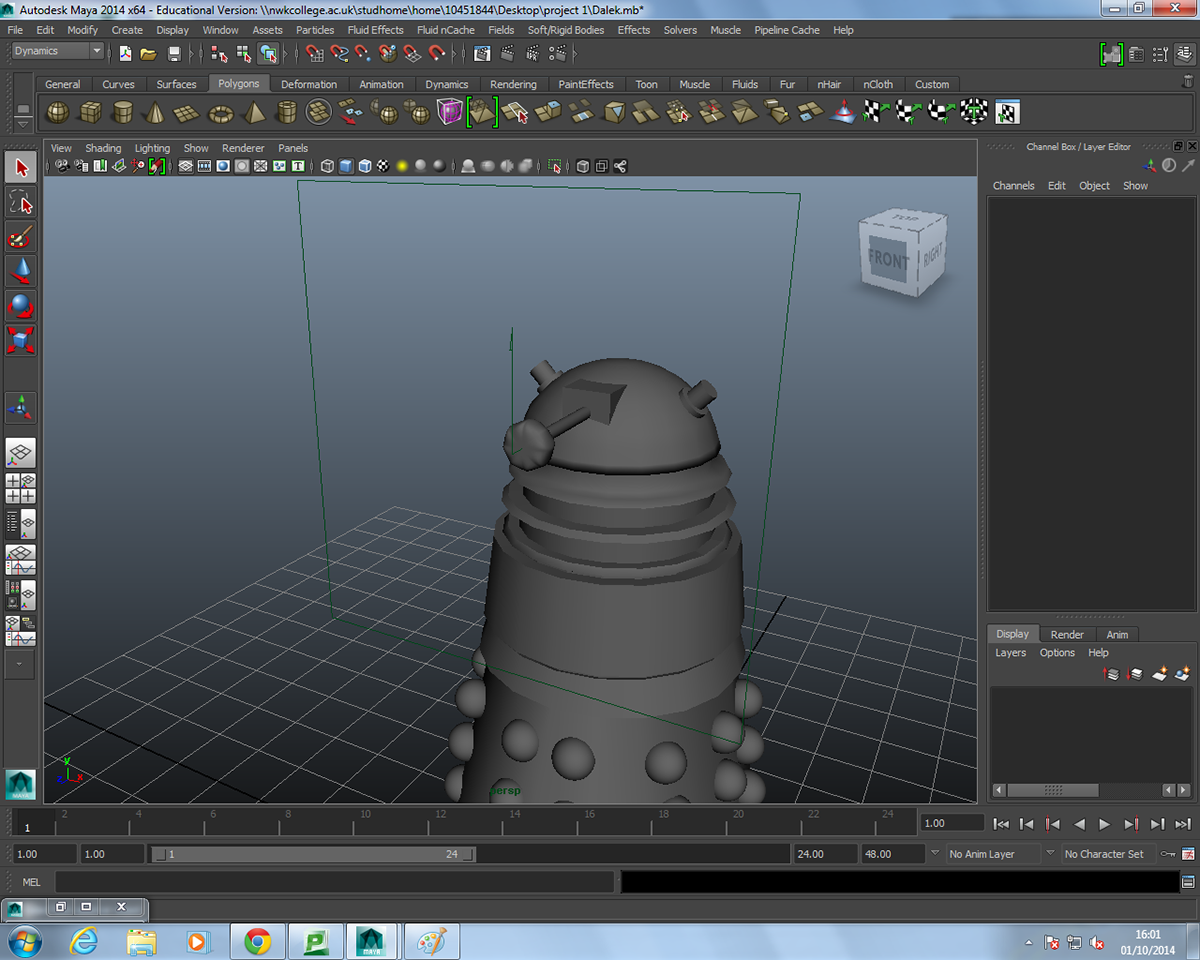
Finally, I created 2 more cylinder shapes, one with a high division rate of 20, the other with a low division rate of 8. I used an edge loop tool on the lower division cylinder to maintain the straight edges when smoothing the corners. I then scaled and positioned the cylinders accordingly, and placed a cuboid behind the high division cylinder, connecting it to the dome head of the Dalek. You can also see that I have now created the eye piece, by creating a sphere and deleting half of its faces. (Images 8-10)

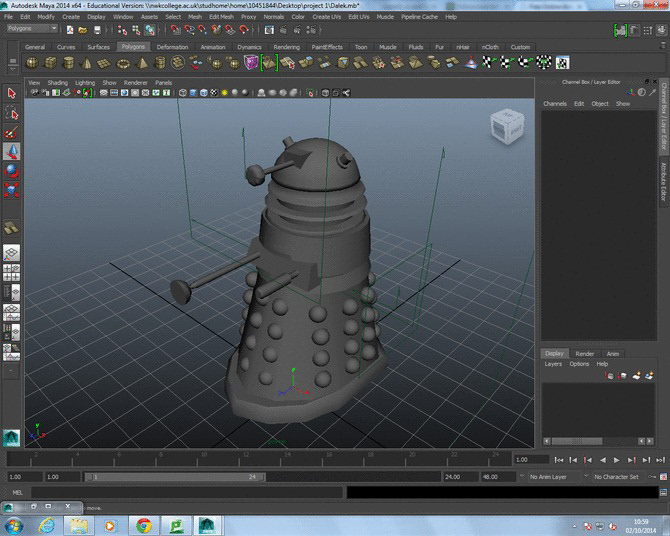
Here is a .gif I made to showcase the final product. As you can see I have now added the chest area, plus the plunger and gun. The gun and plunger still need to have the recesses added, but the Dalek now has all of its components.
Here is my finished dalek model, textured and with a light source. I am very pleased with the results I have achieved.

I textured my dalek by going into “Object Mode”, then selecting the different components of the dalek and assigning a new material to each segment. I used the “metallic paint” material for the majority of the dalek, using the “Car Paint” texture for the neck piece.

I decided to use directional light, so that it made the dalek look more ominous. I did this by going to the “render” panel at the top of the screen, next to “polygons” and such, and created a directional light.
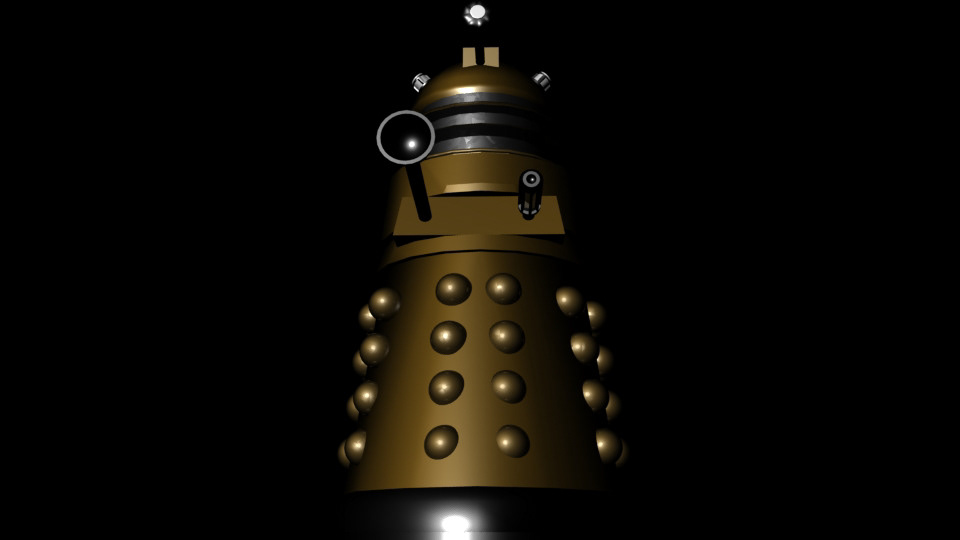
I then rotated, scaled and moved the light source so that it was in front of the dalek, and pointing towards it.


