

Final Render.
This is my first attempt at combining renders in Photoshop. Im quite happy with the results, but i feel like some of the highights are a bit extreme.

One of the early stages in the sculpt, before i added the piercings or the ears.
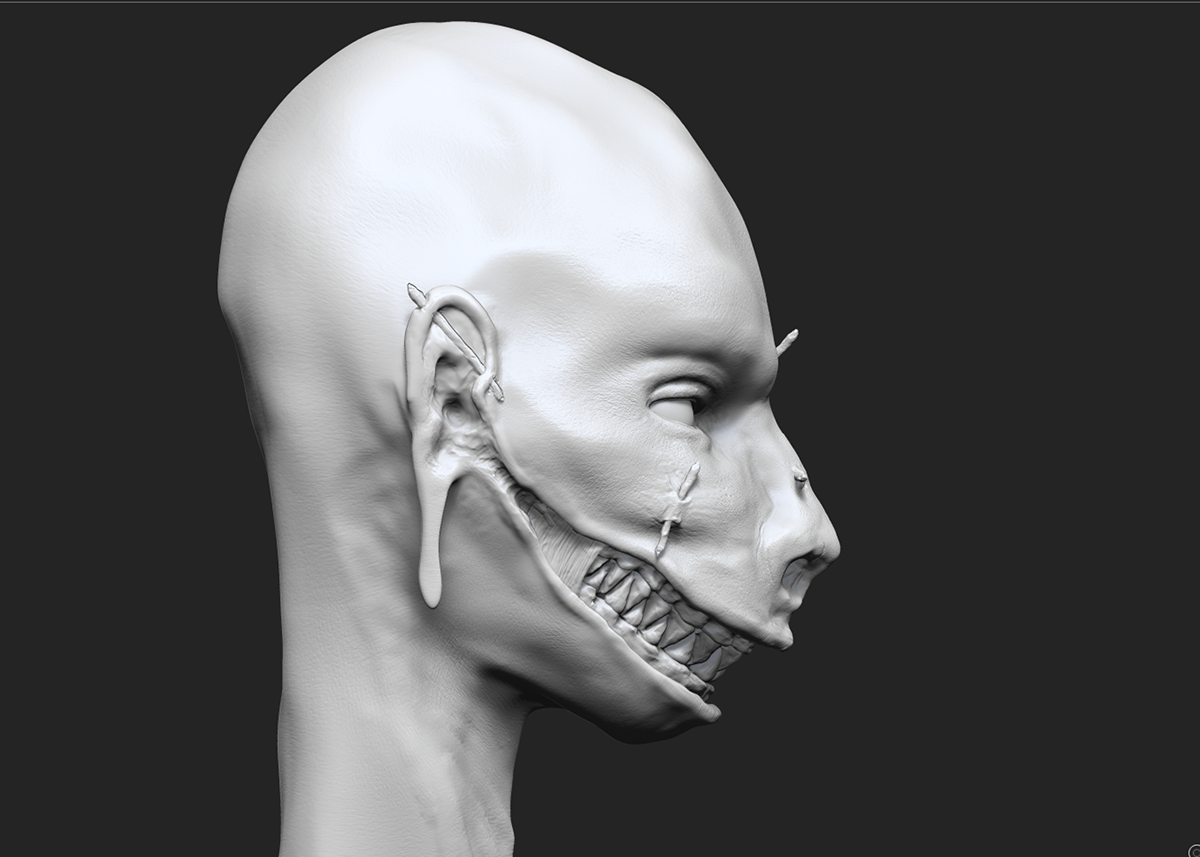
Profile view, After some discussion with peers i added the muscle tissue in the cheeks. Originally the teeth went right up to the ears, but it detracted from the realism.

Another view of the sculpt
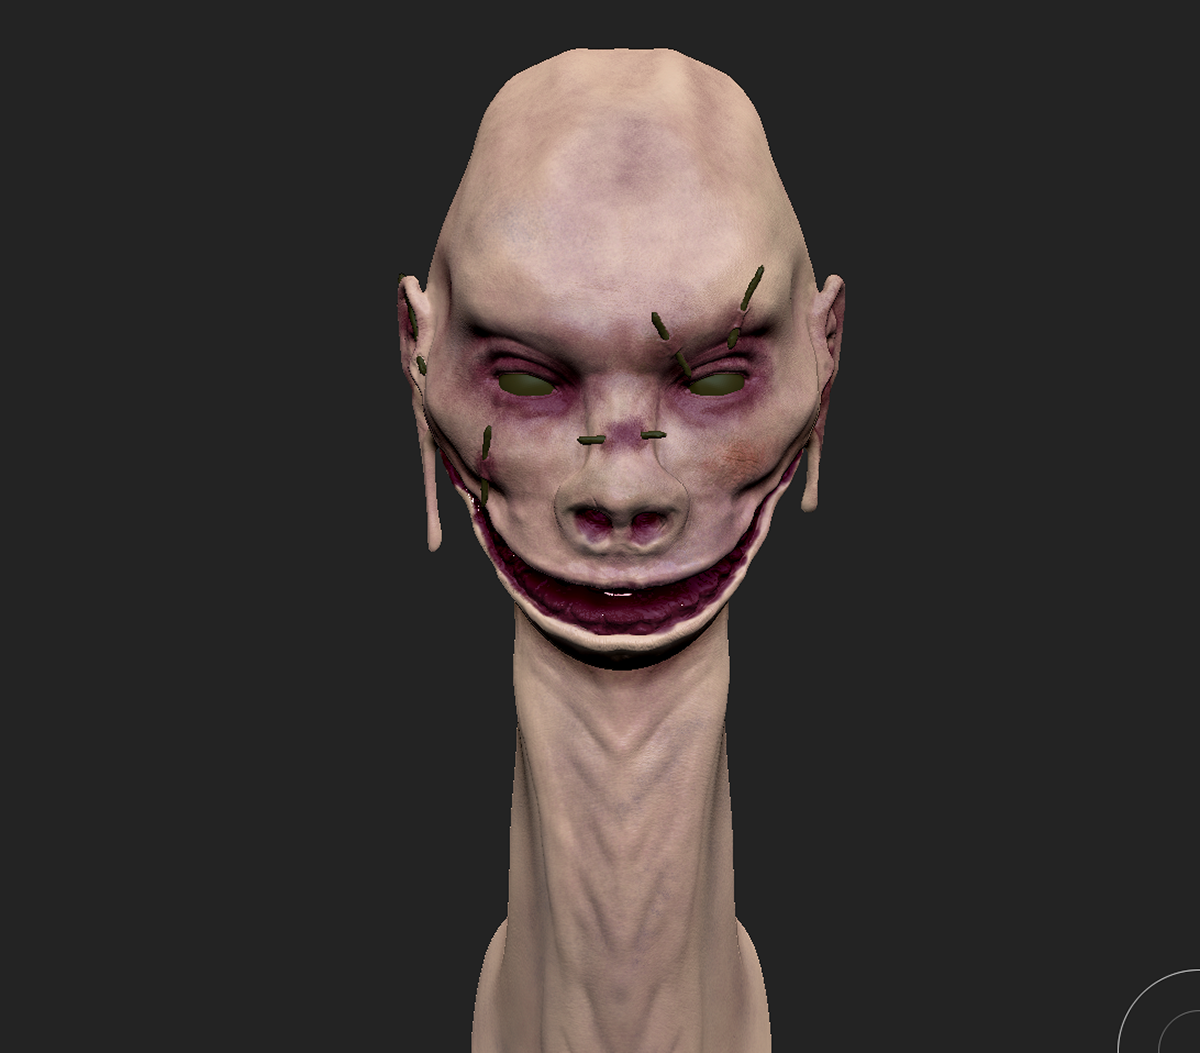
Base colours added in.
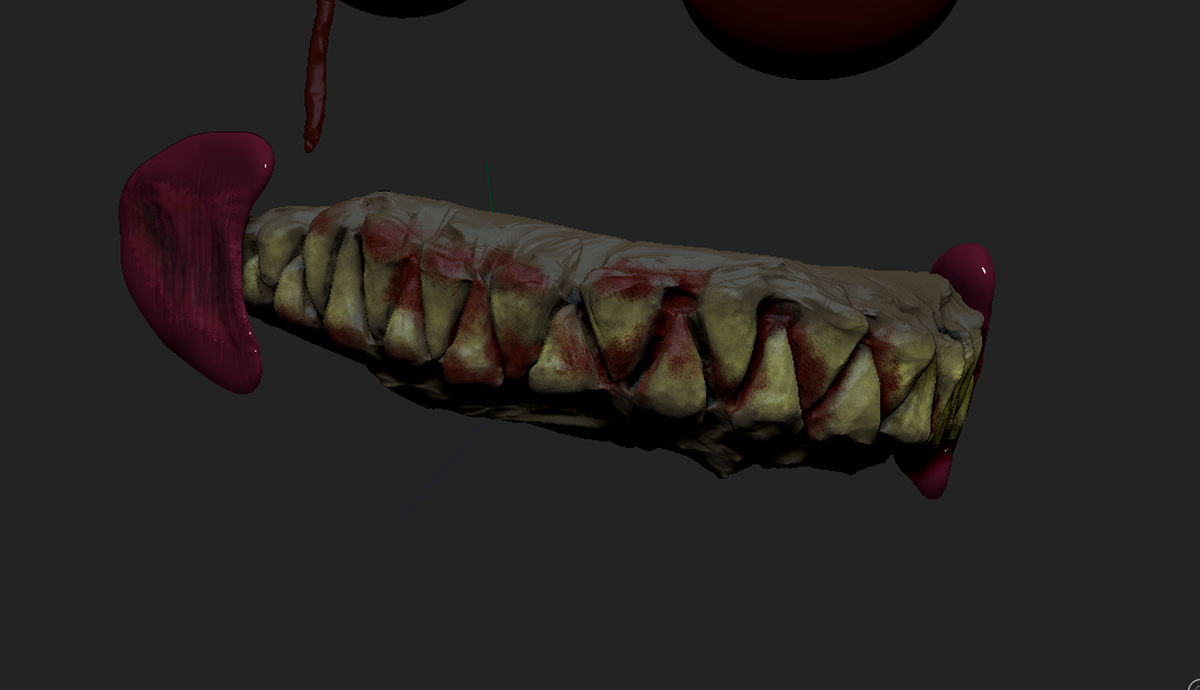
Starting to colour the teeth.
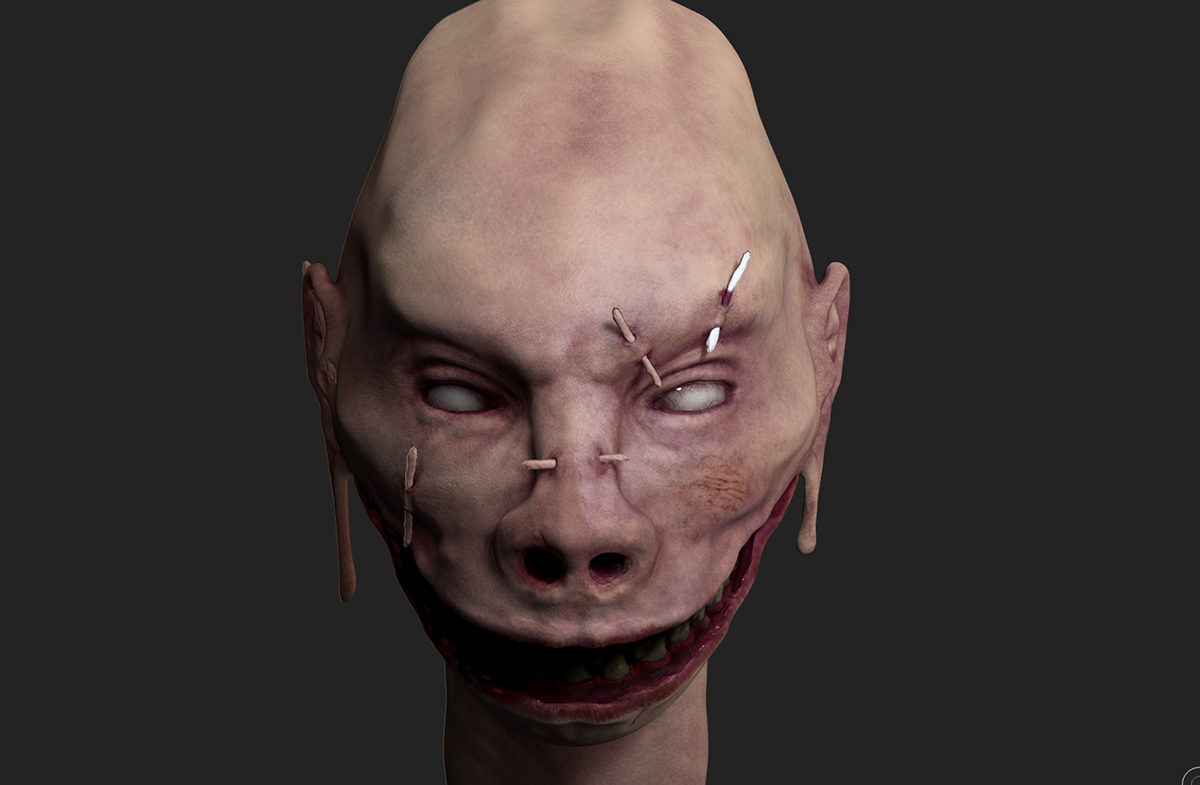
Finished colouring, playing with the BPR in ZBrush to find lighting i wanted to use in the final piece.

Under lighting, i found this far more strinking. Its a form of lighting that almost never occurs naturally so it can add an eerie feel to pictures.
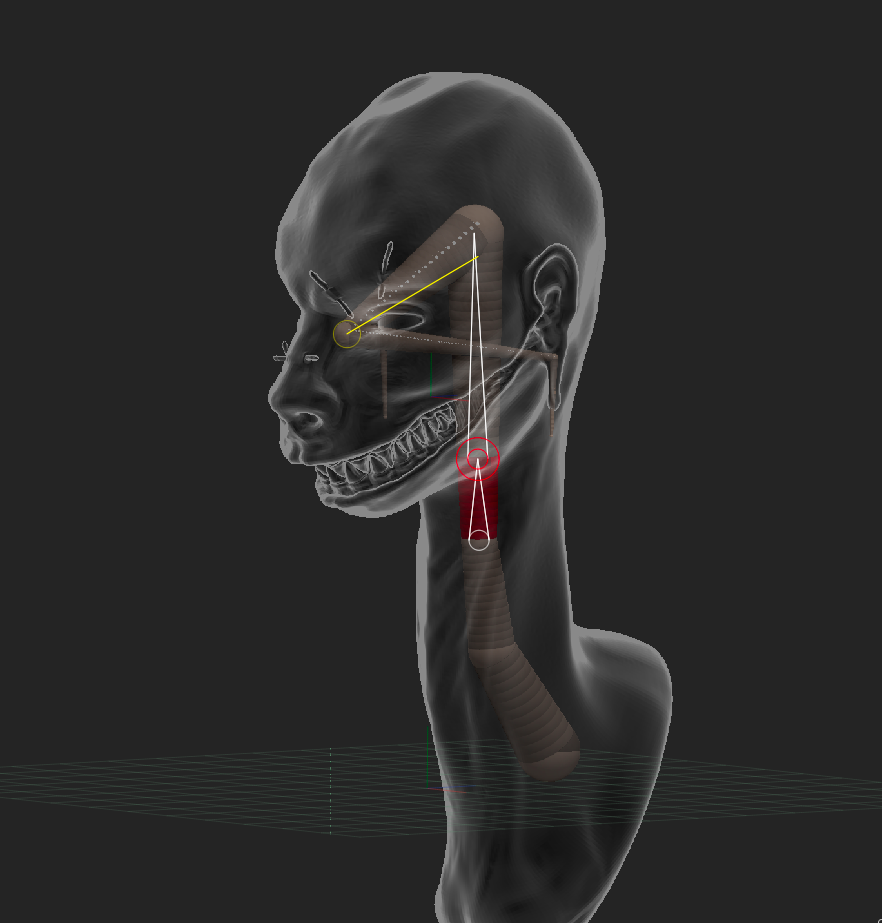
Posing the model using a ZSphere rig.

A collection of the various render passes i used to compile the final image.
1st Row : An alternate final render and two different lighting angles.
2nd Row : More lighting directions.
3rd Row : A Mask pass for easily selecting areas, a reflective render for highlights and a depth pass
4th Row : Rim Lighting
5th Row : Shadow Passes


