There is a short photo story about how we created our first designer toy.
1. This drawing was created as a first step for better understanding of the bull terrier anatomy.

2. We've made a quick draft from paperclay. It'll be really helpful at the start of the toy pattern creation.
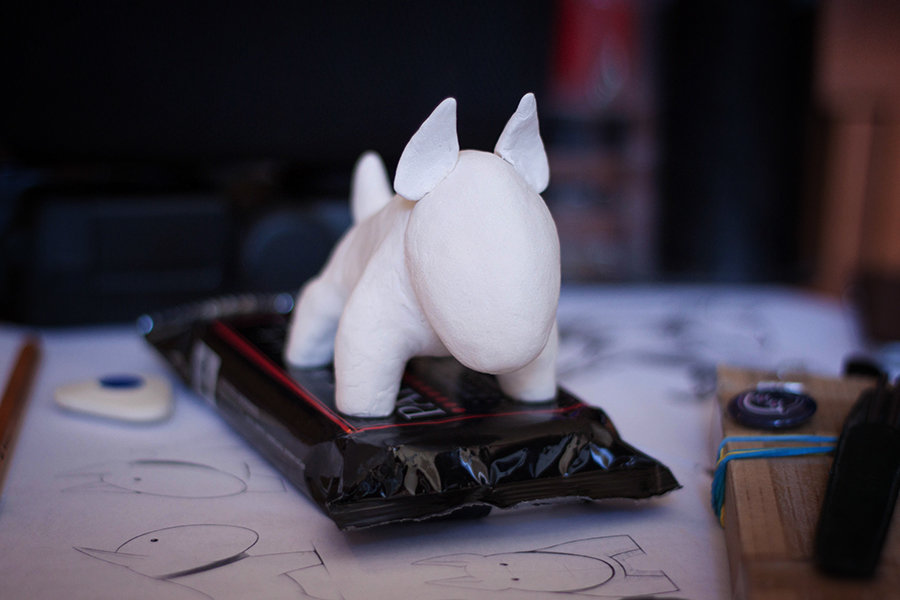
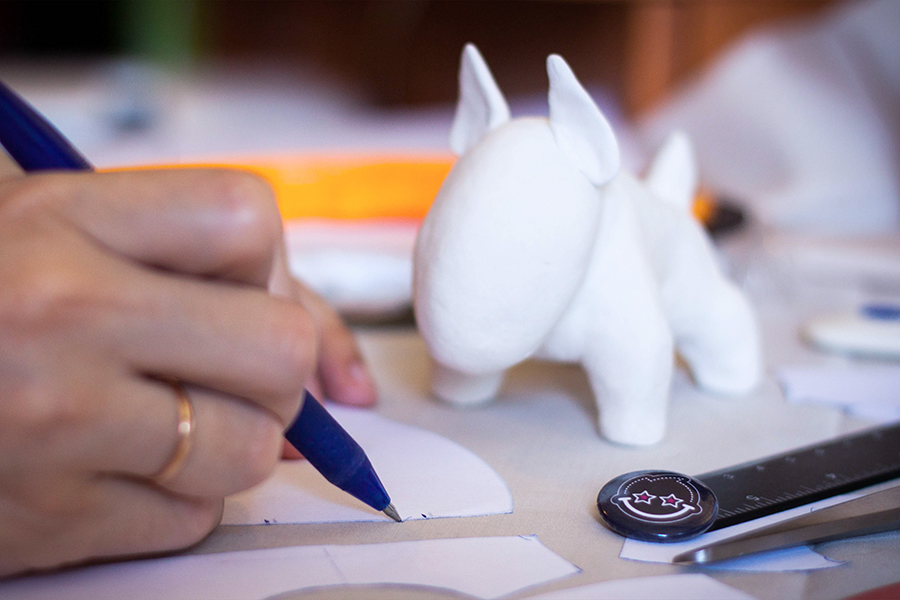
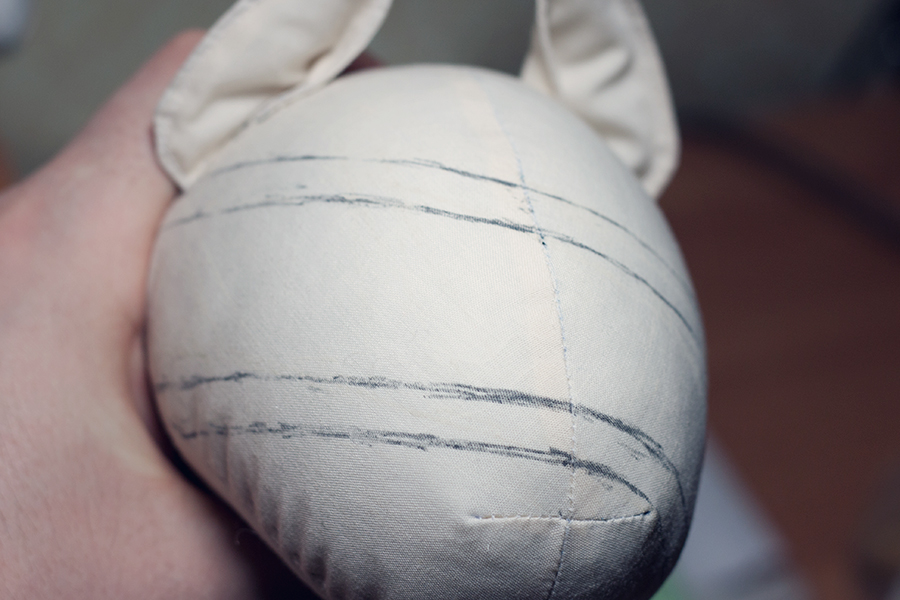
3. Working on the pattern.
4. The sewing is in full swing. We bought a piece of cheap faux leather fabric for a pilot version.

5. The toy is almost done, waiting for stuffing.
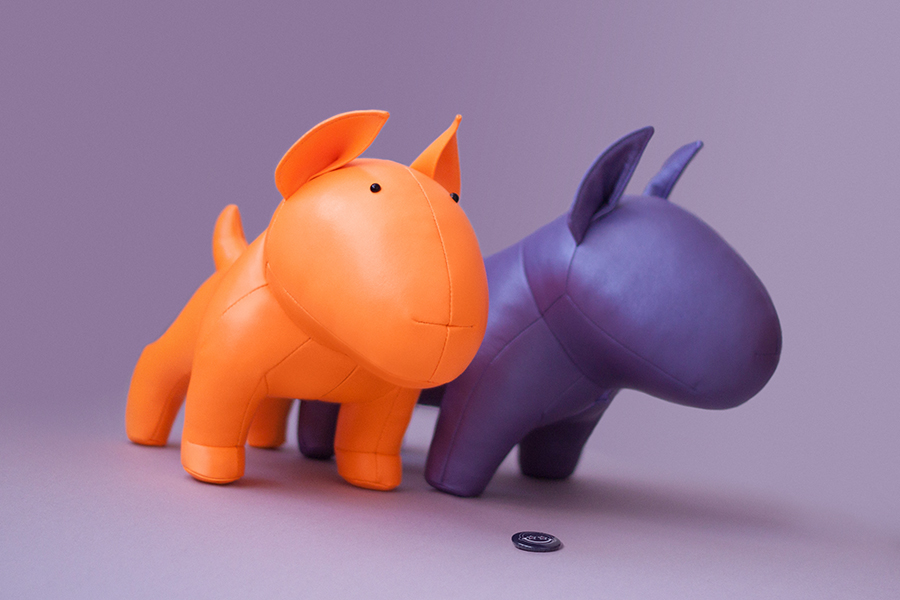
6. Hello, world! We called this purple bull terrier Bullba.

7. The work continues.

8. We are going to sculpt a detailed prototype.

9. The proportions and forms of some parts of the body have been changed during this stage. Now we need to think about what parts of our pattern we should correct and how this can be done exactly.

10. Another piece of the process.
11. A new pattern is on the way.

12. At this time we'll use orange PU leather.

13. Our new orange bully is here. Now it looks much better. Some minor elements need to be corrected and then we're going to make the next one from genuine leather.
14. We would like to give a special thanks to our Italian friends for the lovely quality genuine leather.

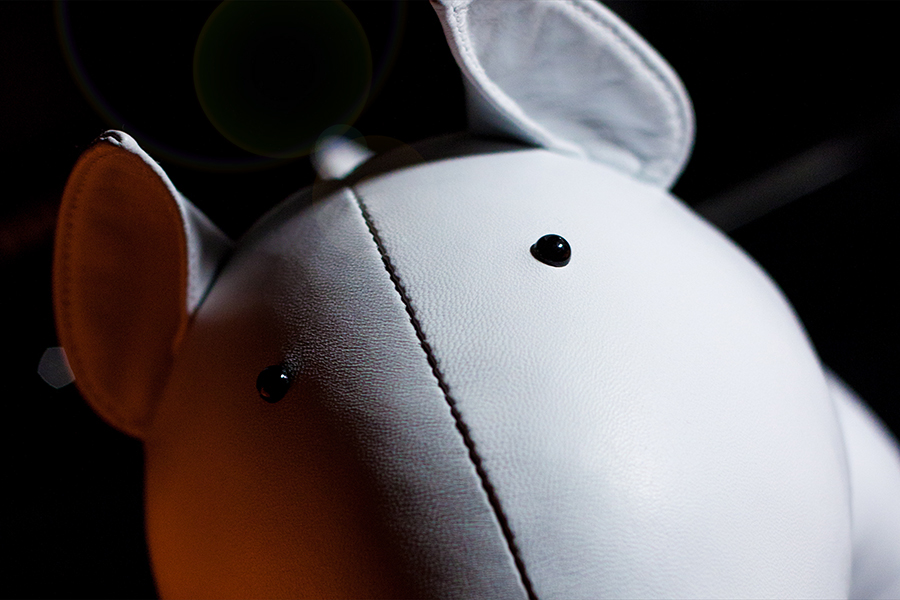
15. Woof!
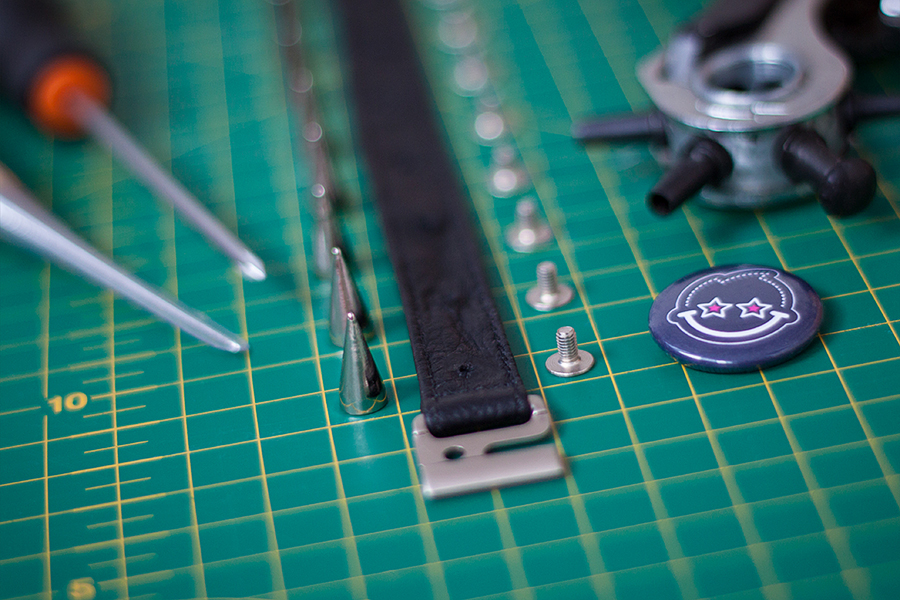
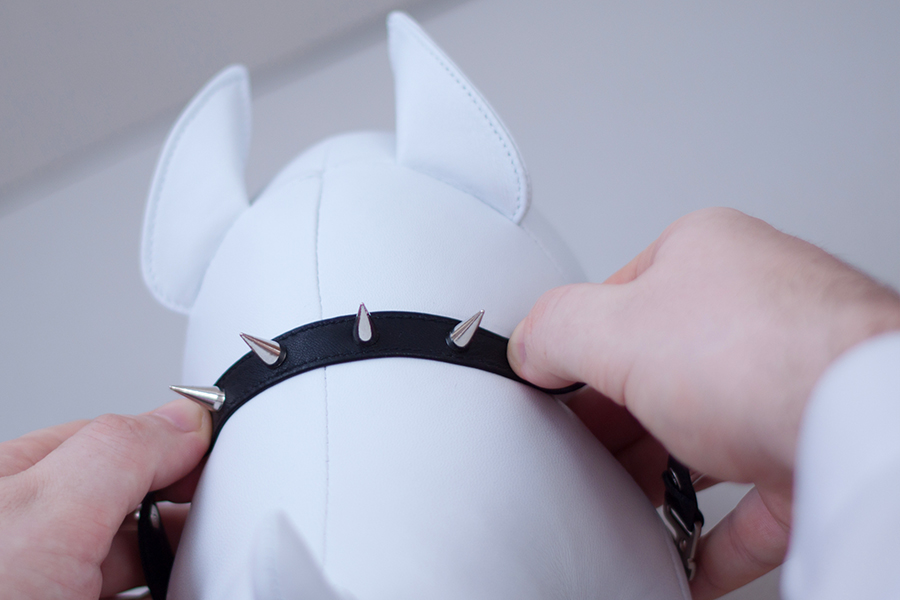
16. Now we're going to make a spike collar, like for a true bully =).
17. Fitting...
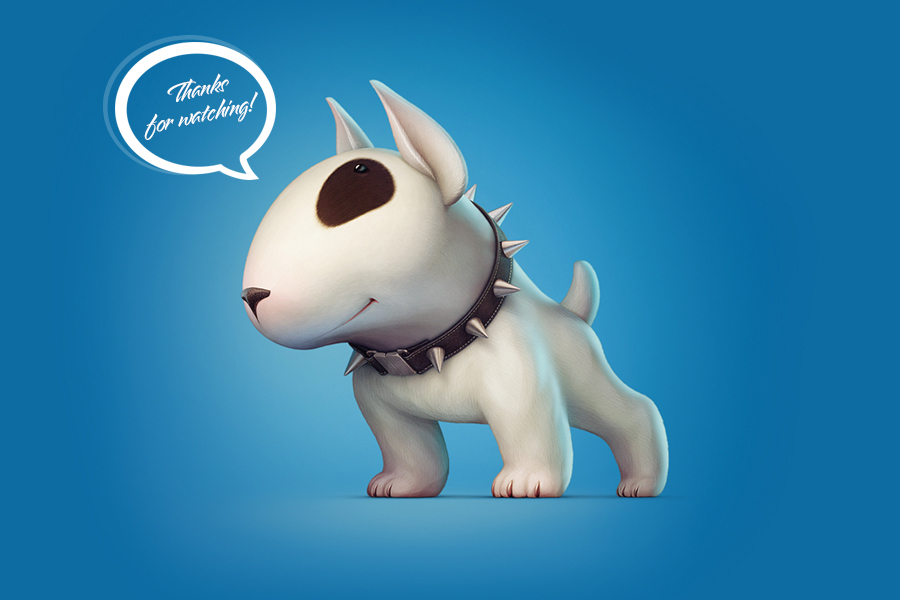
18. And Hey Presto! Mr. White is at your service!

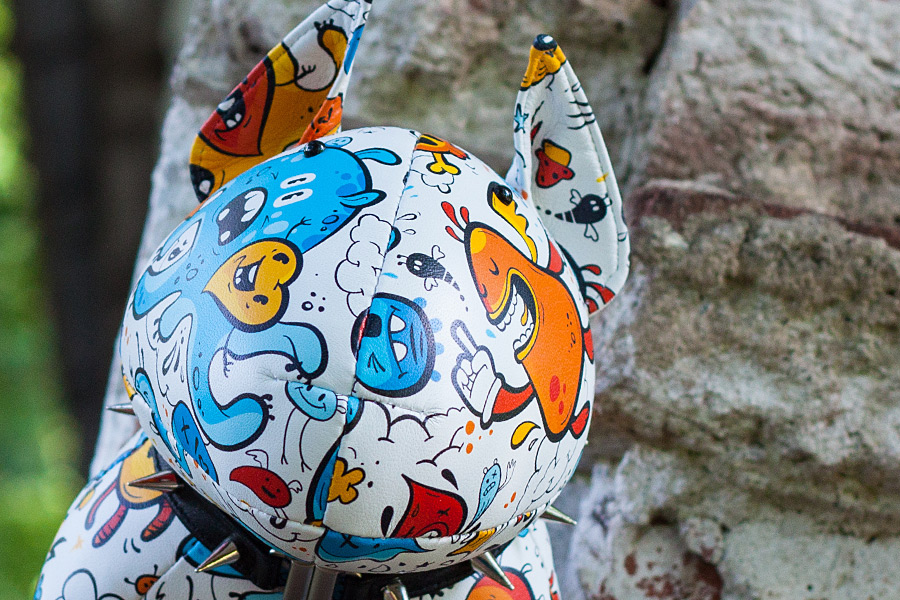
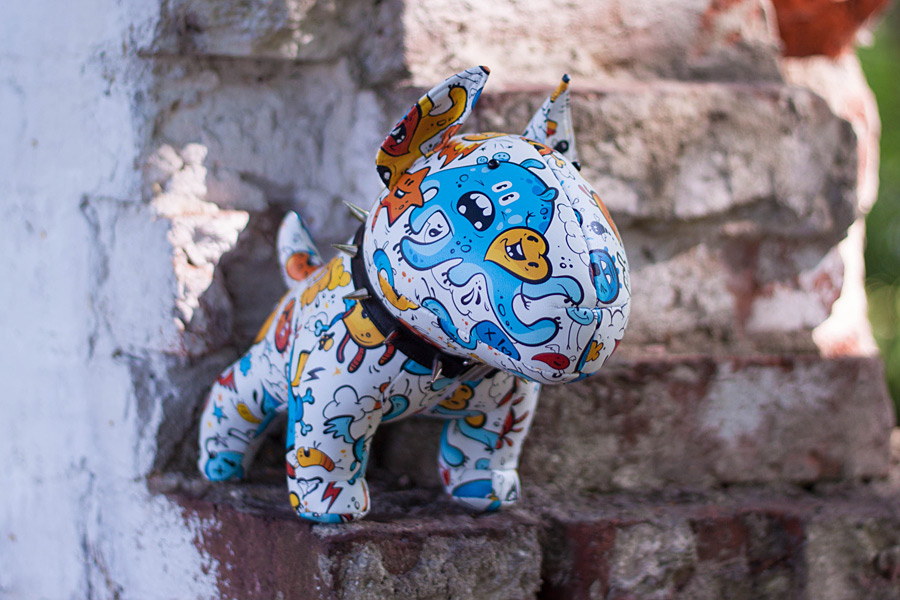
19. We have decided to experiment with... let's call it "make-up" or "tattoo".
20. HD qulity print on leather.

21. Details...

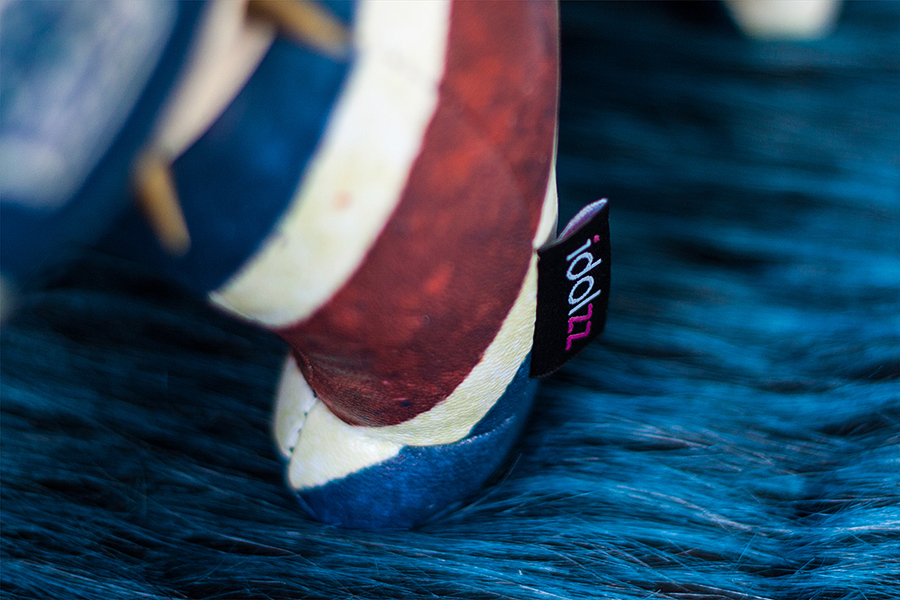
22. Label...
23. Churchill the Bull Terrier.

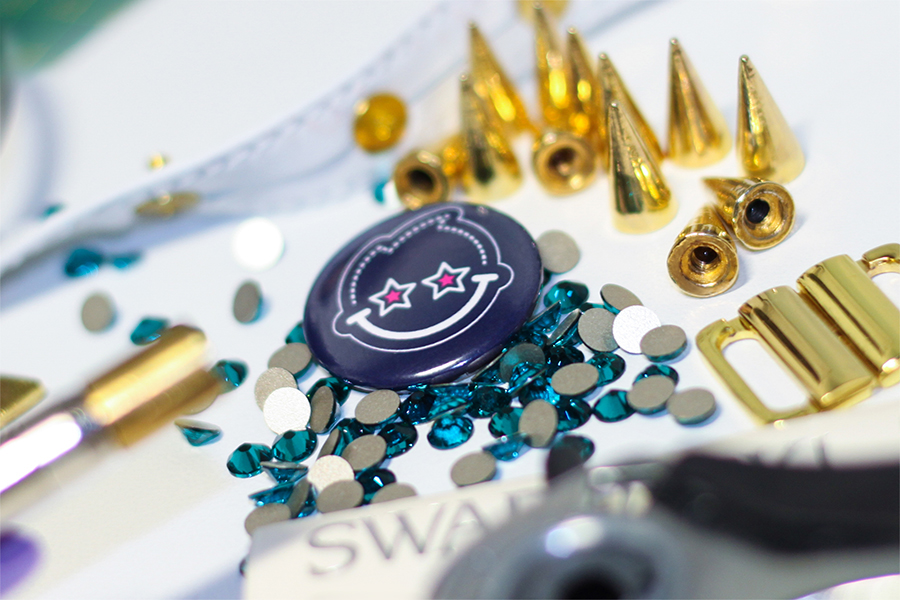
24. Making a white leather collar with golden spikes and turquoise crystals by Swarovski for a new "girlish" design.
25. Flowers...

26. That's Molly =).

27. Bruno.
28. Spooky.
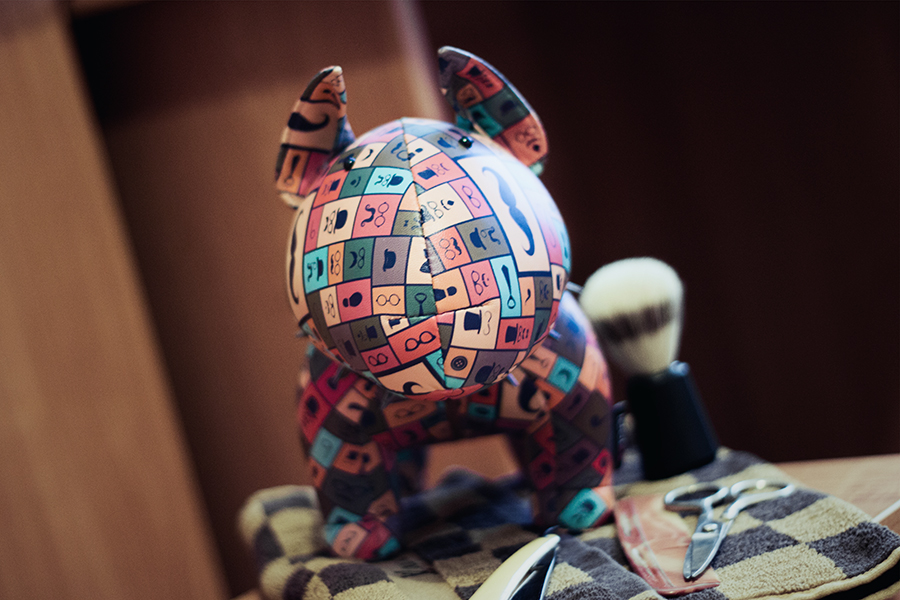
29. And Khokhloma!

----------------