I was approached by members of the local Girl Scout troop to do a sign for the community garden. Still considering myself a novice in the sign-painting business, I offered to donate the sign and my labor. They presented me with a rough sketch and a deadline of two weeks. A few days later, I had a completed pattern and a pile of wood.


After cutting, planing, drilling, doweling and glue-up, I was ready to transfer the pattern...

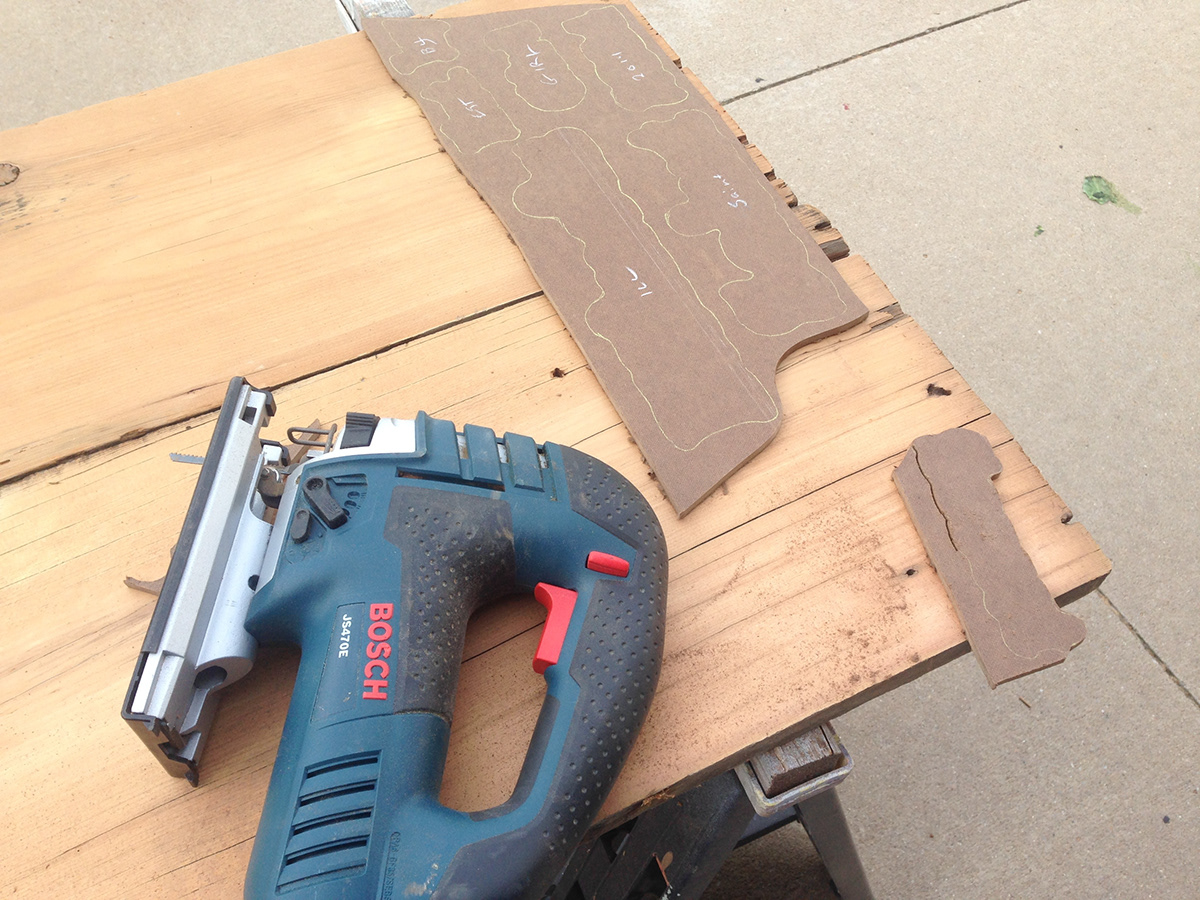
Having never routed a sign, I transferred pattern elements to 1/4" hardboard and cut out the pieces with a jigsaw. I then sanded the edges of the pieces and tacked them into place.


After an hour or two of routing, I had the completed base for the sign. Yes, professional sign shops now have wonderful (and expensive) CNC routers to knock out a relief image, but I had to do it 70s style. Nonetheless, it worked out fairly well. Next, I had to seal the sign with multiple coats of marine polyurethane and finish transferring the pattern. Time to paint!


The finished sign. A fun, challenging, and rushed project but enjoyable and my "clients" we thrilled.


