Design 100 - Scale

The Task was to create a 3D model of a virtual object Using rhino then reproduce it as a physical model.


Iteration 1
1)
I saw people that made tabs on their first iteration then having to cut them off because they were placed wrong so I decided to print the parts and make tabs and see where I would need them.
2)
This also taught me that is better to have a long and thick tab instead of having a skinny and one because it creates less gaps. How ever it does not look the best I am most proud of this one because it was the toughest one to start.
At the beginning this was just shapes in a random orientation which I had to build like a puzzle


On my first iteration was very rough and the edges were not aligned


Iteration 2


3)
In my second iteration I tried to attach my central cube to the rectangles on the outside using attached tabs and self-made tabs I saw that it’s better to have self-made tabs to attach because it creates a cleaner joint and does not make any uneven gaps.
Also having glops of glue makes it easier to slide the tabs into place where if you add a thin layer, it dries quickly and sometimes it stich before you have the change to position it
4)
And also, I figured out that when making it only partly stick together the central cube because it allows free access to the side rectangles however gluing the last side is difficult but is I bent the tabs the other way slightly it helps lock in the side and close the final shape.
these iterations I think is the best one in terms of symmetry it has little glue sticking out, wrinkles and gaps however from far away it looks perfect


My second iteration had significantly better edges and look well made as a whole.


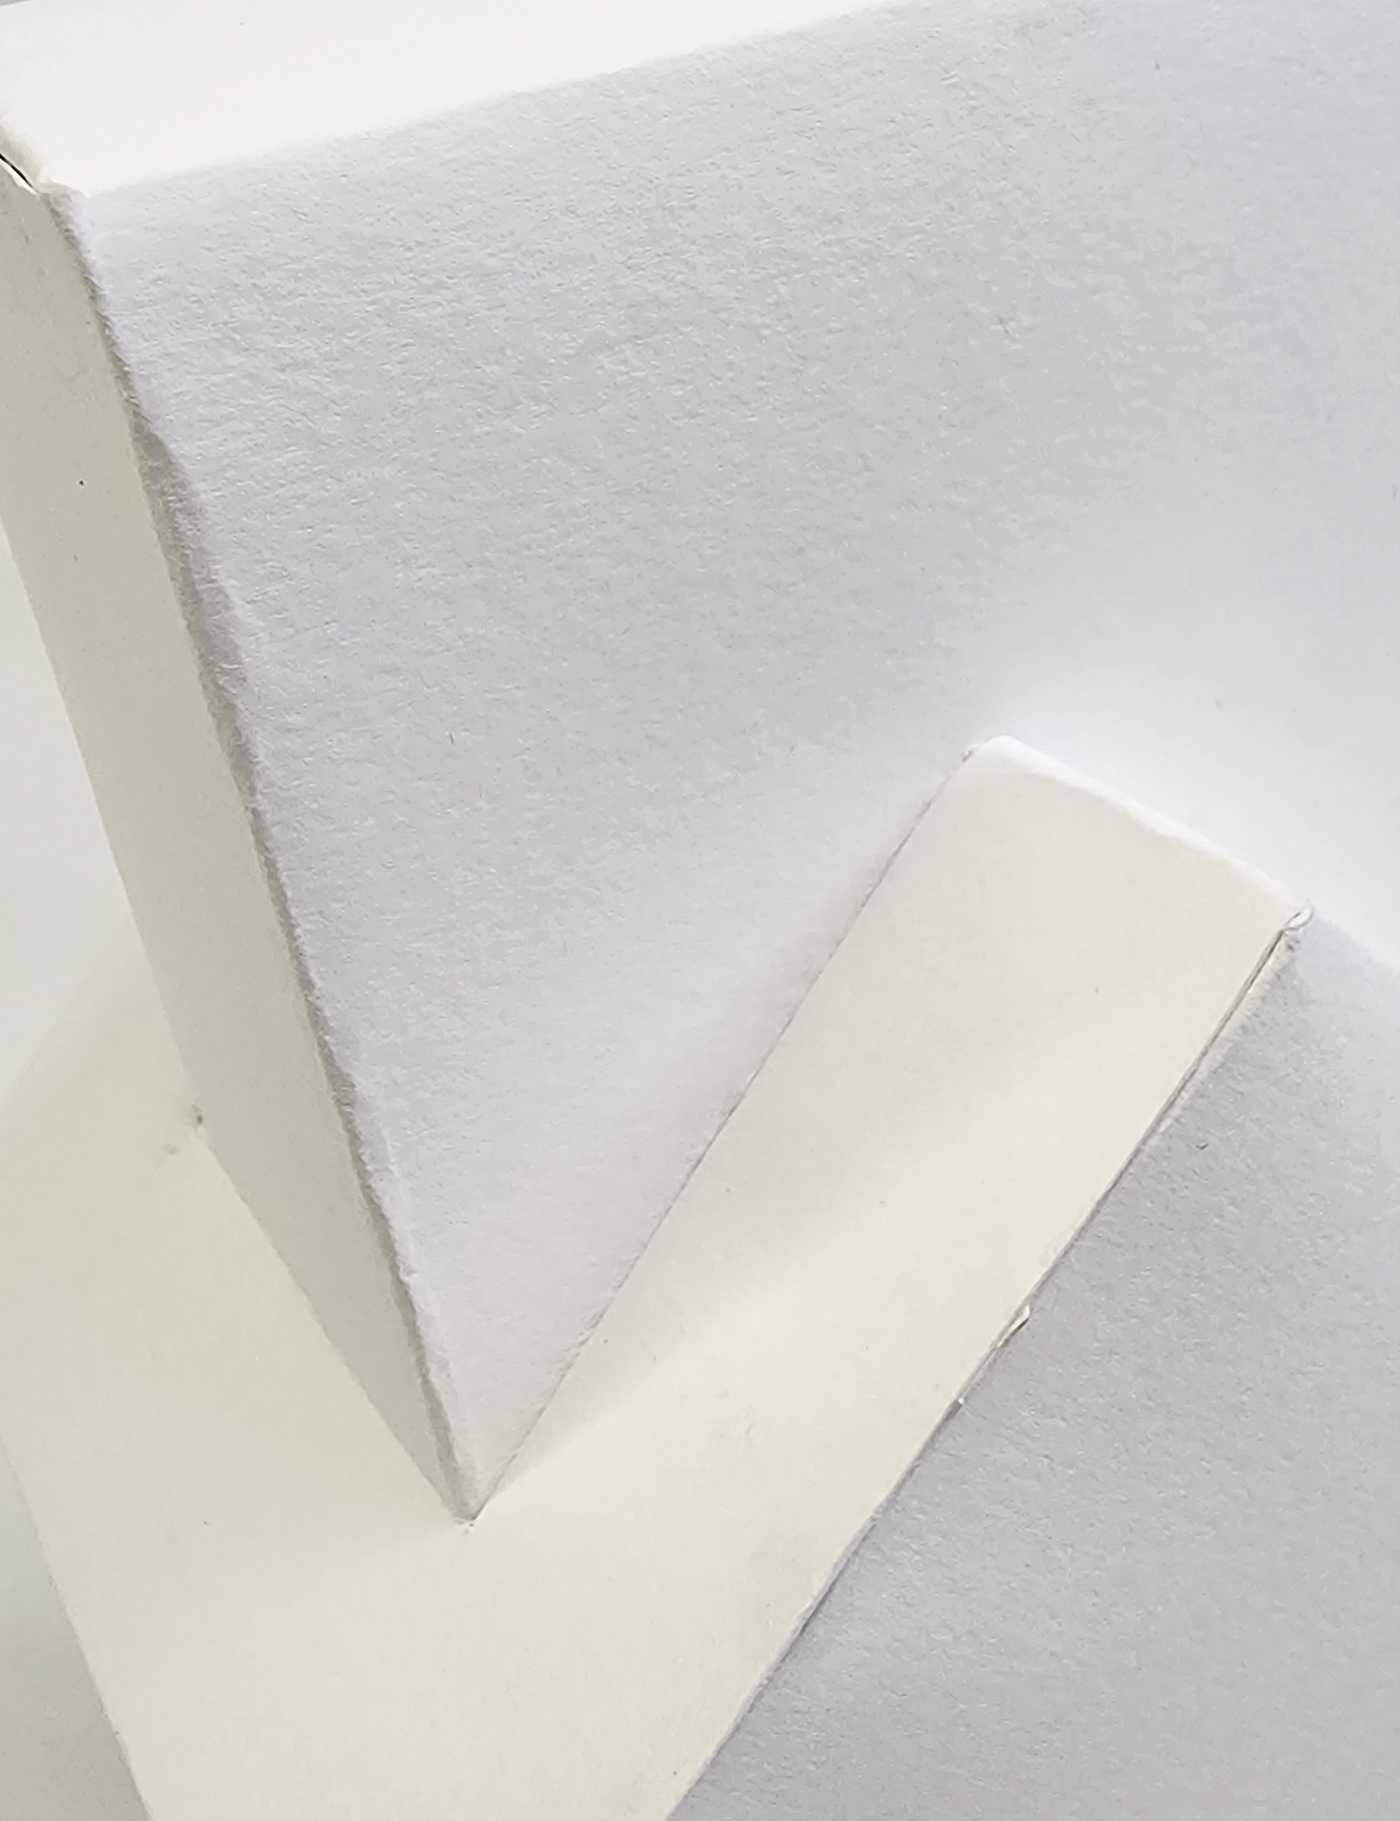
Iteration 3


5)
This is my third iteration it just a upscales version but making the shape this big makes it harder to make for some reason I think that it might be because using paper and it’s not strong enough to hold its own weight, but it was wonky and off angle.
This iteration is the worst it was too fragile to stick together it uneven and my most disliked one.

This my third iteration and the edges are not very clean however I think that this is because the paper is too thin and flimsy for the size of the shape.
This is my last paper iteration and I’m going to move to colored card.


All paper iterations

These are my first iterations learning about the best size, tabs, and the way to join next step is using the card and most likely I will have 2 iterations one draft and then a polished final.
I also properly started replacing the blade every 15 cuts which increased the quality of the cuts, and I had no cuts with the little fluffy paper.

Iteration 4


6)
I tried to do it the way everyone else was doing it by taping it to the card and cutting it out but I found this to be inconvenient and annoying so I decided cut 3 a3 size cards and when printing I placed the card in the paper tray so it would print onto the card and when folding it I folded it a way where the lines and labels are hidden in the inside of the shape
This iteration I think is the coolest one the gluing of the shape went well but also the red and the blue go well together.


This is my 4th iteration. When gluing I noticed that the edges always have a tiny gap no matter how much glue you use or how tight you press but is only noticeable when close up


Iteration 5

This is my final iteration using the white card I had no problems printing cutting and gluing due to have done it 4 times only took me 1 hour to assemble.
7)
Also, I saw that when the model was all glued together where is a light shine upon it you can see the printer ink on the outside due to it being my final iteration and it was due, and it was an issue that is unseen unless you’re looking for it this will remain my final.
This iteration is the cleanest looking. I made this very carefully taking my time with everything and going slow and steady and overall it turned out well.


This is my final iteration and I think that the edges on this are good compared to the other iterations they are clean and tidy and have minimum crease and glue.


All Iterations