The Wingfeather Case

At the end of Andrew Peterson’s fantastic concert, I purchased a second set of his wonderful book series called the Wingfeather Saga. I already own this 4 book set, but I wanted to have a second to give to someone that would enjoy as much as I have. Now having a case I wanted to donate, I began brainstorming how I might make it even more special and I was inspired by a YouTuber who made a custom leather and LED book case for the 2nd book of the Lord of the Rings. I then wanted to recreate or add to the thick cardboard book sleeve the 4 book set fits into. My Wingfeather Case is simply a creative elaboration upon the included book sleeve to make it even more eye catching through lights, wood, and intriguing shapes. I am so very glad to have made this custom book sleeve, however it is not as polished as I would like to give to someone else. This project was not in vain. It does help decorate my book sleeve and give me a better idea for when I remake it with more time to perfect it for whoever I give my extra set to.

Before Hackathon even started I did my best to measure and math everything to fit together as best it could and I drew this on the whiteboard. This worked very well except for one acrylic piece that was the wrong length and I’m not sure why.

I used the cut-outs from my Catan Board project: hexagons, circles, and some obtuse triangles. I had my friend soak the hexagons in wood stain to better match the other wood I would use for the supporting structure.

A few nights before (I believe on Wednesday) I was up late working on homework and thought that there wouldn’t be a better time to fully take apart a broken flat screen tv I was given by a dorm mate. After taking everything apart, there were 3 thin dispersion sheets which I cut to help disperse the light from my neopixel strip.

Here is where the Arduino Nano was placed to be accessed (if a slot was cut before presentation) and hidden.

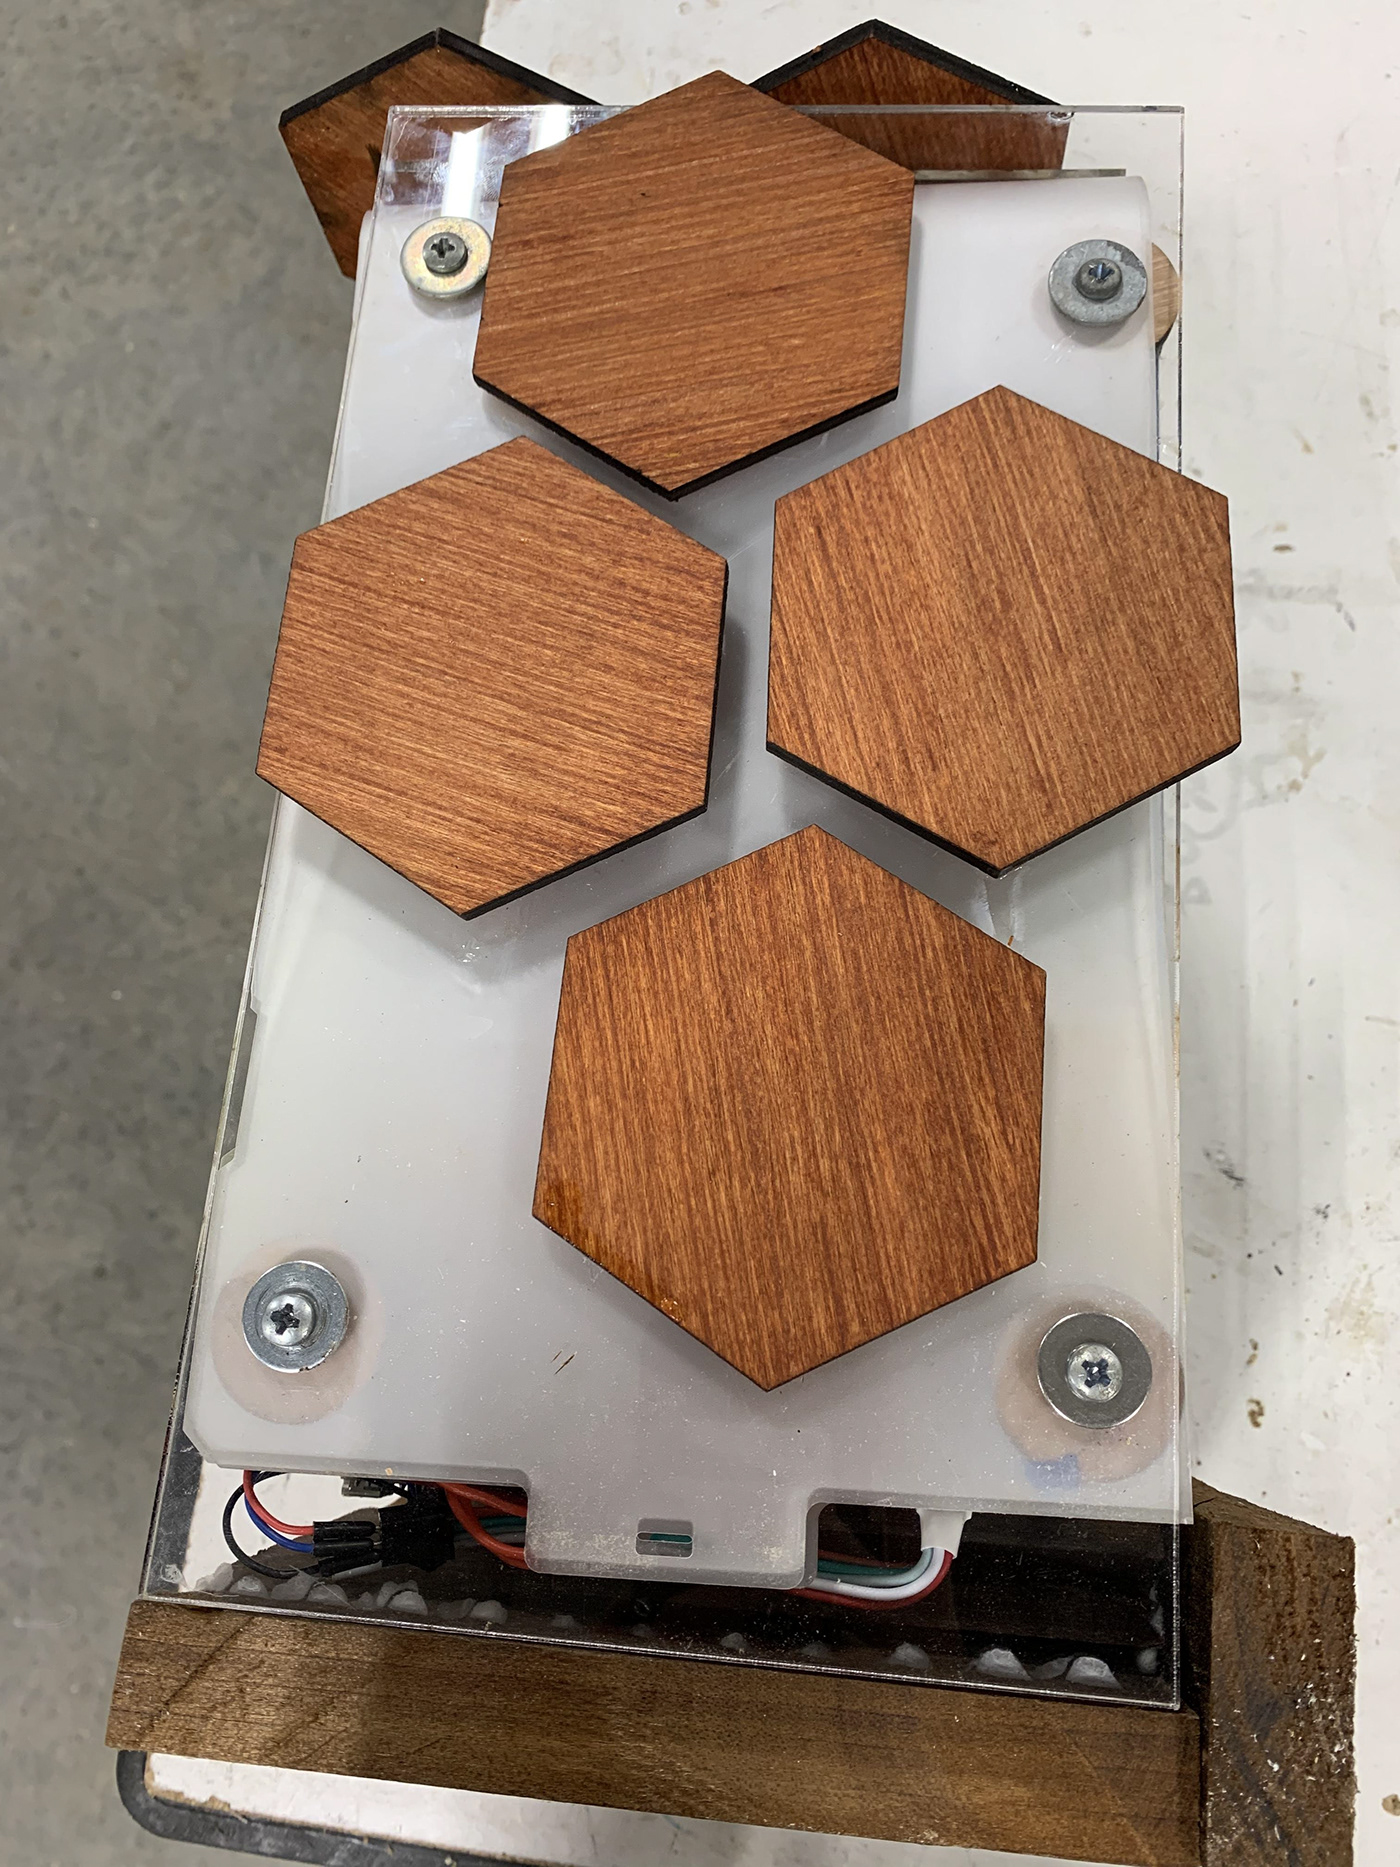
The circles and triangles I saved from my Catan Board I used as standoffs to set the dispersion sheets about an inch from the LEDs be because the dispersion sheets are useless right up against the LEDs. I also wrapped my neopixel strip around the sides and top of my box and soldered a few wires to the cut ends so as not to waste LEDs on the bottom of the box that won’t be seen.

The dispersion sheets were then later over the box and partially glued to one side to hold them before I screwed them into the wood offsets.

After cutting my acrylic side and top panels, glueing my wood offsets, and wrapping my neopixels, I then began measuring and cutting this beautiful hardwood to make my bottom panel, back panel, and a well placed front bar.

The wood is actually a decking panel, but it sadly doesn’t friction fit together even though it has nice groove. So, along with wood glue in each groove, my friend cut this sliver of metal and I screwed it into this three piece panel to hold them together for my back panel.

This is my bottom panel which was also wood glued in the groove and screwed into another wooden offset on the bottom of the box to give space for the Arduino nano.
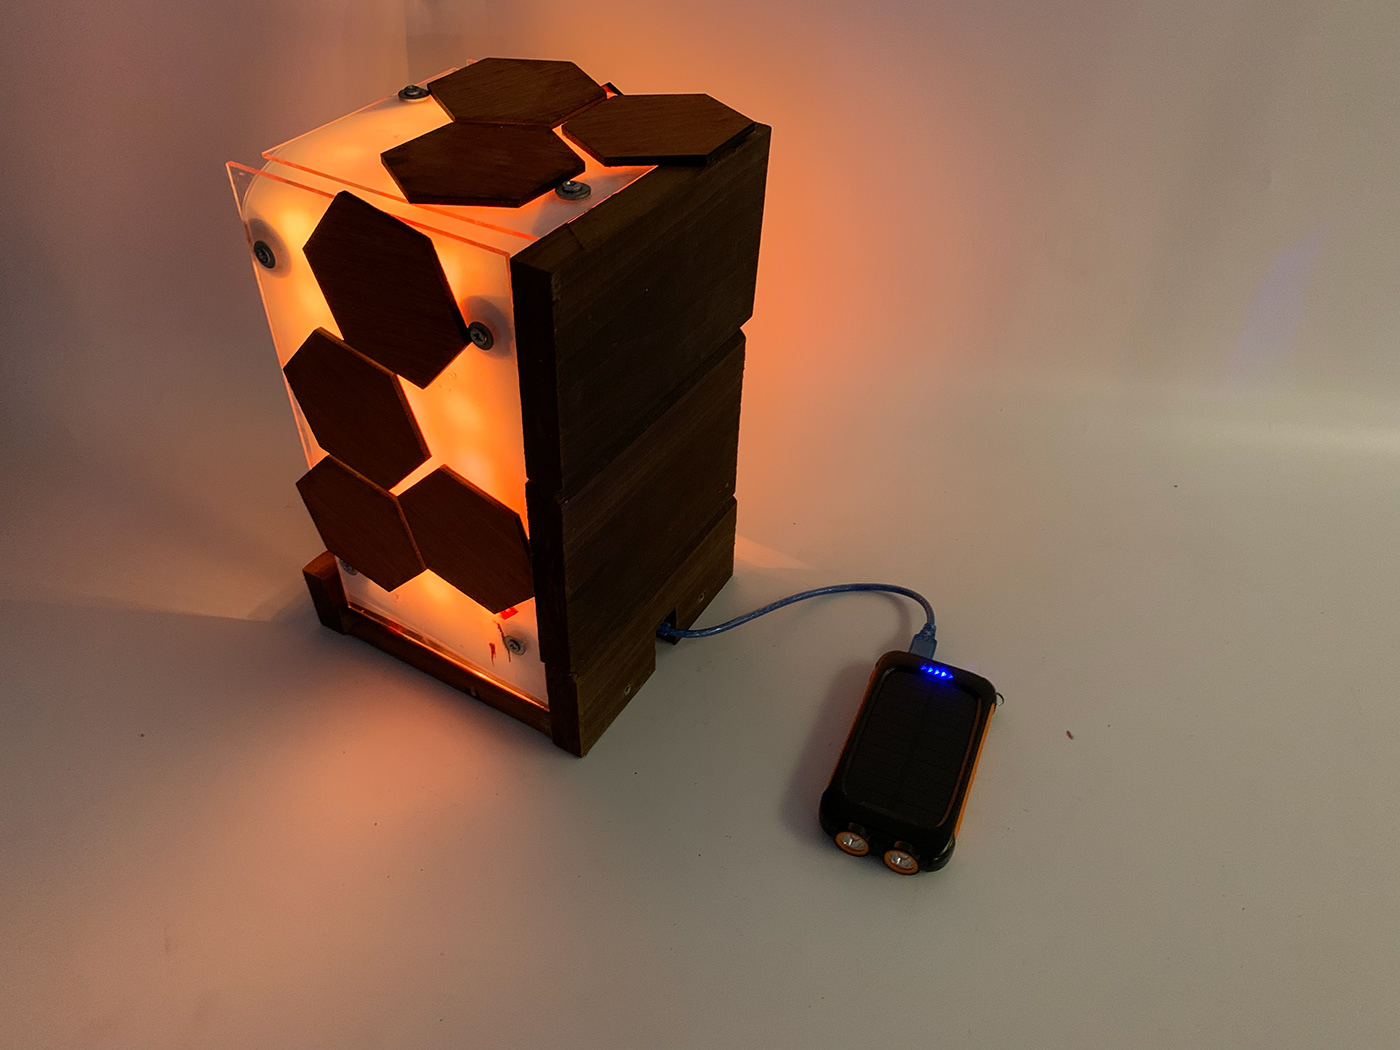
I used the stained wooden hexes to make a geometric asymmetrical pattern for the LED glow to filter around.

Sadly, this cut out was made after Hackathon, but it was supposed to be there to insert the power cord for the LEDs.
One piece that can only be seen in my first Hero image is the extremely rapid prototype that is the orange glowing arch on the front of the Wingfeather Case. The reason it is not in the other images, is because it the very last thing added to project before presentation and quickly fell off after returning to my dorm.
Below are some other Hero images at different angles and lighting levels.