Extra: Tutorial Colorize Black and White image + 10 pts
Colorize Image
Tutorial

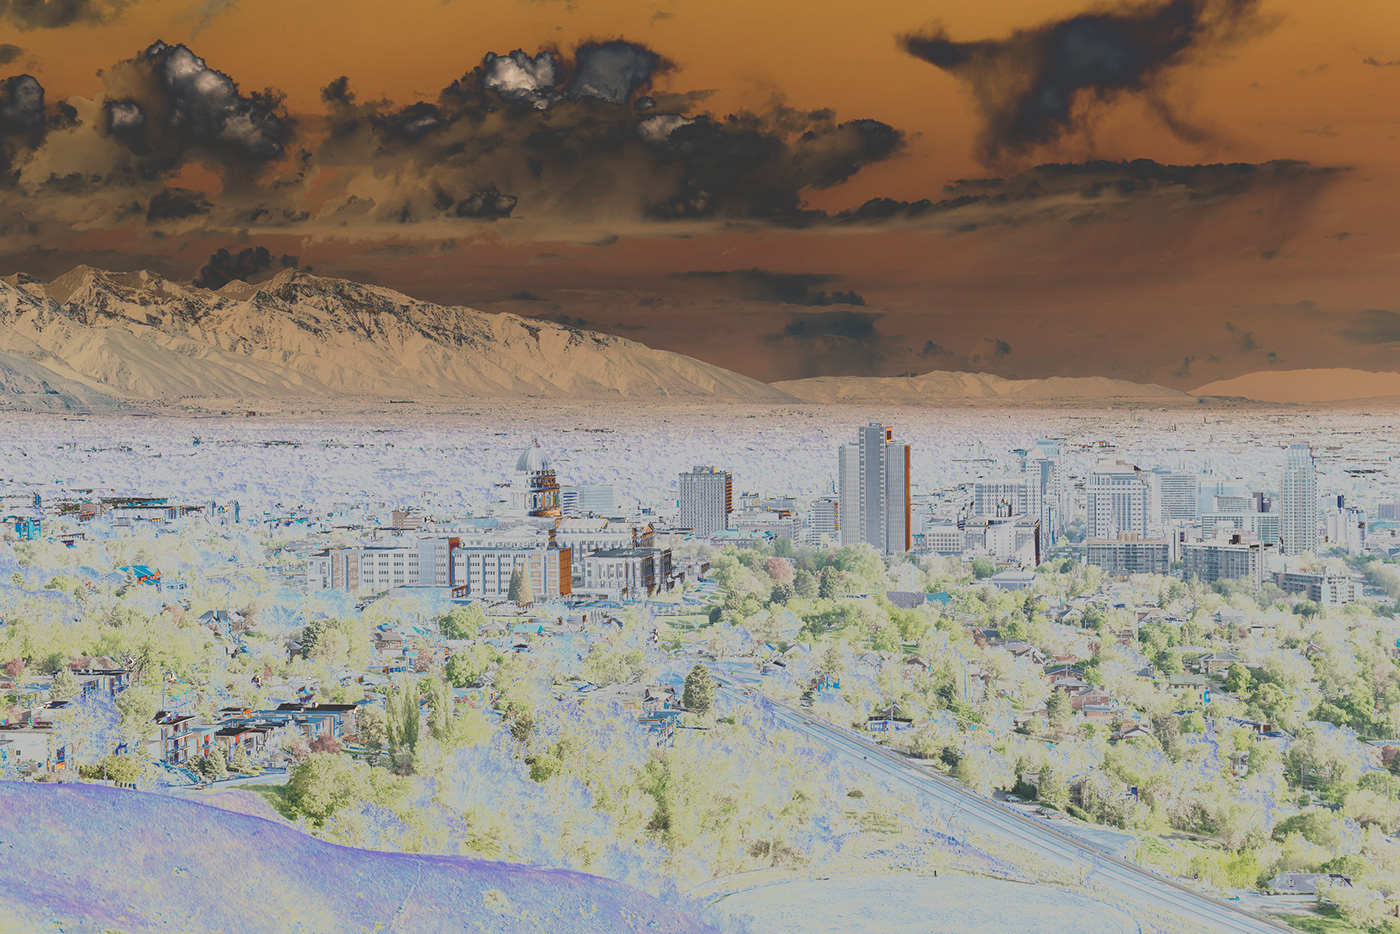
This is the 'before' image of the tutorial
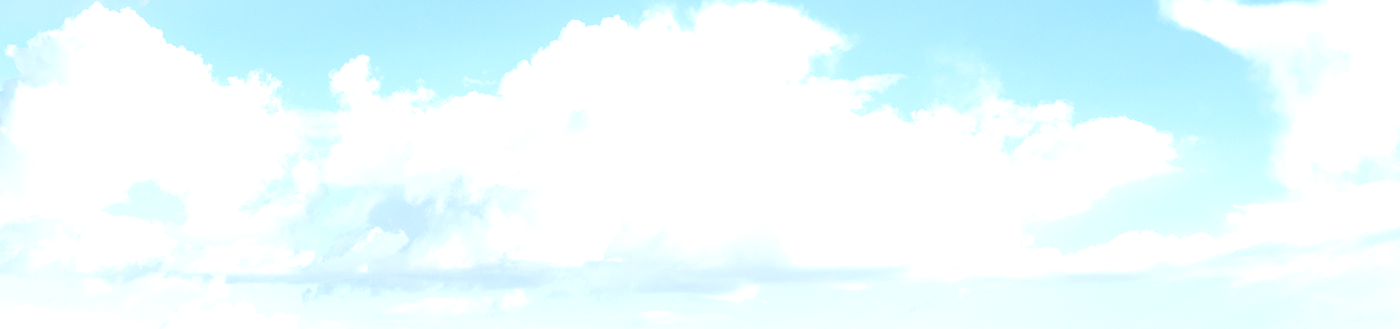
This is the 'after' image of the tutorial
Steps to Complete
1. Click the 'create new adjustment layer' icon and choose Curves above the selected layer.

The icon you want looks like a half filled in circle.

Below the Curves grid are two fields for Input and Output values. If you cannot see these, position your cursor over the bottom edge of the Properties panel and drag down to reveal them.
2. Press on the black arrow. The image will appear white if there are no truly black pixels in the image
3. Drag the black arrow to the right until you see colors in this area. Dragging the black arrow to the right darkens the darkest pixels and sets a new black point

The Input field below the black arrow should be raised and Output will remain at 0.
4. Press on the white arrow, making the image appear mostly black with the brightest points showing a color.

The clouds will appear darker due to the radical change in input and output.
5. Drag the white arrow left until the Inout values about 230 and Output remains 255.
This makes pixels brighter, and the clouds will begin showing in color.
My assignment
'Before' image

'After' image

Key tools used:
- Properties panel
