Hackathon Feb 16 - Leather Templates 2.0
For this hackathon I wanted to make something that would actually help me in a part of my life rather than a toy or a cool but otherwise useless contraption. One of my favorite hobbies is leatherworking and I have just finalized a series of wallet designs that I intend to make and sell over the coming years. Whenever I make a new design I use a piece of construction paper to serve as a template that I trace onto the leather to show were to cut the edge and punch the holes. This is a great prototyping system but now that my designs are finalized I don't want my hard work to go to waste if I accidentally rip or lose the templates, so for this hackathon I used Fusion 360 to recreate my designs and laser-cut them out of acrylic sheets.
Note: descriptions of steps are under their respective photos

Here is the first picture of the night. Fusion 360 is set up and I have drawn my first rectangle, the paper templates are strewn across the table and hopes are high
My process was very simple, but rather time consuming: I took precise measurements from the paper templates with calipers and then copied them into a Fusion sketch.
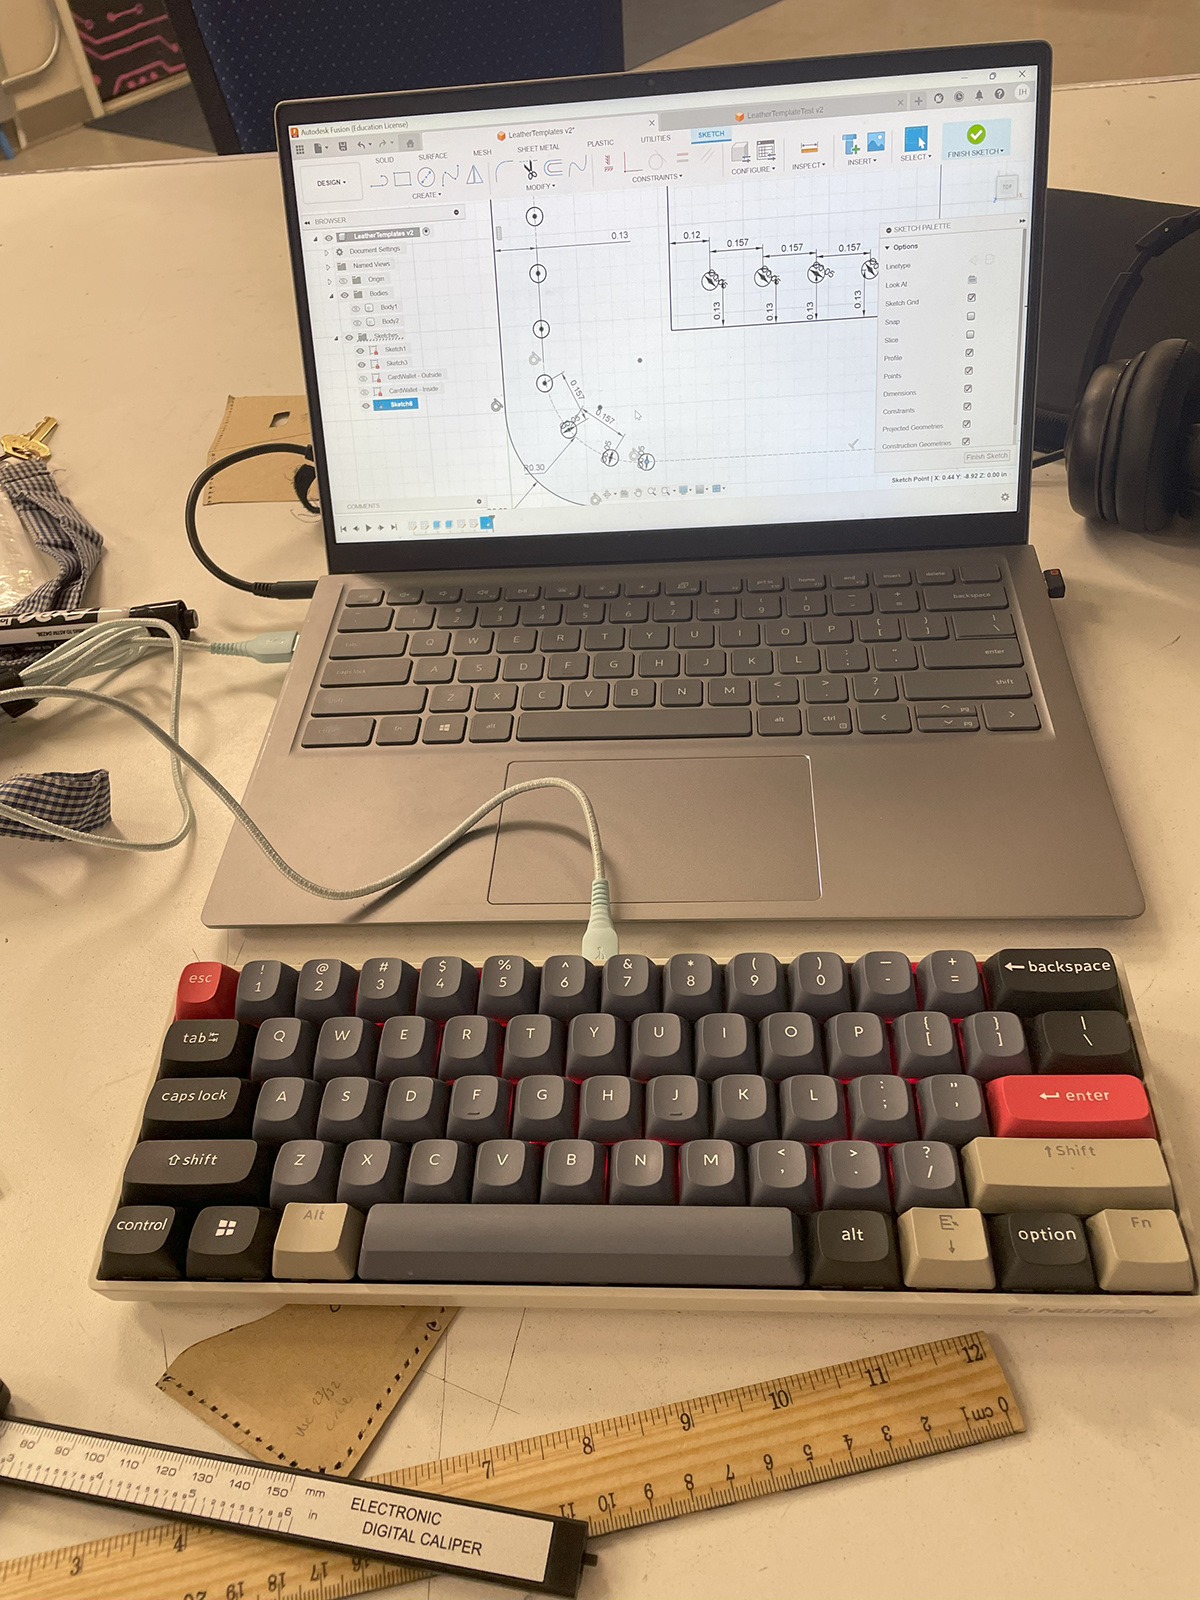
One of my favorite things about Fusion is the level of precision that you can give to each project and I leaned heavily into that for this project
Here is a close up of one of the rounded edges of the wallet with the stitch holes being spaced out along the curve. I needed to take special care around the corners to make sure everything lined up well in the end.

This part right here took the most time to complete but I was very happy with the final result
Since I'm making multiple templates that all get stitched together, I essentially designed each piece right on top of each other to ensure that they fit properly. The sketch above is the combination of three different pieces that overlap
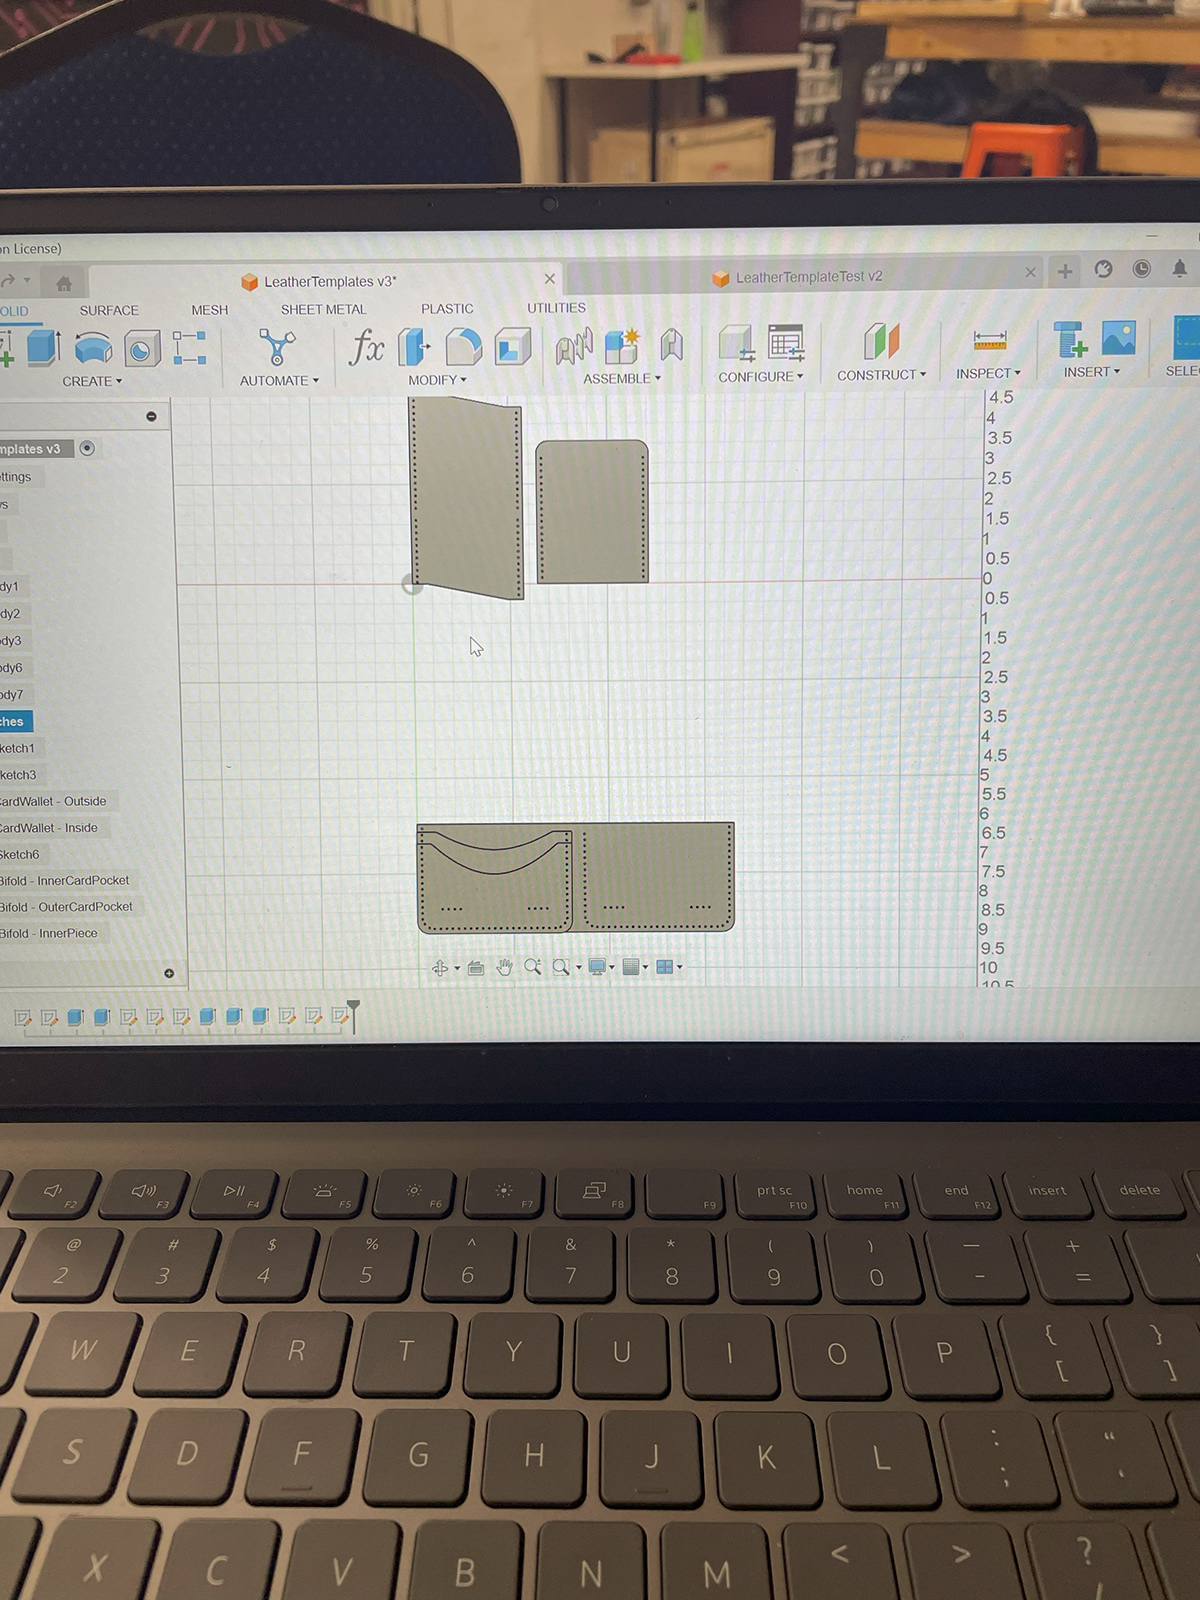
Here the designs are all finished and the only thing left to add are labels and my logo that will be etched into the acrylic
In order to get a nice clean sketch to download as a laser-cuttable file I extruded each piece and made a second sketch on the new face. This made sure that it was only the outline of the piece that was saved and none of the extra construction lines and points.

Here I am adding some labels in a fun font to make sure I know which piece is which and designate the front and back
I always label the paper templates specifically so that I know which side should face up on the leather, but labeling these also gave me the opportunity to etch my personally designed logo onto each piece as a nice professional touch.


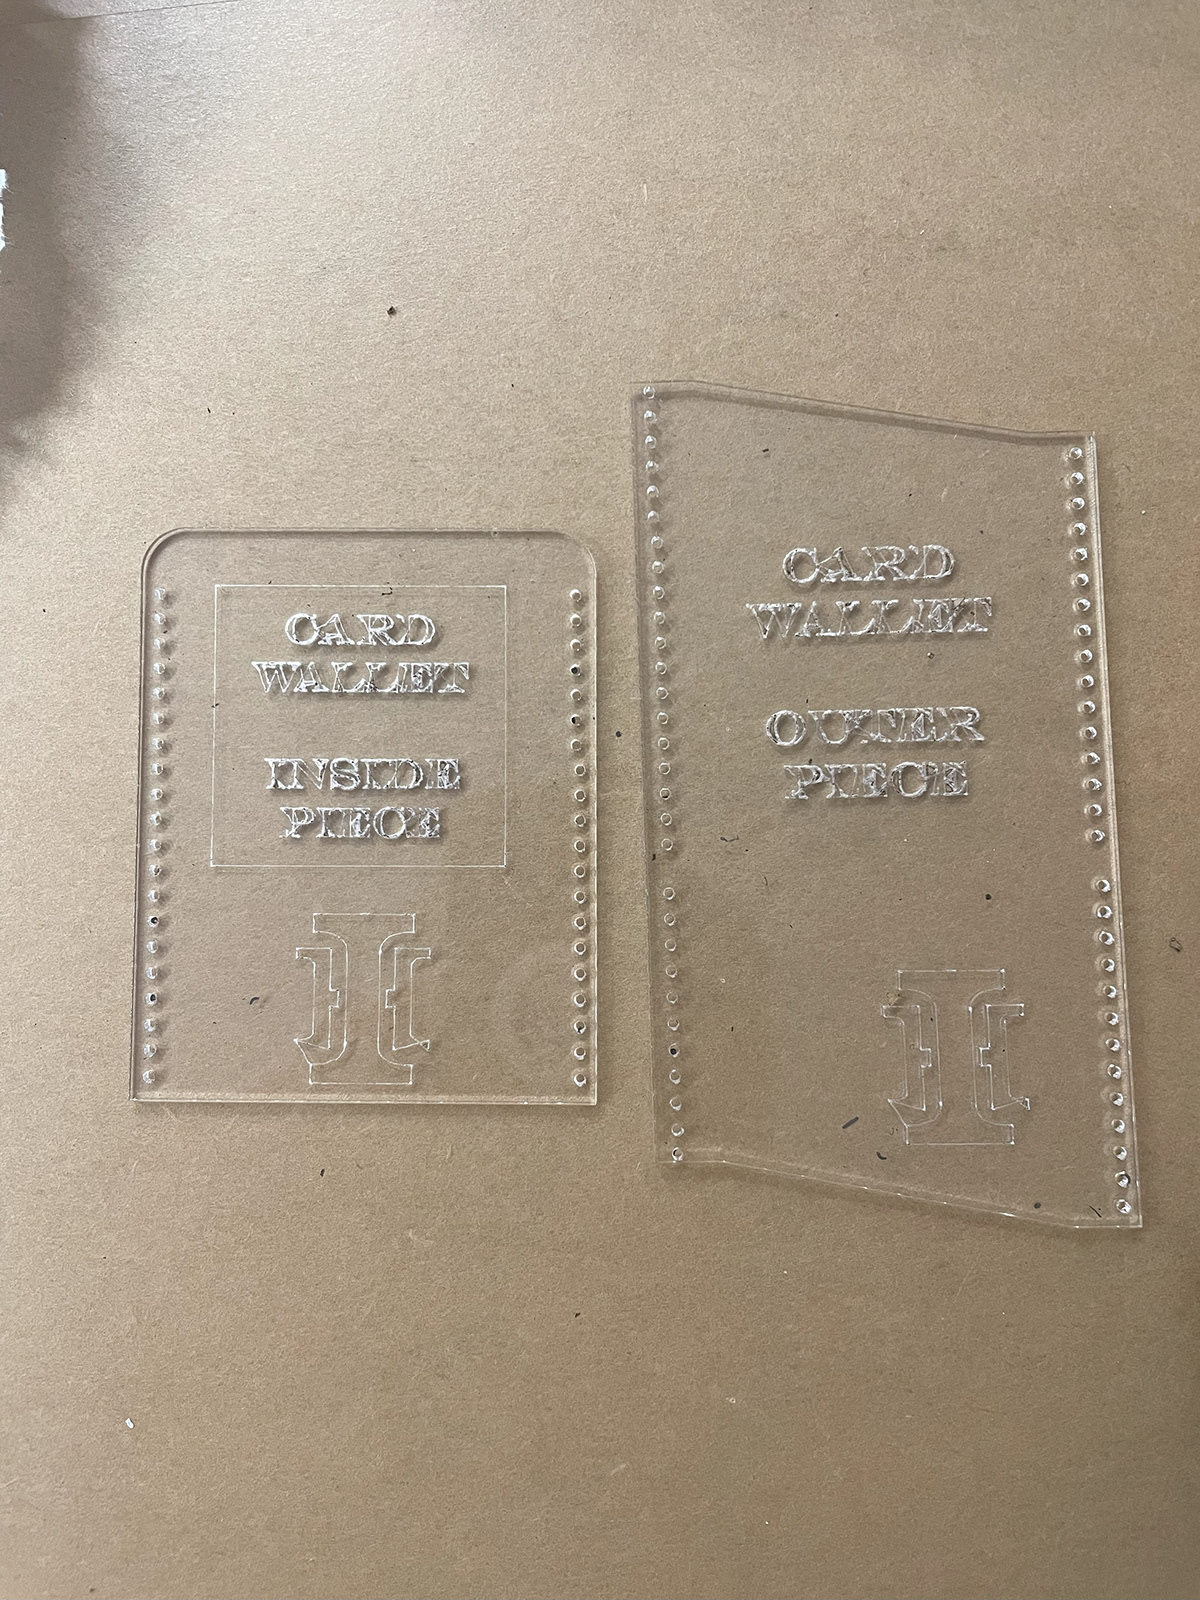
Here are pictures of the finalized designs, labels and all.

Here I was staging the templates on the acrylic sheet to see how to cut them out most efficiently
When it came time to laser-cut the files I had spent the last three and a half hours working on, something was wrong with one of the template pieces of the larger wallet, so I was only able to laser-cut the templates for the smaller card wallet. Additionally something was also wrong with the text and logo that I had added to the sketches and so those didn't turn out quite like I had hoped.
All in all I only had two physical templates to show for in the end but with some troubleshooting I will be able to make the rest of them with little effort! I was very excited to complete this project and I am glad that I made something that I will use in my own life from now on!
