
The Paint House
Packaging Design
Design Brief
The Paint House was a packing project that I designed in my Paperboard Packaging course. Designed as a package for a conceptual company, The Paint House was created using Adobe Illustrator to provide consumers with easy and accessible paint samples.
Target Audience
Designed to provide individuals with easily accessible and inexpensive paint samples, The Paint House also targets to serve others for educational purposes. Its sample paints can be used not only to experiment paint variety, but to teach others how lighting affects the outcome of color. The Paint House provides within its sample package a color painting guide to improve this learning.
Problem-Solving
Possibly the most challenge aspect of this project creating a logo. I wanted a logo that represented the brand and was included as part of the main design cover. After doing research, I was inspired by these designs below:


Hardware Used
Xerox Versant 180 Press, Duplo DC-645, Plotter Cutter, Titan 230 Guillotine Cutter, Rippled Heat Press, and Roland DG Press.
Design Process
To start my creative process, I conducted visual research. Painting is one of my favorite hobbies, so I was inspired to base my project with something that I am passionate about. With the project being a 7” x 5” inch sleeve cover box, I thought paint samples would be perfect. Here is my style guide:

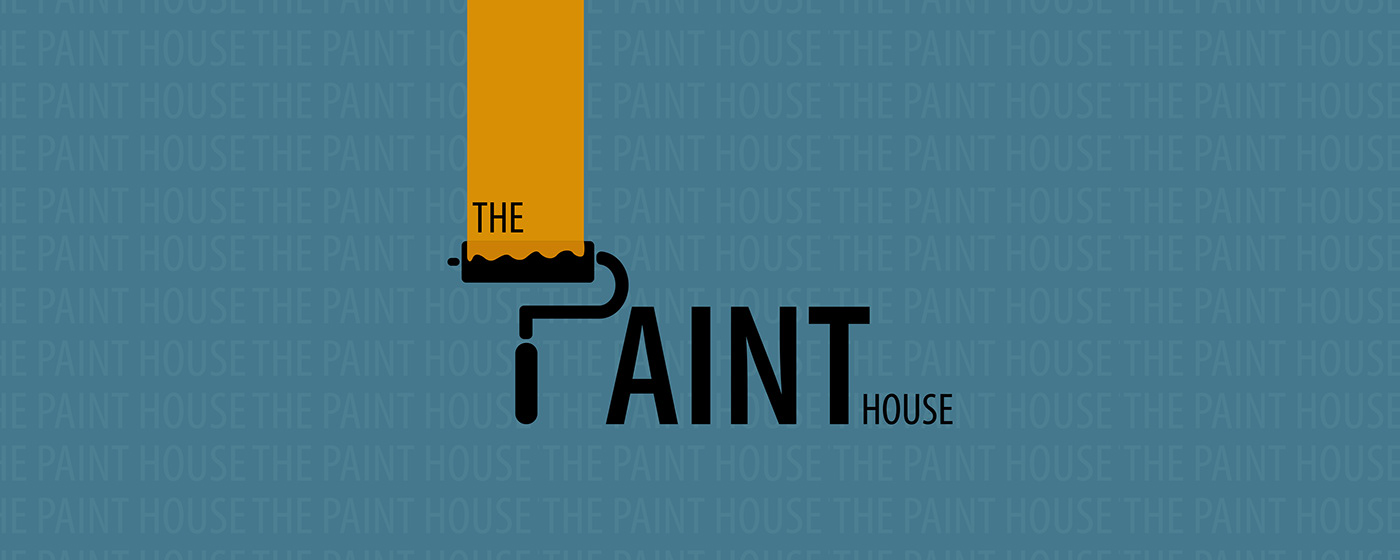
For logo I wanted a design that incorporate the product and brand together. After diligent research, I created a logo that was distinct and creative by combining the first letter of “Paint” with a paint roller.
After designing the typeface and orientation of artwork for the sleeve, I started designing the inside box. Within Adobe Illustrator a die-line was prepared for our class to design on. With a cross-like orientation, I designed the inside and outside cover with the “P” roller logo within the center. The outside cover with a paint streak to create visual interest. After this, I created two different orientations: one with die-line for testing and one without for final production.


Next, I designed the color guide that provided combinations of the primary, secondary, and primary colors.
As an addition, I made stickers to place over the lid of the plastic clamshell. One being the logo and the other being a roll of paint design. To prepare my file to print, I placed a “CutContour” outline over each of the stickers and made it a separate layer. Doing this helps the printer to recognize the placement where to cut.


Then finally, I designed the paint pouches with unique color combinations in a set of three.
Output & Finishing
Once the digital files were finished, the next step was to produce. Using 14 ½” by 12” inch 350 lb cover paper, I printed the sleeve cover and the inside box. Creating my files with guidelines, I was able to score my prints measuring the score depictions in millimeters. After this, I cut my sleeve box as well as die-cutting my inside box.
The color guide I also used 350 lb cover on 14 ½” by 12” inch paper. Within the Fiery RIP I imposed my pages and printed. Then I cut the color guides into 6 ½” by 4 ½” inch pages.
I then printed the stickers with an output of vinyl.


Finally, I output my paint samples on vinyl. Cutting the pouch individually using a razor knife, I folded and creased each pouch using heat.
Attributions
Plastic clamshell provided by Chris Huitt, professor at Pittsburg State University.
Project die-line provided by Christ Huitt, professor at Pittsburg State University.
All logo reference images acquired on Pinterest.com.


