

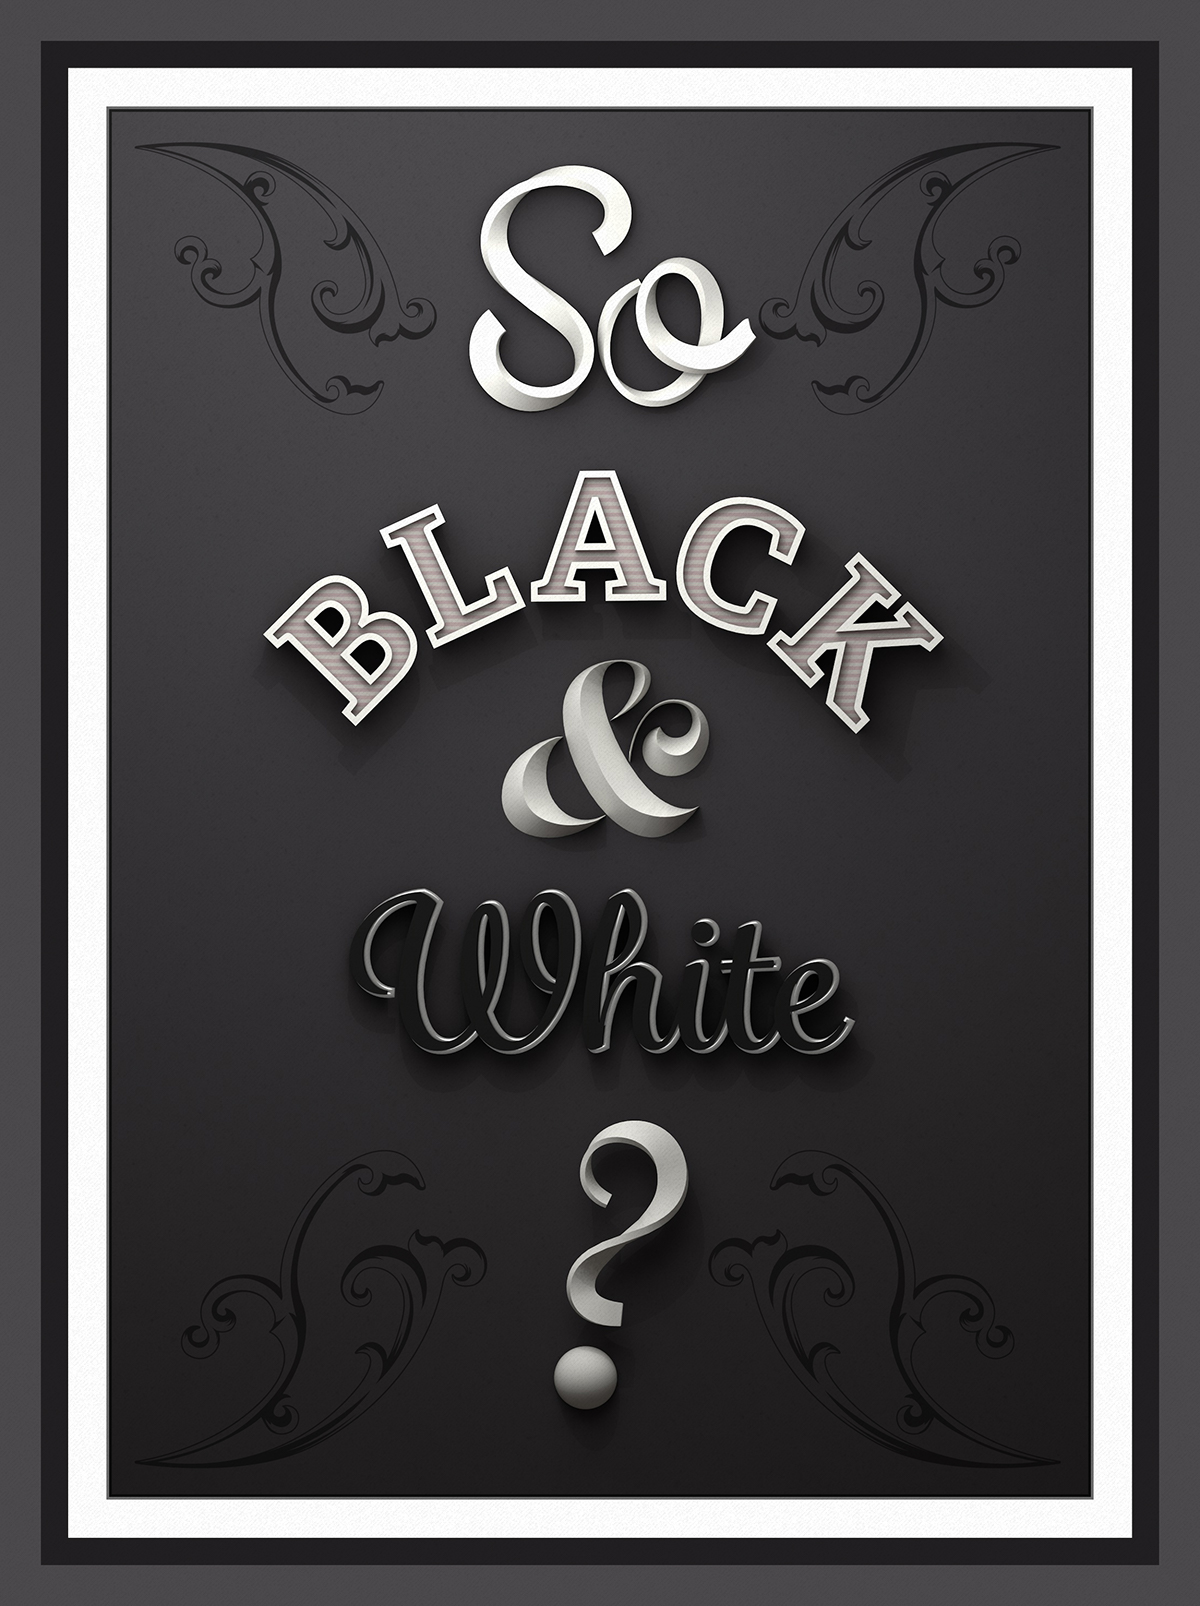
Typography in Cinema 4D
One of the things that has drawn me to 3D is the ability to create interesting typography. For example, I remember seeing this example from Geoaday and wondering how they were doing it.
Some artists use Cinema 4D or other 3D rendering software, and a lot use Adobe Illustrator and Photoshop. Here, my challenge was to do all the type rendering in Cinema 4D and only use Illustrator and Photoshop for shape editing (Illustrator) and final compositing (Photoshop). While some of these steps can be done in Cinema 4D, I find it a lot easier to do in Illustrator and Photoshop.
Four different effects
I used four separate techniques for the compositiong:
1. A 3D ribbon effect for the top "So" and bottom question mark.
2. An extrusion effect for the "BLACK" text.
3. A chiseling effect for the center ampersand.
4. A modified extrusion for the "White" text.
3D Ribbon
Here is a close-up of the top and bottom ribbon effects.


This effect is actually quite simple to create. It starts with creating the desired shape in Illustrator.

Then, the shape can be modified in Cinema 4D to position the path points in 3D.
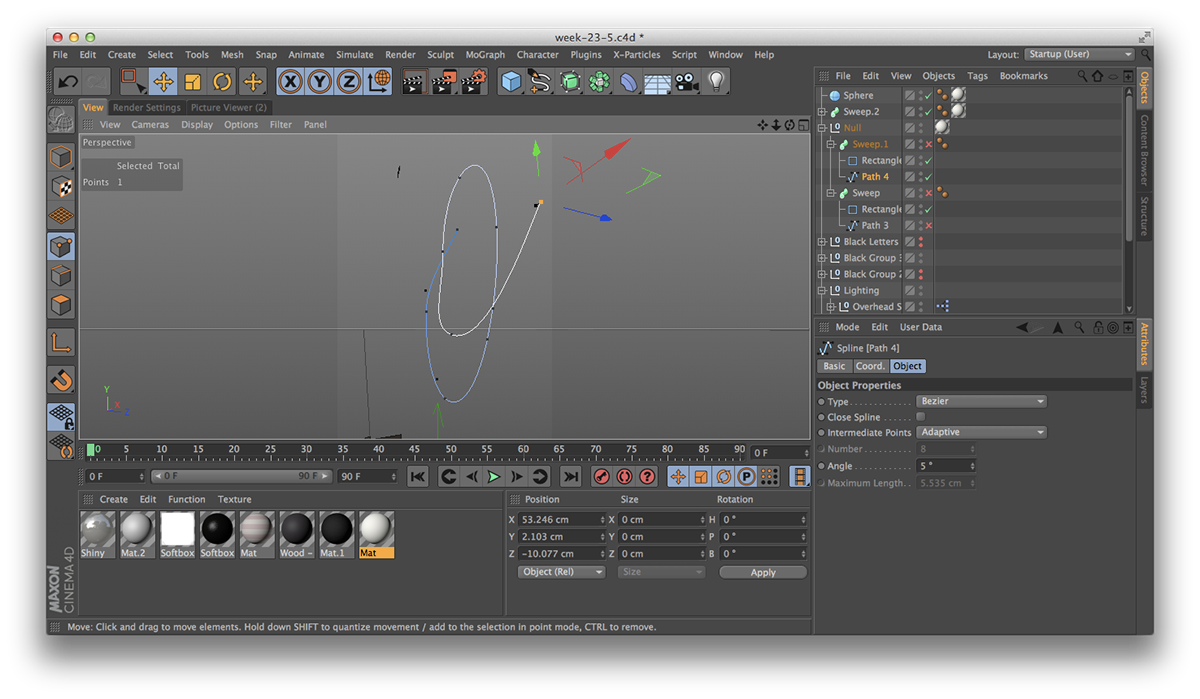
Finally, it is a matter of sweeping a rectangular shape along the path and have the rectangle scale and rotate along the awy. This is what the sweep nurb tool does in Cinema 4D.

3D Extrusions
The "BLACK" and the "White" text are created with a variation of the same technique.
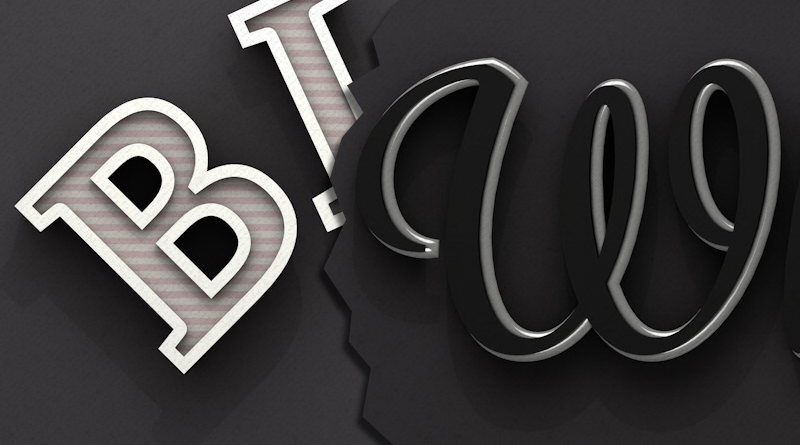
This involves combining an extrusion and a sweep of the text's outline. Again, we start with the typography in Illustrator.
Then, the type is extruded in Cinema 4D.

Likewise, the outline is 'stroked' with a sweep nurb again, this time with a square shape.

Combining the two creates the desired result.

The"White" text, even though it looks very different, is created with the same technique with a minor difference: the sweep is done with a circle instead of a square, and the stroked outline is positioned differently compared to the extruded text.

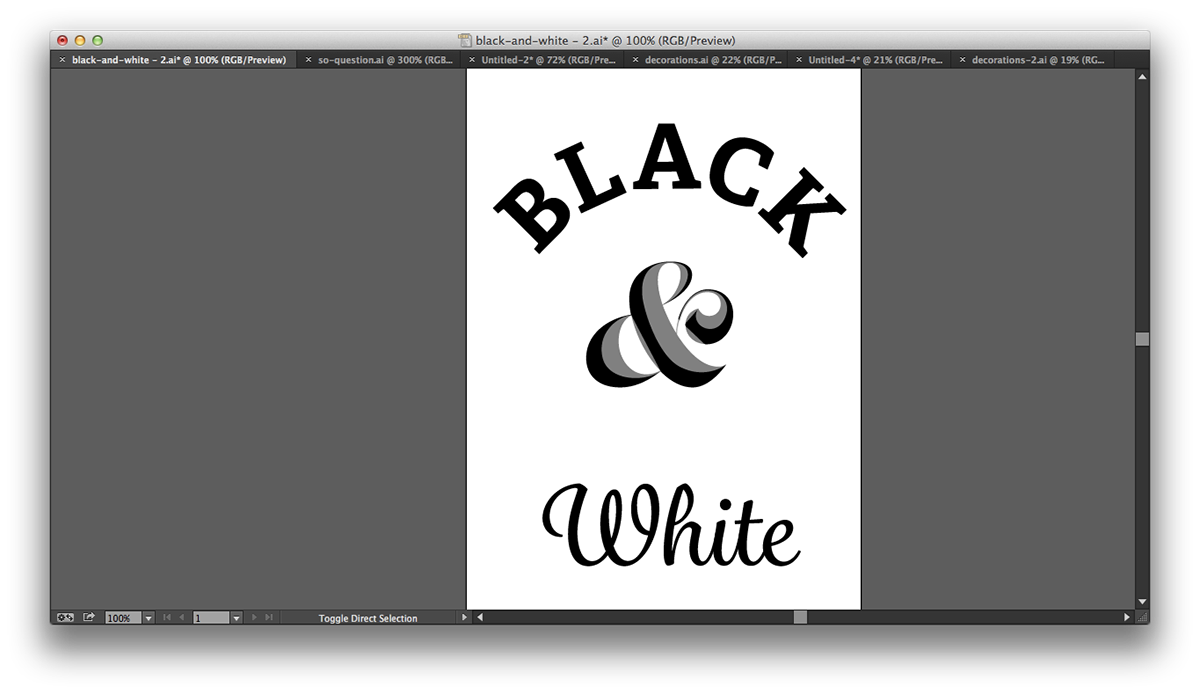
Chiseled Text
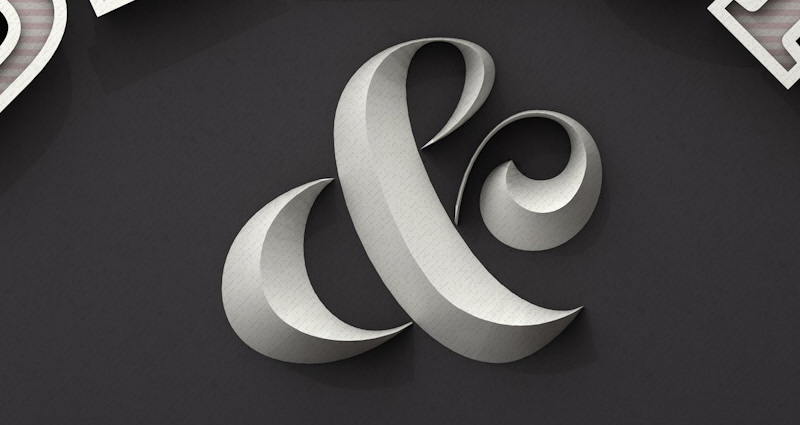
This is the most tedious effect, but also my favorite. The technique is described in this tutorial. I used a variation of the technique though, as I started with the shape in Illustrator and I also drew the path along which the chisel should run. Then, I brought the shapes into Cinema 4D. The heart of the technique is the following:
- Turn the path into a polygon mesh using the loft nurb tool.
- Overlay the 'chisel path' on top of the generated mesh.
- Use the knife tool to cut through the mesh, along the 'chisel path'.
- Using the 'path selection' tool, select the created chiseled path and change it's position. This creates the chiseled effect.
If this sounds obscure, watching the video should clarify questions that may arise.

Why "So Black & White?"
This is just a self reminder to not look at the world in too much of a black and white way. Things can be full of contradictions or variations, where white is black, and black is white :-)
Full Resolution Image
Ampersand Wallpaper


