SUMMARY:
We were to build and print a typography glossary for project four. The terms, definitions, and corresponding images were provided and we were to place them in an Adobe InDesign document. We were responsible for creating the design system and cover art. The objective is to continue to improve our InDesign skill while reinforcing our typographical knowledge.
GOALS:
I suppose I started out with the goal of finding a new typeface that I love. However, in the long run I used one of my favorite fonts, Poppins. I set out with the idea that I wanted this booklet to be true to my aesthetic. I wanted it to feel personal. I really enjoy design, but at times I struggle with the emphasis on design over concept. I endeavor to see myself reflected in the finished product.
FONT EXPERIMENTS:
The first font I tried was CoconPro. It had several options in it’s fonts in the family. ConconPro is a sans serif with rounded edges. The color choice for the term and definition ended up being similar to my final choice.
The first font I tried was CoconPro. It had several options in it’s fonts in the family. ConconPro is a sans serif with rounded edges. The color choice for the term and definition ended up being similar to my final choice.

Through searching and experimenting, I found the Honeycomb font. The concept of basing letters on a hexagon was interesting to me. The type only offered two faces, one was more rounded than the other. However, they were both too thin to work for the term which functioned more as a display font.

I tried Cokanut, but a serif typeface has to be pretty special for me to feel drawn to it. At this point, I was close to settling on dark gray as the term color. I feel like it is a way of adding interest to documents that is still easy to read and visually welcoming.
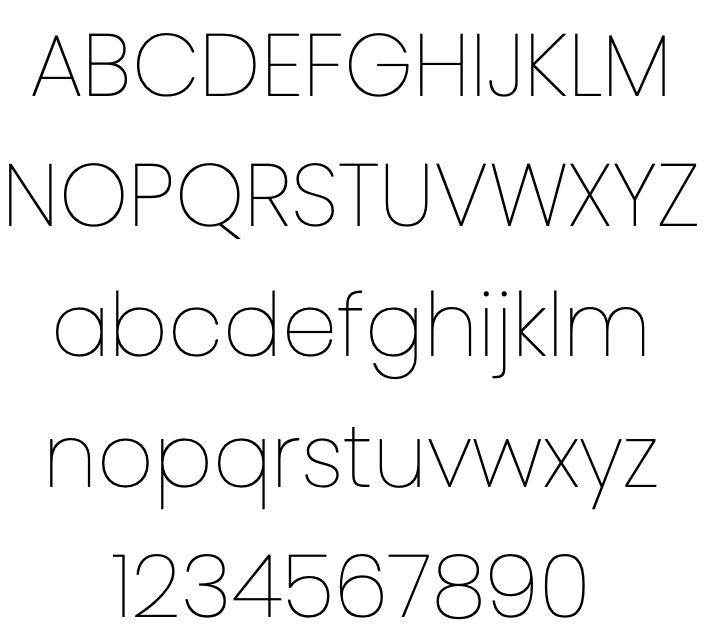
Poppins has 18 typefaces in its family which gave me the freedom to use type with thin strokes along with type that has more weight. I have been using Poppins as my default font for a year or so. It is clean but not void of personality. I prefer the simplicity and the geometric nature of Poppins.
PRELIMINARY GLOSSARY BUILD
For the actual glossary of terms I chose to use two typefaces: Poppins Extra Bold and Poppins Extra Light. The Extra Bold worked well for the Term and the Typeface Credit. It had enough weight at 15 points that it could command attention, it could also be scaled down to 10 points and still be easily read.
The Definition in Extra Light relied on white space to keep the reader comfortable and encourage them to continue reading. Because of this, I felt that adding padding on the top and bottom of the Definition enhanced this effect. I only added .0625 inches, but they proved to be necessary.
Because the glossary main objective is to be a resource, I searched for a color that would be easy on the eyes. I wanted it to invoke calmness while creating a contrast that aided the glossary in feeling alive. I chose a green that has a slight tint of blue. Cool colors tend to be less stressful on the eyes.
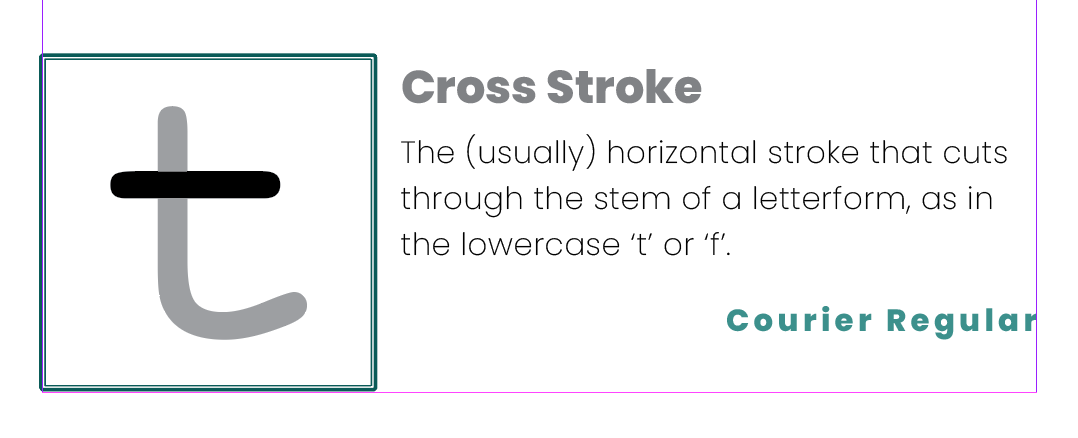
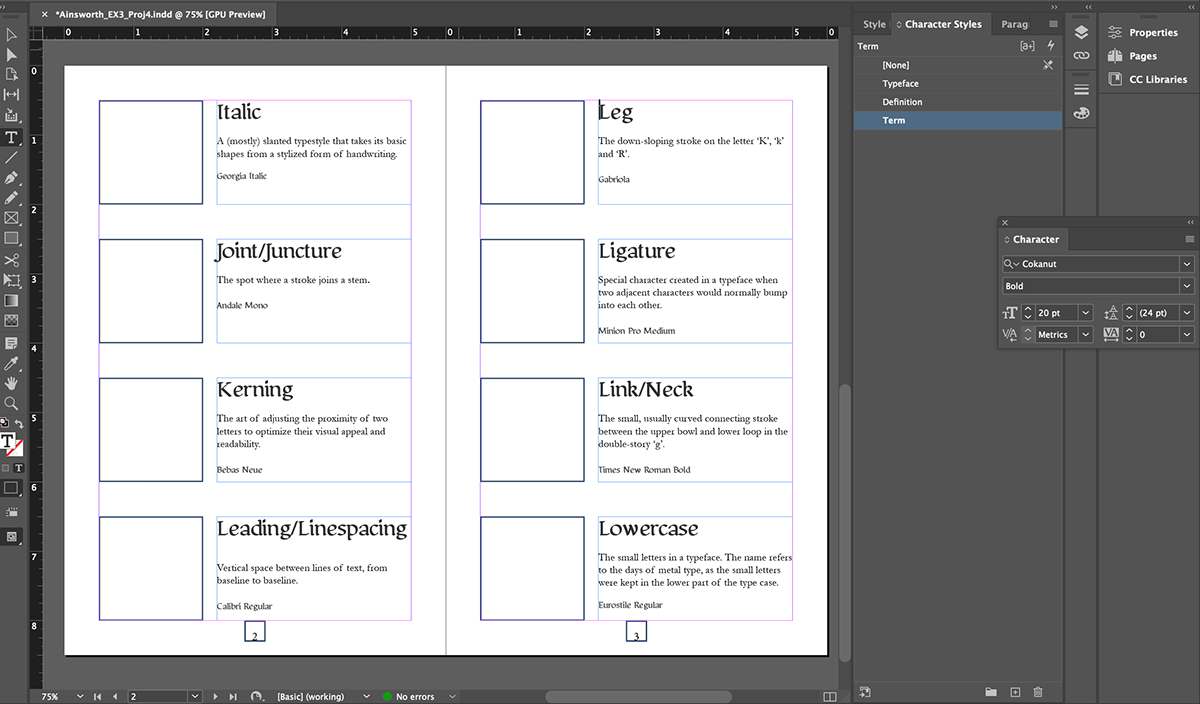
I then placed images that correspond with the Term and Definition. It was a good refresher in understanding the language of typography.
Each image lived inside a square shape. I used Object Styles to add a subtle double-stroke for the square. I like the depth and the thick and thin lines created. The repetition of line would soon become the thread of cohesion in the glossary.

FINAL FULL GLOSSARY FILE BUILD
I was so excited to start building something that allowed for creativity. I started off by choosing the tried and true pangram “The quick brown fox jumped over the lazy dog.” as inspiration. I titled my glossary The Brown Fox. I simply started by typing the title into an Adobe Illustrator document. I feel like there is a sleekness to the thin and extra light typefaces. The assignment didn’t say we could only use letters, but I thought that was fitting. I also knew how to use the Intertwine tool and wanted to explore it. I enlarged the ‘b’ of brown. Since my illustrations inside the glossary had a two line border, I decided to duplicate the ‘b’ and use the stems as a way to compliment the interior. I built my color palette using second compliments inside the Color Guide tool. Once I had the title arranged in a sort of harmony, I extended the ascender of the ‘h’, the descender of the ‘f’, and the stem of the ‘r’. It made for an elegant feel.


No matter the color choices I made, I felt like it was from the 1970s. So I decided to make one or two more covers in the same color palette. One of which was the letter ‘j’ in repetition. It didn’t feel like me. The next one I created, felt very true to my concept. I chose deeper colors, stuck with a ‘b’ that extended past the page. I then added two teal lines that intertwined the counter of the ‘b’. I then took the same lines and applied them to the left-hand side of the interior pages. I added to the design of the interior by including the pangram spread out over several pages. I also utilized the terms on said pages to determine. What I would highlight on each word.


PRINTED GLOSSARY
Professor Nikki printed our glossary and kinda walked us through the process. I am not new to printing, so all the snafus did not surprise me. The most valuable thing I learned was how to crease the inside of the spine to eliminate creep.


KNOWLEDGE GAINED:
My takeaway from this project was mainly technical. Learning to use Styles and how to properly package an .indd file will prove to be helpful. I was also reminded to always have more than one sketch/version.
