
Des 100 Cut Light
Eddie Mao / emao861
Design and fabricate an original lamp inspired by one of the provided mood boards. You must use the same mood board as your previous project.
lamp must use laser cutting as its primary method of fabrication.
Contents:
- Mood Board, Inspiration, And Research.
- Ideation And Paper Models
- Fabrication And Iteration.
- Final Photos & Closing Thoughts
Moodboard, Inspo, And Research
The moodboard i used for my 3d printed lamp, and therefore carried over to the laser cut lamp, is the organic moodboard. I originally chose this moodboard because i enjoyed the curves and unique shapes that occur in nature, and the organic moodboard reflected this.
My original pinecone idea came from the first idea that i experimented with, which was trees, i attempted in making tree shapes out of paper and cardboard in studio, but i thought the basic shapes and unoriginal symbol of a tree was too overused, and i could not improve on what had already been made by other great designers. Knowing this, I looked into other ideas stemming from the tree idea and pinecones came to mind.
Some research images: (left pic I took from Albert park, right pic from online)


Ideation And Paper Models
Idea in hand, after some planning and thoughts on how to make this pinecode idea, I tried to experiment with both paper and regular cardboard.
This experimentation led me to a feasible simplification level of the pinecone's general shape that can realistically be made in the given timeframe. Building upon this progress, I delved into further exploration by creating paper models to assess the physical aspects of the design. These models allowed me to visualize the three-dimensional form and make necessary adjustments to enhance its aesthetic appeal.
Additionally, I wanted to understand how the laser-cut pinecone would interact with light in a practical sense. To achieve this, I conducted an experiment. In the confines of a dark cupboard, I strategically placed a light source to shine upon a specific area of the cardboard model. By observing how the light reflected off the ridges of the pinecone and projected onto the wall behind it, I gained valuable insights into the interplay between light and the intricate details of the design.
This thorough exploration, combining physical experimentation and the study of light dynamics, enabled me to see the potential of this pinecone. It ensured that not only would it possess an accurate and appealing form, but also the ability to beautifully interact with light, resulting in a captivating visual experience for anyone who encounters it.

Fabrication And Iteration.
The next step to this process is the fabrication and iteration of my pinecone, this was all done in illustrator, an application that i was unfamiliar with. luckily i have used photoshop for quite a long time, and the skills from the similar application seemed to carry over into illustrator. i created the overall mesh for my third iteration of the design, which would be a less refined and tested version, that would serve as a draft for my final.
The creation process of this was quite smooth, and i used the curve tool to create the notches, after measuring the width of the mat board. Loading it onto the laser cutting machine, i quickly realised that something had gone wrong, and since i had not put any pegs to hold my board down, the board had moved a little, and lines were overlapping where the should not have. This created some pieces that were perfect, as well as other pieces that had cuts in places that were not meant to be there.
I decided to put it together anyway, and found that the notches i put into the board were too wide, and the pinecone would not stay together without some glue.
This pinecone was a learning experience and allowed me to see the flaws in my plan, and therefore correct them in time for the final.
Although this pinecone was not perfect, looking back at it, i appreciate the imperfections and roughness, as well as the missing limbs, all of which reflect the reality of a real
pinecone, which would have all of these imperfections as well, and in some ways, it feels more real then the final, perfect, pinecone.
Here are some images, including the old pinecone lying down next to the final.


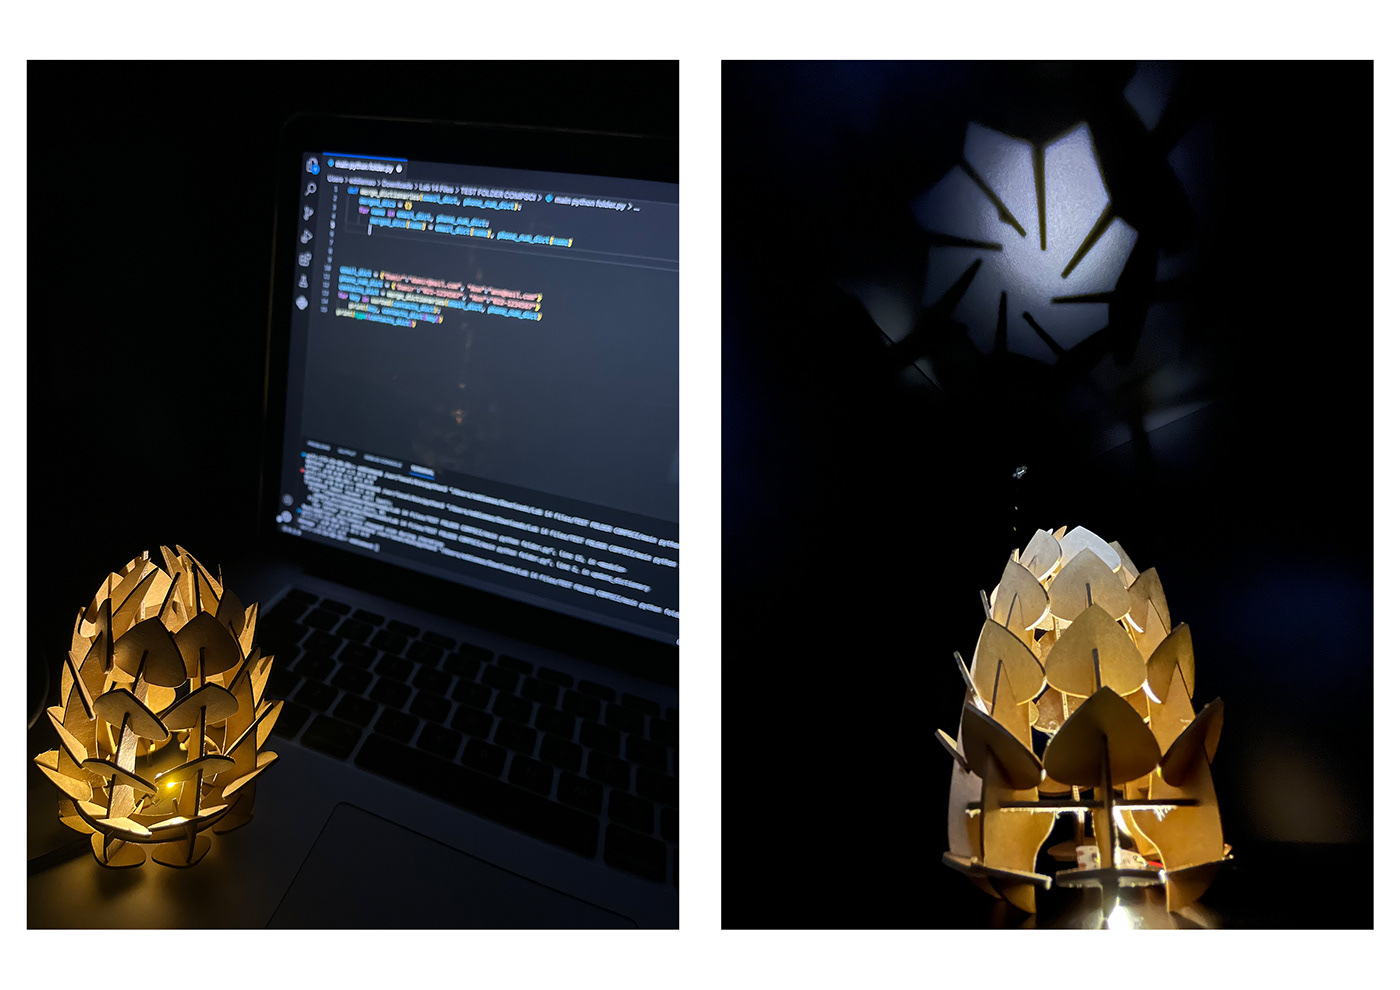
Final Photos.
The first 2 Photos show context and function, while the last photo shows connection to moodboard.

Closing thoughts.
Overall this project was very fun and entertaining, and i learned a lot about laser cutting during it. If i was to do this again, i would be a lot quicker with it, and would be able to create a more refined model, given more time, but for what i made, i am very happy with and think that i put my best foot forward on this one.
Thanks for reading!

