


ISTD biophilia brief interpretation:
Biophilia can be defined as “a hypothetical human tendency to interact or be closely associated with other forms of life in nature : a desire or tendency to commune with nature” (“Definition of BIOPHILIA”, n.d.). This term was originally coined by naturalist Dr. Edward O. Wilson who observed that humans had an affinity for nature and had a craving to be near to it. Nature can be seen as an important aspect for some humans who find rejuvenating benefits from being outdoors and according to the International society of Typographic Designers brief, more people are staying indoors and missing out on what nature has to offer: creativity, improved well-being and reduced stress.
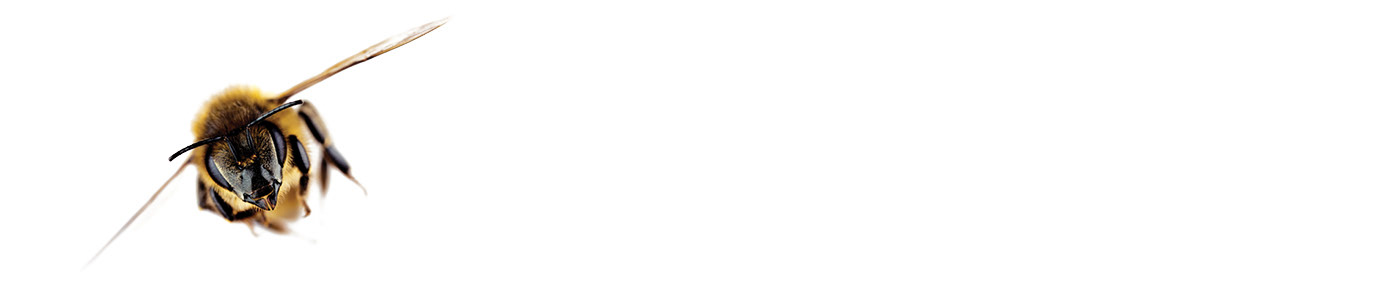
While nature is an important aspect of the brief, the ISTD would like to see how one would incorporate this affinity for nature into a typographic artifact that reflects the crux of the brief. In order to do this I would need to take the principles of type and the humans deep desire to be close to nature and create an immersive experience that transports a person from their couch to the buzzing meadows where bees thrive (No need to bring your EpiPen along).

Research:
From the beginning of this project, up to the very end I had to do a lot of research because I didn't really know much about bees or creating books from scratch. I did know however, that I was ready for the challenge. Creating this book was probably the most stressful time but also the most rewarding :).
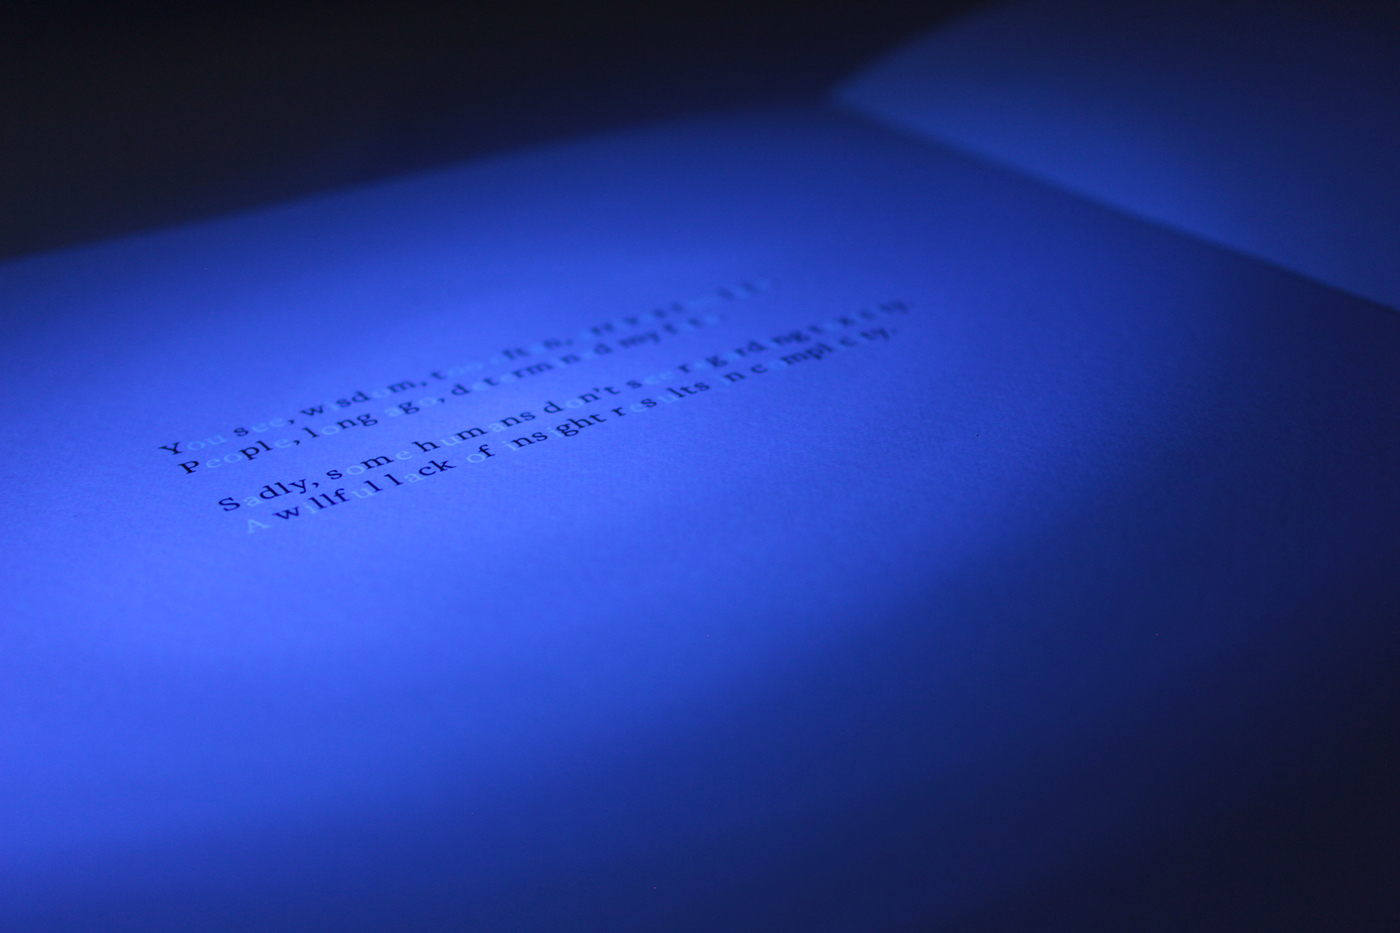
I started off by looking at how the honey bee operates and the inner workings of their day to day lives. This part of the project was a lot of fun as I was able to learn just how incredible bees actually are. From the intricate design of their small bee bodies to the systematic function of the hive. All elements of the colony come together to form a profusion of bee. During the research phase, it as brought to my attention that bees see in ultraviolet spectrum. This helps the bee find flowers to collect pollen/ nectar. This information set the tone of the project because it inspired the interactive part of the book.
Designing the book:
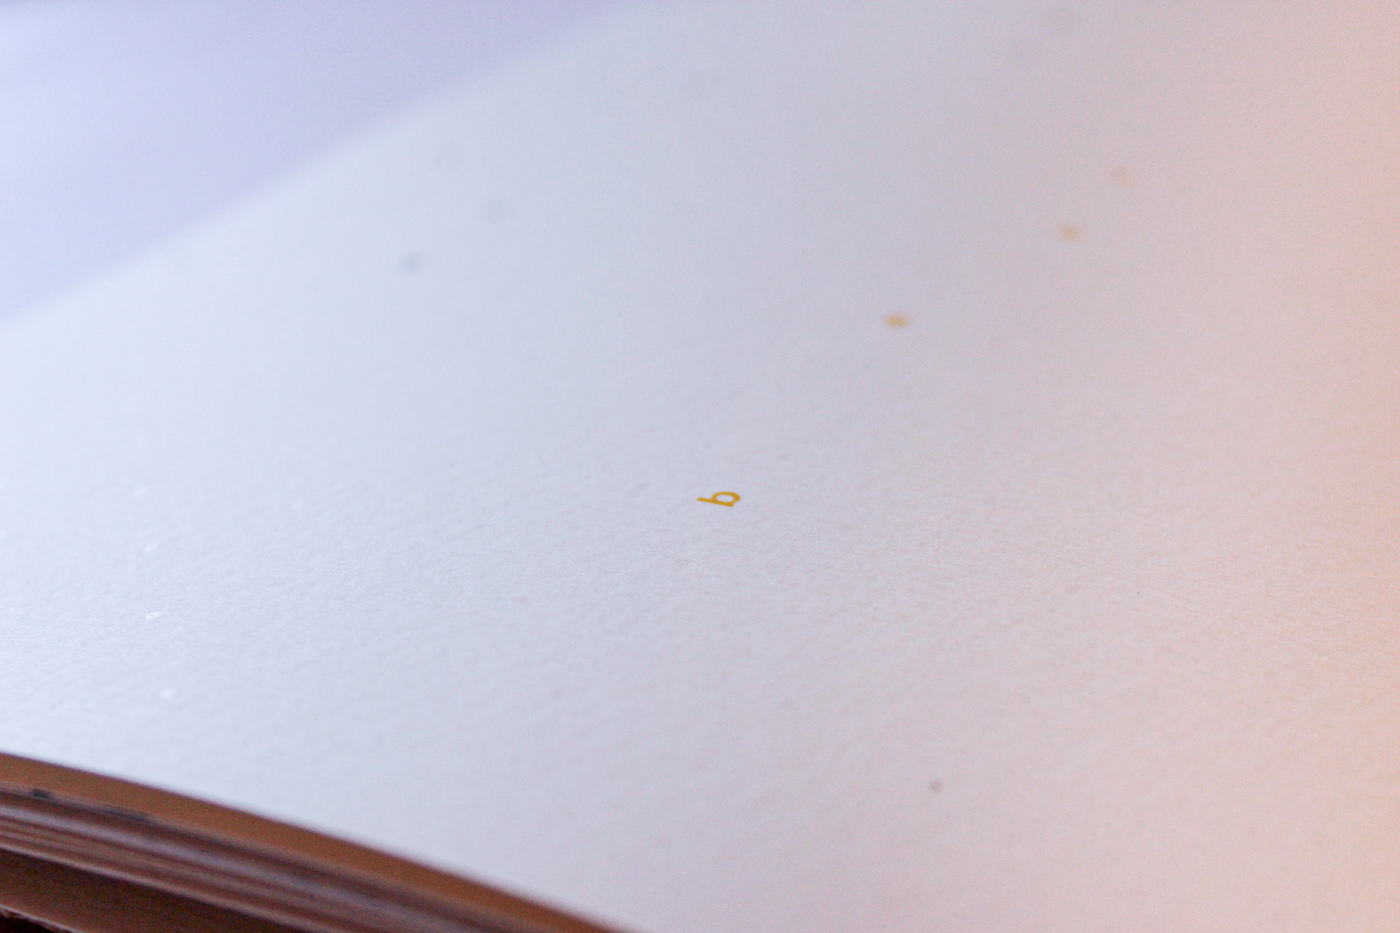
I can honestly say that designing this book was so much fun. I enjoyed every moment even though there were some challenges. I fell in love with typography during this process because it brought so much life to this project. I started off by setting up my book in Adobe InDesign (now one of my favorite softwares) and let me tell you, it was a humbling experience. I have a new found respect for those who do this on the daily. I also had to go beyond the digital space and explore different types of paper, UV ink and alternative printing methods in order to get the best result.

Crafting the book:
After finding all of my materials, I had to start constructing my book. A lot of experimenting went on during this phase as I ran into a couple of challenges. Having only the knowledge from a single book binding workshop and some internet research I was super nervous about putting my book together. Here is a short summary of what I did:
Step 1: Print it out
Printing was a bit complicated. The first time I printed it out the pages were not in the correct book order. The pages were printed as is on the digital layout in InDesign- yes, this was a newbie mistake but I got it right the second time thanks to an angel at the printer. I then had to get the UV ink onto the page. I contemplated doing it by hand but it would have taken so much time and it wouldn't be as perfect as I wanted it to be. I opted for silk screen printing and it was a great decision because I met a great silkscreen printer who really did go the extra mile. You can find him here.


Step 2: Trim the pages
Fortunately I had a guillotine to help me cut my paper down to size. I decided to use this method as there was a high number of pages to cut. I am also super wobbly with the craft knife for some reason and I wanted to ensure straight edges :).

Step 3: Binding the pages together
I used clamps and small planks to create a tight seal between my pages so that the glue would not leak into the book. I found that it was easier to use clear glue from the tube because when it dries its still flexible and it really helped when
Step 4: Create the cover
It was now time to create the front cover for the book. I found this part incredibly challenging as I had to change my binding style half way through. I started off with a perfect bind but ended us with a perfect bind/ case bind blend- I'm not mad with how it came out by the way.
The final result
The book was finally finished. From start to end, it took me about 3 months to fabricate it.


Thanks for checking out my project :)


