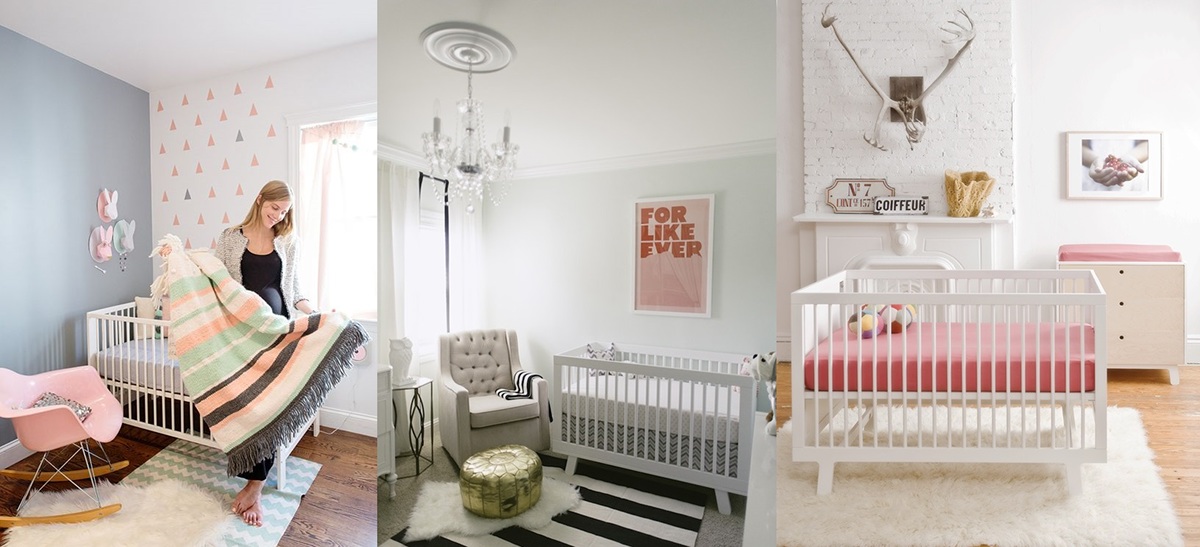
This is an ongoing project that I posted a teaser about earlier. It's my baby's nursery. My husband and I are currently expecting our first child- due early July- and we couldn't be happier. As you can tell from the title we found out that we are having a girl! and being the "design project manager" that I am I started designing the nursery right away. Take a look at the concept, colors, inspirations that influence my design and check out the album every now and then for pictures of the nursery before, during, and after the design works take place.
I knew I wanted my baby's nursery to be a place my husband and I would love and enjoy being in as much as our baby would once she got slightly older. I however wasn't keen on frills and bespoke royal baby sort of nurseries. I wanted something that was pretty and practical that had clean modern lines and that would grow with my baby.
I consider myself to be a girly girl but there is one thing that I hate so much that is associated with girls which is the color Baby Pink. I honestly absolutely hate those two baby associated shades; baby pink and baby blue. I however love other blues and pinks left within the spectrum. I wanted a peachy sort of pink, never mind the tone in this board it's a tad too peachy here.
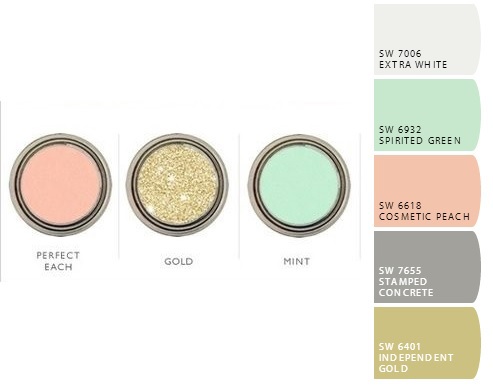
I wanted to complement the peachy pink with a mint green and metallic gold for accents. All furniture was going to be white- personal preference- and I knew light grey was going to be used around the room as a neutral backdrop color.
I took my personal preferences, budget, size limitations, and needs to the Doha market and online market for that matter and came up with a mood board for my baby's nursery of things I'd like to use, or find things that are similar to. Beside having a color theme for the nursery my husband and I wanted to use the motif of a lamb in the nursery but not too much that it gets redundant, we hate things too matchy matchy
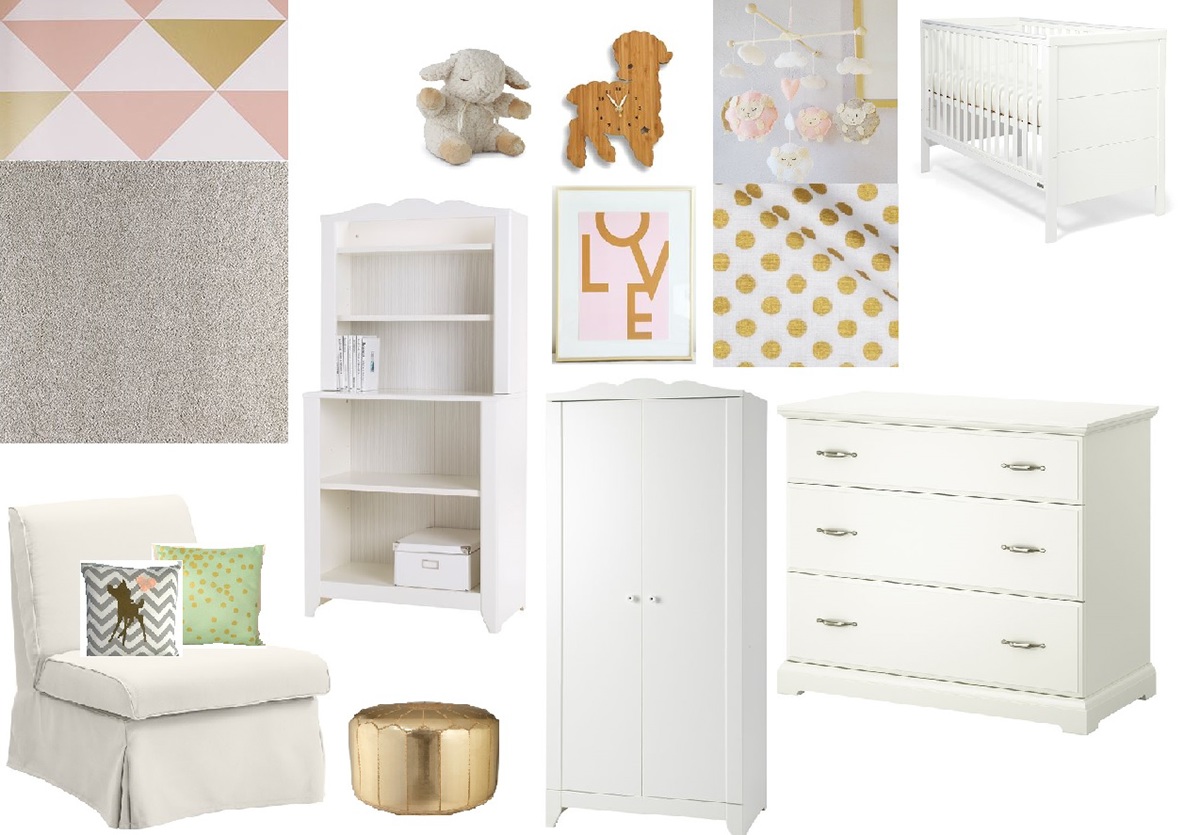
Then came time to create the layout and make sure everything would work in the room.

These are a few teaser partial elevations to give you an idea of what will be going on in the nursery


Comes the time for photos of the actual space now. This is the nursery, 1 of the 3 bedrooms in our apartment. The photo is taken at the time that we first went to check the apartment out for rental. You guessed right, this is the door that leads to the teenybalcony which I've posted about before.

As you can see the room is currently being used as a drying/ironing room and a place to store "stuff" we are planning on moving the laundry related activities to the 3rd bedroom, remains a store room today, once the baby comes and to get all of the extra stuff that we don't need sorted out before the baby comes!

and Here are other photos showing all the other sides in the nursery.


added on May 7th
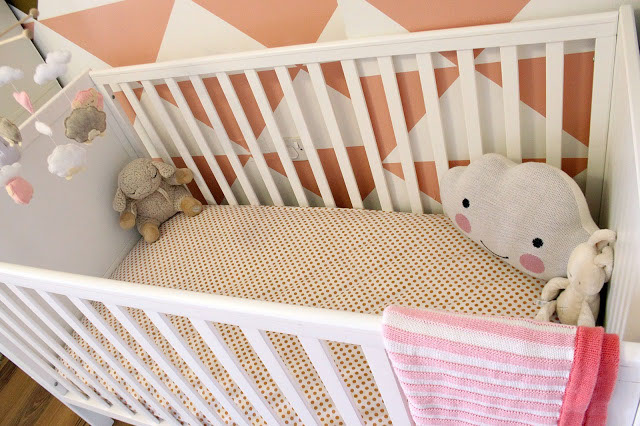
So finally the furniture arrived, 10 days ago!, the crib is the Yale white crib from Mamas and Papas and the rest of the furniture is all IKEA. I was supposed to finish the wall behind the crib before the furniture arrived but things have been crazy around here, can you notice from how many times I said I will post pictures about the nursery and never got to it?
the pillows on the nursing couch and the cloud pillow in the crib are all purchases that I made on ETSY
the pillows on the nursing couch and the cloud pillow in the crib are all purchases that I made on ETSY

the nursery walls are painted a light shade of grey except for the wall behind the crib which is supposed to be a feature patterned wall with peach and golden wall decals from Walls By MUR

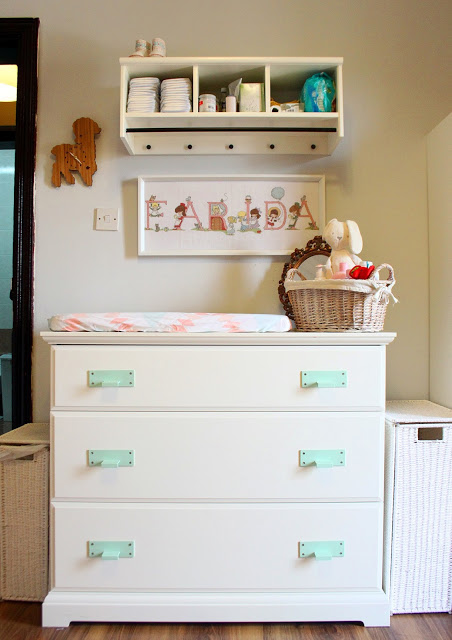
I'm personally not into changing tables and baby bath stands, I'd rather get a dresser with a changing pad to go on top and a bath sponge.

A great way to upgrade any furniture like IKEA's is to replace it's hardware with nicer hardware. I replaced the white knobs with these mother of pearl brass knobs from Anthropologie which I had purchased originally for my bedside tables with a couple of extra ones which came in handy!

Finally last Friday I managed to inlist the help of my sister and her friend to start on the feature wall behind my baby's crib. It took a very long time to stick these decals in place all perfectly aligned. We used a ladder, pencil, X-acto, masking tape, a straight edge, and a level and it's really an exhausting job. They did the majority of it really
You can see the room start taking shape here


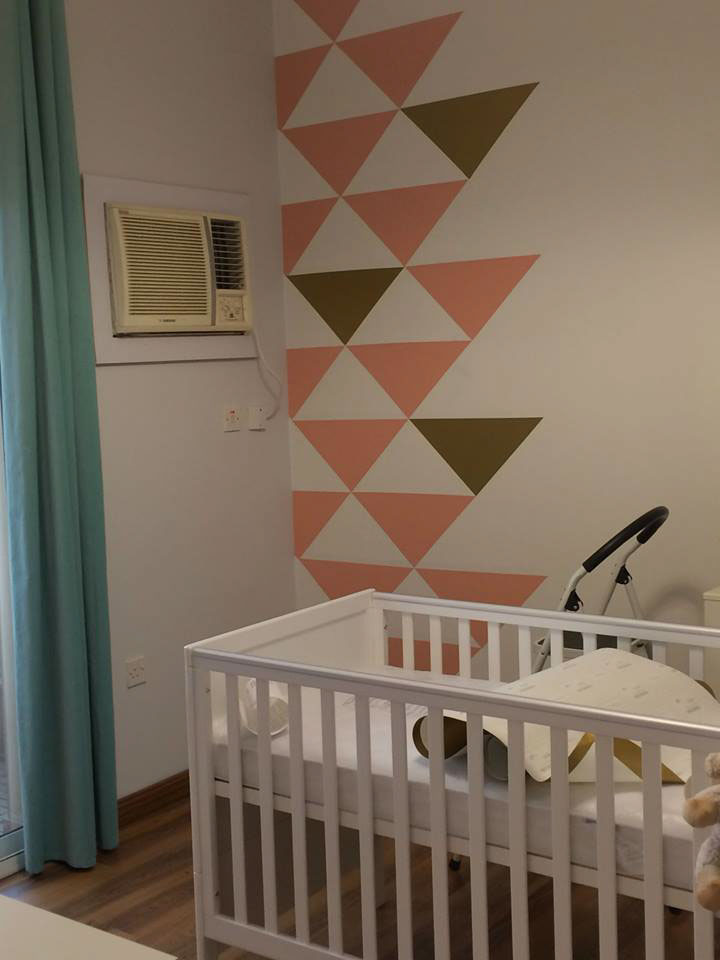
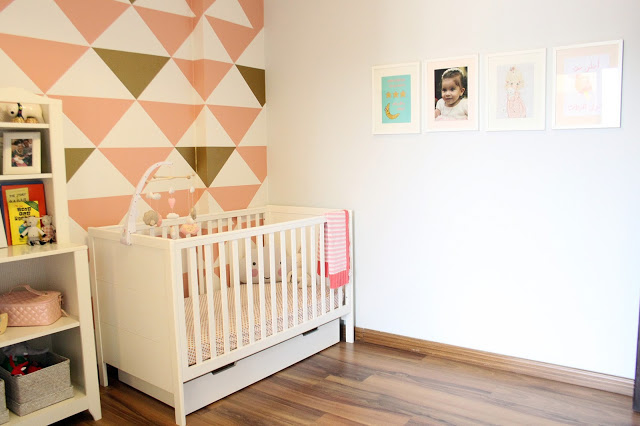
The golden triangles are actually metallic which add glamor to the nursery in a subdued way. I LOVE it and love the colour of the triangles and that they are not baby pink but a peachy pink colour

so after another Friday completely spent by, mainly my sister, and myself; measuring, sticking, cutting decals. The feature wall in baby Farida's nursery is finally done! Woohoo.
What do you think? We are loving it.
What do you think? We are loving it.


We ended up switching the chair & bed locations just after that news about a toddler getting burnt due to the AC above her bed having a fault in its cables and catching fire which caused me to freak. To this day I keep looking at the AC in her bed every now and then when she sleeps. Below is a photo tour of the room once it was all completed and the mattress in the bed dropped to its lowed (Farida was standing when we dropped it)


And now an update of the room that Farida is 2 years old already!

Farida at 1 months old
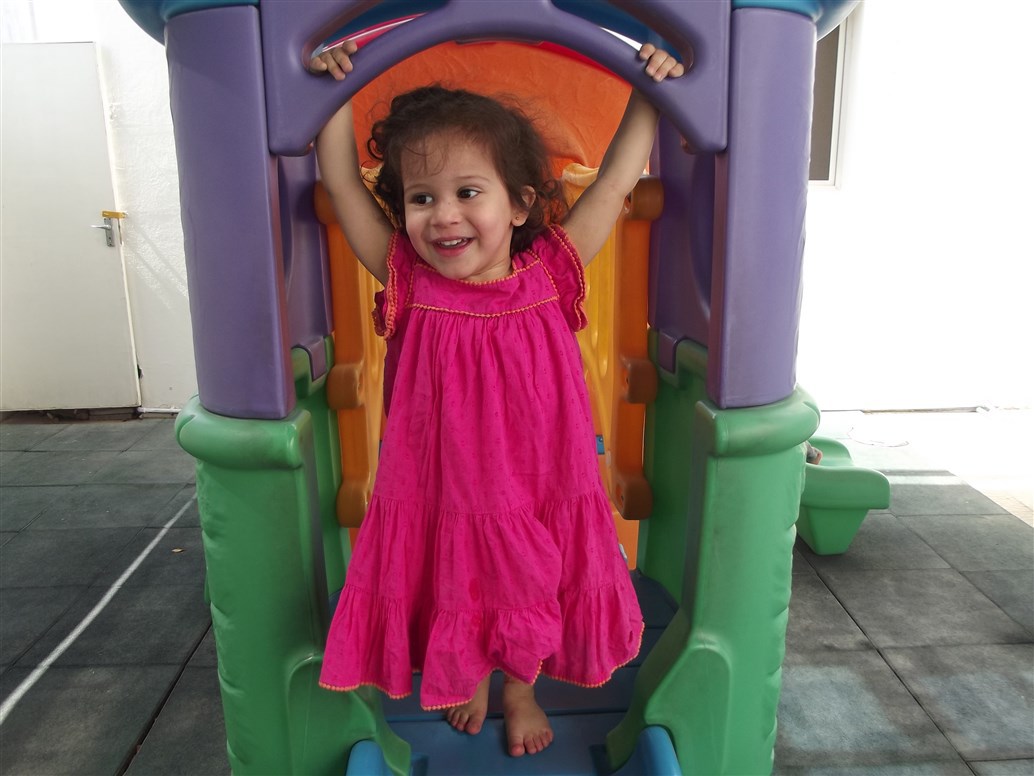
Farida at 2 years old! how does time fly

Farida's Cot/Bed from Mamas and Papas was turned from a cot into a bed (it is the same bed) and I moved the sheepskin to near her bed so that she steps on something soft when she is getting out of bed (and to soften falls if they happen) The poof was also moved over so that I can sit on it to read her her bedtime stories. I also got her the IKEA kitchen set which she absolutely LOVES, the great thing about it is that it comes with 3 heights settings so that you child can continue to play with it comfortably even if they grow taller

I added a play table with storage underneath and two stools for her to play along with the IKEA black/white board aisle
