
Process
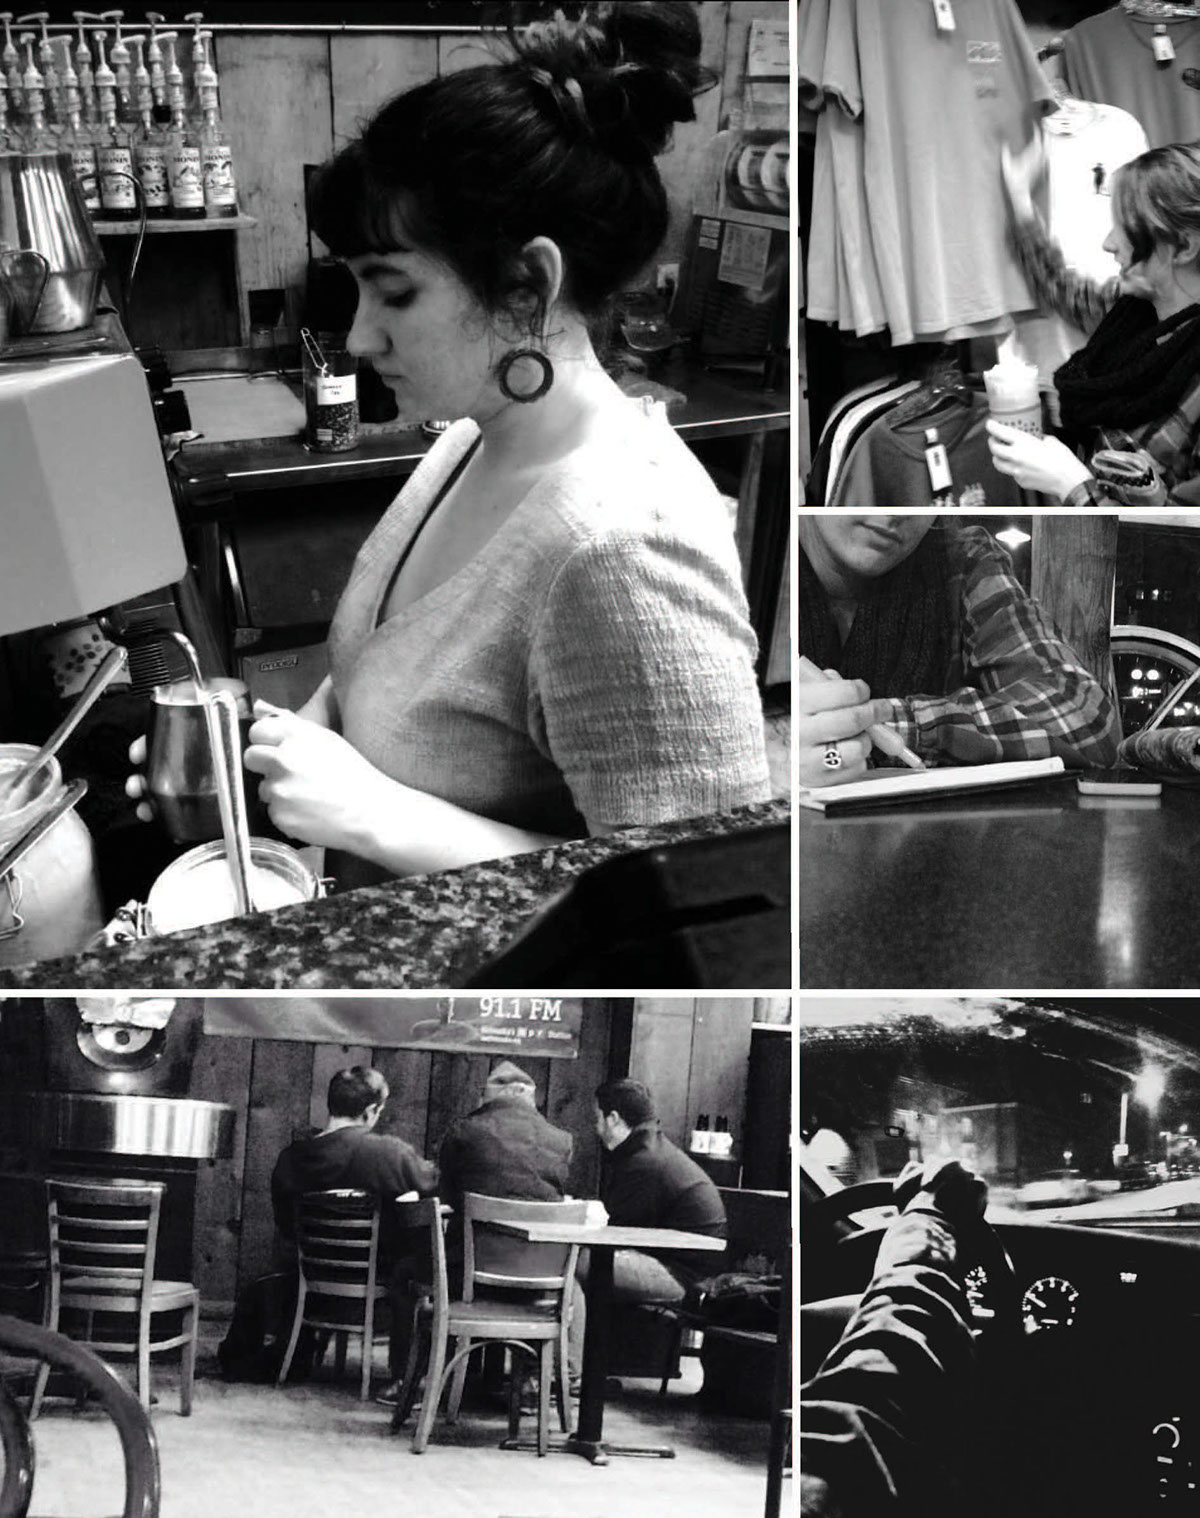
Initial analyzation of interactions within a space.
Ideation
Interactive Art and Braille

After our initial analysis of interactions within a space we were to chose two interactions that intrigued us the most. I was inspired by a student's picture of him "planking" on the head sculpture in front of the Sheldon and so picked interactive art as my one of top ideas. The other idea I found to be promising was braille. Design for the blind can typically be an afterthought when designing buildings and I thought it would be great to instead make them a forethought.
After researching, though, I found that there weren't a lot of oportunities to change the built environment for the blind. I also found that interactive art sculptures weren't exactly on track with the mission statement of this module. So I returned to the ideation stage.
Staircases
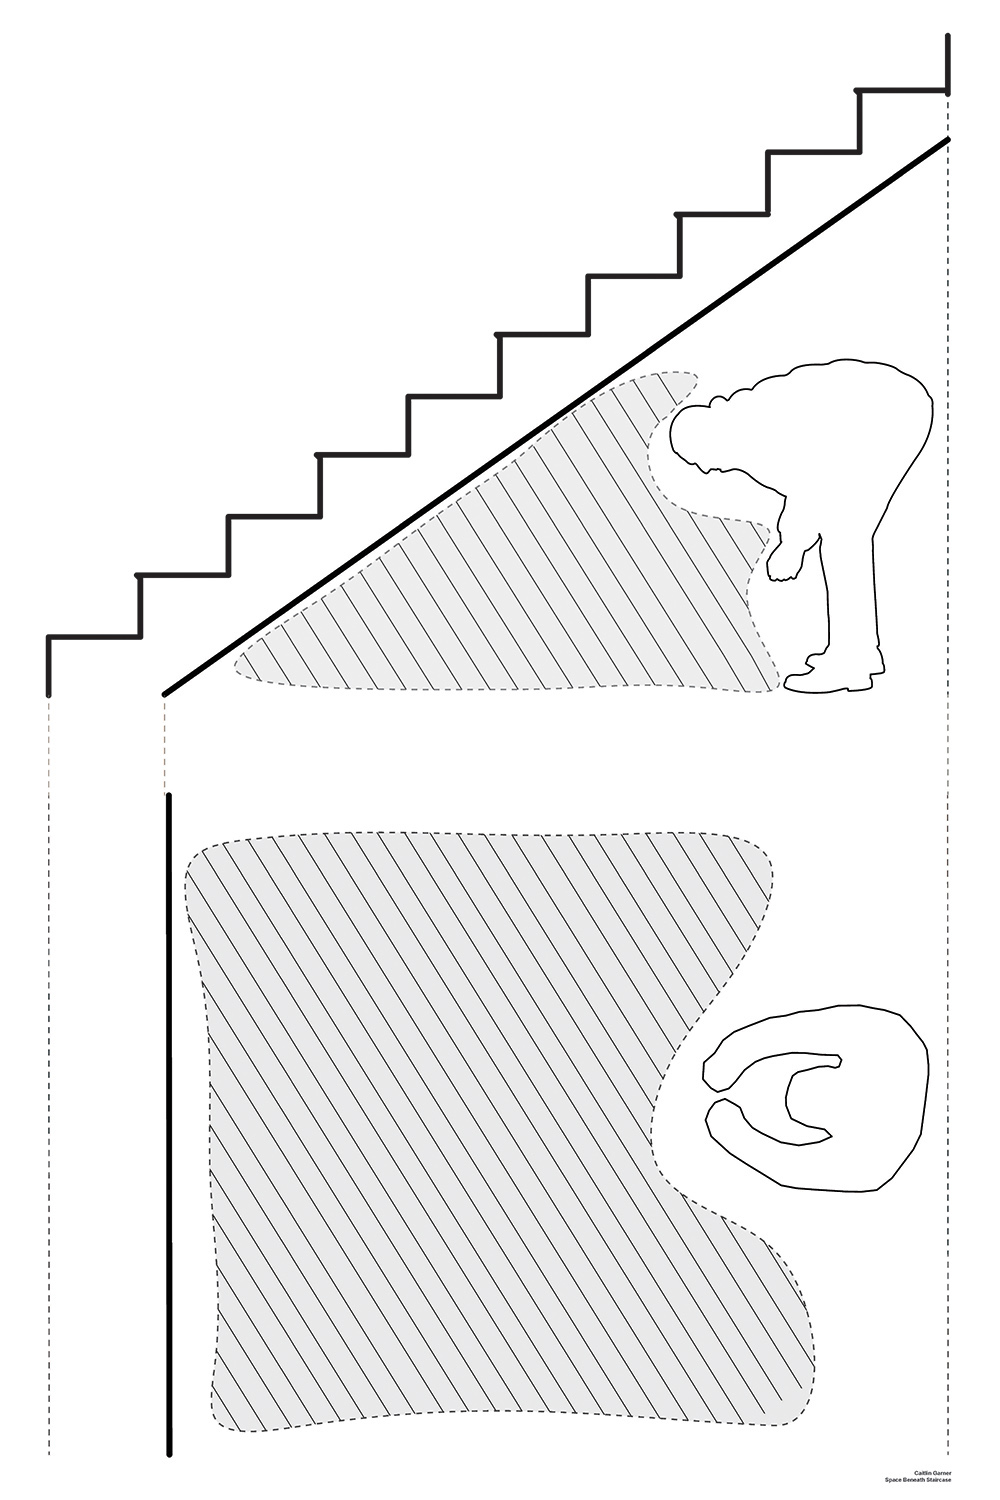
Back at the beginning of the ideation stage, I tried to think of dead spaces that weren't being used and transforming them into an interactive space. Right away I thought of the space underneath staircases. The staircases in Architecture Hall have never been used, and recently it's been a trend to put bookcases, shelves, or storage units under stairs to utilize the space. I wanted to take this idea and push it farther but found there wasn't much to do that would be within building code.
Light

Light was another avenue I considered. I was inspired by my personal situation where I have to get ready in the dark every morning as to not disturb my roommate. I wanted to somehow be able to shift the light around the room so you could concentrate the light in some areas but keep it dark in others.

Interaction of the body and light in the barn at Architecture Hall.
Pet Shelters

After receiving critique I wanted to shift my focus from looking for spaces with problems, to looking at spaces or interactions that I was intrigued by or passionate about. I landed at pet shelters. The living conditions are not humane for the size of the dogs at some shelters. I wanted to create a better system of housing the pets that would give them more room and make overall living conditions better. Brainstorming lead to a dead end because there was no way to change the built enviornment without creating an enitre new building that probably wouldn't be efficient for the owners of the building.

Dogs in their kennels at Pet Doctor in Lincoln, NE.
Homeless

Another interaction I was really passionate about was the interaction between the homeless man at Panera, the built enviornment, and his belongings outside of Panera. I wanted to design a system that would store homeless people's belongings so they wouldn't have to worry about them getting stolen.

Interaction of homeless man watching his belongings through a window at Panera.
Even though I was passionate about the pet shelter and homeless man, I found that during brainstorming it was difficult to come up with ideas.
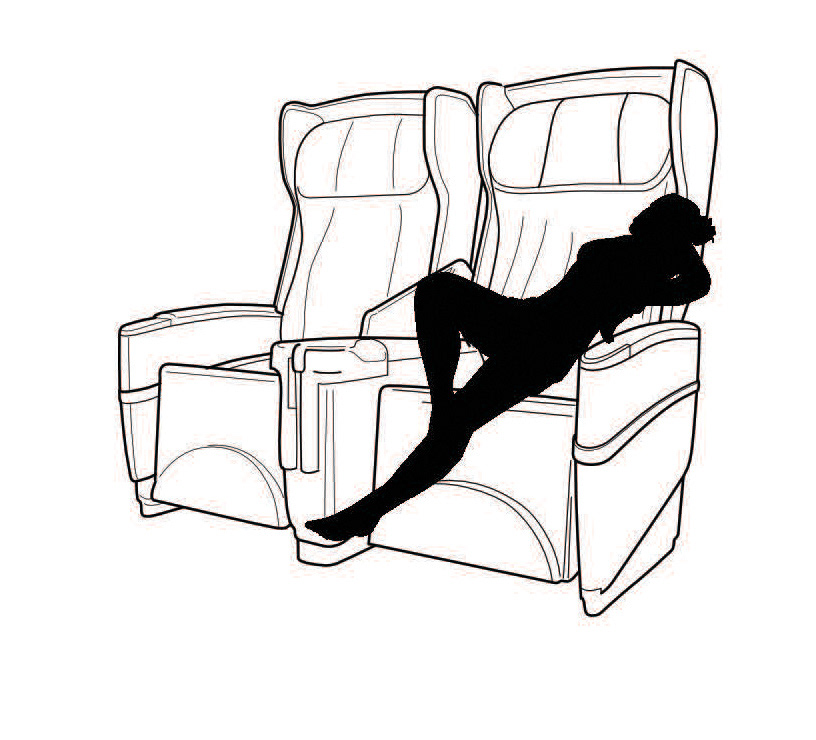
While helping another student with his project, I I had a "eureka" moment. I had remembered a lecture from a design history class about Greg Lynn's embryological house. I had the idea of transforming the idea and shape of the embryological house into seating on an airplane. This seating would be comfortable and conforming to the body.
Airplane Seating

Greg Lynn's Embryological House

Chair design inspired by embryological house.

Passengers interacting with airplane.
Analyzing Space
Sleeping conditions in planes are not optimal.

Leg space is limited and forces passengers to assume abnormal positions.

Annoying passengers are unavoidable in such tight spaces.
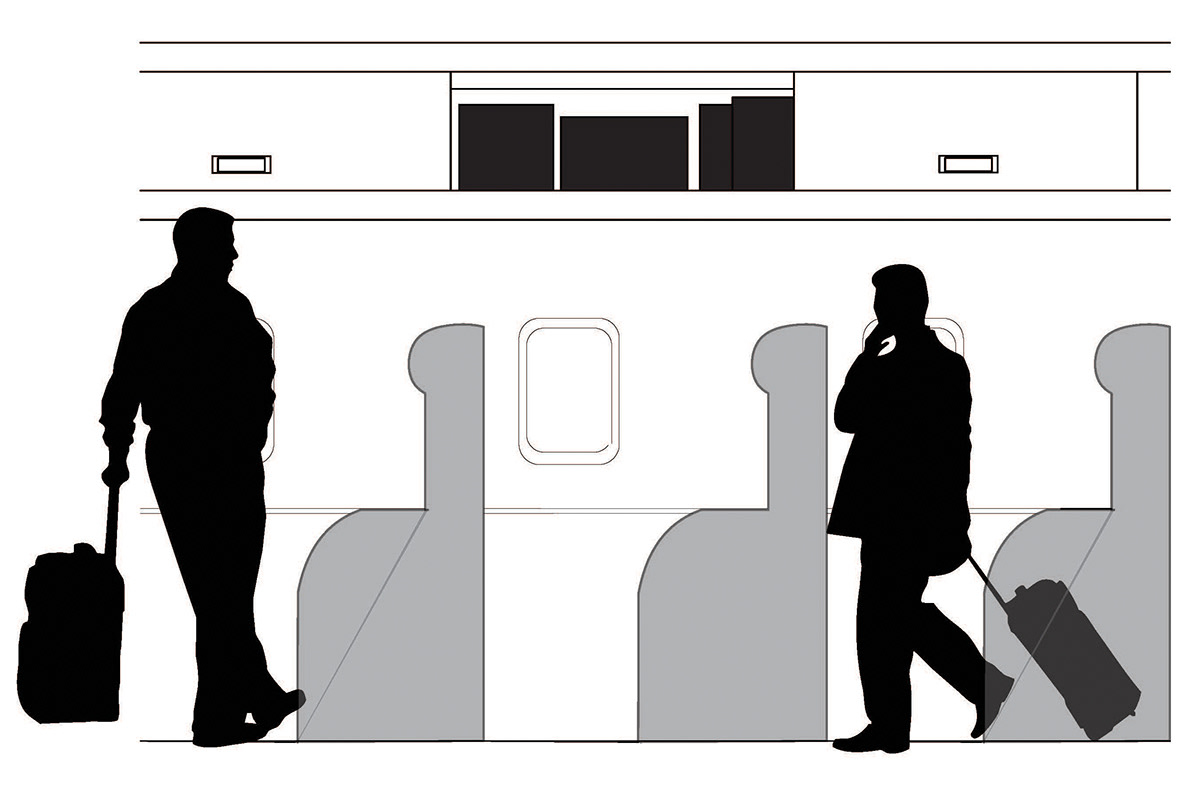
Lack of storage and difficulty putting away luggage are both common problems in planes.

Seats are not designed well for young children and seating for infants is non-existent.
After analyzing the space and it's problems, it became noticeable that putting in an embryo-like chair would take up more space than traditional seats, defeating the goal of the airlines to put as many passengers on a plane as possible. While the embryo-chair may be a good idea in theory, it would never be efficient in a space like this.
So instead of completely starting over, I shifted my focus from airplane seating to airport seating.
Final Idea: Airport Waiting Room

When analyzing the airport seating area, I thought about all the different types of users and found that one user group, who might be considered extreme users, really intrigued me. This user group was layover passengers. Layover passengers might be considered extreme users because they spend more time at the airport than do people without long layovers. With my particular user group in mind I brainstormed ideas on how I could improve the seating area.

My idea was to have a built in vault in the ground where passengers could keep their luggage while they explore the airport. Maximum carry on suitcase size is 22x14x9 inches. The pictures above explore different directions the vault would fit in the ground. The best way, as to minimize blockage in aisles, would be to have the vault extrude into the ground twenty inches, that way it would only be 14 inches in the aisle way rather than 22.
First Prototype

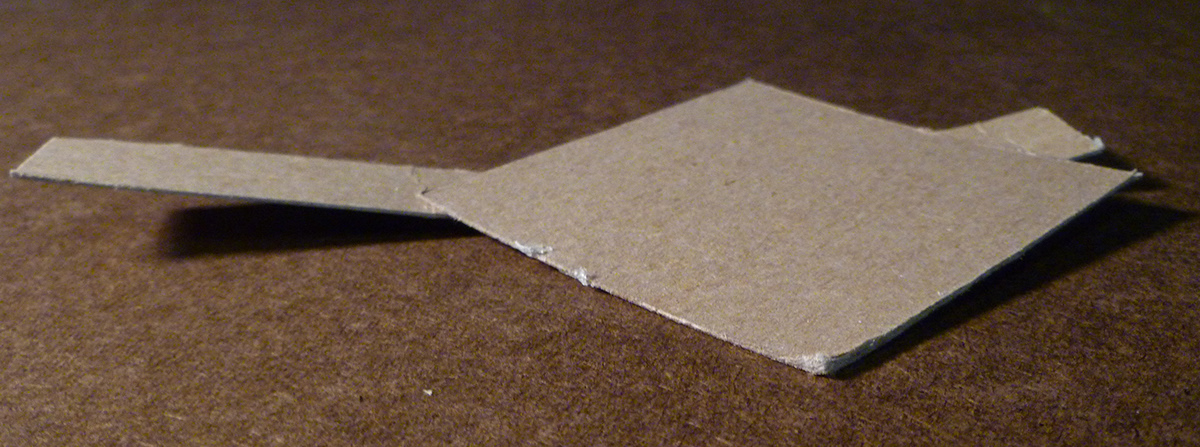
Long term storage like suitcases are kept in the vault, while short term storage items like purses were kept in a nook under the chair so no one could steal your belongings. One ply chip board, one ply chip board, and tacky glue were the only materials used for this prototype.

Section view of prototype

Vault built into the ground with temporary code lock.
Things I learned from building my first prototype were that I needed to cut slower and steadier, watch things drying from glue to make sure they don't droop, and that I needed a sturdier material than chipboard for my chairs. I also found out that if there were other problems that could be fixed by the chair I should explore those opportunities, and so I went back to the ideation stage to re-analyze theses problems.

Besides storage, I feel that privacy was the next biggest issue that had alot of opportunities.
Final Analyzation of Space

Section and plan view of airport waiting area.

Lack of storage.

No secure storage means carrying your bags everywhere you go.

Annoying Neighborrs invading personal space.

No privacy to do personal or business items.
The Solution
POV
People on layovers for flights need a waiting area that allows more privacy and safer storage for their carry-on luggage.
Project Description
The purpose of this project is to provide a built environment that caters to passengers on layover. The vault built in to the ground provides safer storage for luggage so users who want to explore the airport or go eat don't have to carry it around. The storage beneath the chair serves as short-term storage for items like purses or laptop cases so the user doesn't have to contiunally unlock the safe. Another common problem for layover passengers is lack of privacy. The adjustable screens serve as a barrier between annoying neighbors or as a shield to provide privay for business men or women.

Rendered Versions
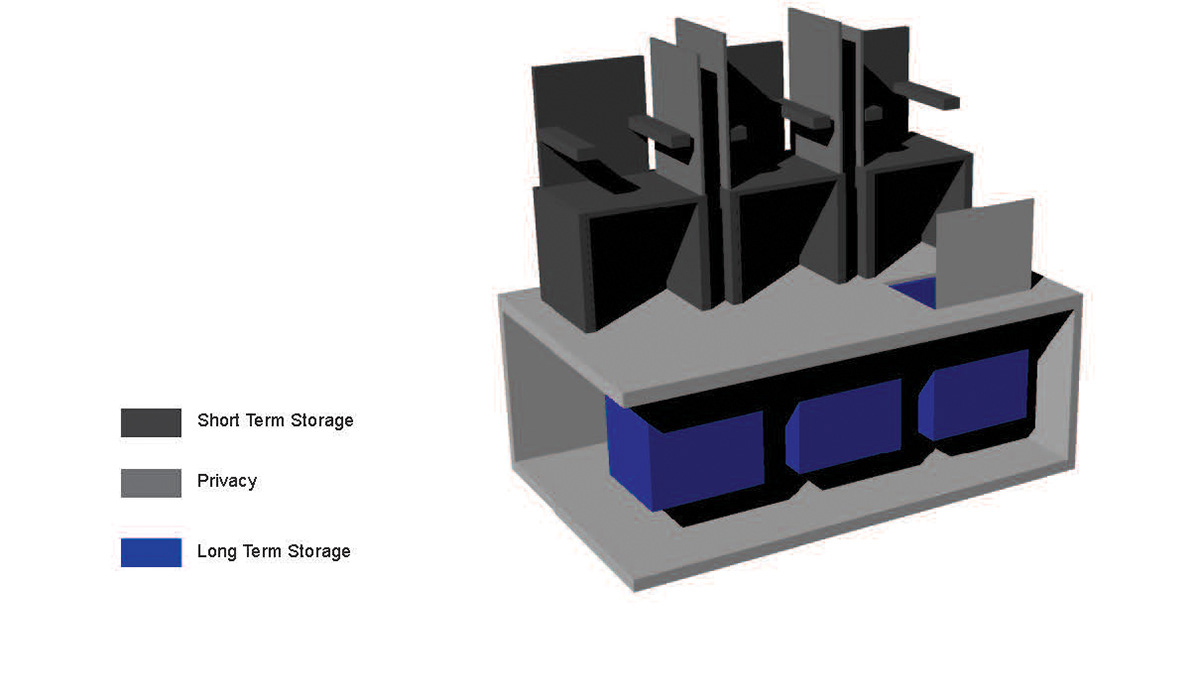
The solution to storage was still the vault beneath the floor but the chair now also solved the problem of privacy by providing adjustable screens, giving you the option to interact with your neigbors or seclude yourself in your own private area.
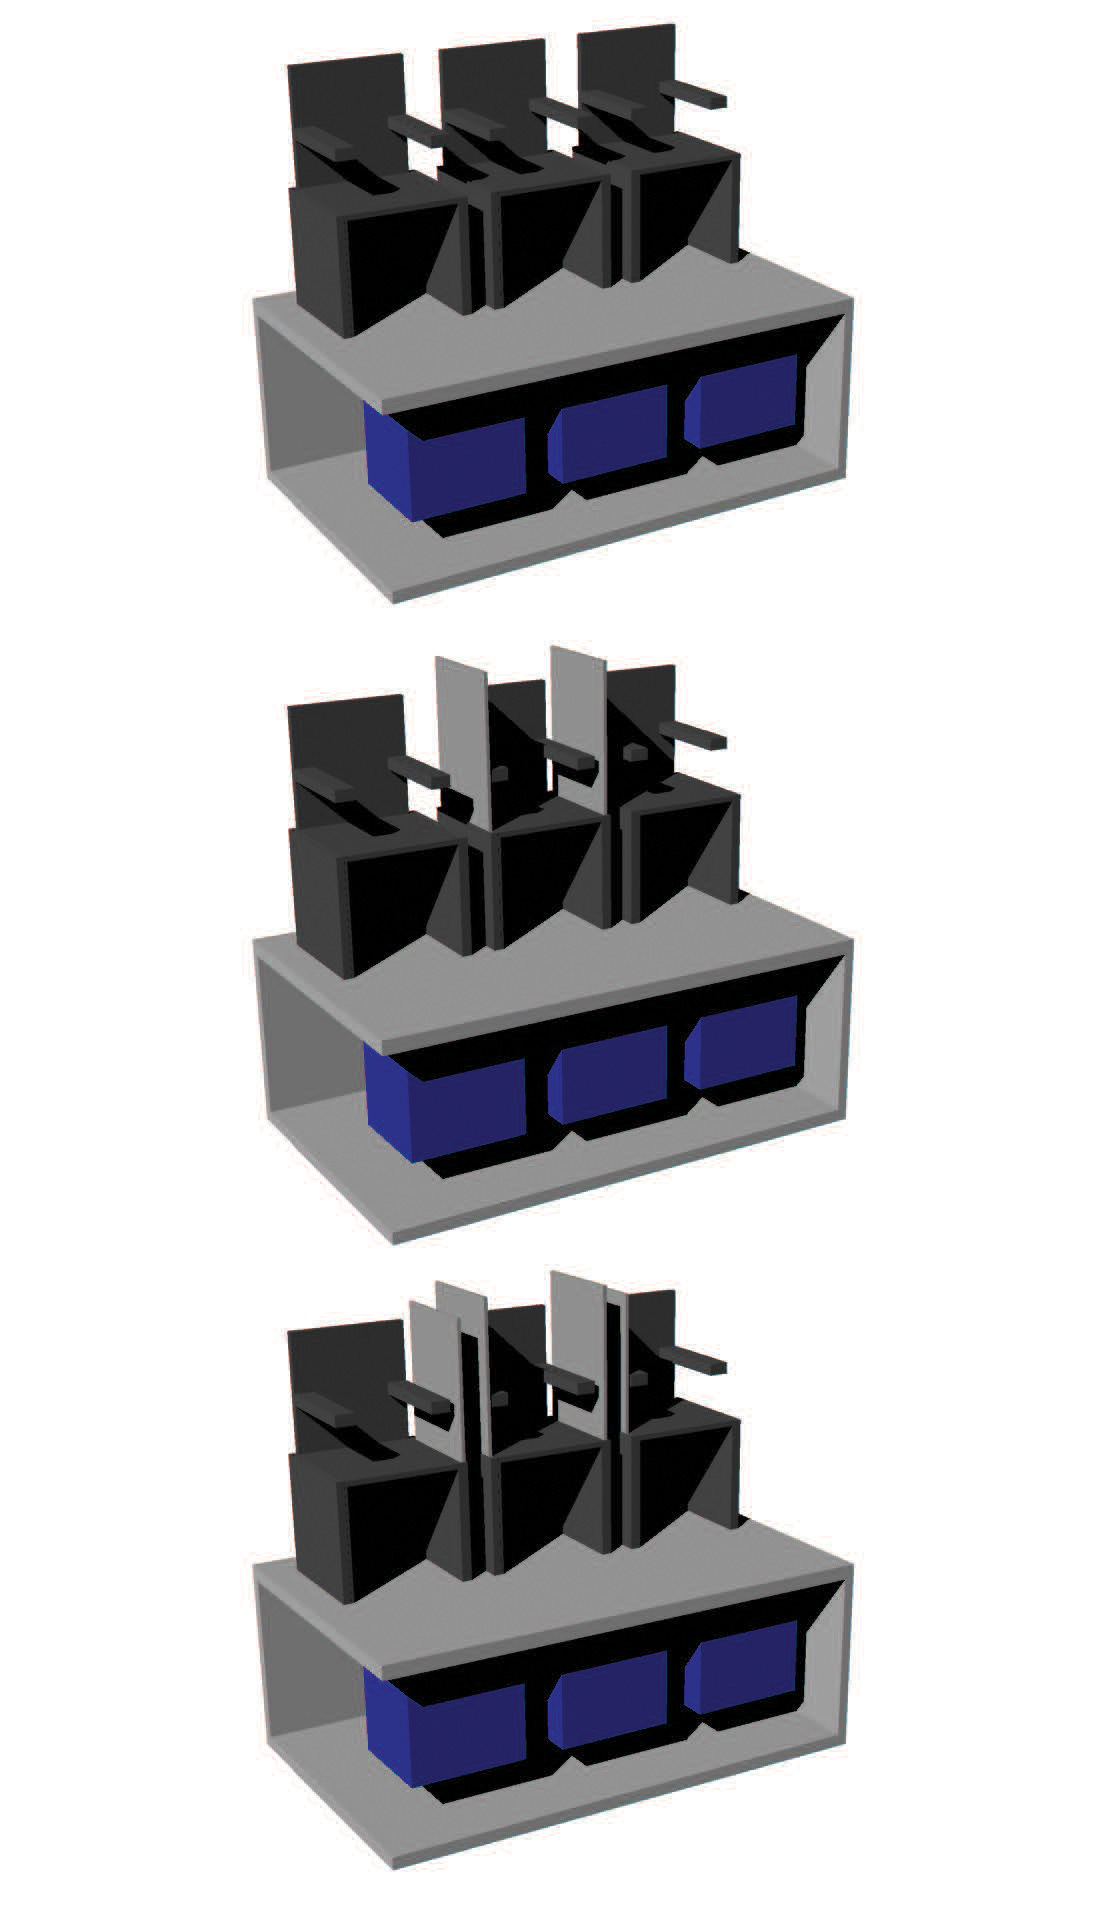
Movement of adjustable screens

Movement of storage space

Exploded Axonometric of new built environment.
Final Model


Tools/Materials

Xacto knife was used primarily on chipboard, but also on some foam core. The box cutter was used to cut most of the foam core and all of the bass wood. The plastic cutter was used to cut plexi-glass.

All materials
One ply chipboard was used in the first prototype only.

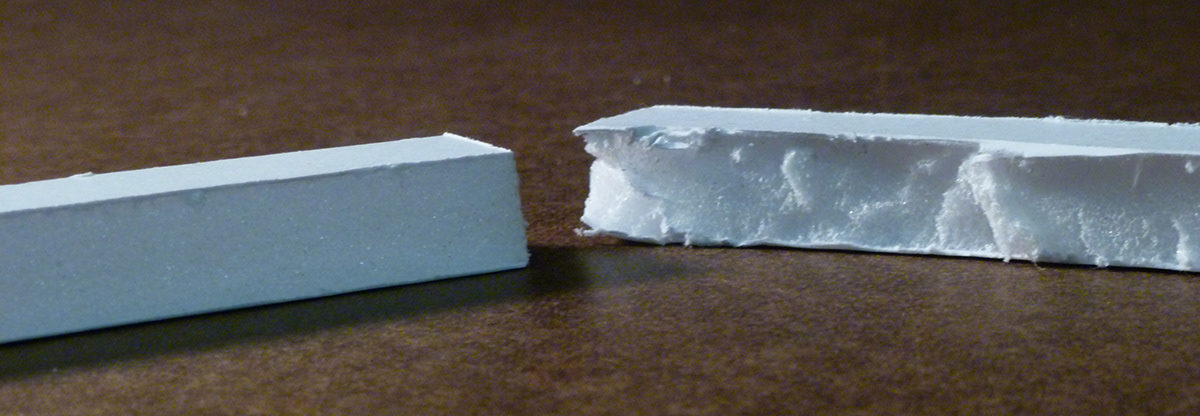
Thin foam core was used only in first prototype and the thicker foam core was used as the base for the final model.

In the final model, the chairs and floor vaults were constructed out of bass wood. Bass wood was easy to cut when with the grain but proved to be difficult when going against the grain.

Plexi Glass was used as the privacy screen in the final model.

Gorilla Glue and Tacky Glue were used in both models, but with tacky glue being the dominant one.
Technique

Cutting bass wood is harder than cutting chipboard or foam core and it took a couple times of practice to finally get it down. These show cuts that go against the grain, which were harder to do. I found that making smooth gentle cuts over and over again was the best method instead of trying to cut it off with one pass.

Failed attempt at the back of a chair. I used box cutters to try and make that curve, but learned that an xacto knife was better suited for detail work.
Foam core was initially a little tricky because it fell apart eaiser than chipboard. The piece on the right shows one of my beginning pieces where I tried to make the whole cute in one motion. After many failed attempts I got the technique right and produced a cleaner edge like the one shown on the left.

Top view of progression of cutting technique.


