Composite Wheel Centre-Caps Using 3D Printed Moulds
Through experimenting with a 3D printer I wanted to see if it would be possible to create composite moulds that would be high enough quality to allow for moulding carbon fiber parts.
With Fusion 360, I designed a wheel centre cap to use on a car. The Centre cap was made from Carbon fiber and used a 3D printed snap fitting ring to fit it to the wheel.
The following images will illustrate the process used.
To create the carbon fiber moulds, the first step was to design a wheel centre cap. I looked at existing centre caps and the wheels I was going to fit the finished part to, so that I could come up with something that would match its environment.
After I had a design of a centre cap that I was happy with, I then created a "block" body. The centre cap was then used to remove material from the block with the Boolean Function in Fusion 360, before splitting the block into two halves. By splitting the block it gave me a male and female half with a gap equal to the thickness of the original part.
The two male and female parts were then revised to ensure they could be 3D printed easily. This involved making sure that there were no severe overhangs (for printing without support material) and that there were no details that were too small, taking into consideration the limitations of the printer I was using (Ender 3 v2).
Below shows the female mould, the centre cap and the male mould from left to right.

Once the moulds were printed, they were coated in a gel coat and then sanded smooth. This was done so that there would be no issues later on with mechanical locking when de-moulding the parts. They were then waxed before being filled with material and then epoxy resin.
The material I was using was 2x2 carbon fiber twill along with chopped strands. The twill was intended to create strength while the chopped strands were only for aesthetics. I was going for a "forged carbon" look that i'd seen elsewhere.
The male and female moulds were compressed with a clamp and left to cure, before being opened the next day.
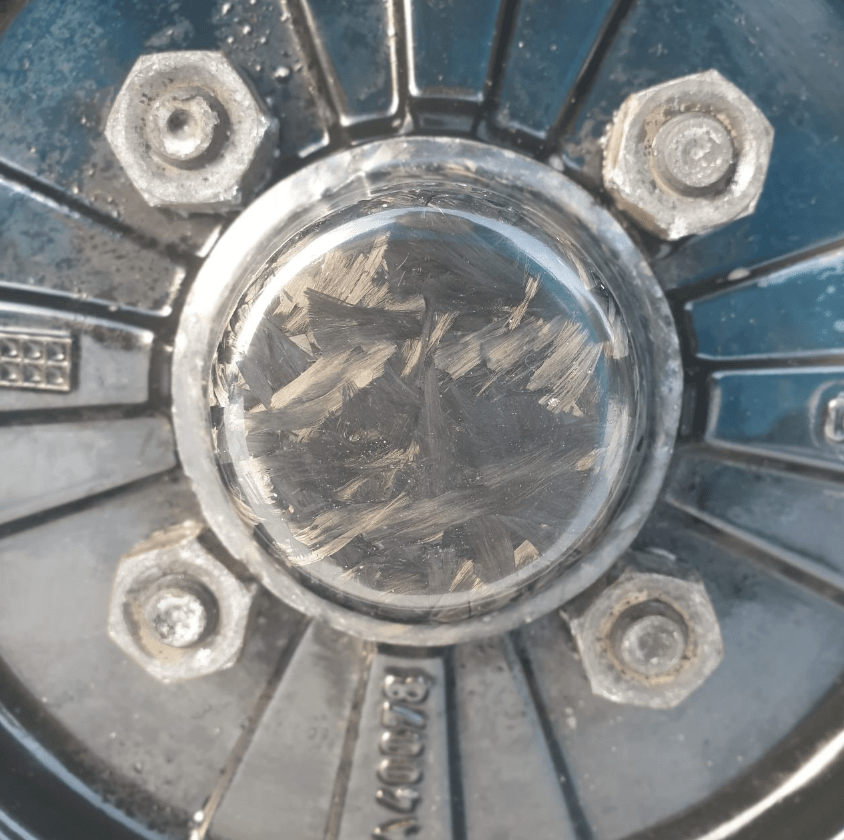
The de-moulded part can be seen below. This required trimming and then it was on to finding a way to fit it to the wheels.
At this stage I was really happy with how the part was looking, the "forged carbon" look I was going for had turned out exactly as i'd hoped!

To attach the part to the wheel, a 3D printed snap fitting ring was made. I made this part by measuring and comparing snap fitting rings from another centre cap. The original design was ok, but it was difficult to centre the part onto the carbon centre cap.

A self locating collar was added to the inside of the ring to ensure it would stay concentric to the carbon fiber part. This helped greatly and made locating the part very simple. Adhesive was then added and the two parts left to cure.

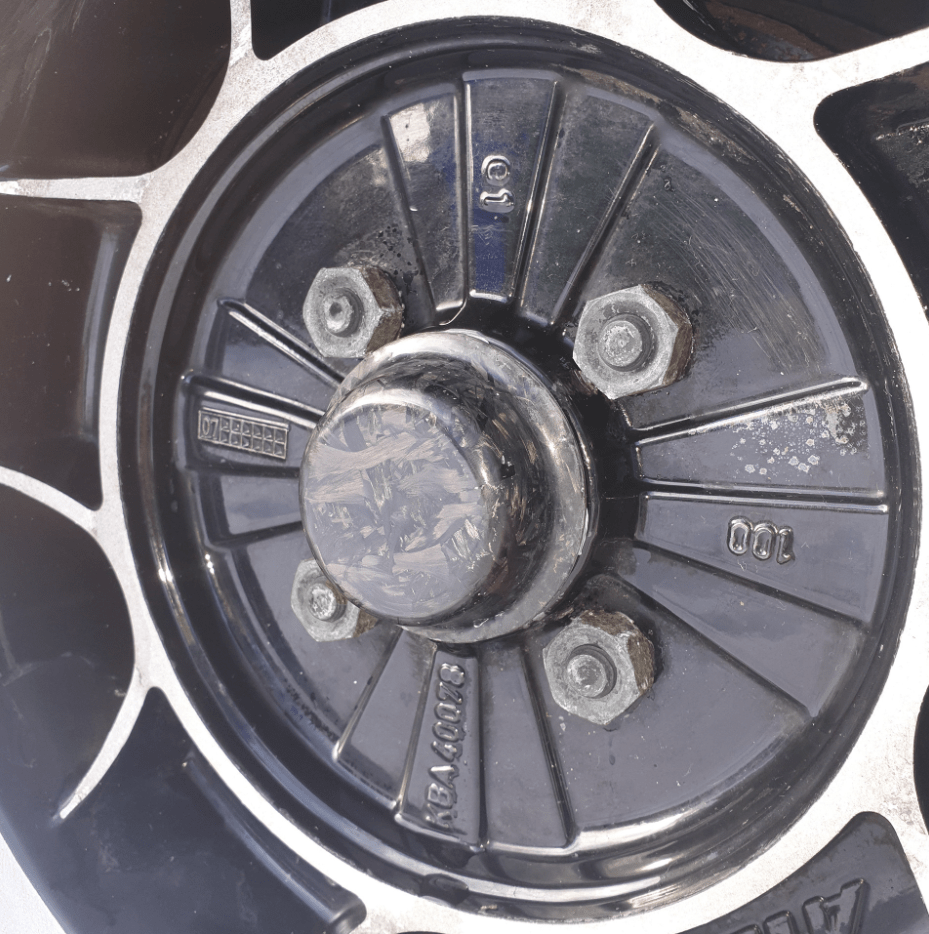
After the snap fit ring adhesive had cured, the parts were coated with clear coat, and then fitted to the car the next day!
The use of the snap fitting ring made fitting this part incredibly easy, just push and POP, it's fitted!
The 3D printing process was great and made creating the required moulds very easy. Using small scale 3D FDM printing for mould creation is really quick and very low cost.
Thank you for looking!
Follow me for more projects like this> https://www.behance.net/sandy_semple


