
*skip to end for physical prototype

The mounting method for most mounts uses an elastic band and two pinchers in order to secure the light but release it quickly with one hand
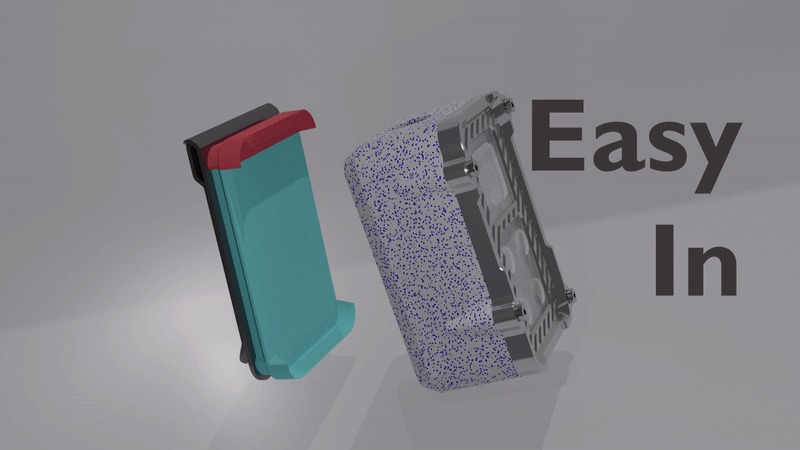
mounting and removal demonstrated with the belt clip mount. It really is this easy in person


Hard Hat Mount


Some ideas for the Aether lite bike mounts. The front mount would have a battery inside it and pogo pins. This would charge the Aether Lite when you connect the two, and massively boost the battery life!


headlamp band, the pins go through the center of mass, so the mount arms don't need to apply a large clamping load. This makes it easy to snap in and out without the risk of the headlamp rotating or falling off


Snap on, collapsible lantern
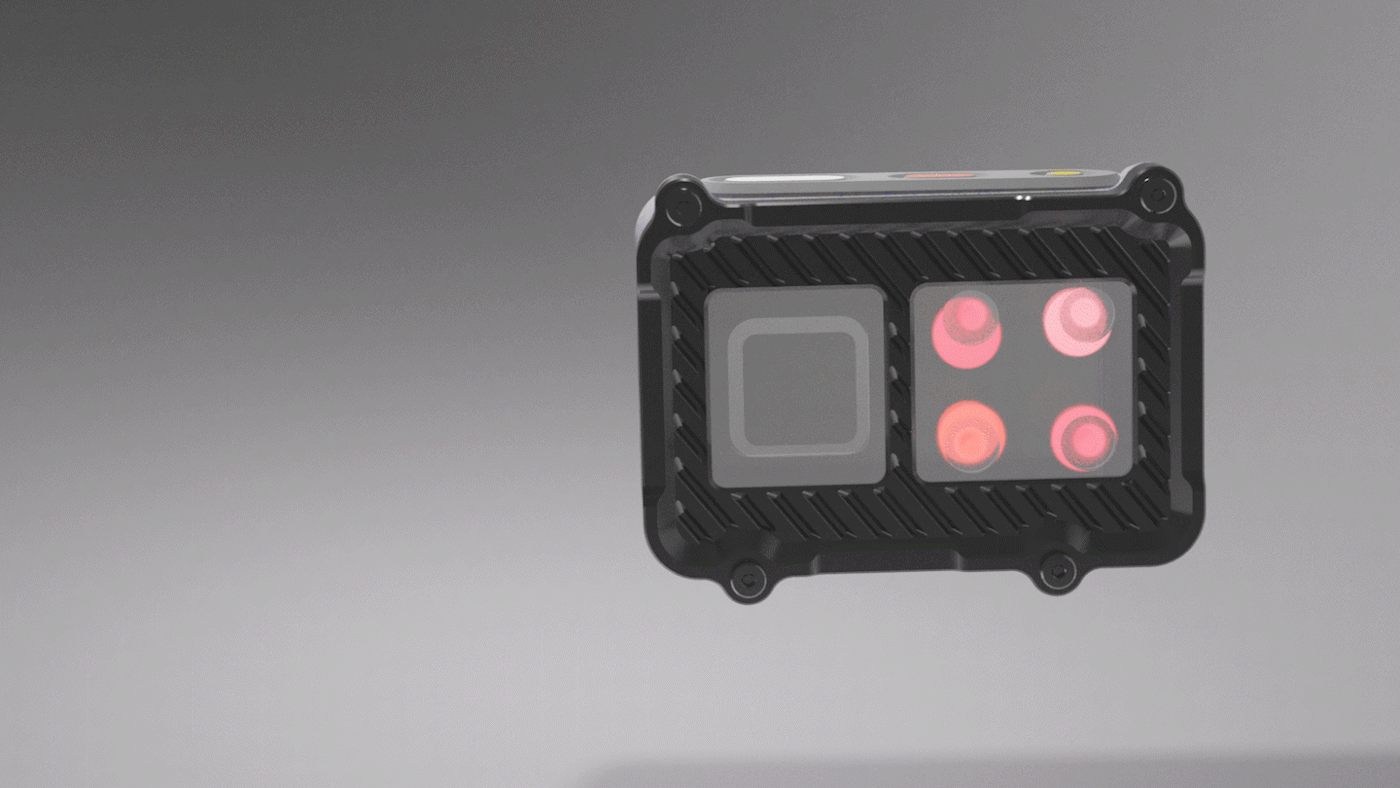
PROTOTYPING
This is the V1, the first prototype I am happy with.
The form is the same as the renders, but due to prototyping constraints the materials are different.


housing and face plate: Onyx filament with a Markforged 3d printer
buttons: Flexible 80A resin on a Form 3
Lenses: Transparent resin on a for 3
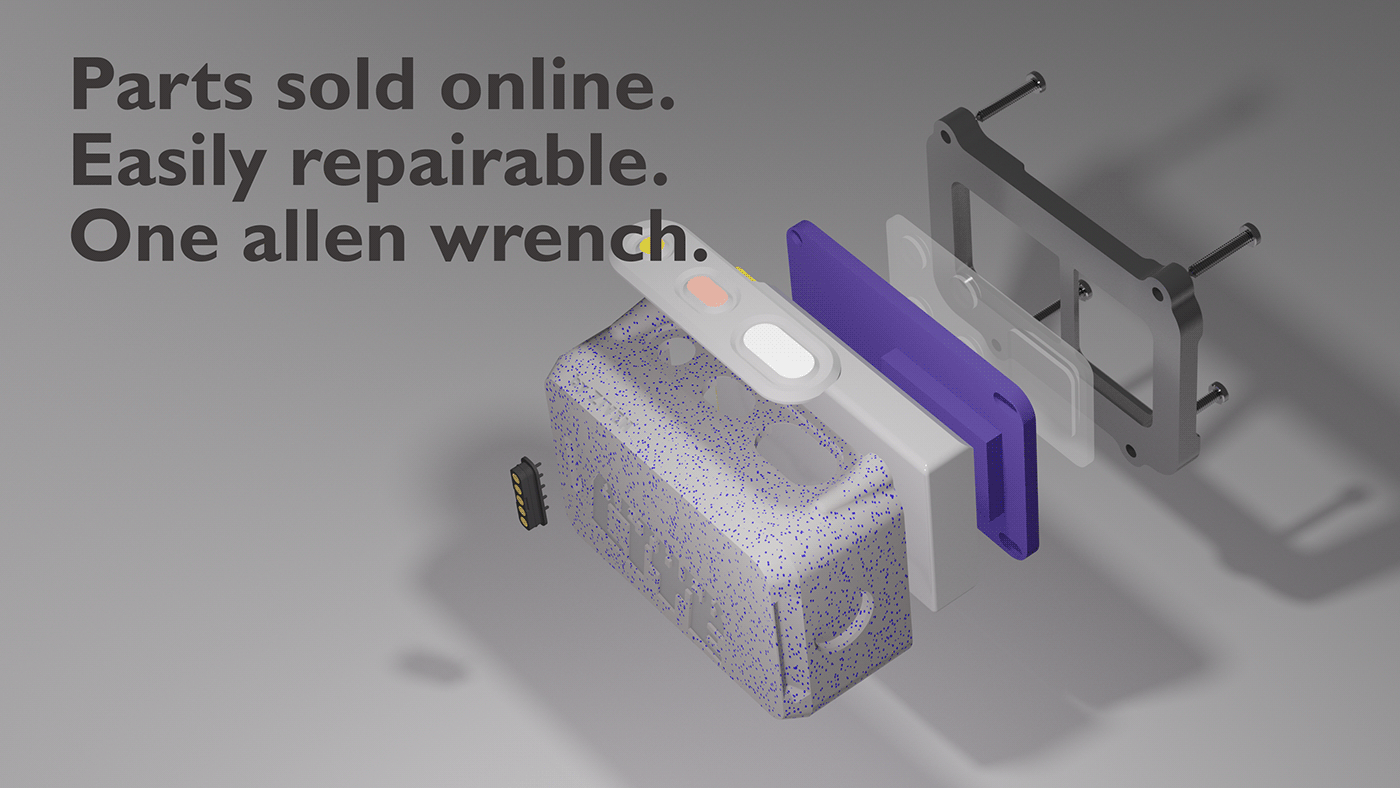
The PCB
I designed the schematic more or less from scratch, replicating a switch mechanism I found online and paraphrased the programming method from the famous Huzzah32 board
After having the schematic checked by pro's over at Flux, I proceeded to fill in the symbols with actual, in stock, components. This part took wayyy longer than I was expected. I spent many evenings parsing through data sheets to find the best balance among a plethora of features.
After nailing down the schematic and individual components, I moved on to the layout.
As you can see below, it's rather complicated.
My biggest concern was having a trace large enough to carry 2.8 amps at ~3.7 volts to power the white LED. I used a trace width calculator for then sized up a little bit more.


left to right: charging/programing board, bottom view of light board, top view of light board
Charging and Programming Base
The charging dock is pictured below. However, it might look a little bulky to you. That's because this specific one has a trick up its sleeve.
If you examine the charging/programming board above (the blue one) you'll notice it has a bunch of pads and holes, all unnecessary for simple usb-c charging.
The extra features on the board are there so that I can add a mini usb compatible programming board. With the extra board, programming of the light is possible through the pogo pins!


Mounts
I have only prototyped these two mounts so far, but because the mechanism is identical, there is no concern about the mechanism functioning in future mounts.


left to right: Rear bike mount, belt clip
Conclusion
Not only am I extremely happy with how the Aether Lite turned out, this has been an incredible learning experience for me.
I learned how to design an electronic schematic from scratch, how to turn it into a pcb, and all the in's and out's of getting a pcb manufactured.
I really improved my Industrial Design skills, learning how important small features are. What a huge role hardware can play. I learned how to render, animate, and more!
If you made it to the end, I hope you enjoyed it. I would love to hear from you in the comments. If there is anything you would like elaborated, let me know!

