
0:02 Before/After
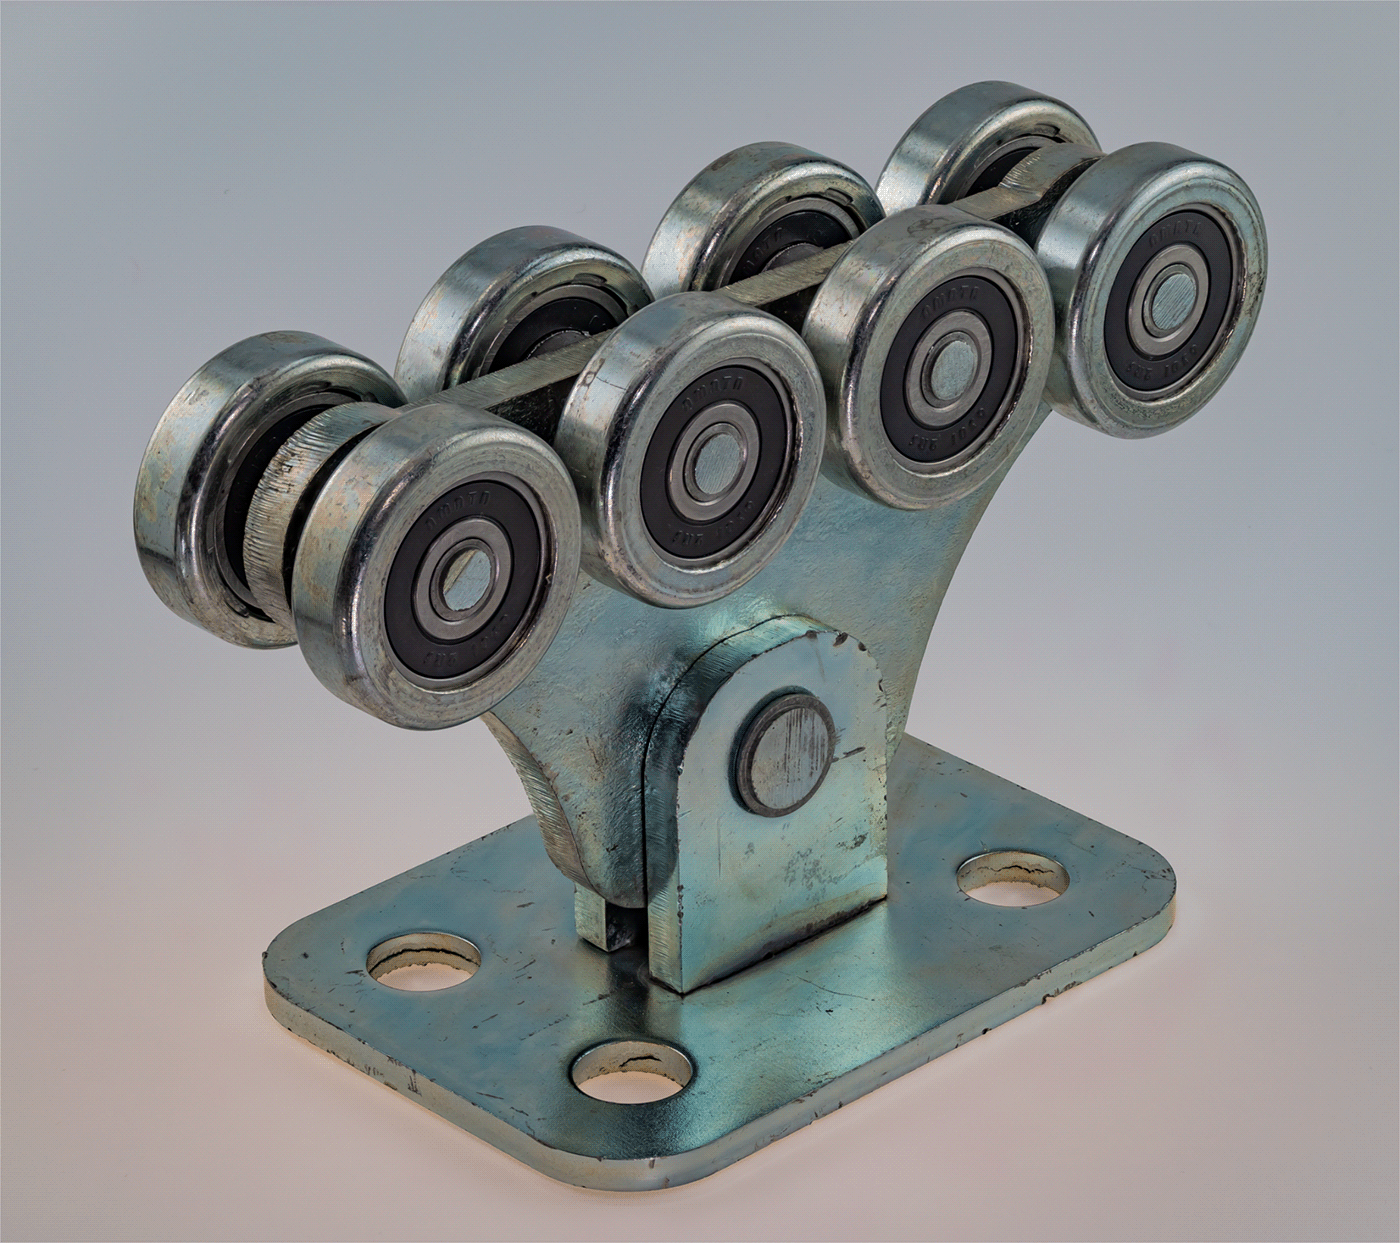
0:04 Source image
0:06 Step 1. Retouch product defects
0:09 Only changes of step 1, without source image
0:11 Step 2. Background desaturation
0:14 Only changes of step 2, without source image
0:16 Step 3. Colour and tone correction
0:19 Only changes of step 3, without source image
0:20 Step 4. Additional depth of photo
0:24 Only changes of step 4, without source image
0:25 Step 5. Sharpness
0:29 Only changes of step 5, without source image
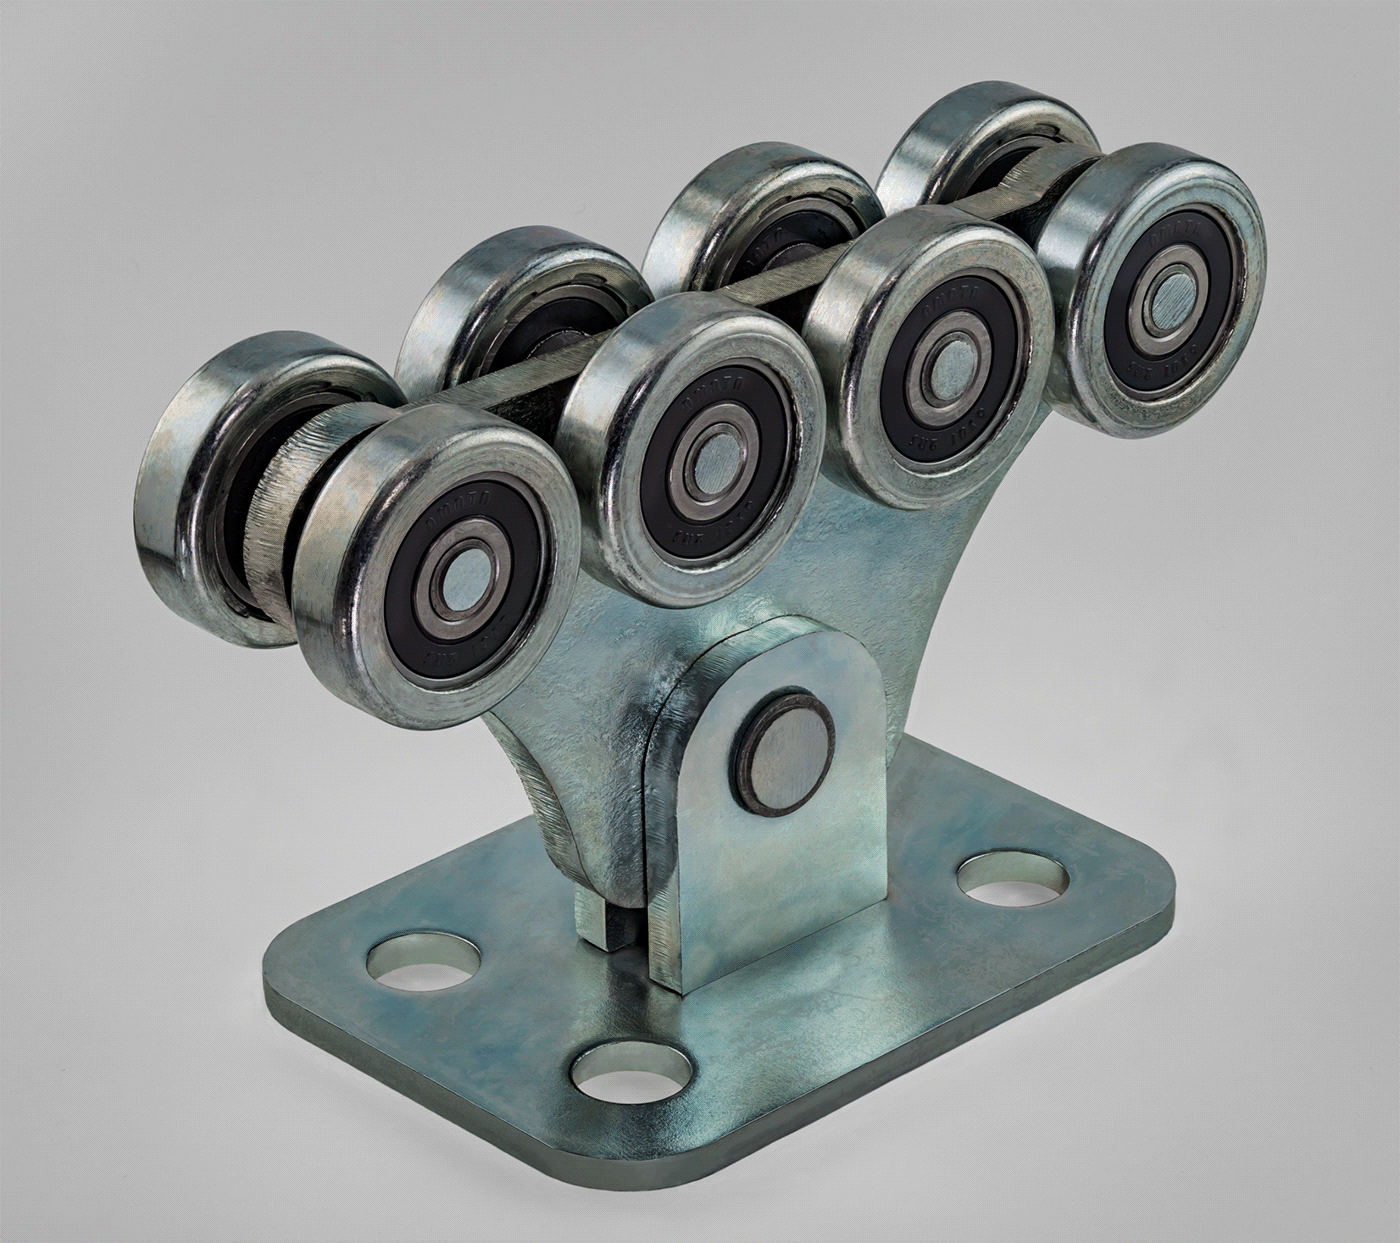
0:30 All changes
0:34 Only changes of all steps, without source image
0:36 Before/After
0:39 Titles
0:04 Source image
0:06 Step 1. Retouch product defects
0:09 Only changes of step 1, without source image
0:11 Step 2. Background desaturation
0:14 Only changes of step 2, without source image
0:16 Step 3. Colour and tone correction
0:19 Only changes of step 3, without source image
0:20 Step 4. Additional depth of photo
0:24 Only changes of step 4, without source image
0:25 Step 5. Sharpness
0:29 Only changes of step 5, without source image
0:30 All changes
0:34 Only changes of all steps, without source image
0:36 Before/After
0:39 Titles
Before / After

Source image
Step 1. Retouch product defects

What has been done: let's look at these changes on a "signal" background without an image of the object

Step 2. Background desaturation
What has been done: let's look at these changes on a "signal" background without an image of the object
Step 3. Colour and tone correction
What has been done: let's look at these changes on a "signal" background without an image of the object

Step 4. Additional depth of photo

What has been done: let's look at these changes on a "signal" background without an image of the object

Step 5. Additional Sharpness

What has been done: let's look at these changes on a "signal" background without an image of the object

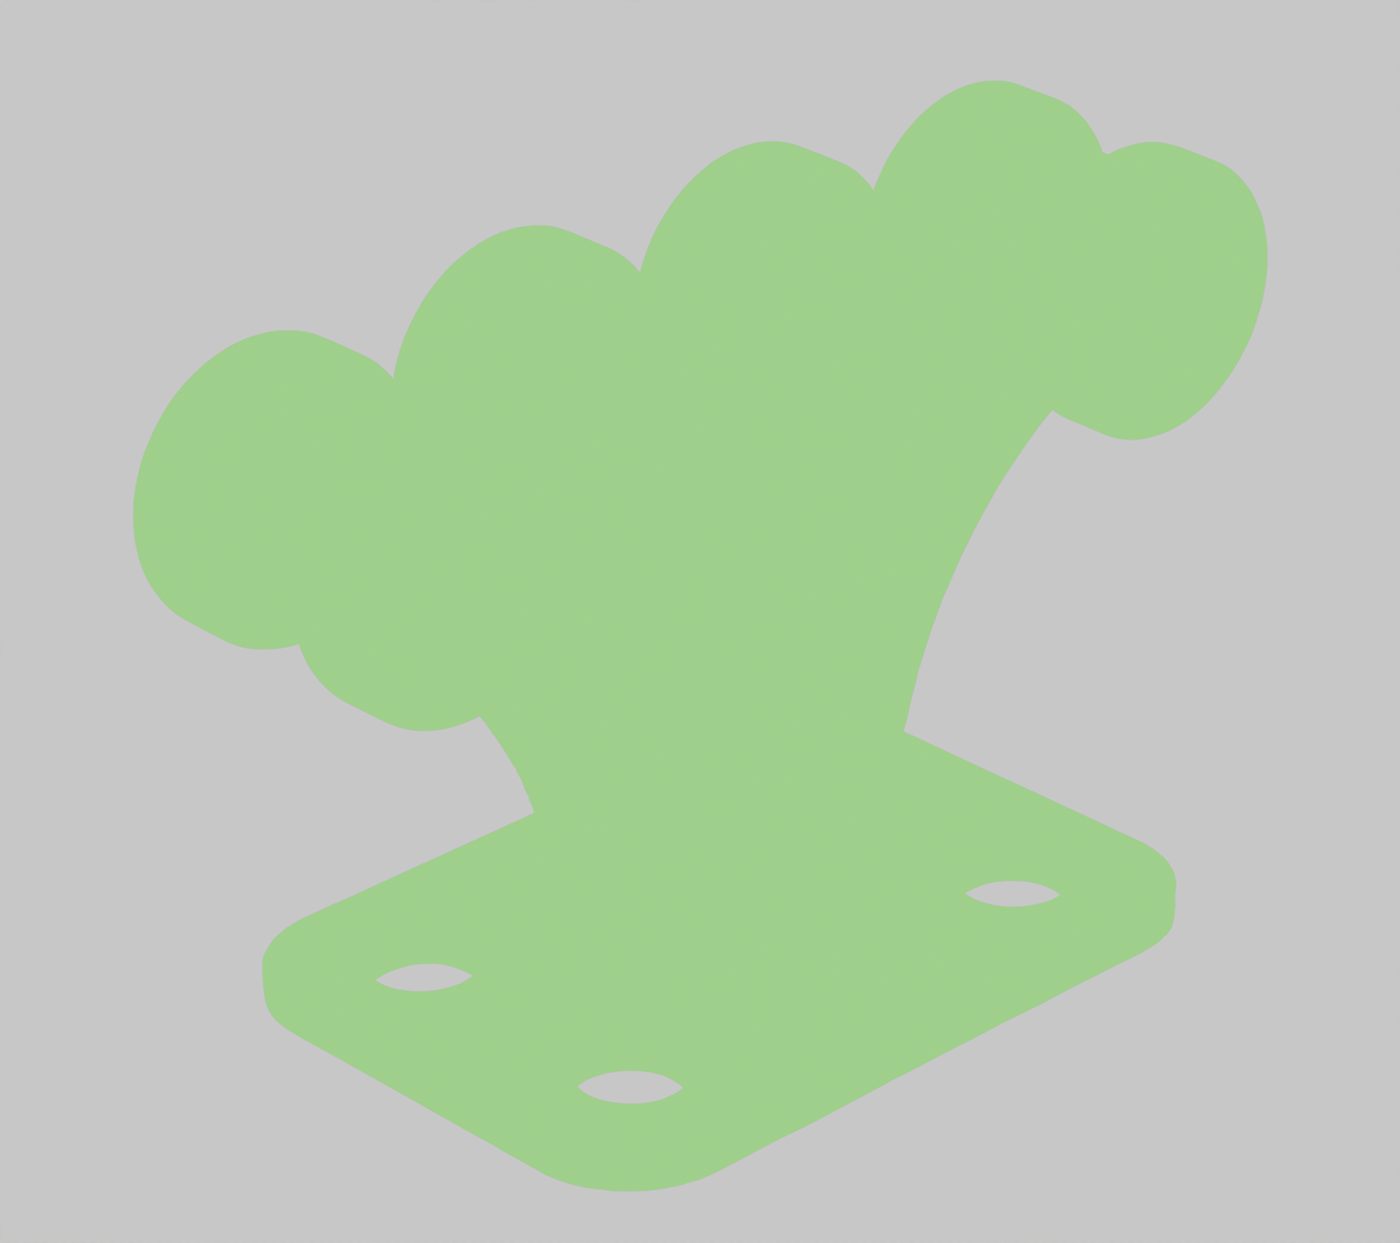
All changes without source image (tone correction showed on green background)

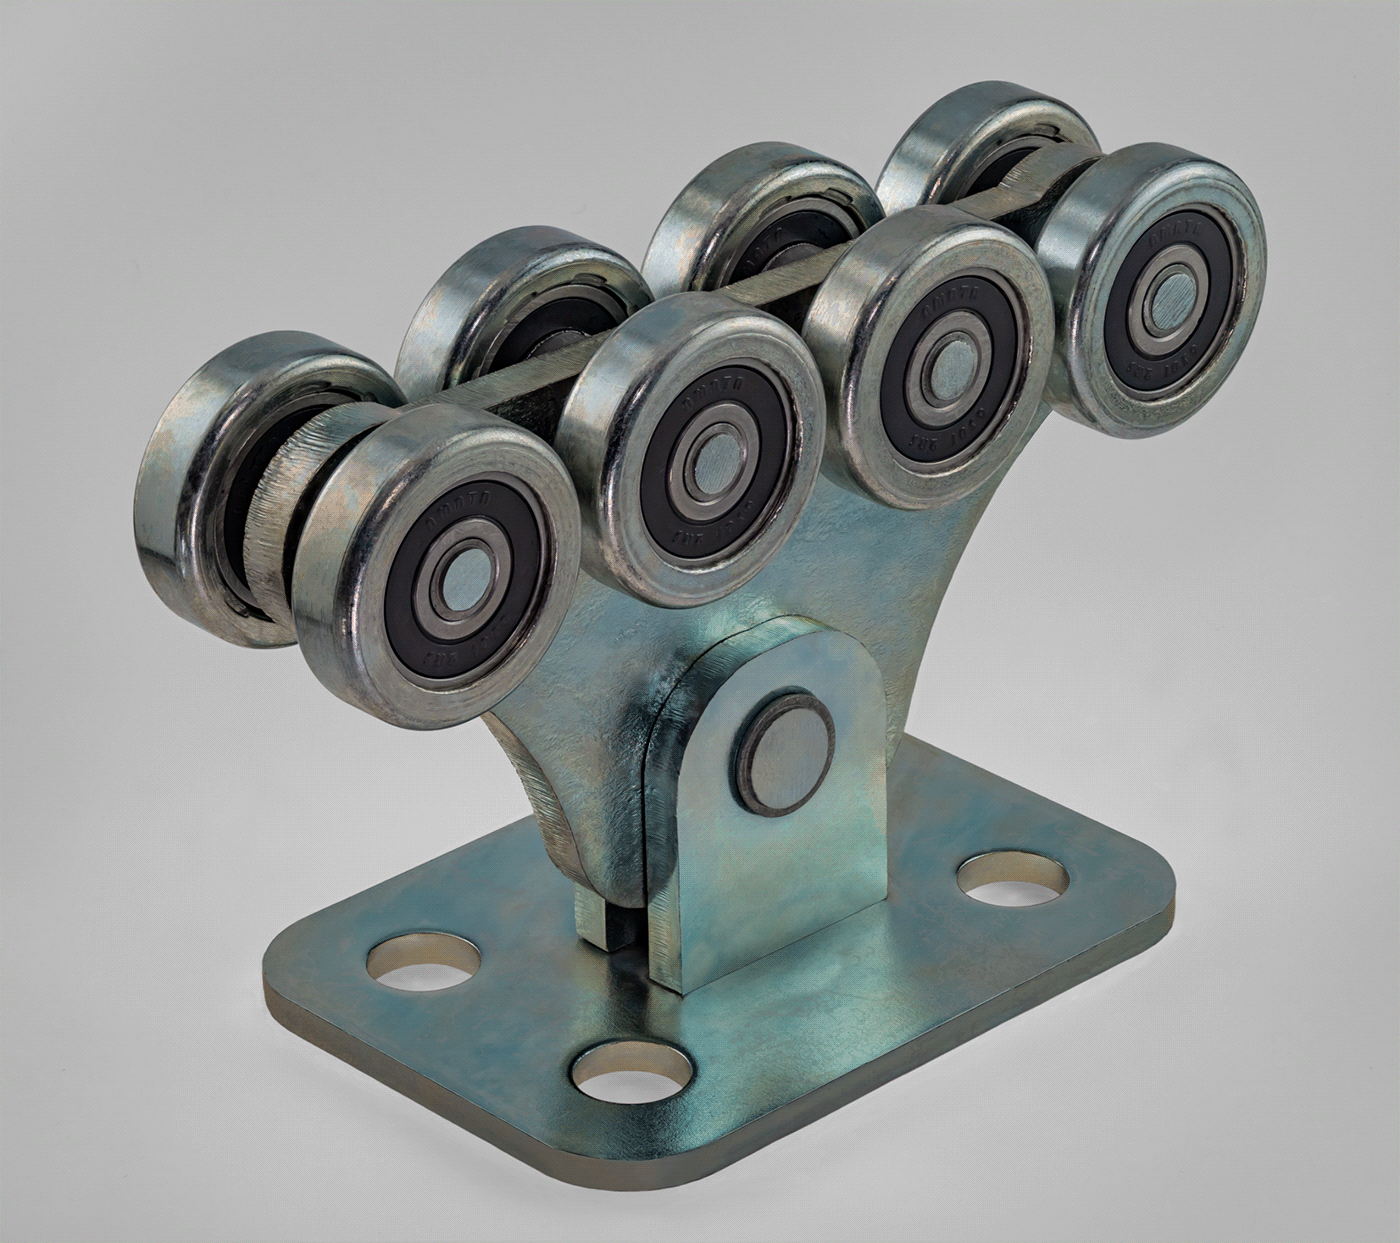
Ready Image

Thanks for watching!


