
任天堂ホ Loveletter:
Personally this project meant a lot to me. The Gameboy, that I payed for with my own pocket money, was my first Computer. Though it being for a very specific purpose it´s still a compute device. But not only this, this Project kept me sane, focussed, let me establish a healthy working routine and got me out of my creative block and depressive thoughts that kicked in about a year ago.
There is now a Gameboy Animation Project complementing this one. You can klick the Link to visit it.
Technical Stuff:
The Gameboy ended up being made up of 2031 elements (including instanced objects), all hand modeled from scratch
For Texturing Shading / Lighting / Rendering I relied in Octane once again. This is the first time I have used the ACES Workflow for a big project. And it worked flawlessly.
Rendering Specs:
Renderd in 8K (Main Image), 6K Detail Shots, UHD (all other Images) and HD (Videos)
Rendertime was about 2.5h for the 8K Scene, about 1.5h for the clear Gameboy front / back shots and about 15 min per frame for the HD stop motion clip. Render Hardware were 2 x Nvidia RTX 3090, 5 x GTX 1080 Ti, 2 x GTX 980 Ti
The scene used about 7GB of Vram
Rendered in ACEScg
Shoutouts:
Cornelius Dämmrich & Ulf Ohnesorge for being good friends and motivated me throughout the project.
Ahmet Oktar for his continuous support and development of Octane C4D (Especially helping with the vertex map Attribute Node that saved me a lot of headaches in this and upcoming projects).
Glen Johnson for his modeling technique.
David Gruwier for his Surface Imperfections.
Again Maxime Roz for his great HDRIs
last but not least Nintendo for providing me with childhood memories I will never forget.
GAMEBOY SCENE 01

Story:
This is it, one of my most ambitious project I have worked on to date.
It all started out with a even more ambitious project I am still working on, where I needed a Gameboy as a set dressing element. So I started out modeling the hull and came to the realisation that the shape, although it´s looking relatively simple like a box, is more demanding then I´d thought. So days turned into weeks and finally into months.
It all started out with a even more ambitious project I am still working on, where I needed a Gameboy as a set dressing element. So I started out modeling the hull and came to the realisation that the shape, although it´s looking relatively simple like a box, is more demanding then I´d thought. So days turned into weeks and finally into months.
As I was working on it, I got into more and more details and therefore decided for myself to branch this project off into its own project to remodel every single part of this device.
Using my 30 Year old Gameboy Classic as reference I embarked on a 1.5 Month long journey the result of which can be seen below. So enjoy.
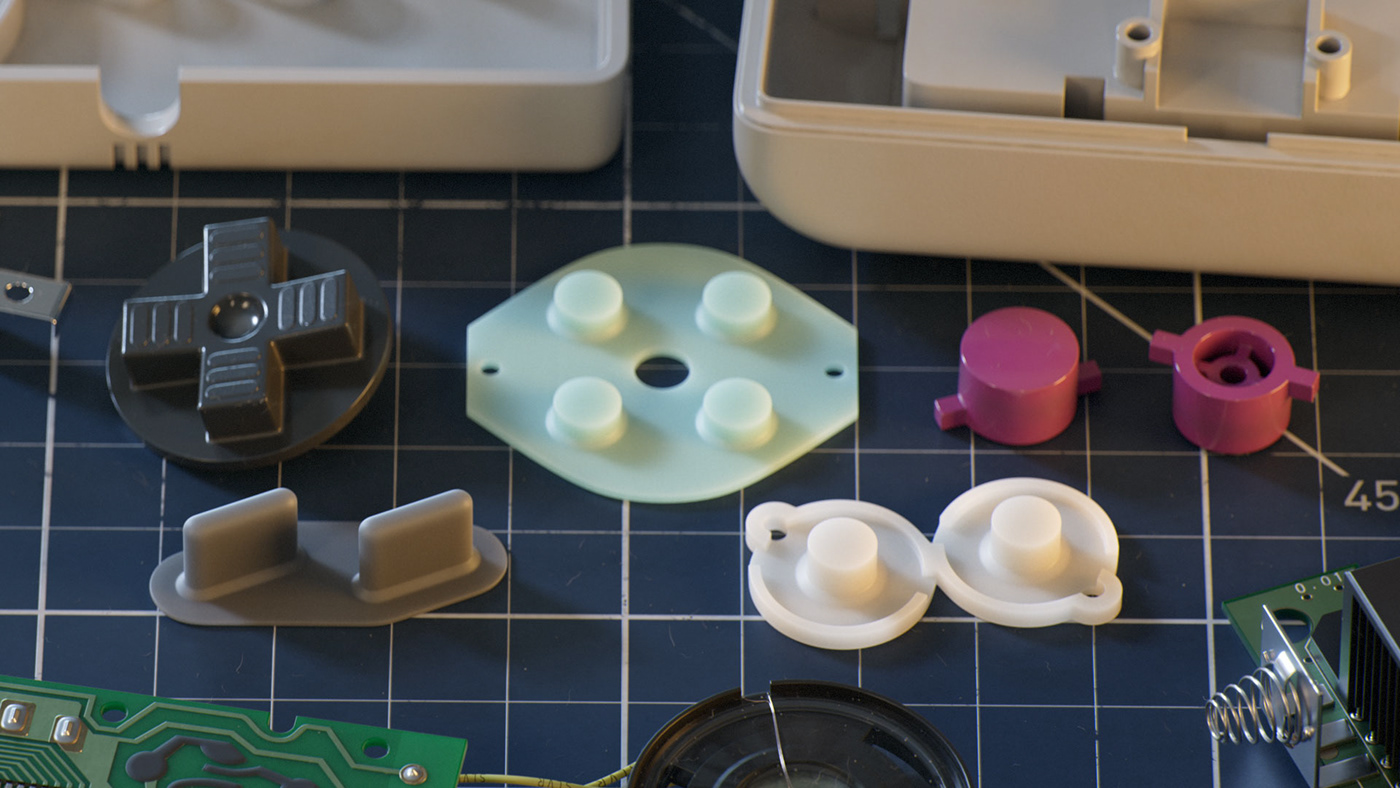
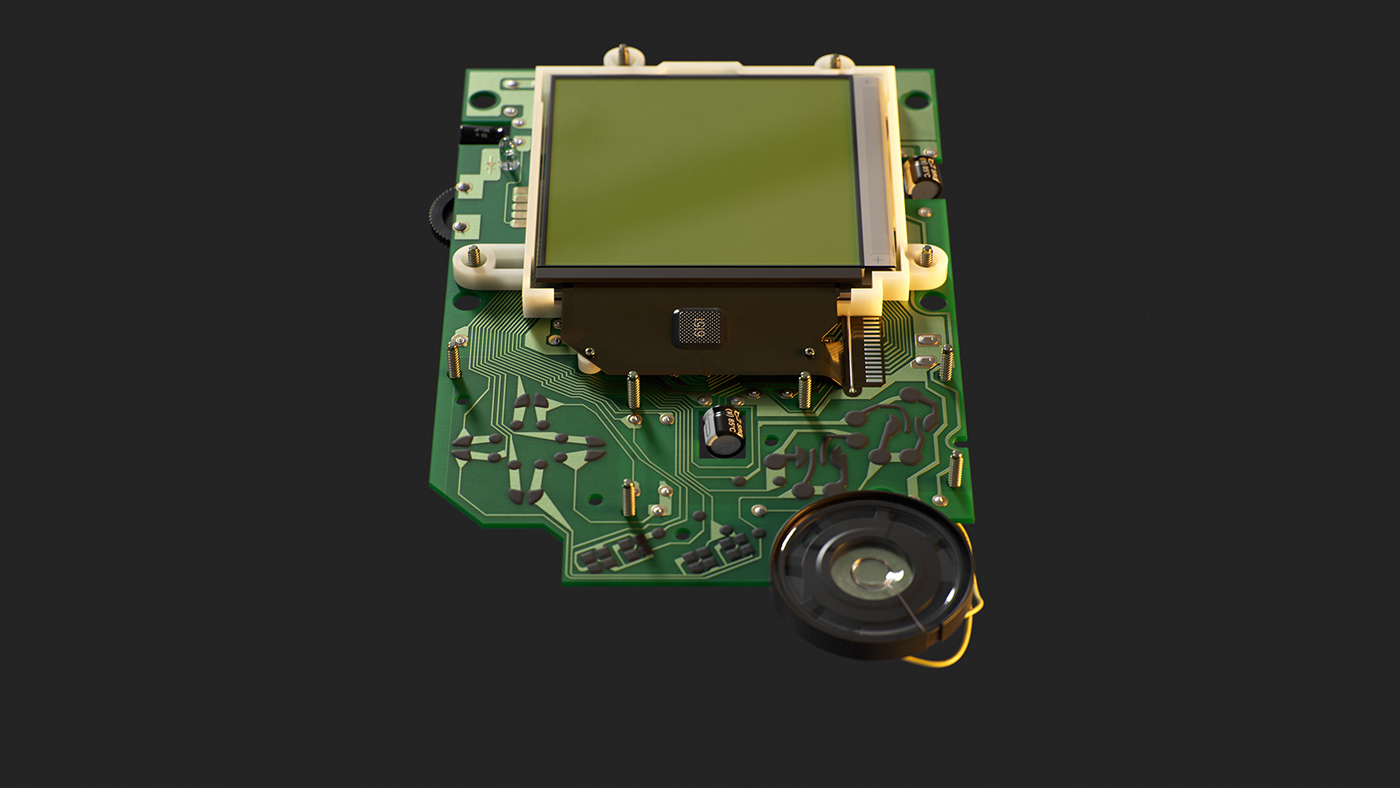
GAMEBOY DETAIL 01

GAMEBOY DETAIL 02

DISASSEMBLE ANIMATION
8K to FullHD CROP 01
8K to FullHD CROP 02
LIGHTING
When it comes to lighting for me Less is More. I usually use one good HDRi and then set a couple of accent lights to create interest.
GRADING
Not a lot is going on here either. The most obvious thing is the ACEScg to sRGB convertion of the EXRs. Other then that its a basic 32bit workflow adjusting some colors / highlights / shadows.
Oh and and of course chromatic aberration.
Oh and and of course chromatic aberration.
GAMEBOY SCENE CLAY

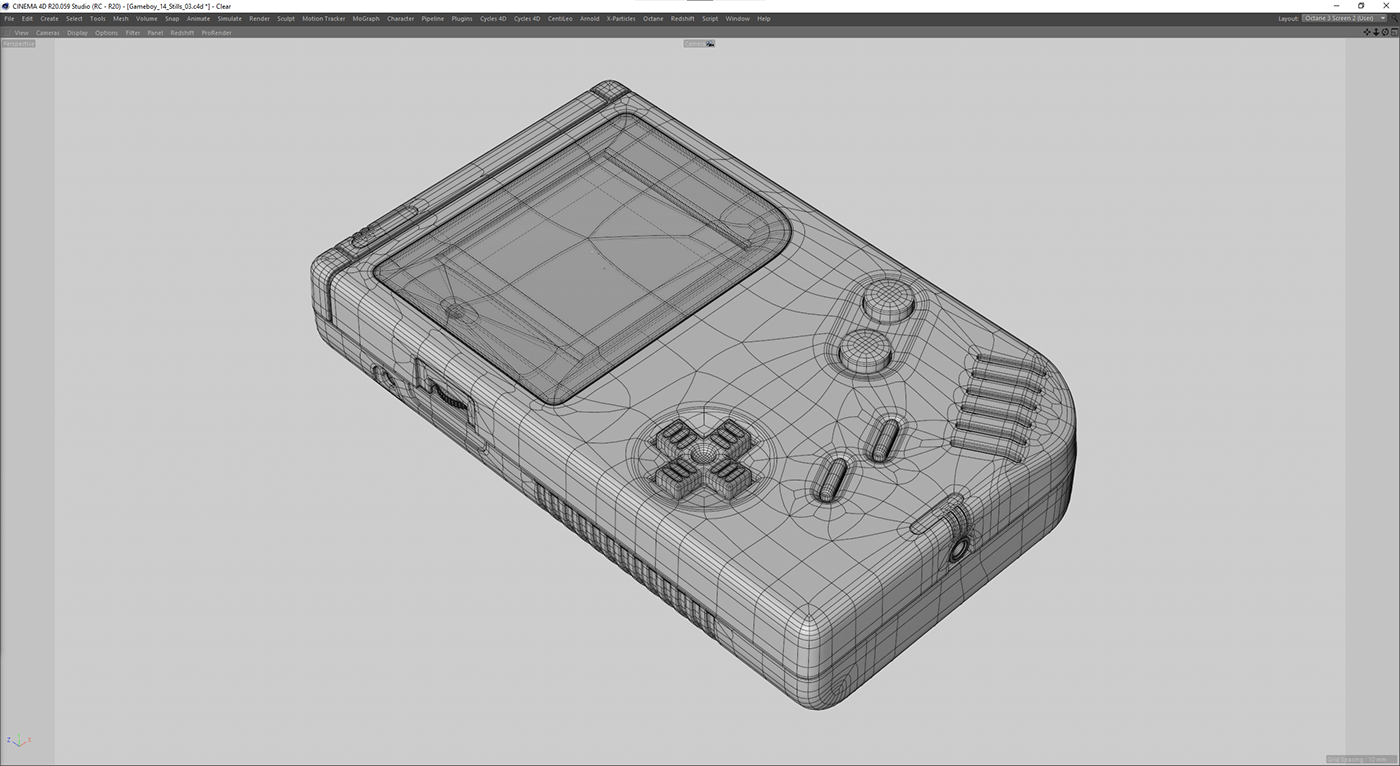
GAMEBOY SCENE WIRE
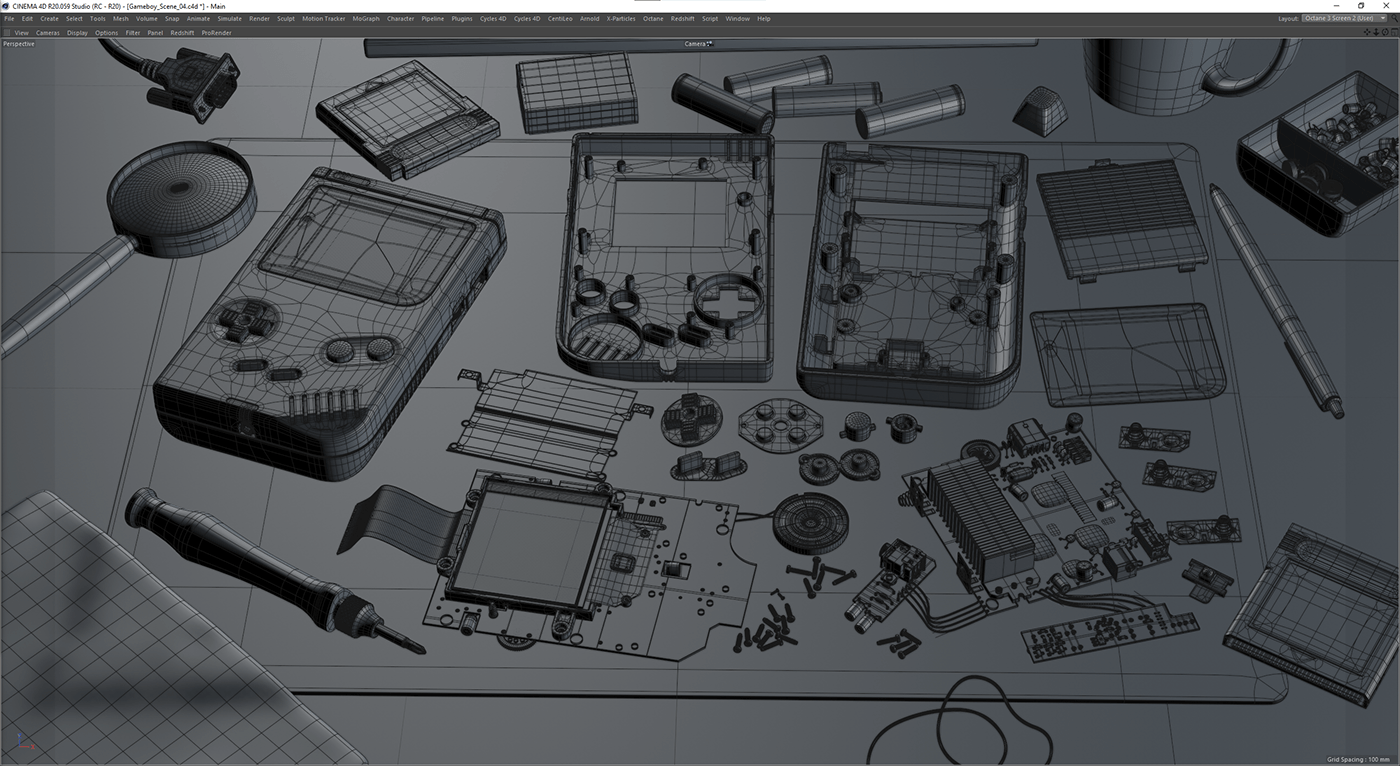
Technical Stuff:
The hull was modeled in Subdivision Surface. It took me quite some time and I had to remodel larger portions of it as I noticed pinching as well as wrong corner rounding diameters which resulted in 1-2 days of remodeling parts of it to be closer to the original shape a couple of times.
For the inner parts (BCB Boards, dials and plugs) it was a mix of SDS and Poly by Poly modeling which I cal the Glen Johnson Modeling Method as he is a master of that method. Its a way of using Boolean, Bevel Operators and N-Gons to your advantage for getting the shape you are after.
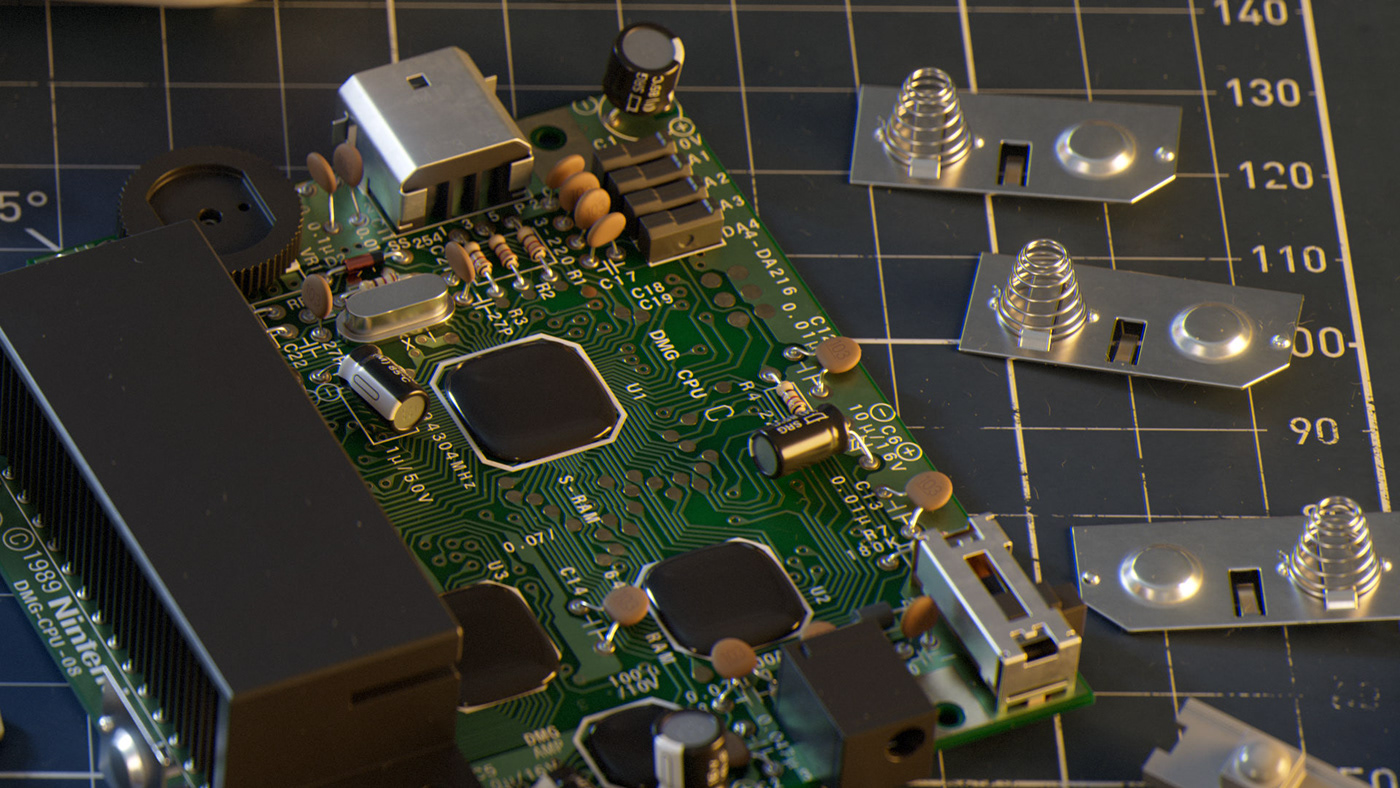
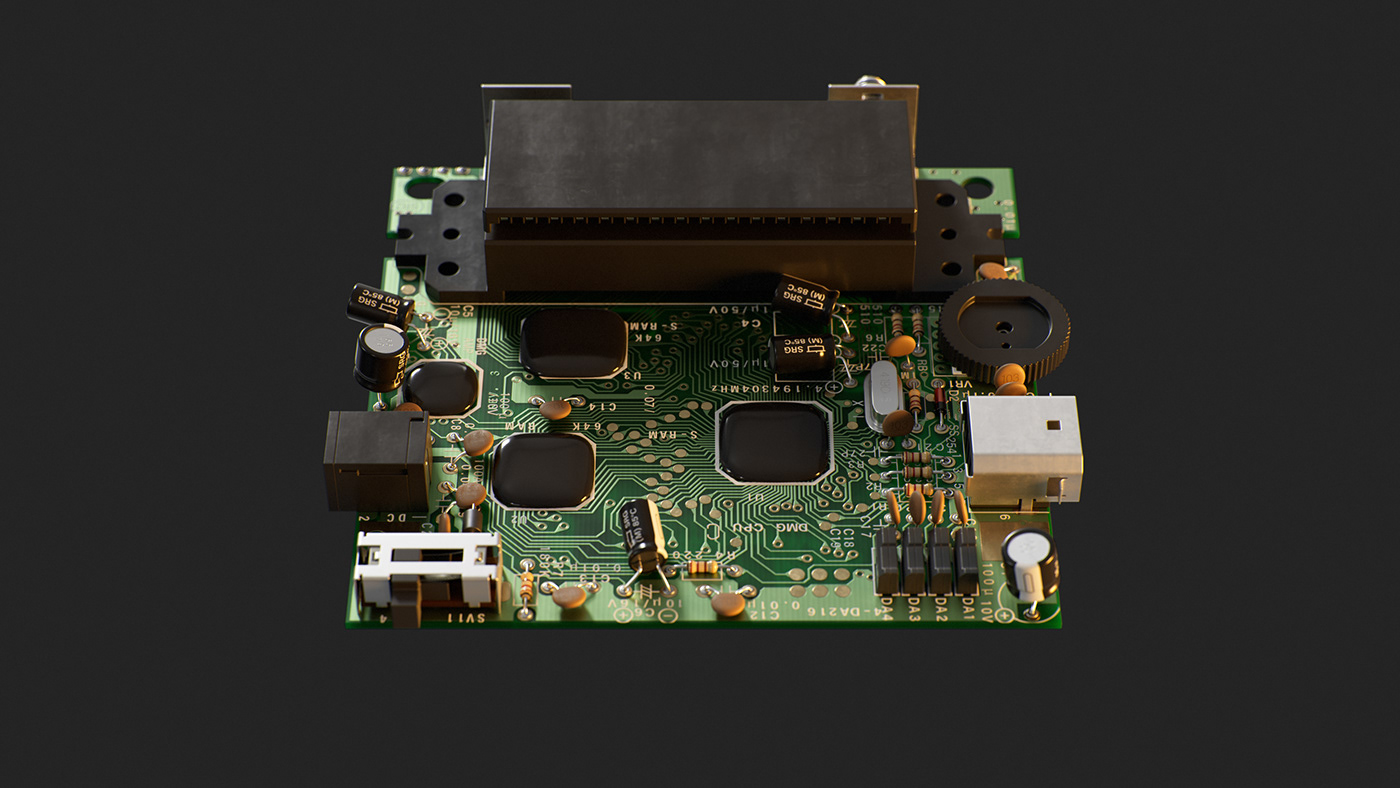
For the PCBs I used Illustrator to retrace high res photos I took of the PCBs. This process (Depending on the trace density of the PCB) could take up to 2 Days per side per PCB. But the work payed of in a high quality amount of detail.
I use Illustrator a lot in my texturing process to be resolution independent. I transfer the Illustrator files to .tif files in Photoshop. So when I would need a higher res version of that .tif I just have to reconvert it in desired res.
I use Illustrator a lot in my texturing process to be resolution independent. I transfer the Illustrator files to .tif files in Photoshop. So when I would need a higher res version of that .tif I just have to reconvert it in desired res.
MAIN PCB
CARTRIDGE PCB
SIDE PCB
SIDE 4K RENDERS & CLAYs


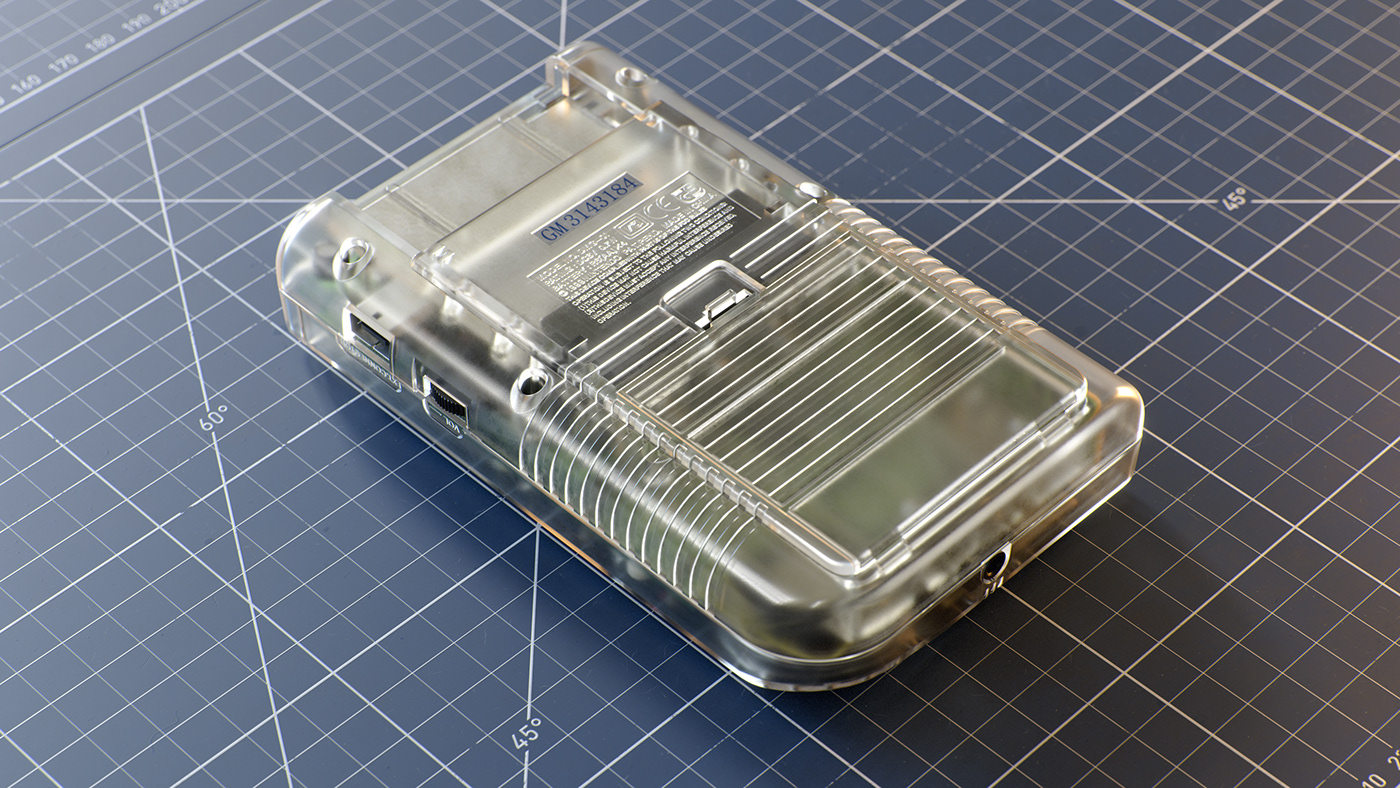
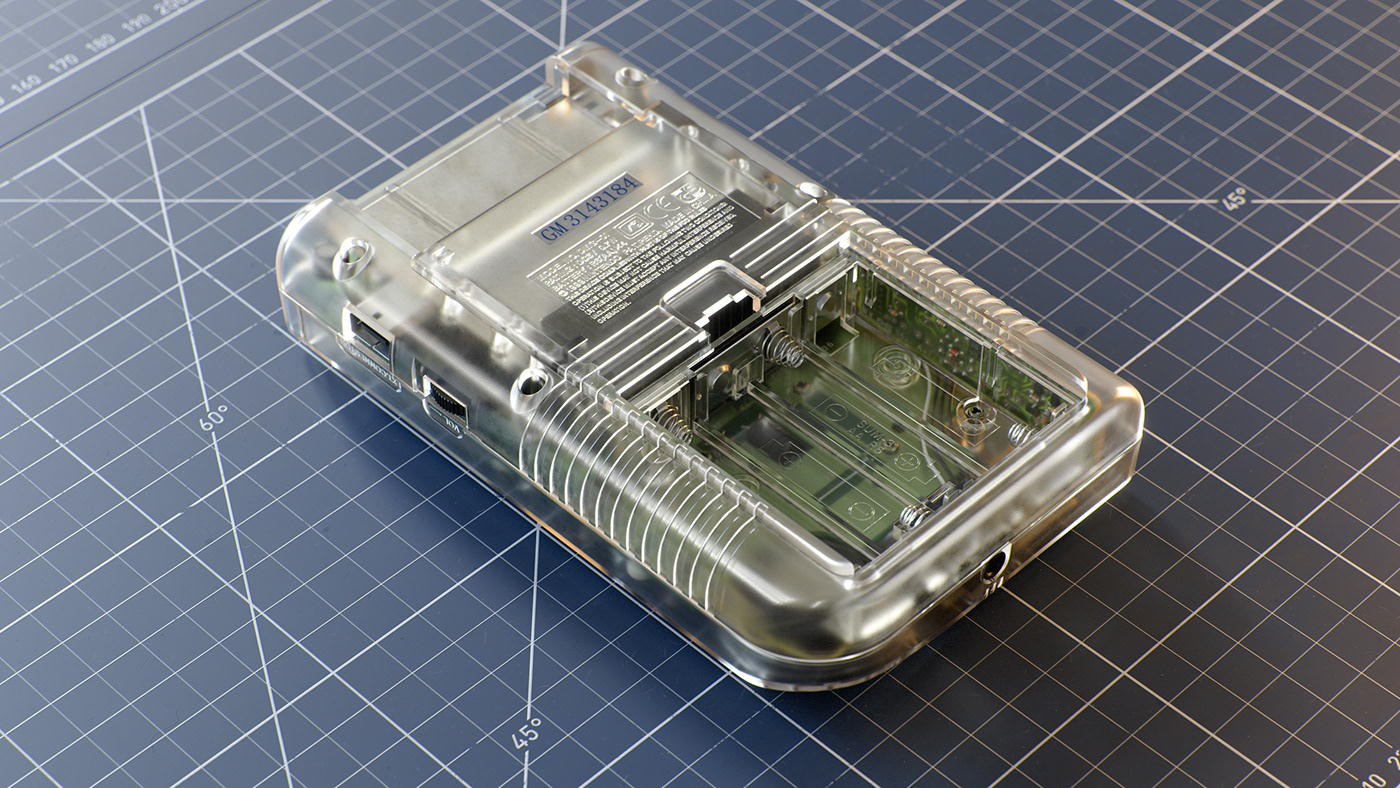
CLEAR GAMEBOY 01
Since I had modeled all the internal components I had to do the clear Gameboy. It is destined to be used because so much work went into it. I was so in love with it that I decided to also add it as a bystander in the main scene as you probably have seen above.

CLEAR GAMEBOY 02
CLEAR GAMEBOY 03
WIRE 01
WIRE 02

WIRE 03

EXPLODED VIEW

COLORFUL TILES (With all Gameboy Colors)

GAMEBOY PCB NODETREE

GAMEBOY HULL NODETREE

MATERIALS

If you made it here I have to thank you very much for your attention and endurance!
THANK YOU VERY MUCH FOR WATCHING!
For more work visit SILVERWING-VFX