


Synchr-O-nized!
Using the Rotation and Spin behaviours in Aero
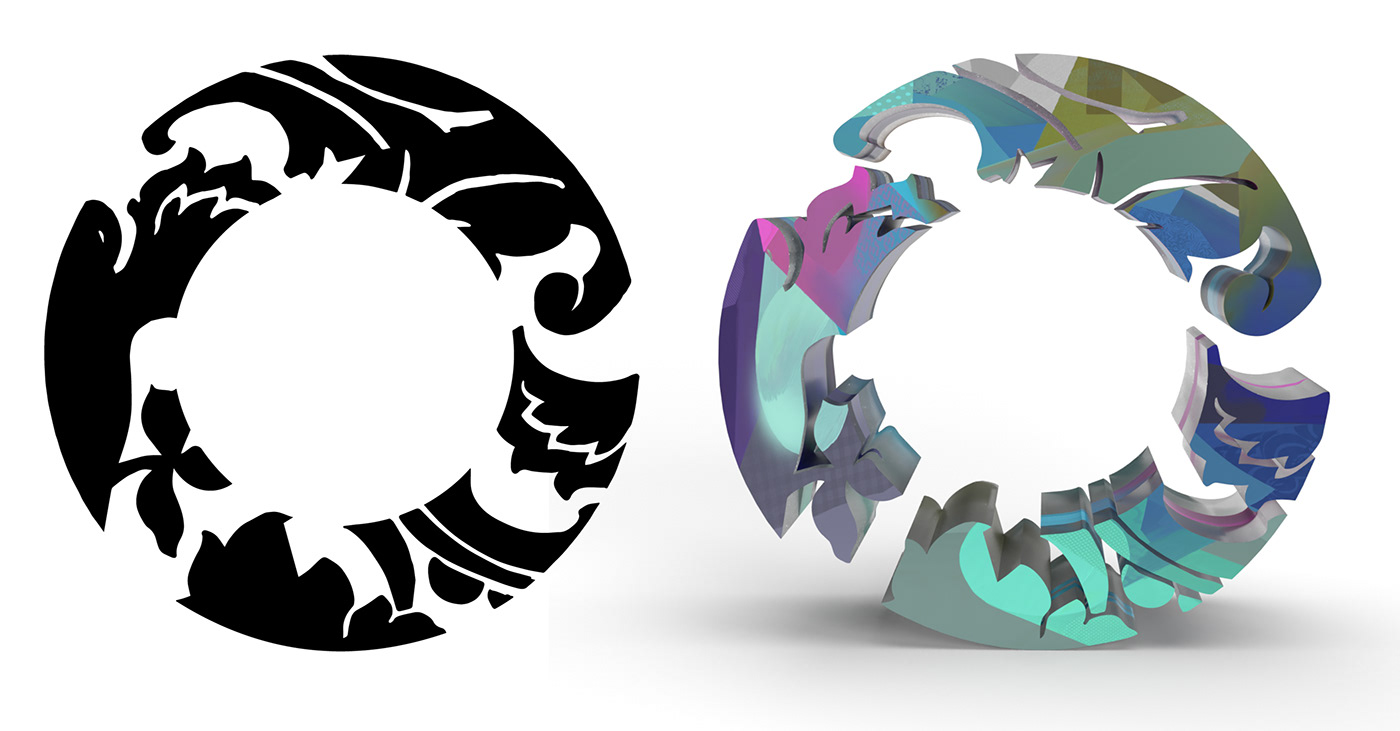
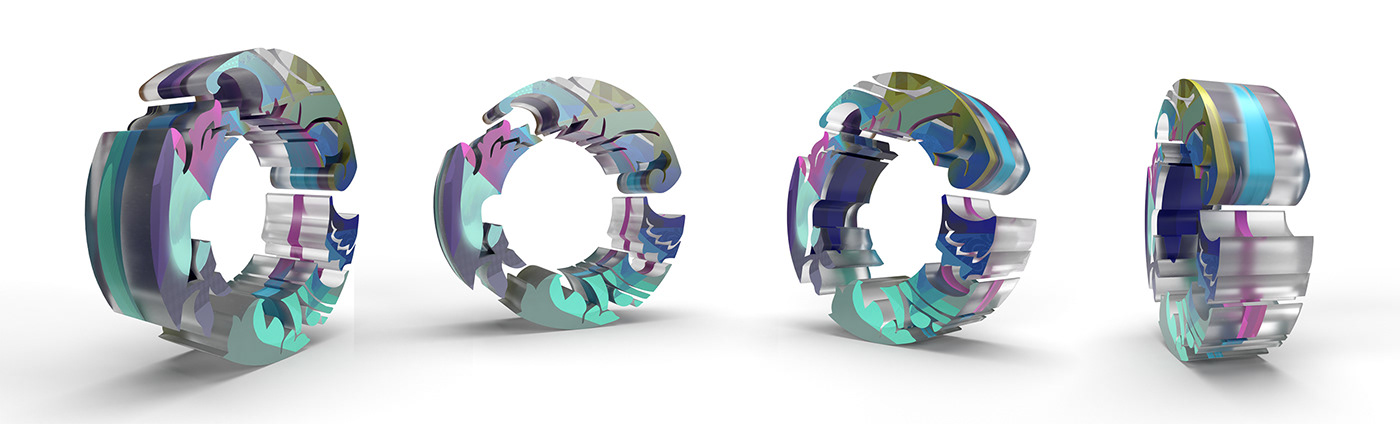
Below: The original O drawing + the 3D rendered version from Adobe Dimension
Aero Process
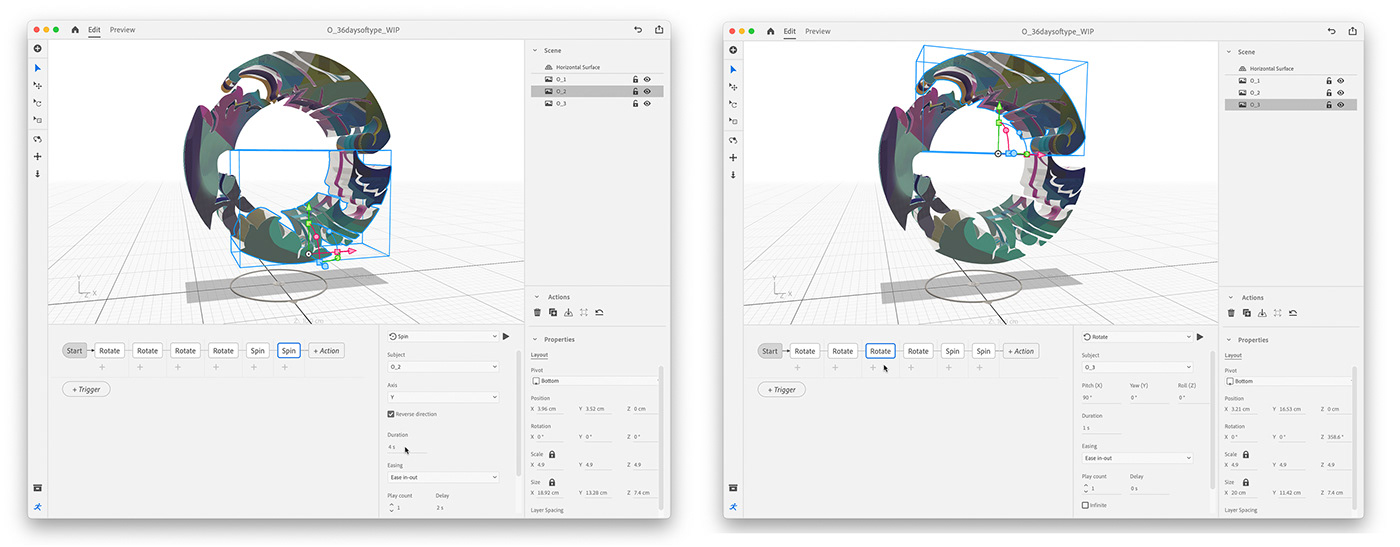
I used Aero's desktop version for the majority of the AR work in this project. The "O" is made from 3 separate pieces so I could control each piece independently. The desktop version is great for building experiences where more precision is required.
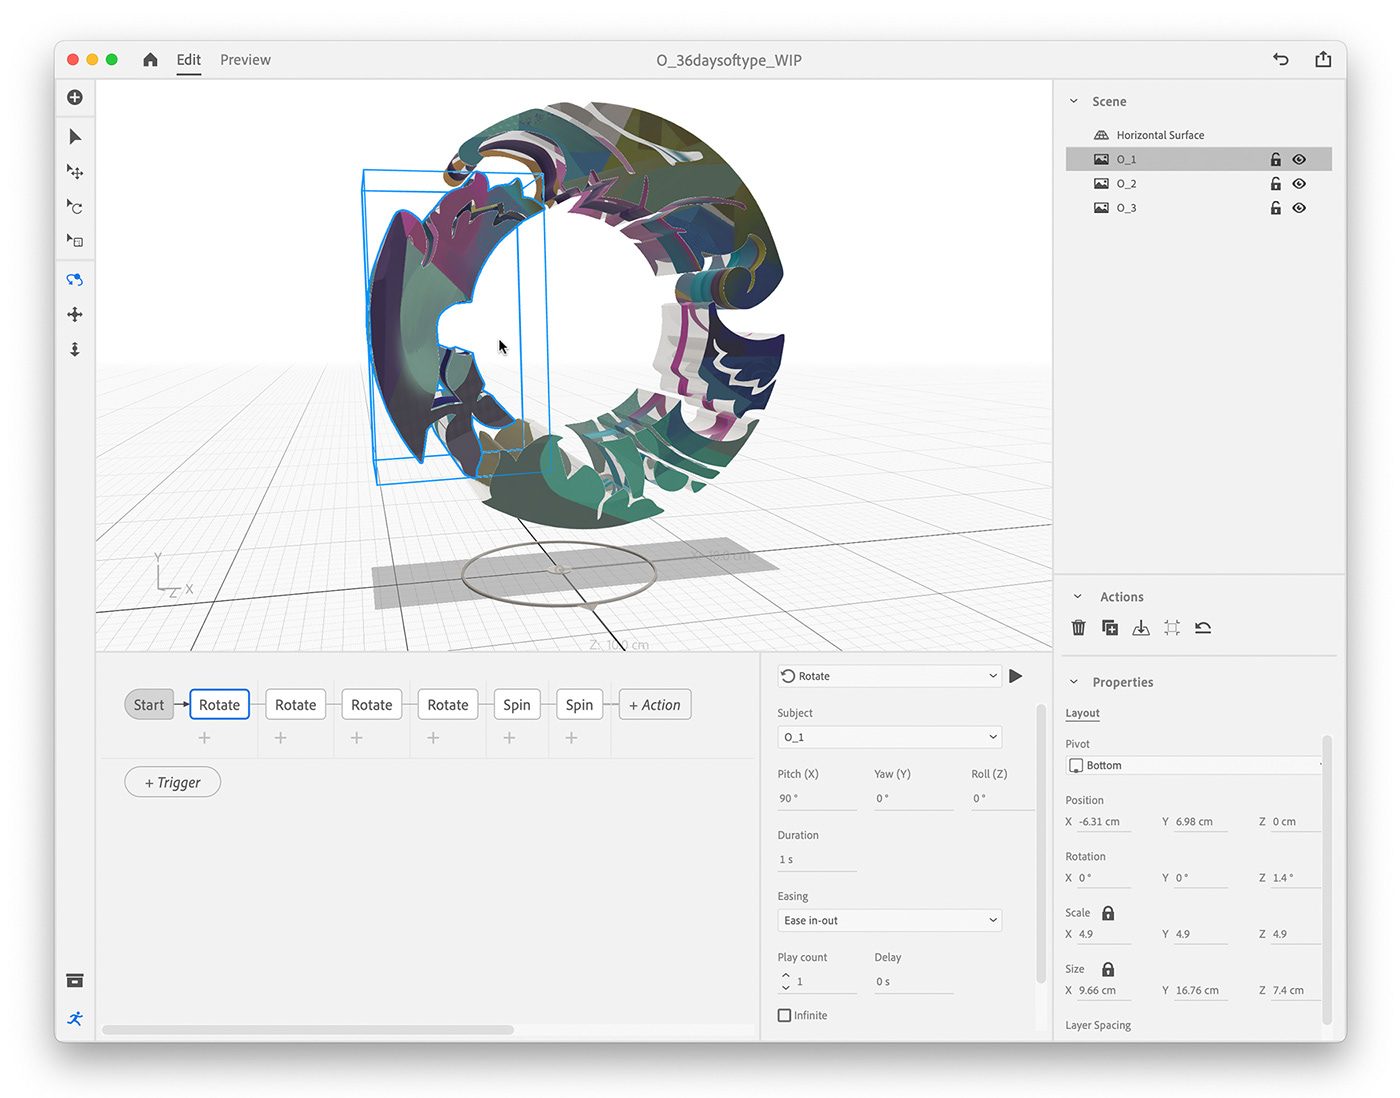
Above & Below: For each piece of the "O", you'll see that I've added a string of Behaviours; one after the other. I did this because I wanted one Rotation to complete before it moved onto the next one.
Note: If Behaviours are stacked below each other, they execute simultaneously.
Pre-Aero Process
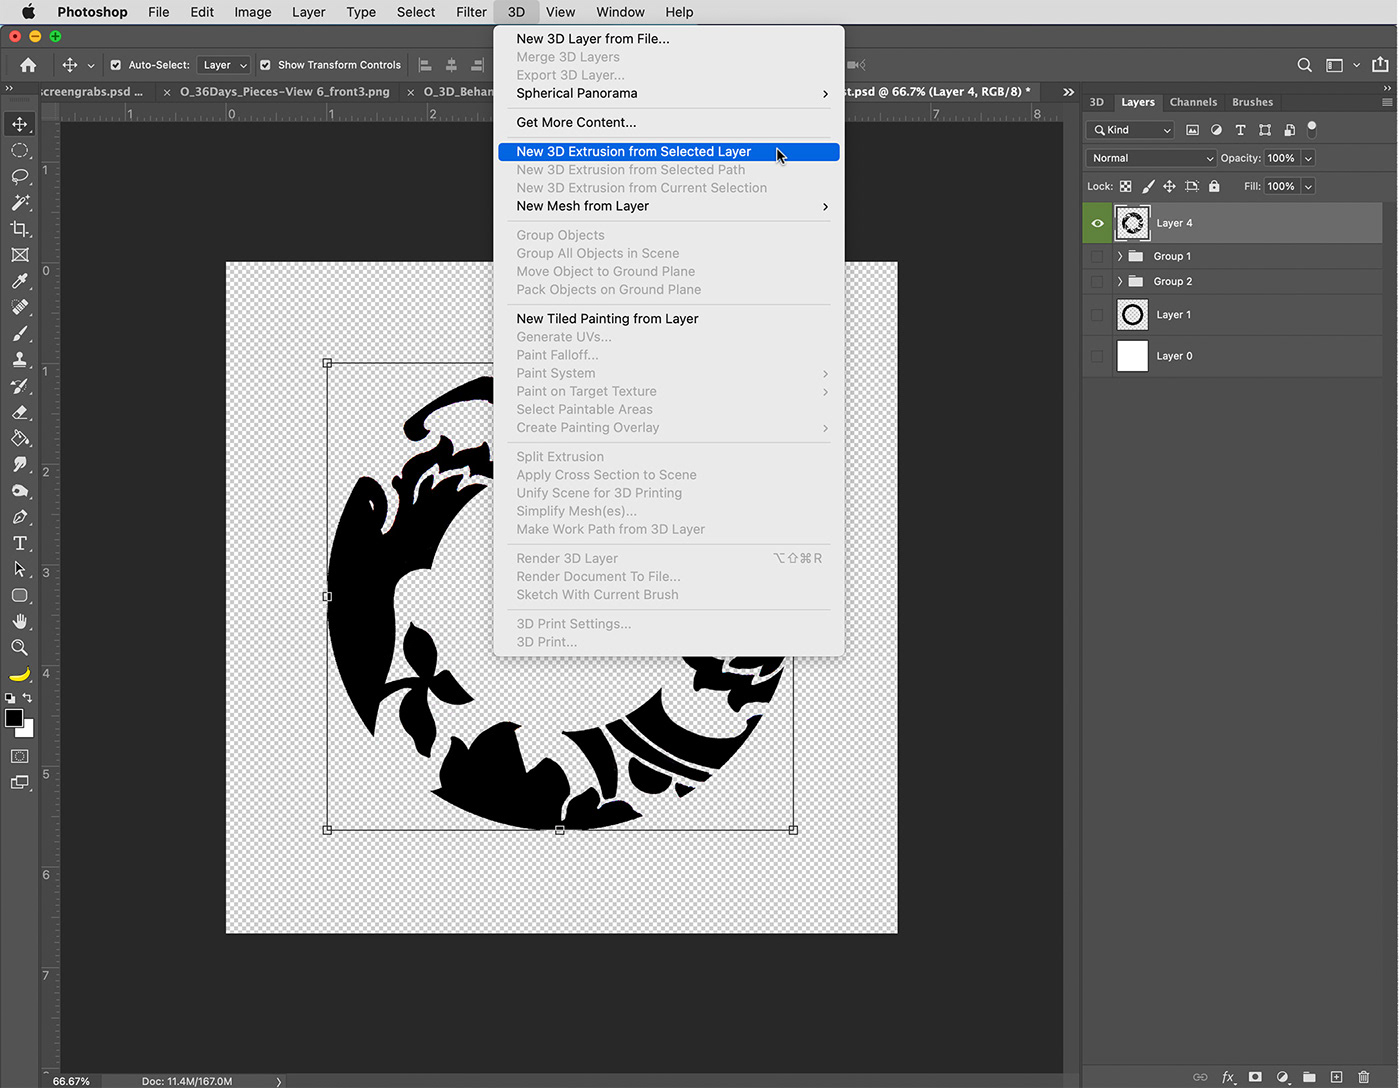
Above: To create the 3D version of the "O" I used the "New 3D Extrusion from Selected Layer" option in the 3D Menu.
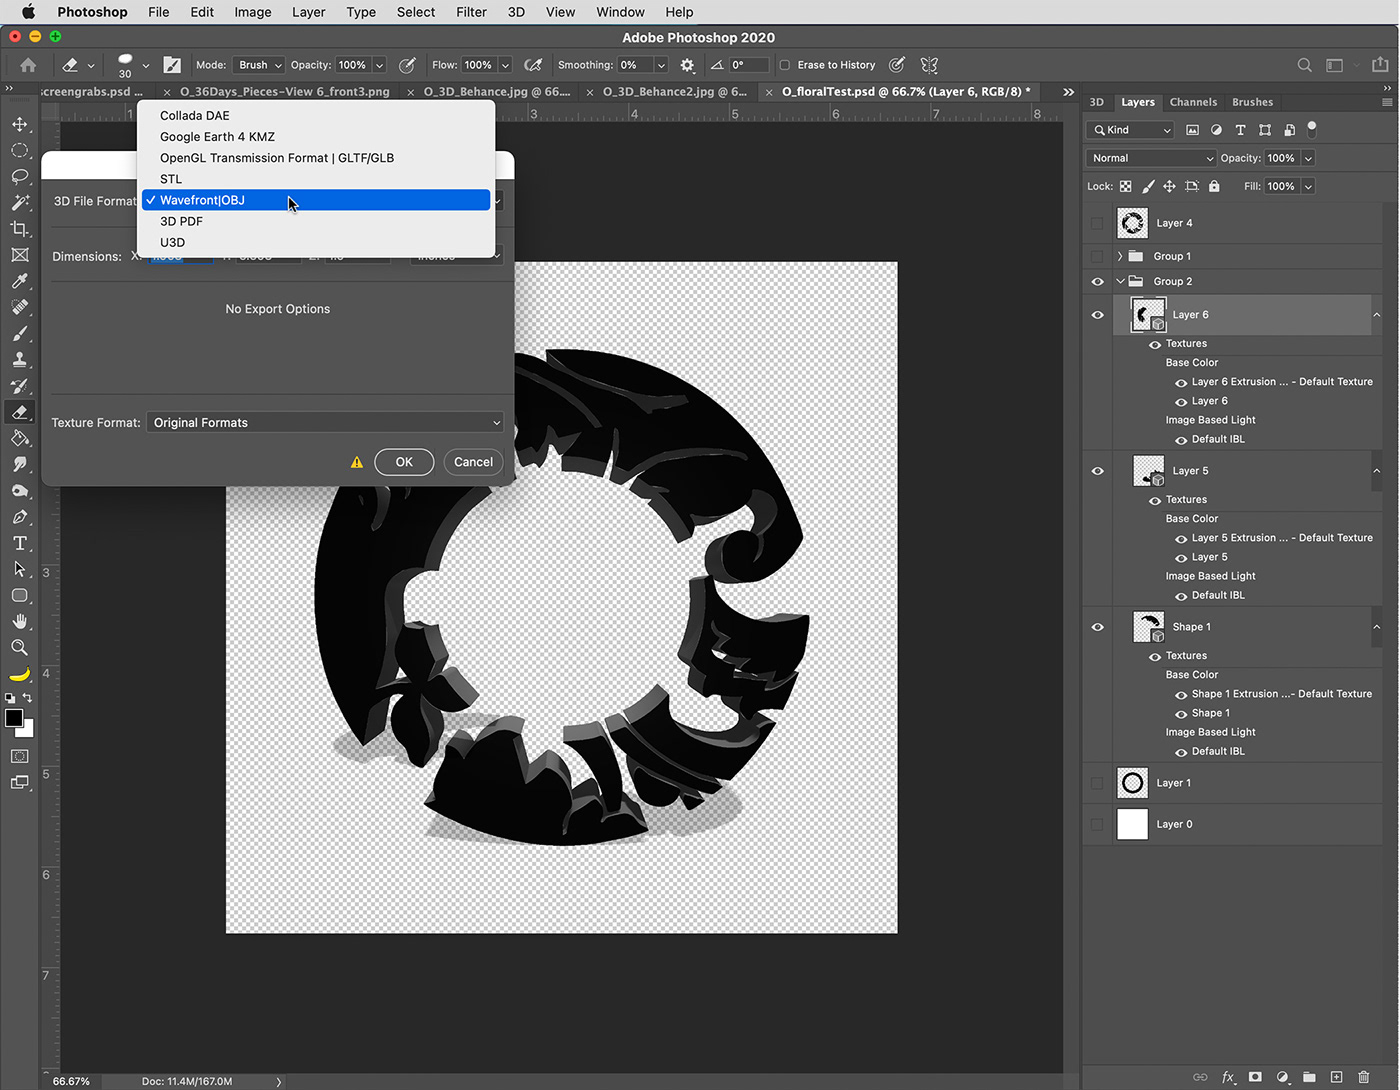
Below: Once Photoshop made the 3D version and I adjusted some settings like Extrusion depth, I exported it as an OBJ from the 3D Menu.

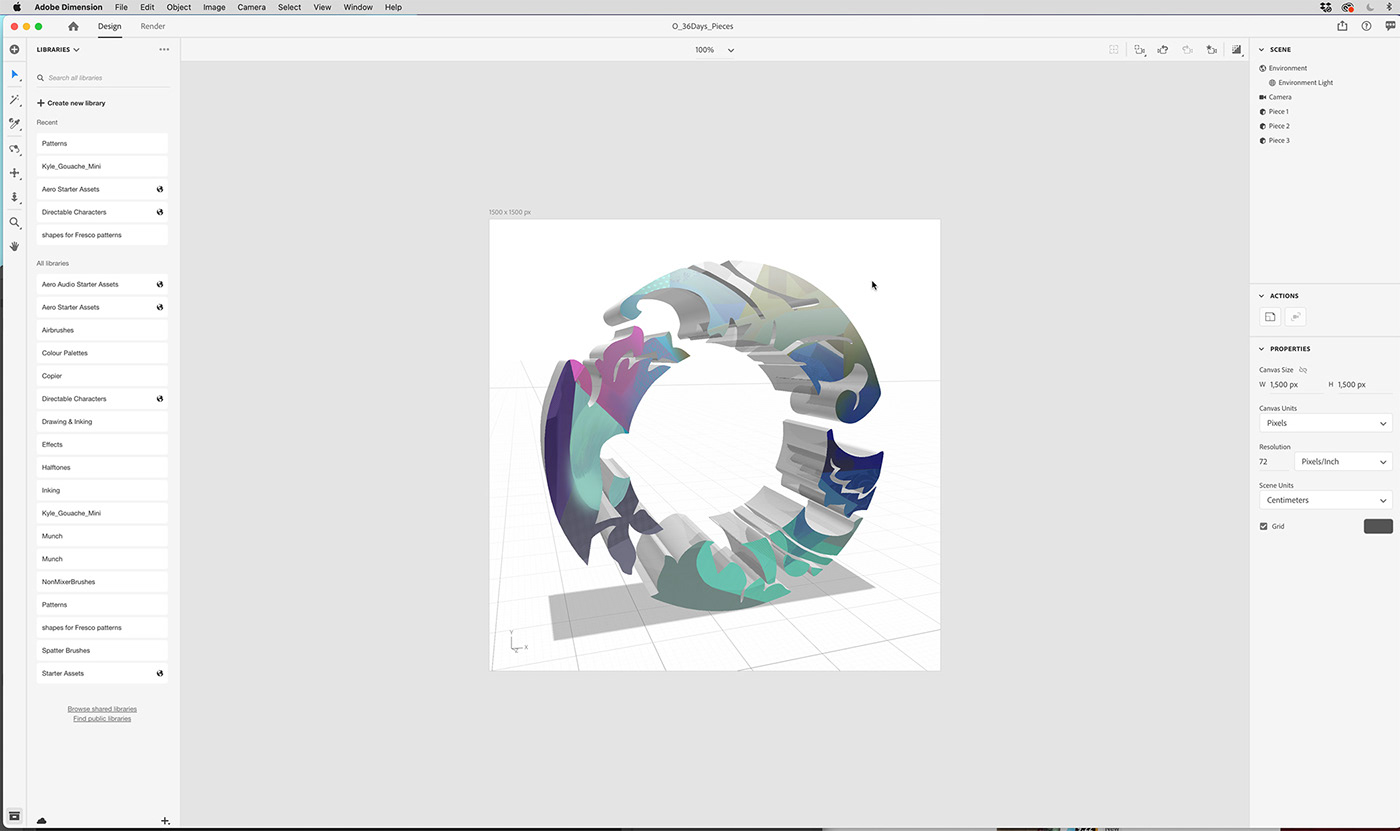
Above: Then I imported the "O" OBJ's into Adobe Dimension
Below: After adjusting the settings so the pieces would be transparent, I applied some artwork to the surfaces as a Decal, and then exported everything from Dimension to Adobe Aero.

Create your own AR experience using your own artwork!
This class is an excellent opportunity to learn through experimenting, with no pressure to create a polished final product. Treat the class like a small series of experiments that will help you become familiar with Adobe Aero and to understand how to build out an
AR experience.