

Christmas Town 2020 - a Pandemic Project - Part 2
Making the Movie
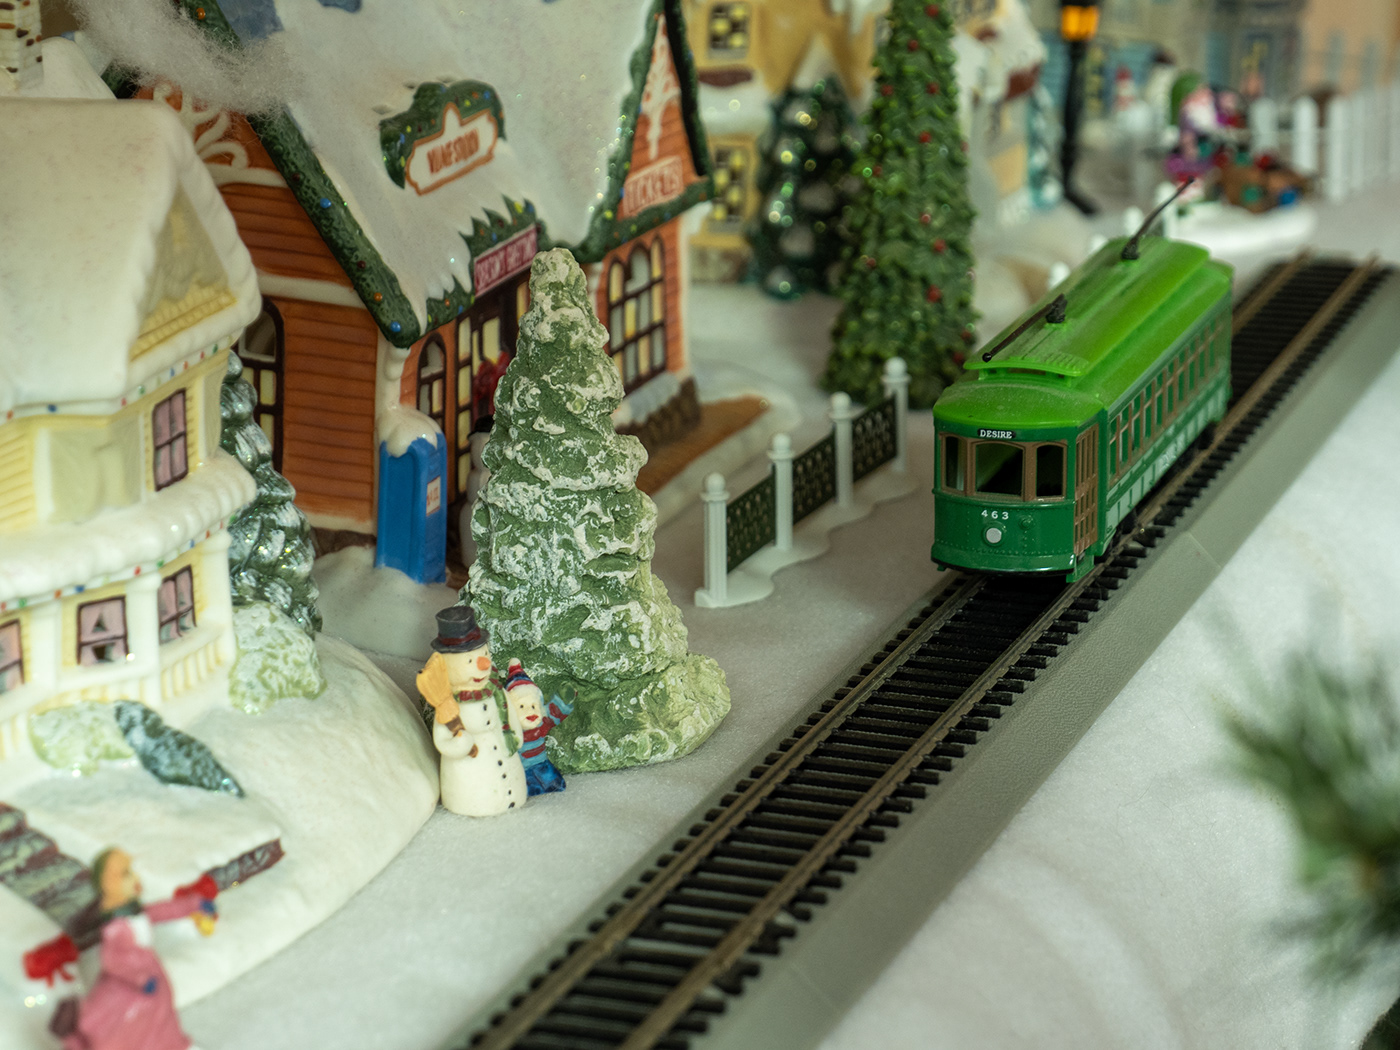
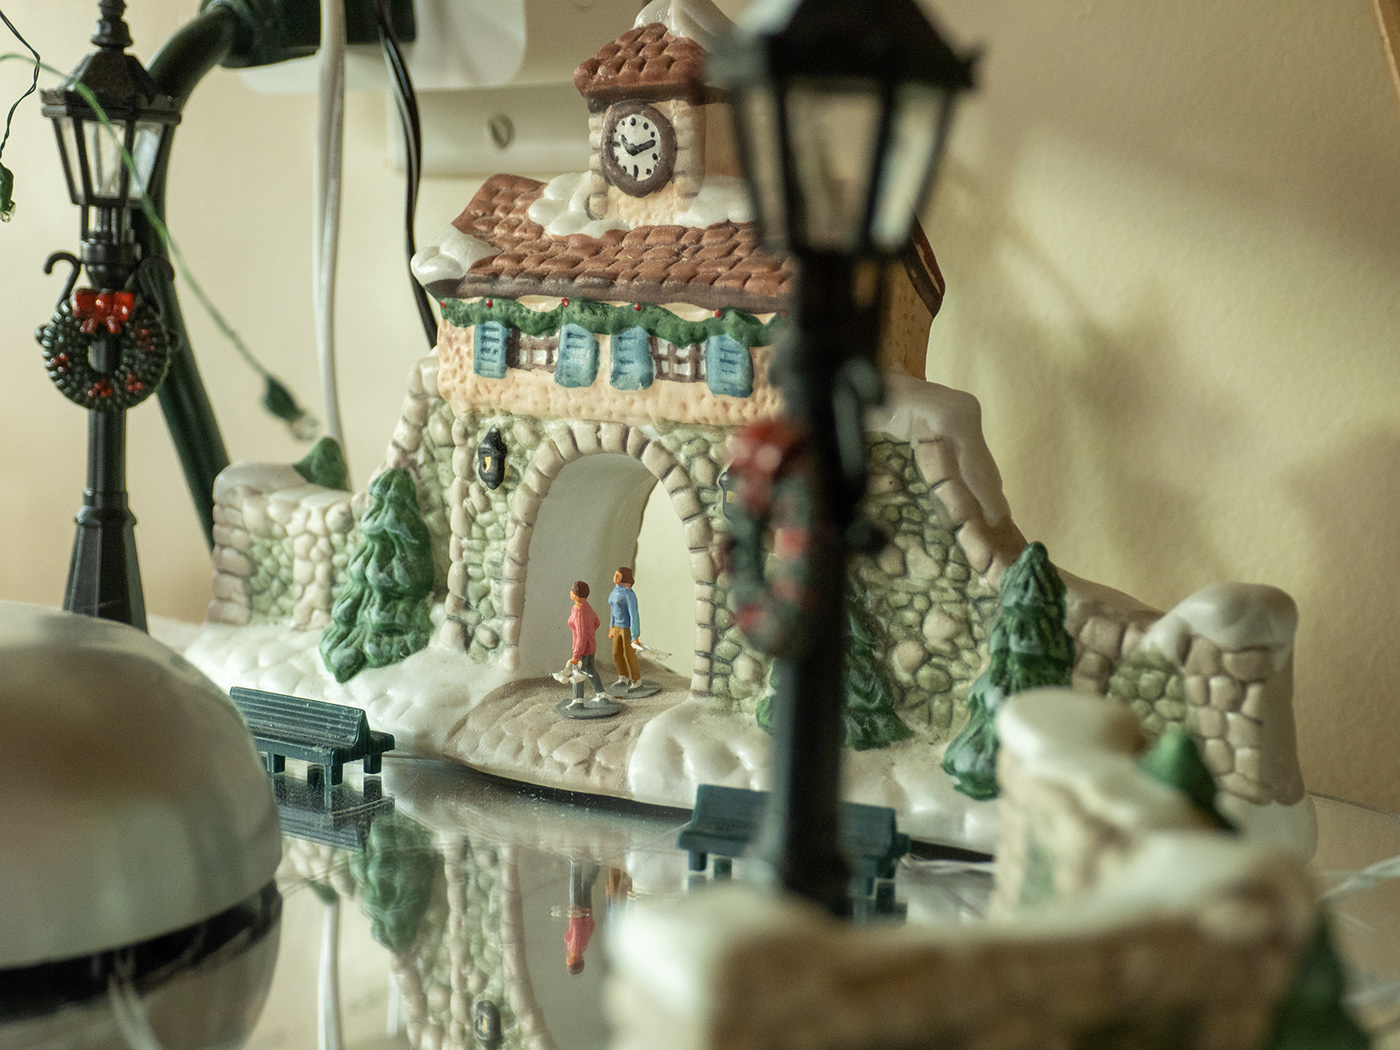
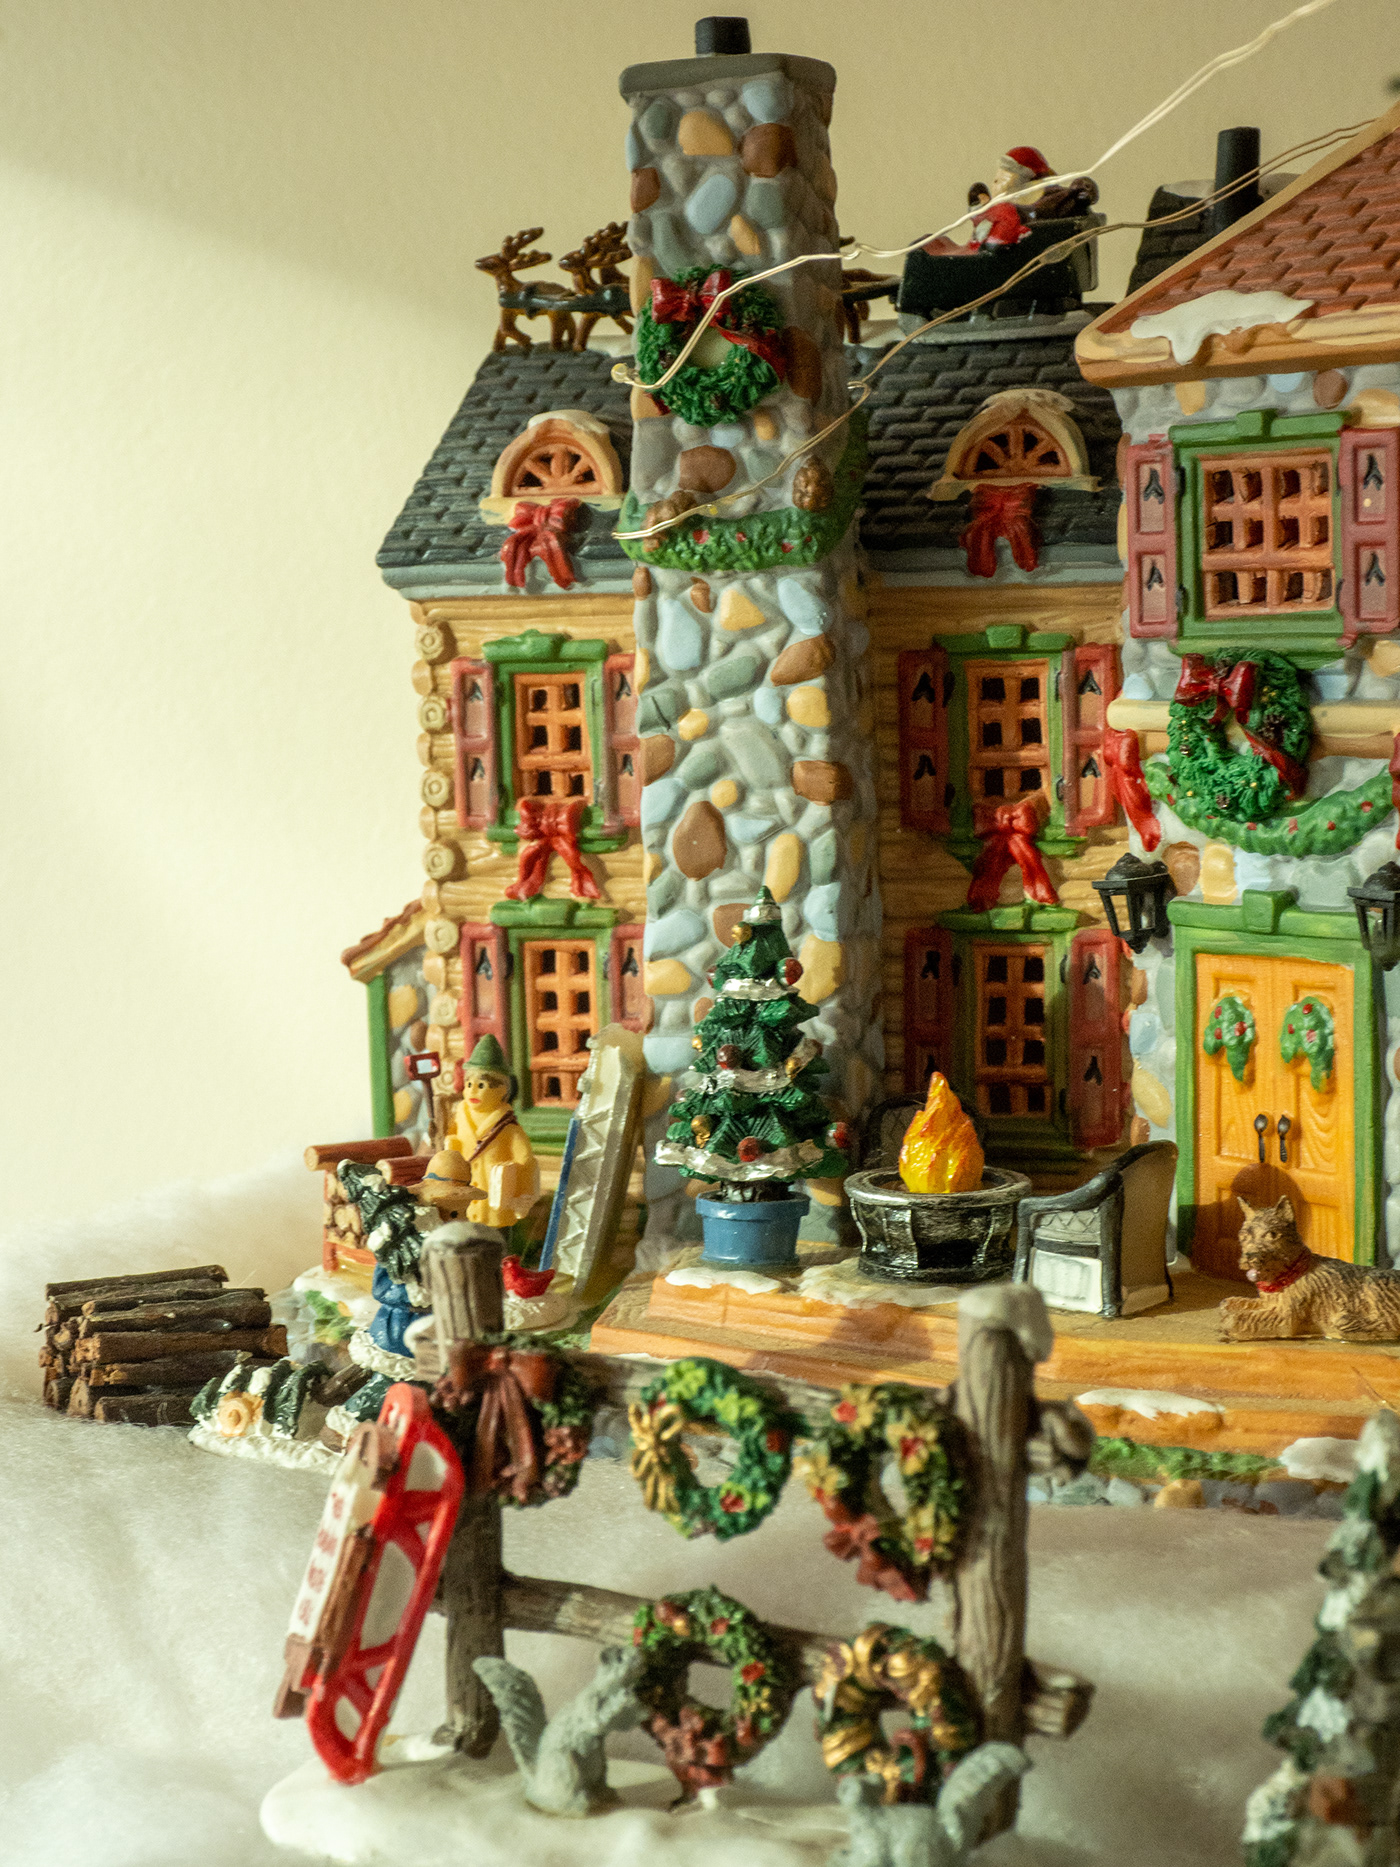
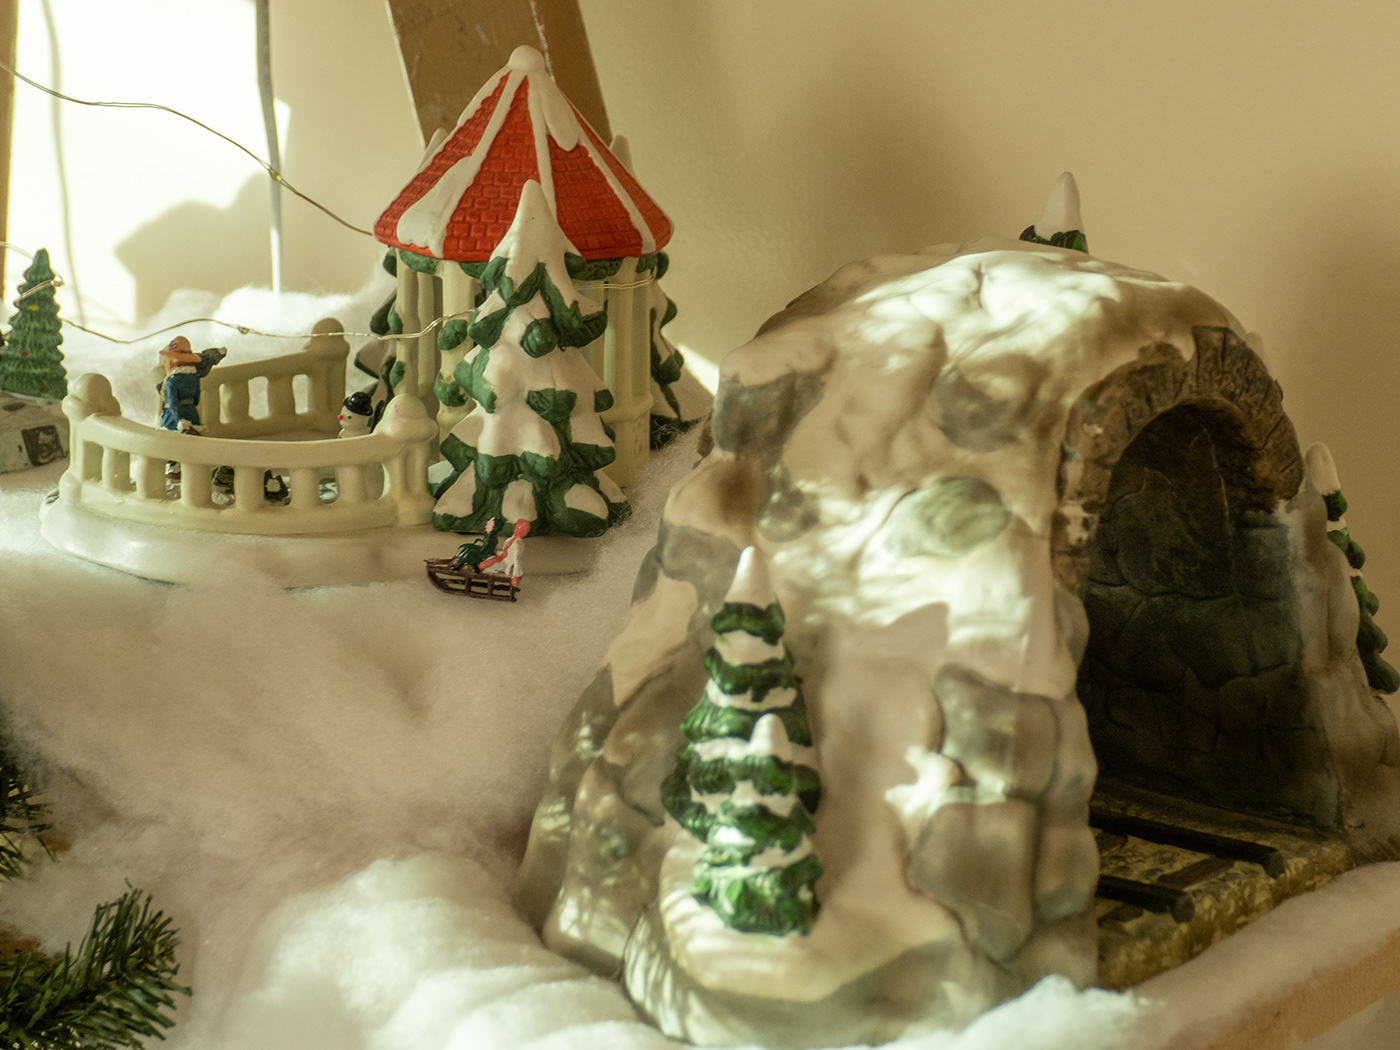
Every year, I set up a Christmas village, compiled from little houses left to me by my Dad, to ones I have purchased over the years. A tradition started by my Dad and one I proudly and lovingly continue.
After I set things up, I always take a few photos and maybe a couple impromptu video clips. This year however, after essentially building display shelving for the village, I was so pleased with the end result, I felt the project deserved a bit more ... production value... when documenting. I also wanted to share this video as a Christmas treat to friends and family. Considering the year we've all had (and I admit I have been very fortunate), I figured a little more holiday joy would be appreciated.
This article is about the post production workflow I used to create the final video you see below. I am not a video pro, nor do I pretend to be, but working on little projects like this help me gain confidence for this storytelling medium. I hope - after reading - you will see the benefits as well, and hopefully learn a thing or two.
Production
I shot a lot more video than I normally think to do, on both my iPhone (using Adobe Rush) and my Olympus EM5 Mark III. While all the footage was captured handheld, I did attach my phone and camera to inexpensive camera rigs to make panning and movement a little more smooth. I also used one of my LumeCubes to add some additional light.
Between multiple panning passes, and basic lighting adjustments (adding the LumeCube for front Illumination, changing the overall ambient light), I ended up with about 7 minutes of footage - far more than I would need.
Making the (Rough) Cut
With the footage captured on my iPhone using Adobe Rush, it was very easy to create the initial rough cut. Rush lets you dynamically add new footage to an existing project, or search for existing media on your device.
Once my rough cut was assembled in Rush (over 6 minutes of footage), I moved over to Premiere Pro. All my footage was recorded handheld and was more than a little wobbly/jerky in places, despite my best efforts. However, I thought that Warp Stabilizer in Premiere could really improve the look and feel. I also had footage from my Olympus EM5 Mark III to add.
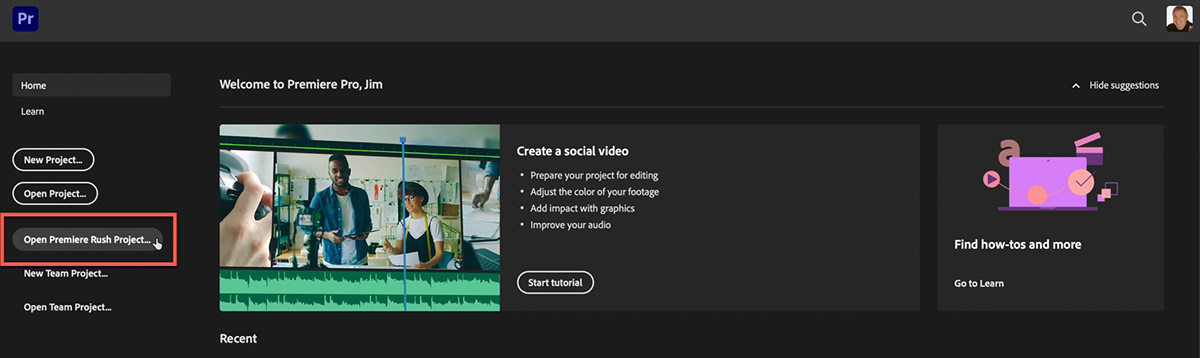
Bringing a Rush Project into Premiere Pro is dead easy. From the Welcome Screen, choose Open Premiere Rush Project.
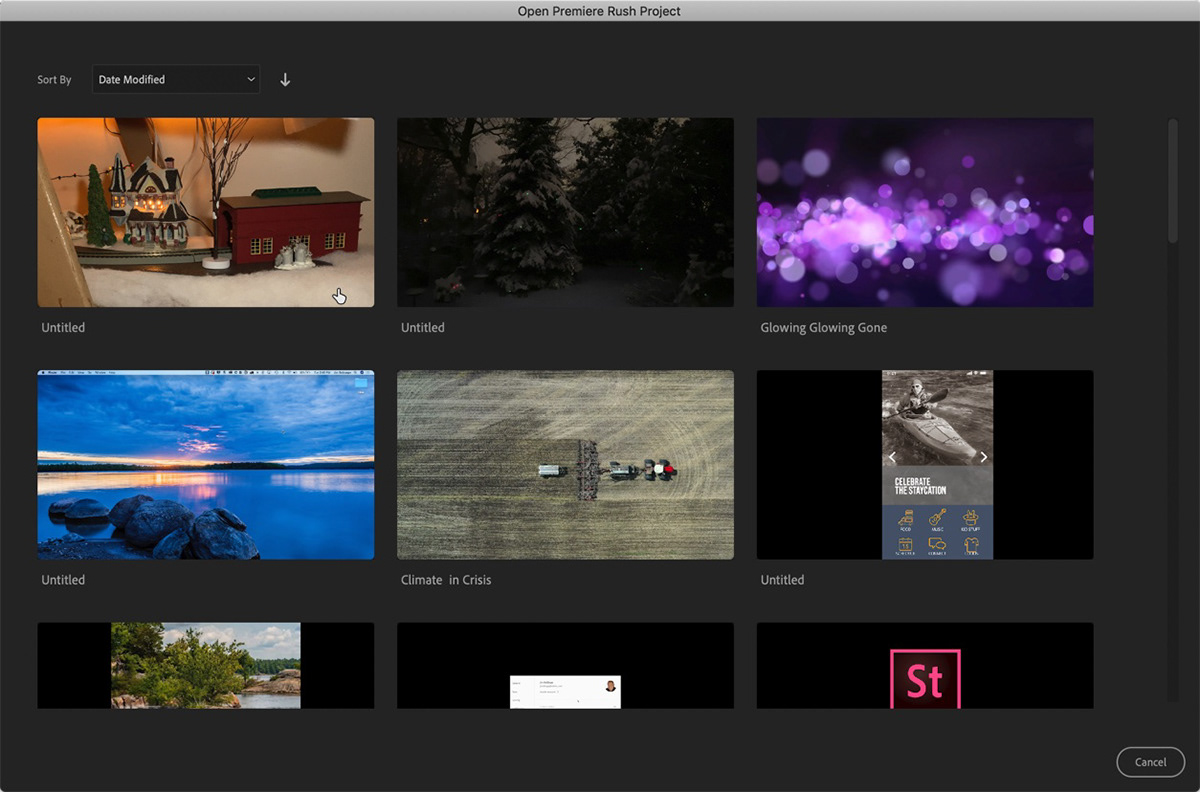
A window pops up, showing all your Cloud-synced Rush projects. Simply select the desired project and in minutes your Rush project is converted to a new Premiere Pro project.
I enjoy working in Rush on Mobile for short projects, but I find that the larger workspace (especially the timeline window) make editing easier and faster in Premiere Pro. Yes, I could have continued editing in Rush on the desktop, but I knew a three things:
- I would need Warp Stabilizer at some point to clean up shakiness on many clips.
- I would be adding music from Adobe Stock, and the integration of Stock audio inside Premiere Pro is second to none, IMO.
- I wanted opening and closing motion graphics and a themed Motion Graphics Template (Mogrt) from Adobe Stock would be where I started looking. Again, also easier to do in Premiere Pro and a wider range of options (paid and free) would be available.
Remove Audio
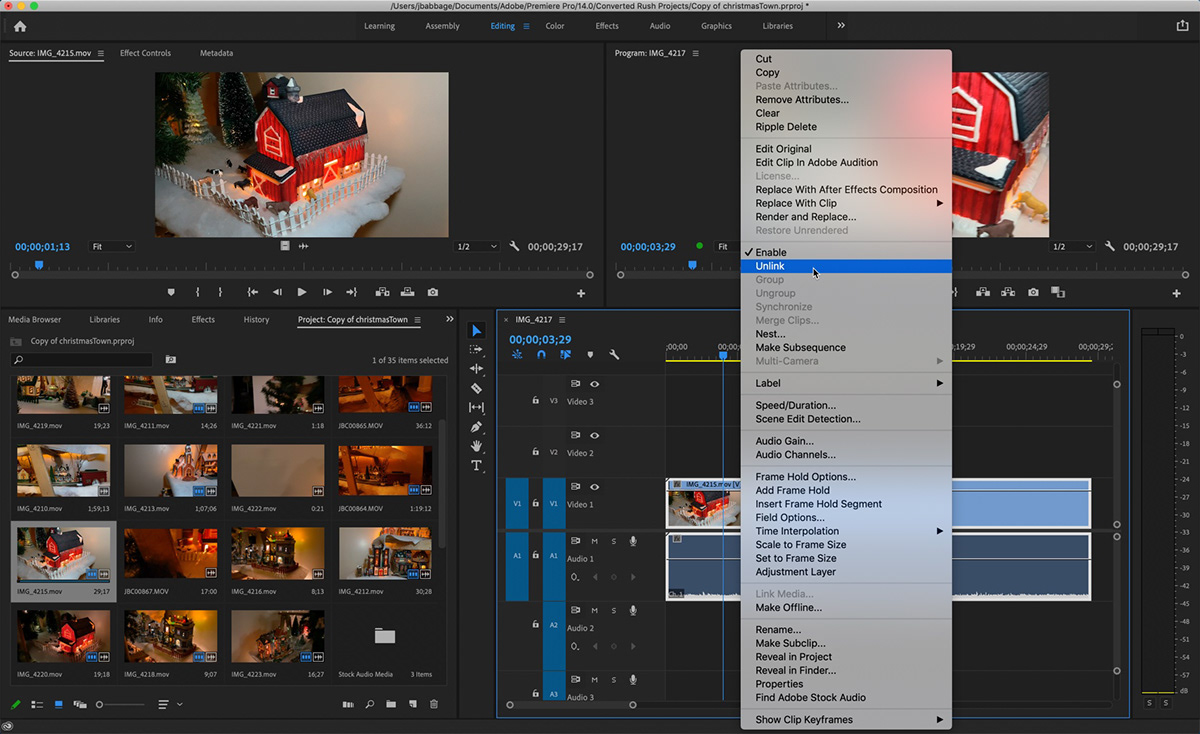
The first thing I did was to separate the audio track from the video track; in my case, this was all just unnecessary ambient sound and I knew I would not be using any of it.
As there were already multiple clips in the sequence from the original Rush project, I had to first click and drag across all the clips in the timeline to select them. Then right-click (Control Click, or choose Clip from the main menu) to bring up the menu options, and choose Unlink.
With the audio track decoupled from the video, select the audio and delete it.
Cut, Cut, Cut...
My next step was to watch the entire rough cut and determine where else I could remove footage. This is not a "one and done" process. You will - or should - do this several times throughout the editing process. This gets harder and harder to do as you continue to cut time from your film but it's super critical. Rarely has anyone said, "That video was too short," but more often you will hear a video was too long. Keep asking yourself if what you have kept supports your story or moves you along.
Pro Tip: Start with music. Find the music track you like as soon as you can, so you have a timeframe in which to work your edits.
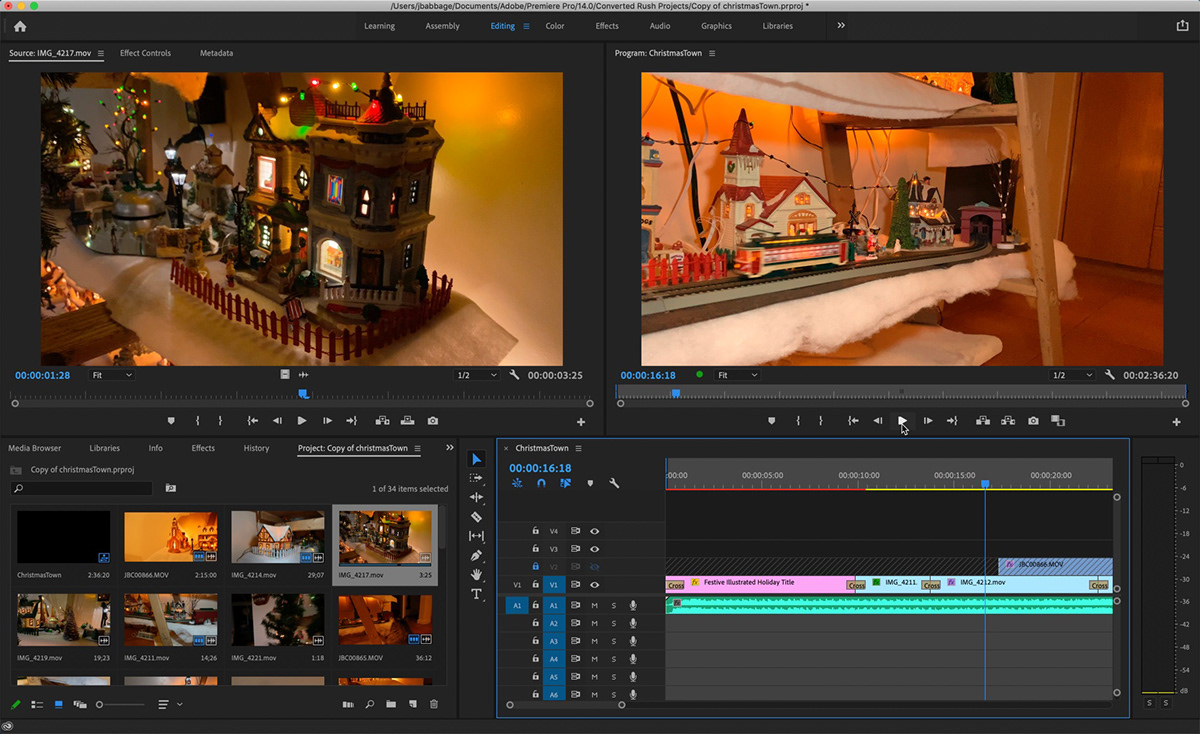
Music, Please!
The integration of Adobe Stock Audio into Premiere Pro is a very seamless and enjoyable experience. By switching to the Audio workspace, you can quickly search Adobe Stock for specific music based on keywords, genre, mood, duration and tempo among other filters. If that wasn't enough, thanks to Timeline Sync (enabled by default), you can listen to the music as your footage plays back in the Program window - without downloading anything! How slick is that? I sampled several audio clips in this manner before settling on the final music.
From there, you can download a non-watermarked preview of the audio file right into the project folder - in its entire length. This will help if you want to experiment with the timing of transitions or scene cuts. You can also license Adobe Stock Audio right from within Premiere Pro. For more details on Stock Audio, check out my video, below.
Adding Stills and Motion
I also wanted some detail shots in the video, so I took the time to shoot some additional stills of certain parts of the display and did my best Ken Burns impression to maintain some motion and visual interest. The images were already much larger than the 1080p I was using for the video, so it was fairly easy to make some pan and zoom transitions manually with the Effect Controls panel and a couple keyframes. Here is a great short video on how to create the Ken Burns effect in your project.


Pro Tip: The December 2020 update to desktop and mobile Premiere Rush now enables easy creation of the Ken Burns effect! Select a still image in the project timeline and then in the Effects menu, choose Pan and Zoom. Adobe Sensei intelligently identifies major scene elements and generates appropriate animation. You can also customize the effect quickly and easily.
Smoothing Out the Action
With the footage in place and trimmed, it was time to see what clips required the application of Warp Stabilizer to smooth out the motion. Well, the short answer was EVERY clip required Warp Stabilizer, because I was manually panning every scene.
Search for Warp Stabilizer in the Effects tab, by typing in the word warp. Drag the effect onto your clip and let Premiere Pro do its magic.

But here's a tip: unless you are running a computer system customized for video editing (and maybe not even then), do NOT select all the clips and try to apply Warp Stabilizer to all those clips at once. I tried - naively - and, well, my system completely crashed and restarted. I brainlessly attempted this three times before giving up and applying the effect to individual clips in the timeline. Here are some detailed instructions and guidance for using Warp Stabilizer.
Fine Tuning
I shot the various clips under a variety of lighting and lighting brightnesses, partly to experiment and partly because I want the houses to show up as illuminated. In order to unify the color balance to some degree, I used the Lumetri Eyedropper tool from the Color workspace to neutralize the white balance. For most scenes, I got pleasing results. Here's a quick video on how to adjust color balance.
Lastly, I wanted to add a transition to every clip/still in the timeline. The quickest way to do this is through a group selection. I click/dragged to select all the clips and stills on the timeline and then from the main menu, chose Sequence > Apply Default Transitions to Selection.
I also knew I wanted intro and outro motion graphics - preferably free. Much like Stock Audio, it's easy to browse for motion graphics with within the Essential Graphics panel. You can search based on keywords and whether you want to see free or premium content, or both and easily license a template by dragging it onto your timeline. Here is more information on how to find and use MOGRTs.
The great thing about MOGRTs is that all the hard work is already done; you just have to customize elements like text, color, timing, maybe the theme, from an easy to use editing menu.
That's a Wrap!
I played back the video in conjunction with the music several times before deciding to finally render a finished piece. Truth be told, after watching it several more times, I think there are areas that could be tightened up a bit more, maybe even get me to the two-minute mark. Maybe I will go back and tweak things at a later date; my goal for getting this project completed and shared out before Christmas Day was achieved (online December 24!), though, and I think overall looks pretty darn good.
I hope you enjoyed the final video and that you've found this article inspiring and informative. I'd love to hear about projects you create, too!
So on this, the eve of 2021, I wish you all the very best for the New Year. Let's hope for better and brighter times.
Cheers!


