INTRODUCTION:
One important thing to remember is the final size you want your finished artwork to be. So choose a suitable working resolution. I usually work in about 10113x5689 (300pixels per inch) as you never know how you want to use your final piece. This will print out fine as A1 or even A0 size. It’s always easier to reduce an image, but enlarge a digital image too much from the original while printing, will end in a pixelated print :(
One important thing to remember is the final size you want your finished artwork to be. So choose a suitable working resolution. I usually work in about 10113x5689 (300pixels per inch) as you never know how you want to use your final piece. This will print out fine as A1 or even A0 size. It’s always easier to reduce an image, but enlarge a digital image too much from the original while printing, will end in a pixelated print :(
In my opinion, the fundamental skills to learn as an artist is perspective, lighting and shading... almost anything can look good with great lighting and shading ;)
I normally do most of my painting on a single layer, using a single brush in Photoshop, just the soft round brush, but vary the size and pressure using a Wacom.
There is no ‘right’ or ‘wrong’ way to go about it. Have a look at other artists techniques and adopt one or adapt to suit yourself, it all comes with practice.

Start off with basic sketch, then change the layer blending mode to ‘Multiply’. Create a new layer as your painting layer under the sketch layer. Start adding colour and shading.

I keep working on the surrounding face. It’s easier than if the eyes were finished. This means you can use a larger brush for softer, more blended colours and not worry about overspill.

Add basic outline of the eyes, lids, iris, pupil and some shading until you’re happy with the basic shape.

Now start adding some detail. Britney has brown eyes so there’s not actually a need for a lot of Iris detail, just subtle tones. Iris and Pupil pretty much done so o.k. to add light reflections.

Work on shading of the whites of the eyes, which are not actually white, but shades of grey and a little fleshy-red. Slowly add lid details and more shading.

Happy with the shape and colour of the lids, so start adding lashes. You should have the shading of the lids pretty much done before you add lashes, but not crucial, you can re-do the lashes.

Keep working on the lashes. they’re pretty ‘full’ but still subtle. Continue to work on lid shading and lighting. You don’t want really hard lines as this can look ‘fake’ when zoomed out.

Final touches to shading and lighting. Very subtle changes, but this can take an image from good to looking pretty sweet, especially if you’re going for photo-realism.
TIP!
I’ve seen some pretty detailed tutorials on eyes, they’re stunning but most are very high detail close up. That’s great if your eye is going to be printed on A3. Just zoom in on any of your favourite photos in Photoshop and you will see it’s made up of pixels, but zoomed out your eyes cant see the pixels ;)
Keep that in mind as you often don’t need to go too overboard on details that you won’t see. Your mind can imply detail from feedback it gets through your vision. It’s great you can zoom up in Photoshop, but you don’t need to be photo-realistic at 900% zoom :p This eye looks pretty average zoomed up, you can see rough edges, etc. But zoom out to 100% and it looks fine and takes less time to paint, Boom! :D
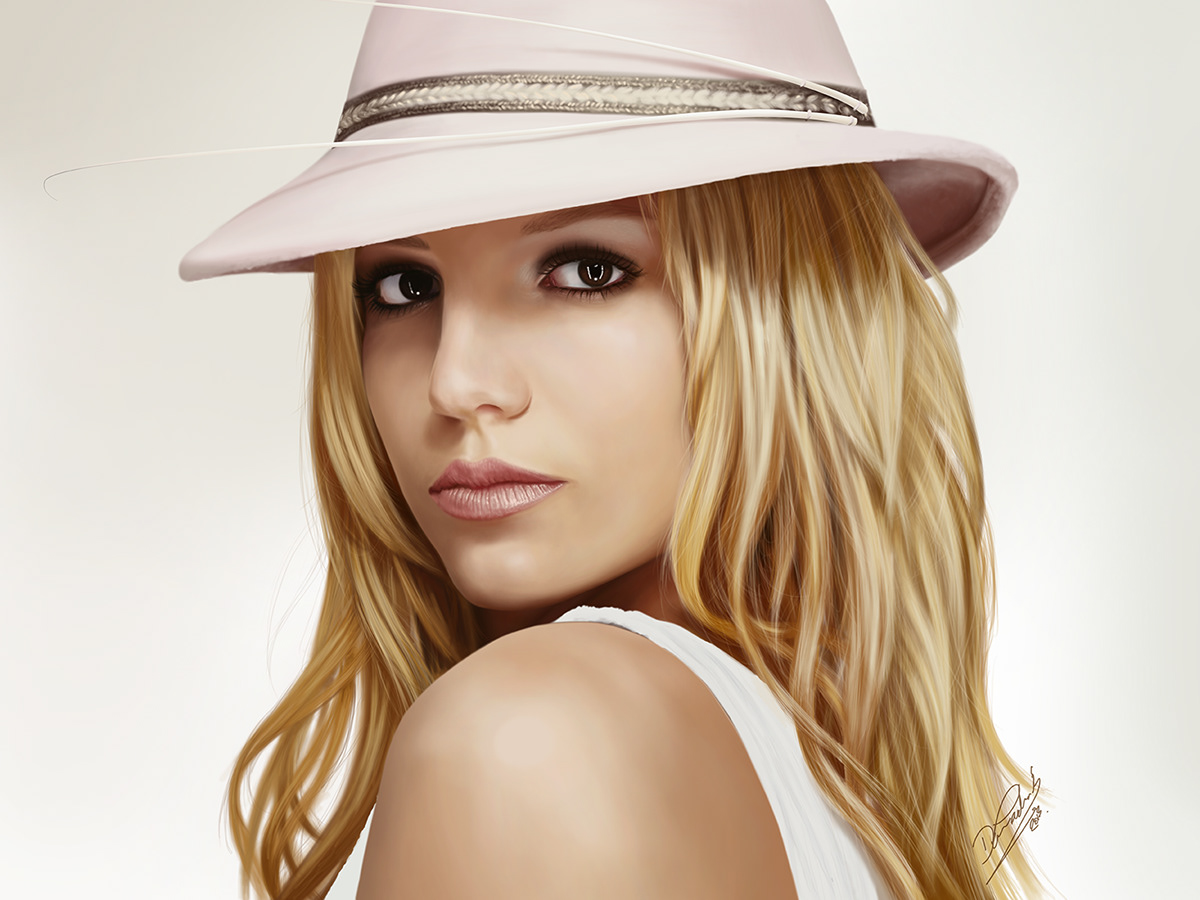
Finished Painting