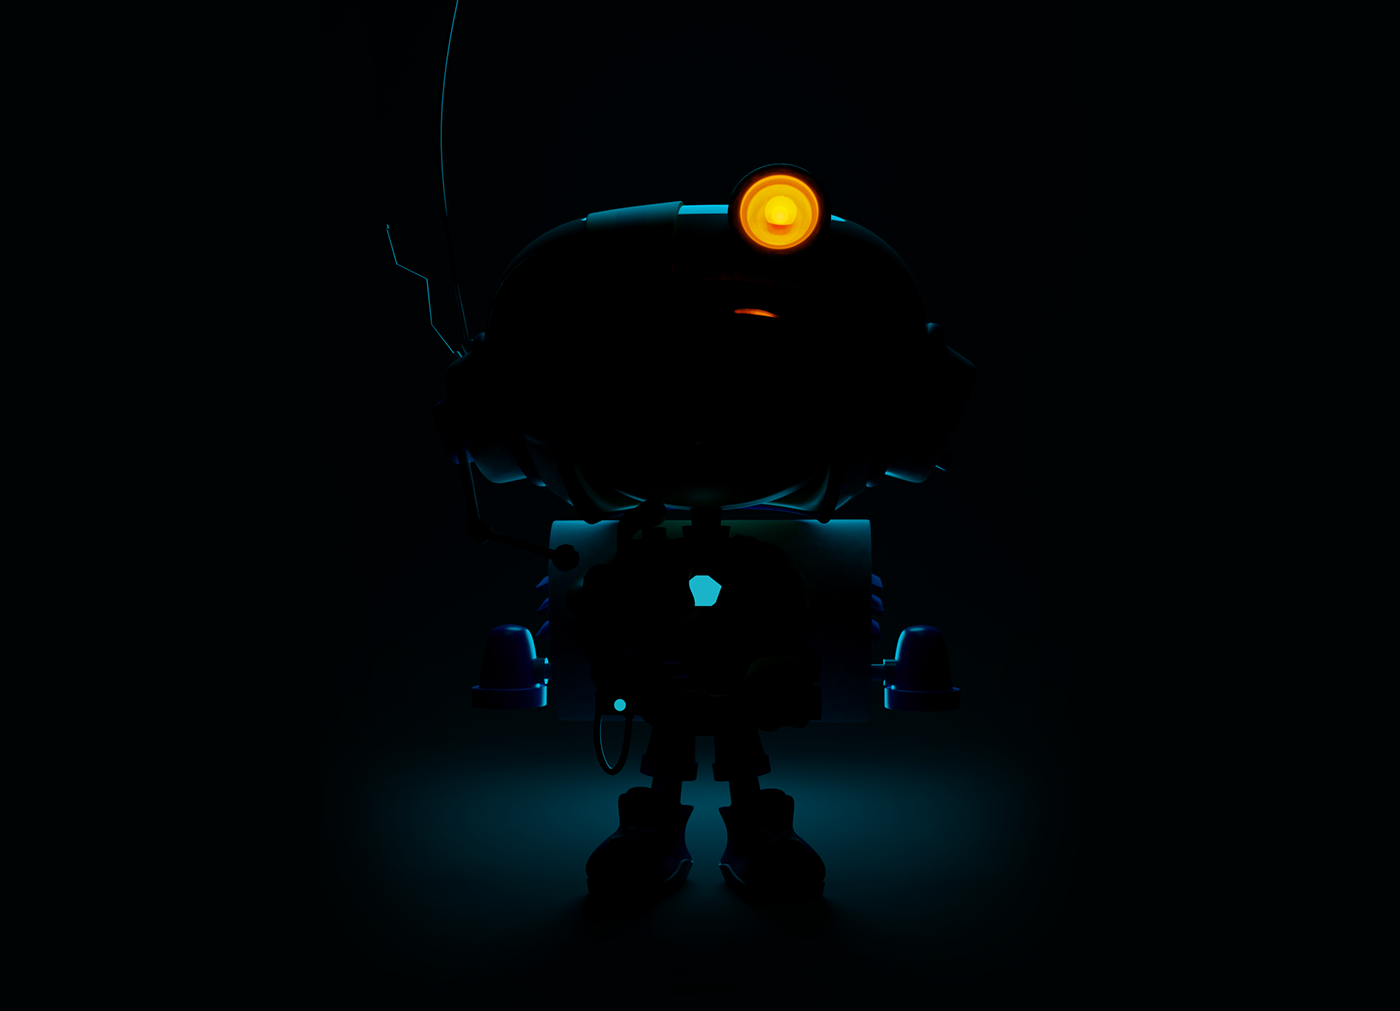
This is my very first humanoid character. I'm such a newbie to 3D, barely grasping hard surface modeling, let alone organic figures. What a challenge this was!
I went for a toy-like style in order to cover my lack of skills, this way it can look like it's all "plastic" given that I don't really know how to use realistic materials, and it's more forgiven the fact it's way too symmetrical and stiff. I promise to add a more dynamic pose in the next one :)
On a positive note, I hope this inspires you to see that even with very little knowledge it's possible to give life to your projects and be creative in new ways. So I highly encourage you to dive deep into any type of 3D software (Blender in my case). I'm sure you will take something useful out of it and have tons of fun :D
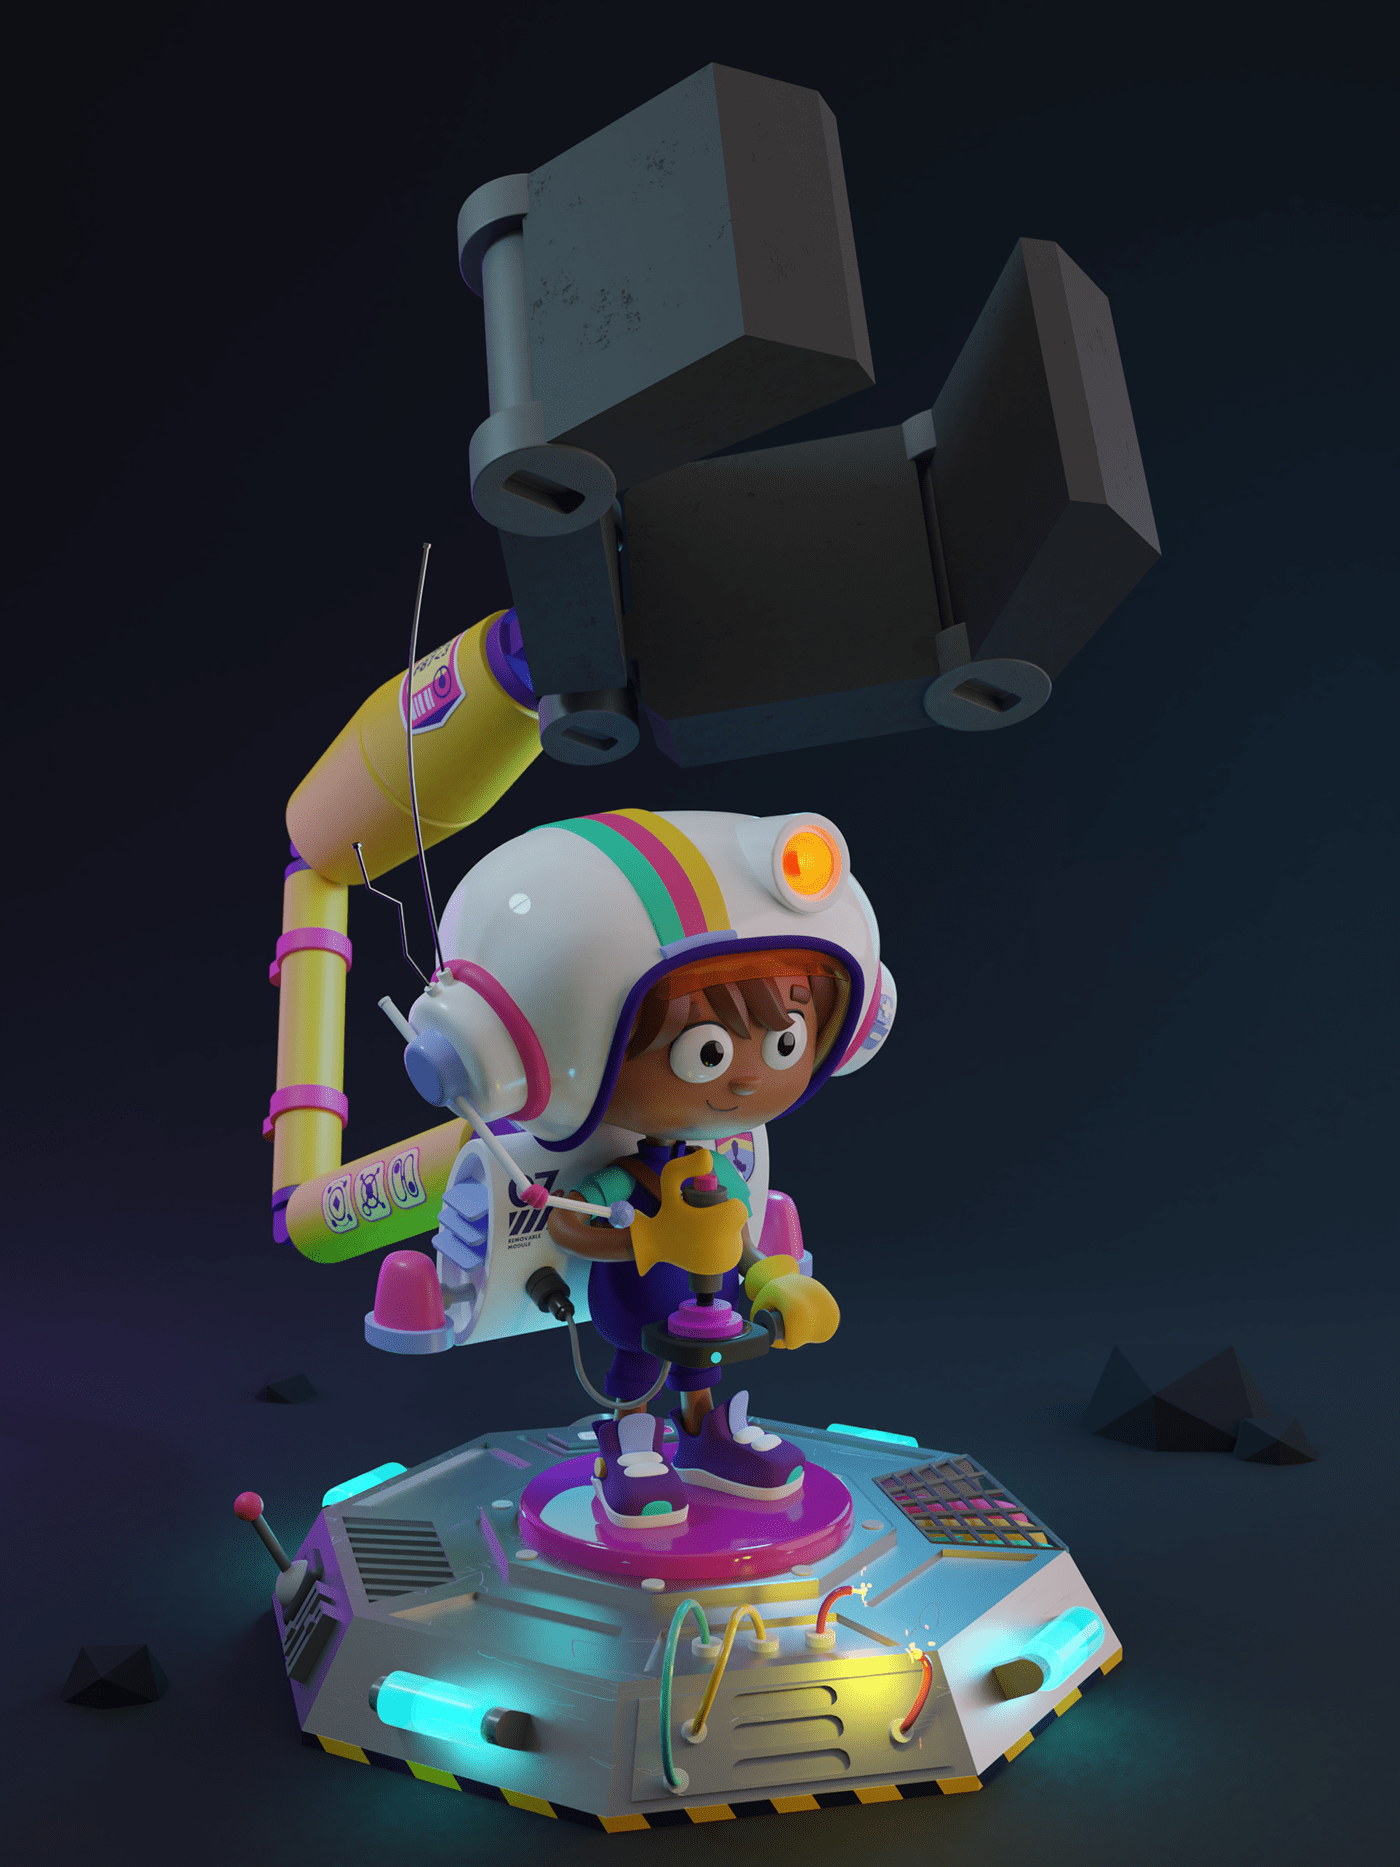

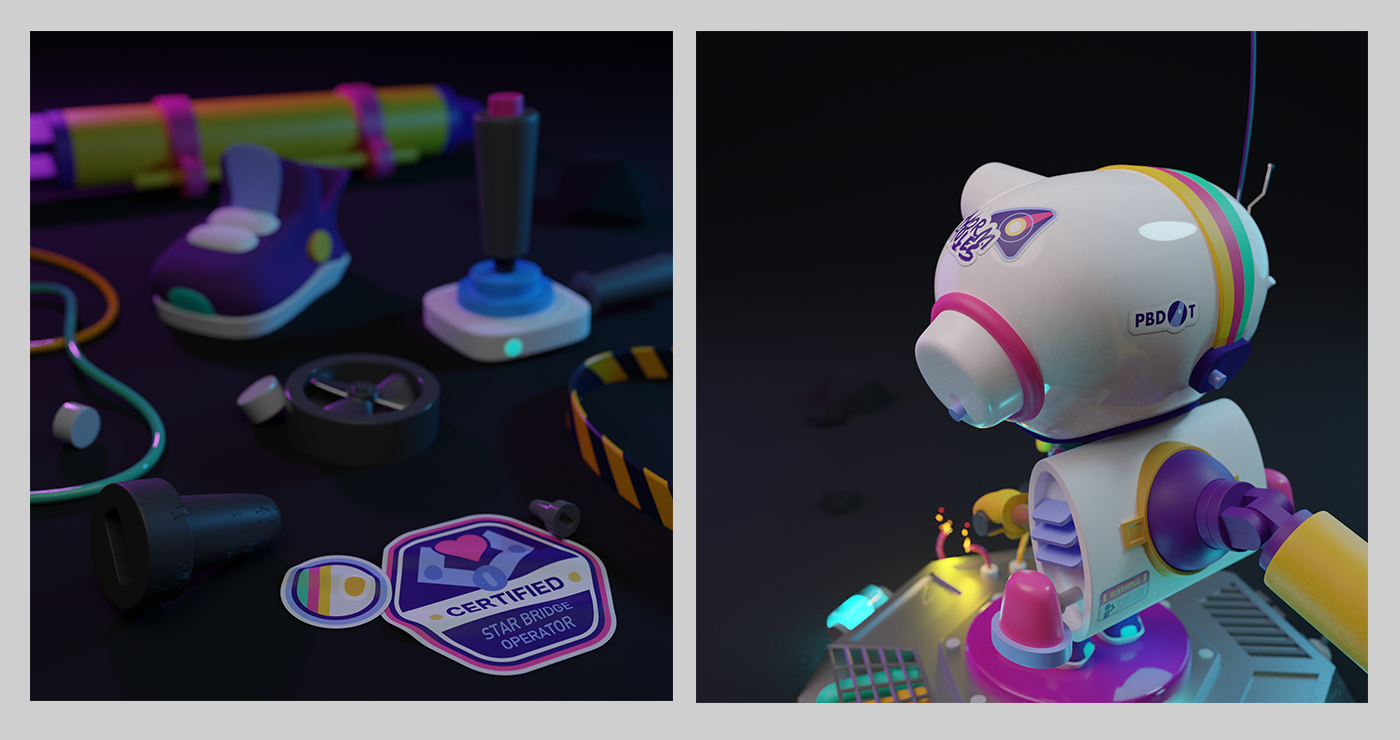

One of the tricks that I was most excited about learning was to put decals on 3D models without having to UV-unwrap them.
So for this project I designed this random pack of stickers to place all over the model (yeah, they are barely visible in the final render, so why bother, right? I don't know either... just keep scrolling...)
Some are meant to be for the equipment, including a fake company logo and warning signs. Others are degrees of specialization that the character received in his activity, like the joystick badge for his amazing dexterity with controls, and others are things about his "reality", like his favorite band: The WormHoles. They play some sort of a punk-folk-cosmic-melodic-dubstep with a bit of Brazilian samba, but they are really famous by their epic didgeridoo solos :D
Anyway...
Below you can see pages straight out of my sketchbook. I wasn't planning to model this character, I was just drawing, having fun, and collecting loose ideas. Only after a few days after sketching it out that I had the dumbest idea of trying to model it.

Oh! I almost forgot!
Wanna know how to add decals to your models in Blender? It's easy!
Step 1
Turn on the add-on "add images as planes", then you go Shift+A > Image > Images as Planes > select your image. Now you should have you 2D asset as a plane in the viewport.
Step 2
Move the plane to the position that you would like to have the decal in the model, place it as closer as you can to the surface that it will be applied.
Step 3
Add a Subdivision Surface modifier to the plane and set it as "simple". Increase the subdivisions to about 4 or 5.
Now to the grand finale. Are you ready? Okay, let's do it!
Add a Shrinkwrap modifier. Under "target" select the object you wanna to add the decal. Fix the offset value until the mesh is not intersecting anymore (something around 0.002 might do it, but tweak it until it works for you). You might need to add another Sub-Surface mod after that to make it extra smooth.
HURRAY! Did it work? Hope so :D
Go crazy with it now!