Scene Breakdown Shot List:

Shot#1:
This scene, I rigged the characters by AbautoRig MEL script and developed RIG by myself. Then, Animated all characters in action to present the new interesting pose to help visualizing the characters in action. The motorbike was rigged with Maya expression by myself.
I used IBL with HDRI image to generate Global illumination and lighted the scence in Maya and MentalRay as multiple-passes render. Composited all the passes and color correction in After Effect. The background was from my character sketch design, animated position/opacity in After Effect.

Shot#2:
Firstly, I designed the Snow Werewolf (Angelo) on the paper by pensil. Then, I modeled this Snow Werewolf in Maya. It is polygonal modeling and added more details in ZBrush. Unwrapep the UV map by Roadkill plugin for Maya. The texture was painted in Photoshop
Fur was made by Joe Alter Shave&Haircut. Animating 360 degree turntable in Maya by keying manually. I used IBL with HDRI image to generate Global illumination and lighted the scence in Maya and Mental Ray as multiple-passes render. Composited all the passes and color correction in After Effect.

Shot#3:
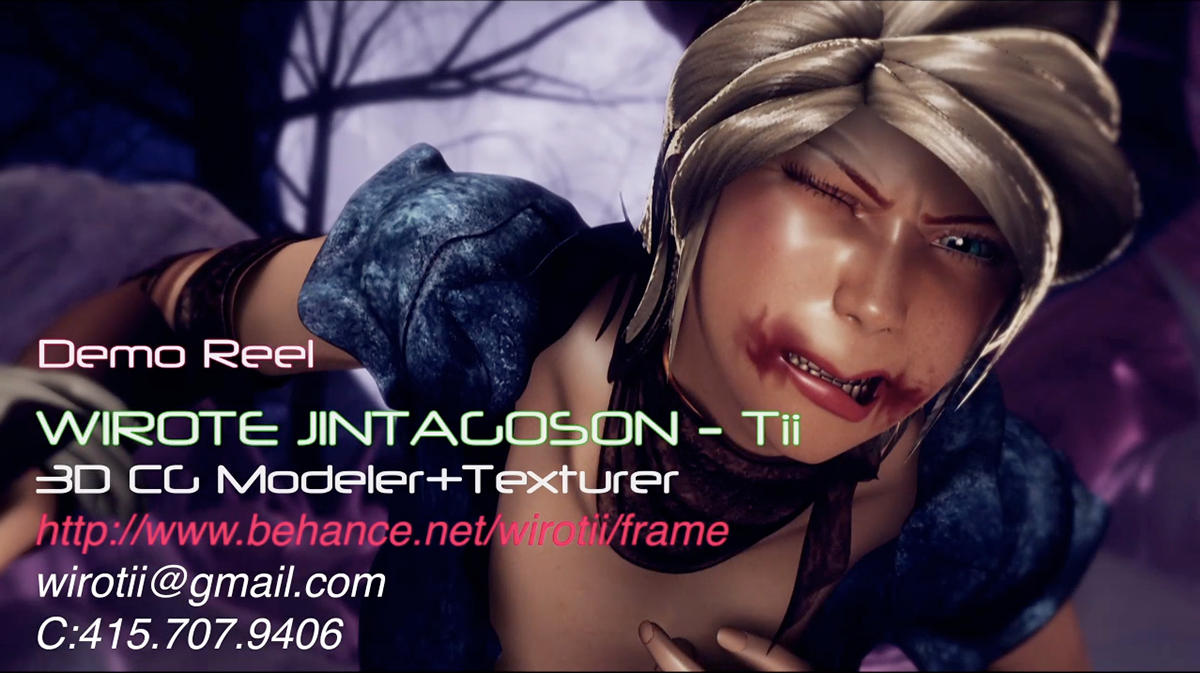
Firstly, I designed this main-role female character(Alice) on the paper by pensil. Then, I created this Alice in Maya. It is polygonal modeling and added more details, such as, muscular anatomy, cloth-wrinkle in ZBrush and Maya (back and forth). Unwrapep the UV map by Roadkill plugin for Maya. The texture was painted in Photoshop. I used IBL with HDRI image to generate Global illumination and lighted the scence in Maya and Mental Ray as multiple-passes render. Composited all the passes and color correction in After Effect.
Firstly, I designed this main-role female character(Alice) on the paper by pensil. Then, I created this Alice in Maya. It is polygonal modeling and added more details, such as, muscular anatomy, cloth-wrinkle in ZBrush and Maya (back and forth). Unwrapep the UV map by Roadkill plugin for Maya. The texture was painted in Photoshop. I used IBL with HDRI image to generate Global illumination and lighted the scence in Maya and Mental Ray as multiple-passes render. Composited all the passes and color correction in After Effect.

Shot#4:
I firstly designed this main-role male character(Asura) on the paper by pensil. Then, I created this Asura in Maya. It is polygonal modeling and added more details, such as, muscular line, cloth-wrinkle in ZBrush and Maya (back and forth). Unwrapep the UV map by Roadkill plugin for Maya. The texture was painted in Photoshop. I used IBL with HDRI image to generate Global illumination and lighted the scence in Maya and Mental Ray as multiple-passes render. Composited all the passes and color correction in After Effect.
I firstly designed this main-role male character(Asura) on the paper by pensil. Then, I created this Asura in Maya. It is polygonal modeling and added more details, such as, muscular line, cloth-wrinkle in ZBrush and Maya (back and forth). Unwrapep the UV map by Roadkill plugin for Maya. The texture was painted in Photoshop. I used IBL with HDRI image to generate Global illumination and lighted the scence in Maya and Mental Ray as multiple-passes render. Composited all the passes and color correction in After Effect.

Shot#5:
This conceptual motorbike, I started modeling in Maya by sculpting in 3D from my imagination.
The modeling technique I used for this model was, first of all drew it in Maya with CV Curve and created NURBs surface and also some parts I converted NURBs surface to Polygon, on another word it was a combination modeling (NURBS+Polygonal modeling)
Unwrapep the UV map by Roadkill plugin for Maya. The texture was painted in Photoshop. I used IBL with HDRI image to generate Global illumination and lighted the scence in Maya and MentalRay as multiple-passes render. Composited all the passes and color correction in After Effect.

Shot#6:
This conceptual motorbike, I started modeling in Maya by sculpting in 3D from the reference images I downloaded online. This motorbike was not my originally design, it was from Final Fantasy VII which I fell in love at the first sight. Thus, it inspired me to work on in 3D. In fact, it was not actually perfect. Some parts I made them up and mixed them together.
The modeling technique I used for this model was, first of all drew it in Maya with CV Curve and created NURBs surface and also some parts I converted NURBs surface to Polygon, on another word it was a combination modeling (NURBS+Polygonal modeling)
Unwrapep the UV map by Roadkill plugin for Maya. The texture was painted in Photoshop. I used IBL with HDRI image to generate Global illumination and lighted the scence in Maya and MentalRay as multiple-passes render. Composited all the passes and color correction in After Effect.

Shot#7:
This is the environmental design and set modeling I made for my thesis short film. the terrain and the shellfish floating rock were created from ZBrush with the basics sculpting tools and added more subdivisions. The moon was crated by Maya Fluid. Some rocks on the scene were generated by Wobble Mel script. All models were unwrapped with Roadkill plugin for Maya and painted/retouched in Photoshop. Rendered witn Maya Mental Ray as multiple passes (Beautyp+Ambient Occlusion passes for terrain/floating shellfish rock/the moon and Z-dept pass.) Then composited and animated Glow,Z-Blur FX in Shake.
This is the environmental design and set modeling I made for my thesis short film. the terrain and the shellfish floating rock were created from ZBrush with the basics sculpting tools and added more subdivisions. The moon was crated by Maya Fluid. Some rocks on the scene were generated by Wobble Mel script. All models were unwrapped with Roadkill plugin for Maya and painted/retouched in Photoshop. Rendered witn Maya Mental Ray as multiple passes (Beautyp+Ambient Occlusion passes for terrain/floating shellfish rock/the moon and Z-dept pass.) Then composited and animated Glow,Z-Blur FX in Shake.
Shot#8:
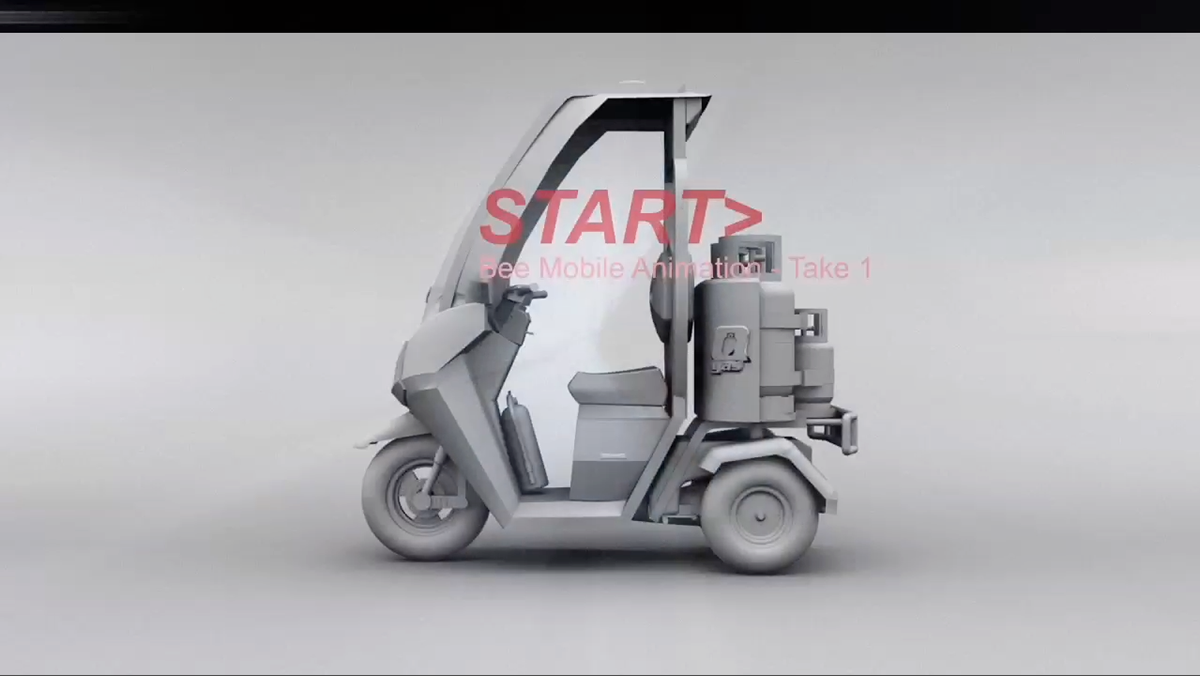
Bee mobile - The rapid vehicle for LPG. gas tank delivery This is my undergraduate thesis when I was in the last year of Industrial Design department.
I designed this alternative vehicle to solve the problems of inappropriate LPG. gas tank delivery in Thailand. In Thailand, the retail provider uses a regular motorcycle for LPG. gas delivery which is too risky. The idea is under the concept safety, environmental concern and stylish look for company image’s promotion and visual impact.
The inspiration of the form is “Bee” - an insect which is the symbol of unity, team work, dangerous but attractive.
The 3D model version that you can see from the presentation plates, was modeled in Rhinoceros and rendered in 3D Max studio without lighting simulation. The 3D turntable animation is rendered and animated in Maya and Mental Ray.
Shot#9:
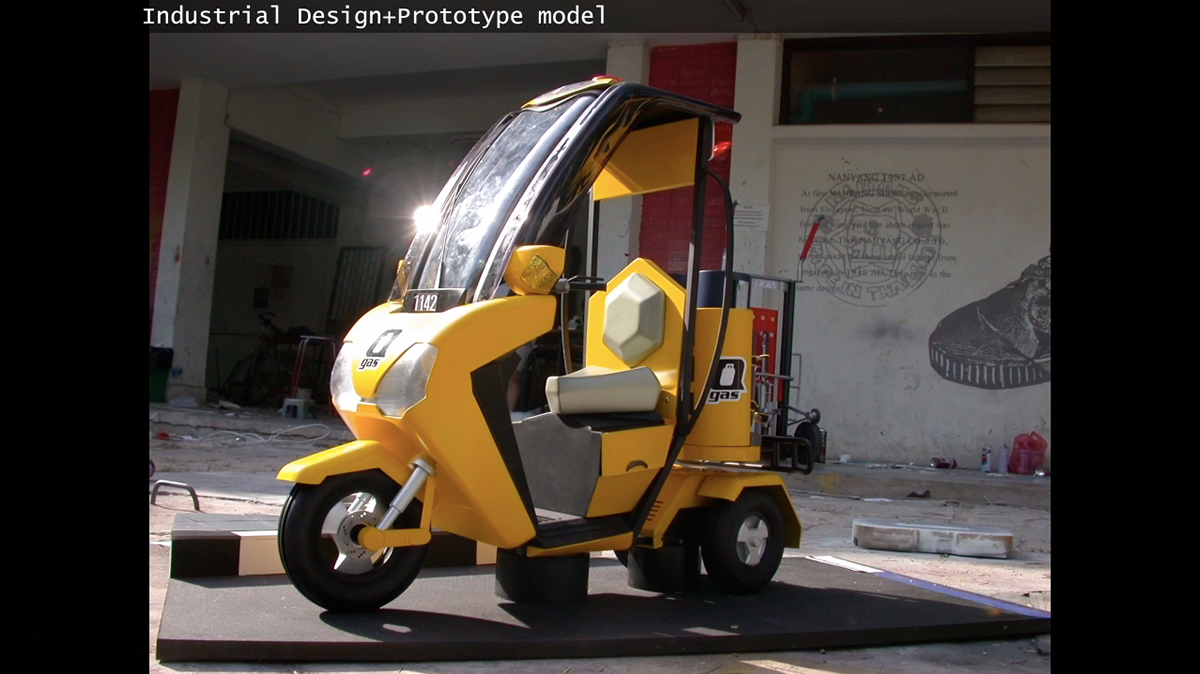
This is Bee mobile prototype, it is a scale model 1/2 which is made from pipe metal for the backbone structure, PVC and vacuum forming ABS /transparent Acrylic plastic.
From my industrial design experience like this is very helpful for me when I model hard surface modeling and NURBS modeling.
This is Bee mobile prototype, it is a scale model 1/2 which is made from pipe metal for the backbone structure, PVC and vacuum forming ABS /transparent Acrylic plastic.
From my industrial design experience like this is very helpful for me when I model hard surface modeling and NURBS modeling.

Shot#10:
This title was my experimental learning motion graphic with After Effect from VDO copilot tutorial. It was consisted with multiple layers for text, text FX, middle ground, background. Effect used Spherize, Lenfair, Magnify, Pixel polly, Radial blur and bright/contrast FX. Animated the effects and adjusted Time-remapping.
This title was my experimental learning motion graphic with After Effect from VDO copilot tutorial. It was consisted with multiple layers for text, text FX, middle ground, background. Effect used Spherize, Lenfair, Magnify, Pixel polly, Radial blur and bright/contrast FX. Animated the effects and adjusted Time-remapping.
Shot#11:
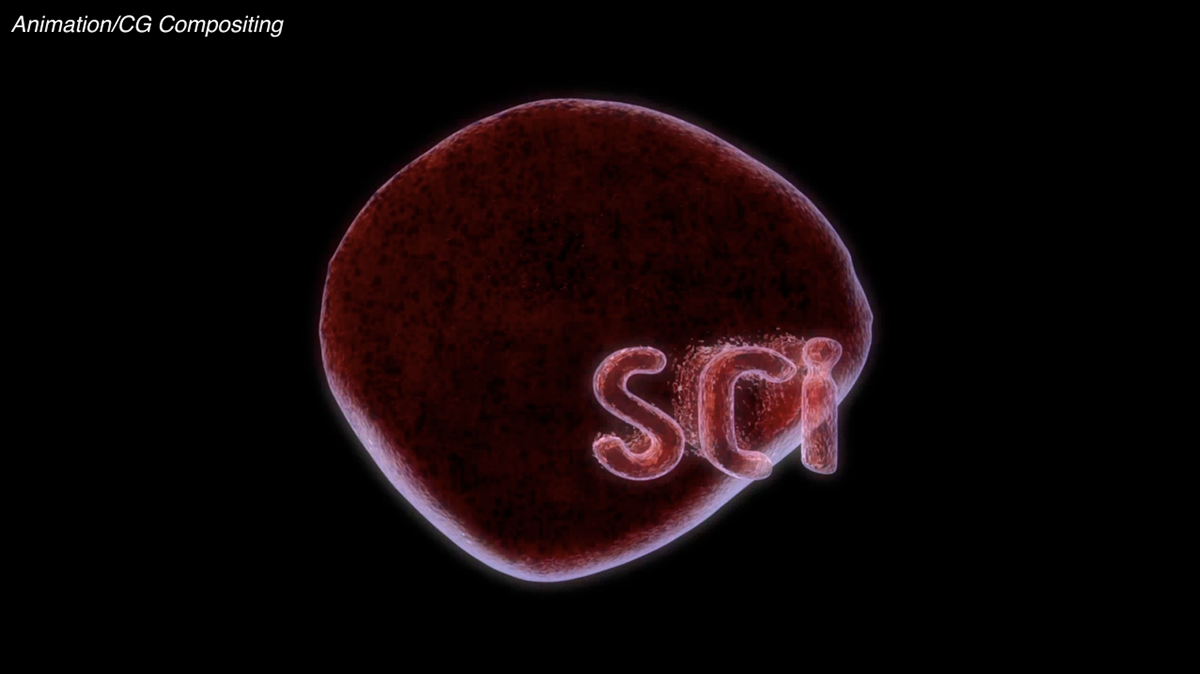
This is the sketch design animation, I created for SCI Channel rebranding project for Nailgun*, Inc.
The logo is polygonal modeling made by Maya. The rig is setup by Maya Blendshape technique.
Texturing, lighting, animation and multi-passes rendering are also made by Maya and Mental Ray.
The animation technique I used : Blendshape + displacement map texturing keyings,
in order to achieve the look of mysterious organism material.
Compositing and motion blur FX are produced by After Effect.

Shot#12:
This is my personal experimental project I created for Digital Compositing class while I was studying at School of Visual Arts, NY.
I started by shooting the footage at Time Square and eliminated the shaking hand-held by Shake.
3D matchmoving is solved by Boujou and imported the camera data to continue working in Maya.
The motorbike model is NURBS modeling made by Maya.
Textured by using Mia Shader and multi-passes rendered are made by Maya and Mental Ray.
Rigging is set by Maya expressions technique. Animating is made by Maya.
The Blast FX (particle Dynamics) is made by Maya - After burn plugin.
Thunder FX is created and animated by After Effect.
Compositing, color correction, Ray Glow FX and motion blur FX are produced by Shake and Gen Arts plugin.

Shot#13:
This shot was a part of my short film thesis animation at School of Visual Arts, NY. I animated all the characters in Maya. Using Ripple FX and radial blur in After Effect, in orde to create the Snow werewolf’s echo sonic roar. Rendered multiple passes for Z-dept blur.
Compositing in Shake and After Effect. The glow light FX was created by Gen Art plug-in for Shake and stylized the color by Looks plugin for After Effect.

Shot#14:
I animated, rigged, textured and renderd the characters in Maya. Rendered multiple passes for characters and background separately. Then, Compositing in Shake and After Effect.
The glow light FX was created by Gen Art plug-in for Shake and stylized the color by Looks plugin for After Effect.
I animated, rigged, textured and renderd the characters in Maya. Rendered multiple passes for characters and background separately. Then, Compositing in Shake and After Effect.
The glow light FX was created by Gen Art plug-in for Shake and stylized the color by Looks plugin for After Effect.

Shot#15:
This is the special effect shot I made in the scene when Asura - the anemia vampire sucked blood from Alice’s kiss and then he turned to be berserk mode in the last battle. I rendered the face, normal eyes and furious eyes layers as multiple passes. Then animated color of each eyes layers and also added Gen Art - Ray FX on both eyes and face in Shake.
This is the special effect shot I made in the scene when Asura - the anemia vampire sucked blood from Alice’s kiss and then he turned to be berserk mode in the last battle. I rendered the face, normal eyes and furious eyes layers as multiple passes. Then animated color of each eyes layers and also added Gen Art - Ray FX on both eyes and face in Shake.
Shot#16:
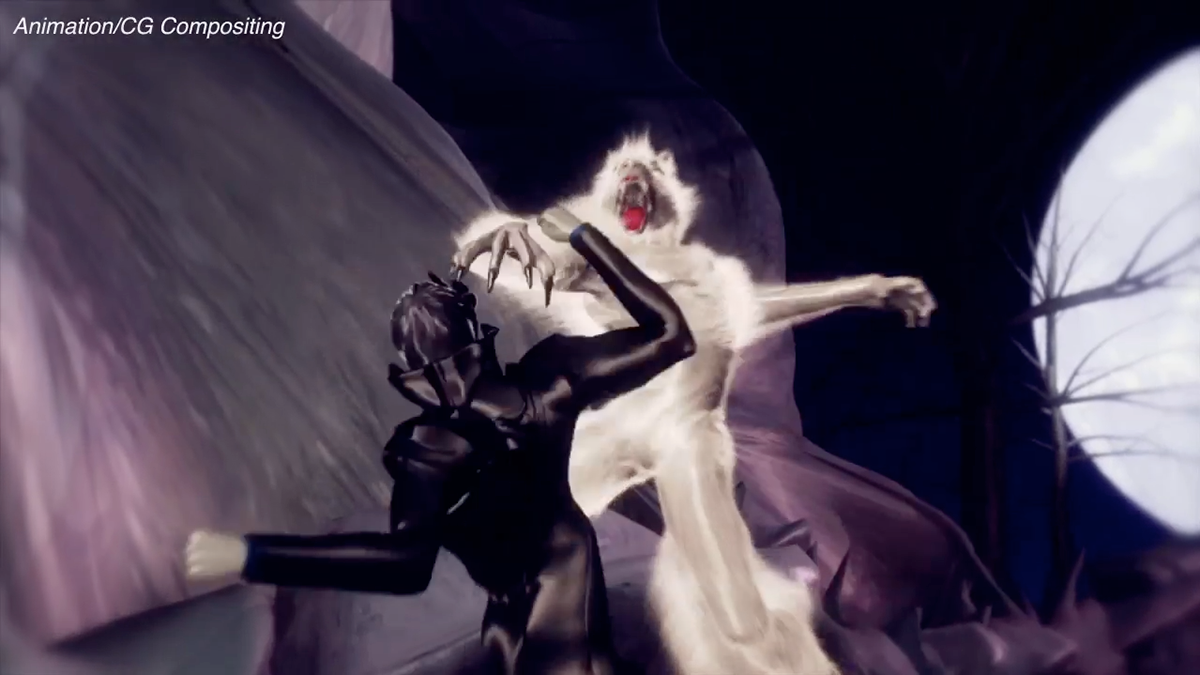
This is the fatal duel battle scene from my animation, I animated all characters and camera in Maya. Then, used Mental Ray rendered out as multiple passes: the vampire, the snow werewolf, environment and the moon for compositing in Shake. Added motion blur by using the Z blur in shake and tweaked from that. Created a new background layer in After Effect, added the gradient FX to colorize the night background behind the moon which was added and animated the glow light FX + Z-blur+Brighness FX.
This is the fatal duel battle scene from my animation, I animated all characters and camera in Maya. Then, used Mental Ray rendered out as multiple passes: the vampire, the snow werewolf, environment and the moon for compositing in Shake. Added motion blur by using the Z blur in shake and tweaked from that. Created a new background layer in After Effect, added the gradient FX to colorize the night background behind the moon which was added and animated the glow light FX + Z-blur+Brighness FX.

Shot#17:
This shot was from my short film thesis animation I made when I was studying at School of Visual Arts, NY. I animated all the characters in Maya. Compositing in Shake and After Effect. The glow light FX was created by Gen Art plug-in for Shake and stylized the color by Looks plugin for After Effect.
This shot was from my short film thesis animation I made when I was studying at School of Visual Arts, NY. I animated all the characters in Maya. Compositing in Shake and After Effect. The glow light FX was created by Gen Art plug-in for Shake and stylized the color by Looks plugin for After Effect.