Invasion Laboratories
Creating a sci-fi laboratory
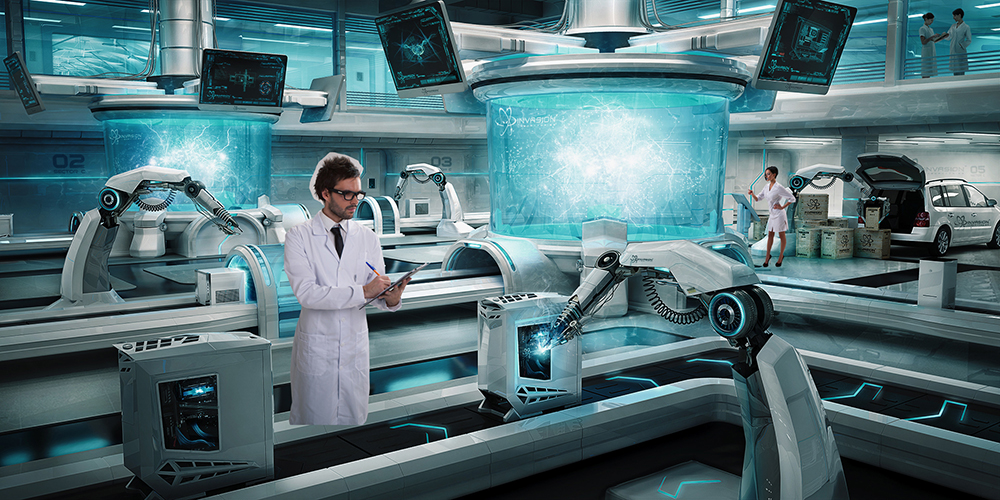
Task to create a futuristic laboratory where are unique computers.
The atmosphere should be well transmitted to the viewer.
Production of computers must be shown in a transporter with robotic manipulators, each of which performs a his unique action: assembling, painting, packaging, laser cutting, etc.
Additional info:
- Level - advanced
- Time - 40
- Photoshop version - Adobe Photoshop CS5
Step 1
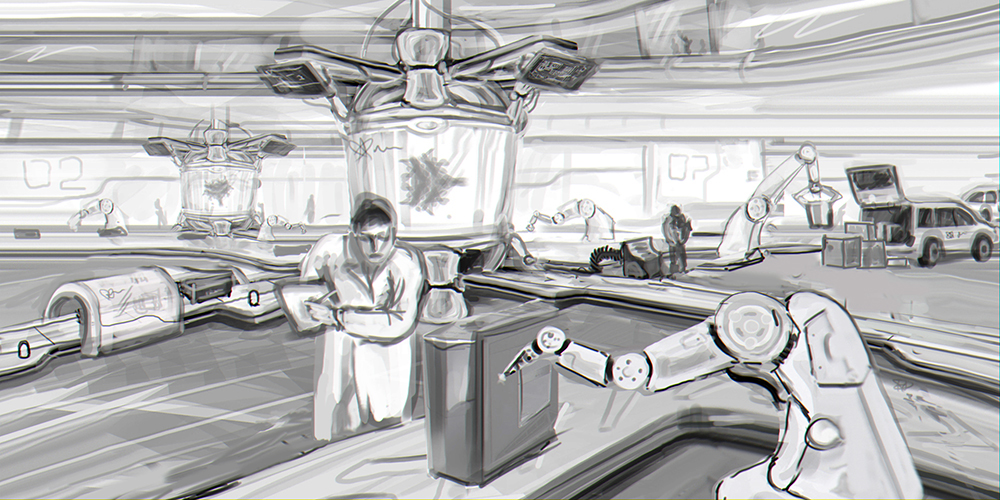
Sketch
We painted black and white concept and discussed the details of the possible future laboratory.
After that, we came to a common understanding of future atmospheric illustrations.
Step 2
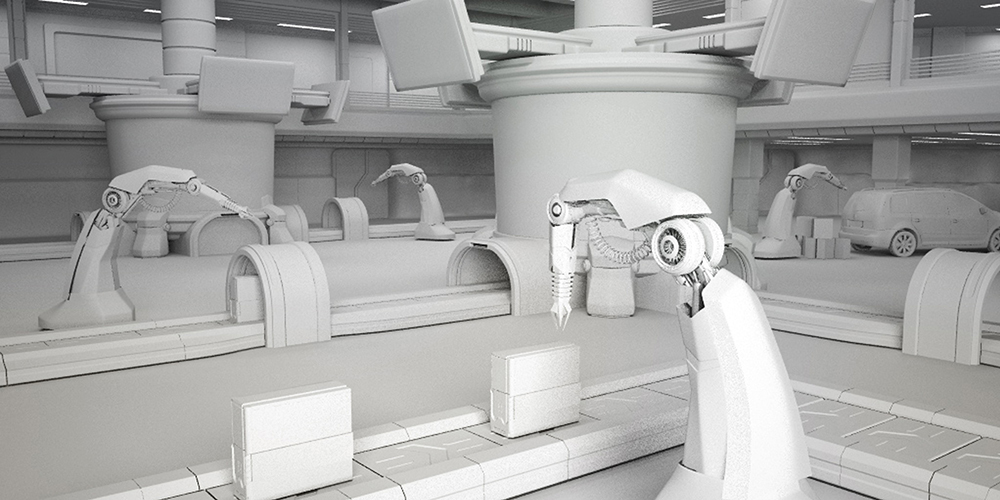
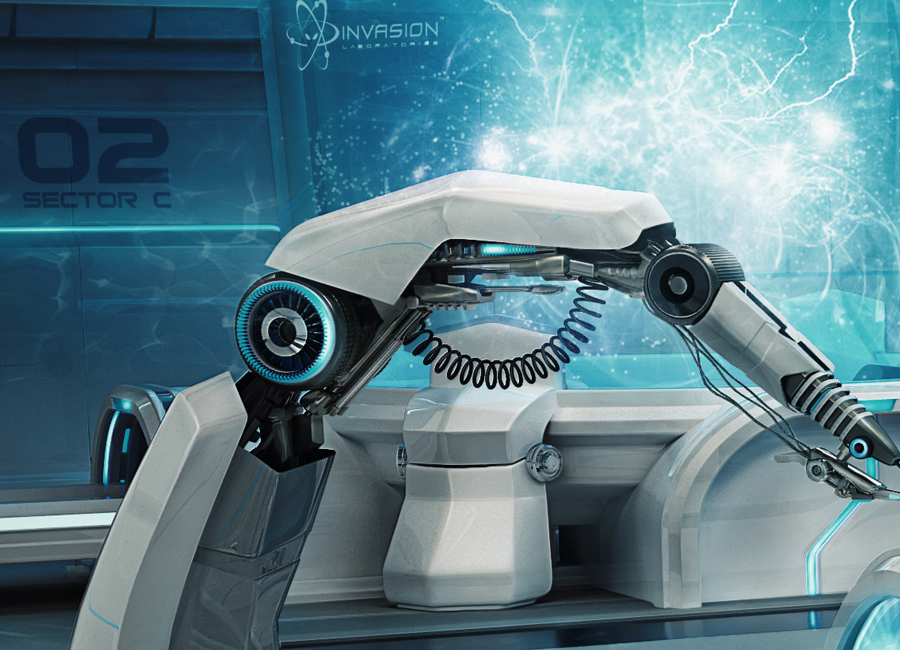
3D Modelling
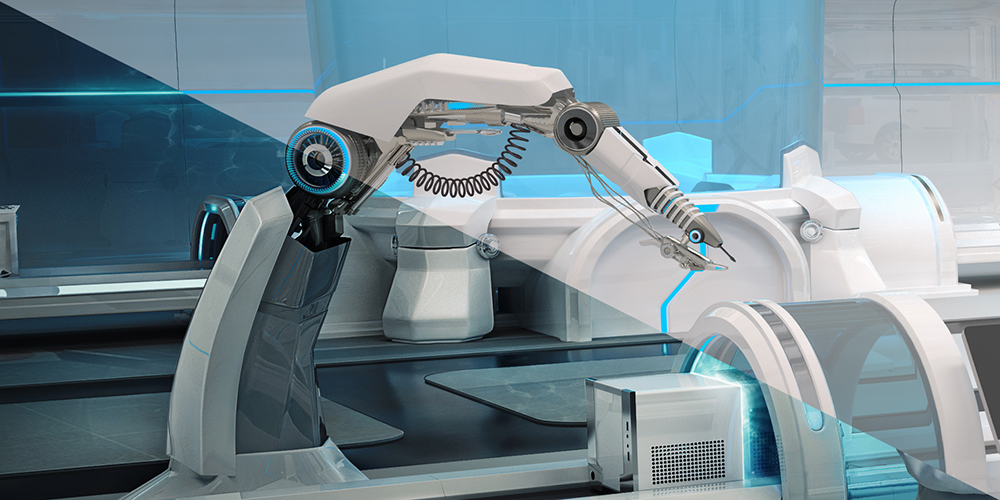
We started modeling in 3dsmax.
Mechanical hands on the line created in stages, from simple forms to the last details. Most decisions have occurred in the process. Other objects are laboratory created by the same principle.
Exposing light, and collecting all the models, we have a 3D scene laboratory.
Step 3
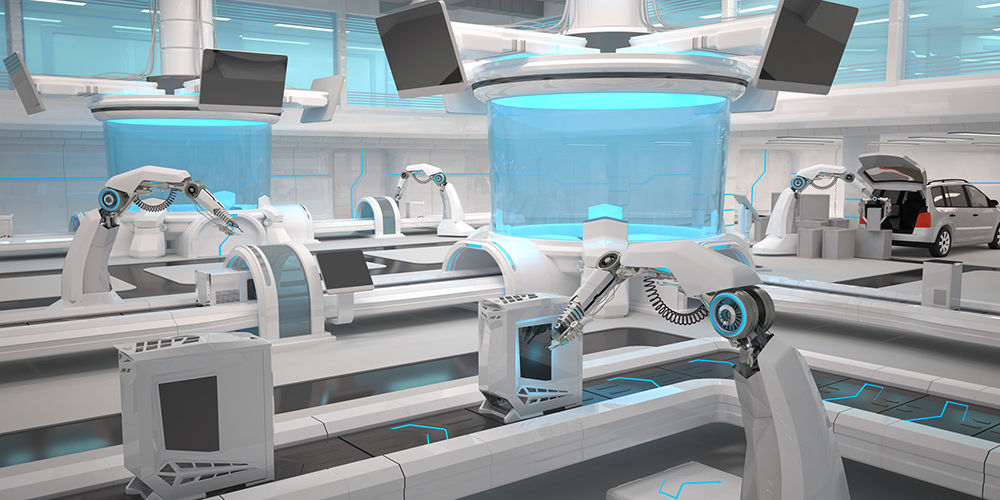
Render
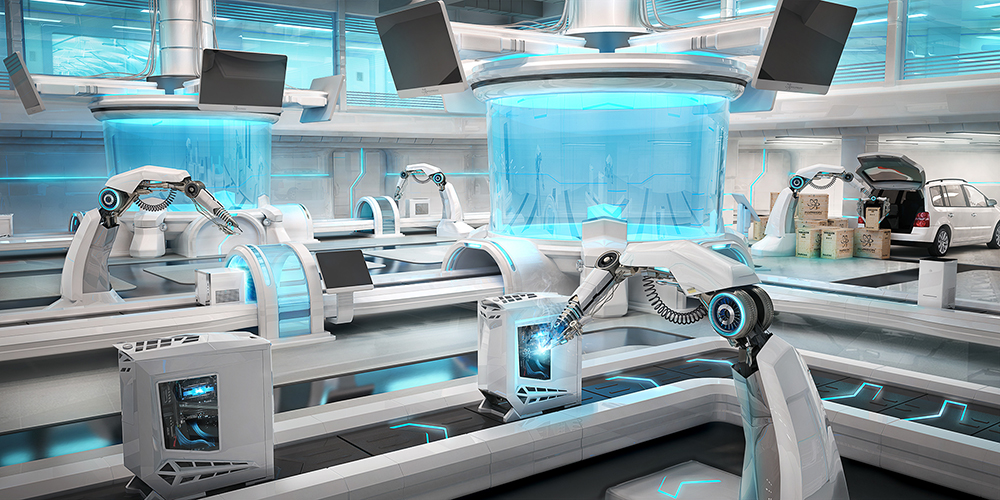
After all objects has been ready, we started the selection and testing of materials.
This is mainly white and black plastic, its variations, some metal, glass, etc.
When all materials have been set it is time to test renders.
Step 4
Retouching
We have started the lab.
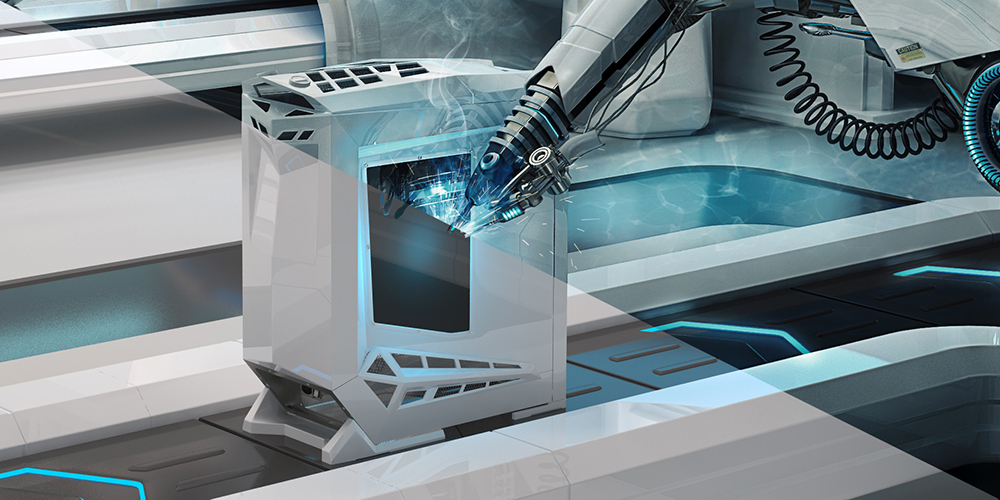
Highlights, shadows, reflections, caustics, lights, logos , screens - a lot of work in Photoshop.
On the balcony we have inserted a photo corridor to visually extend it.
We added sparks, smoke, reflected on the floor and reflections in the glass with commonly used Blending Modes - Multiply, Screen, and Overlay.
We added glow and flares.
We used simple brush "dodge-burn" for picture.
Step 5
Atmosphere
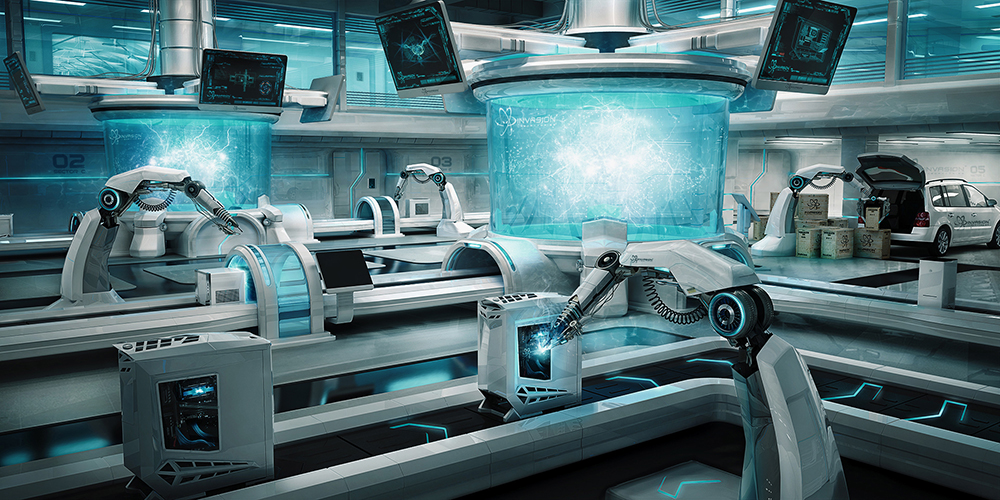
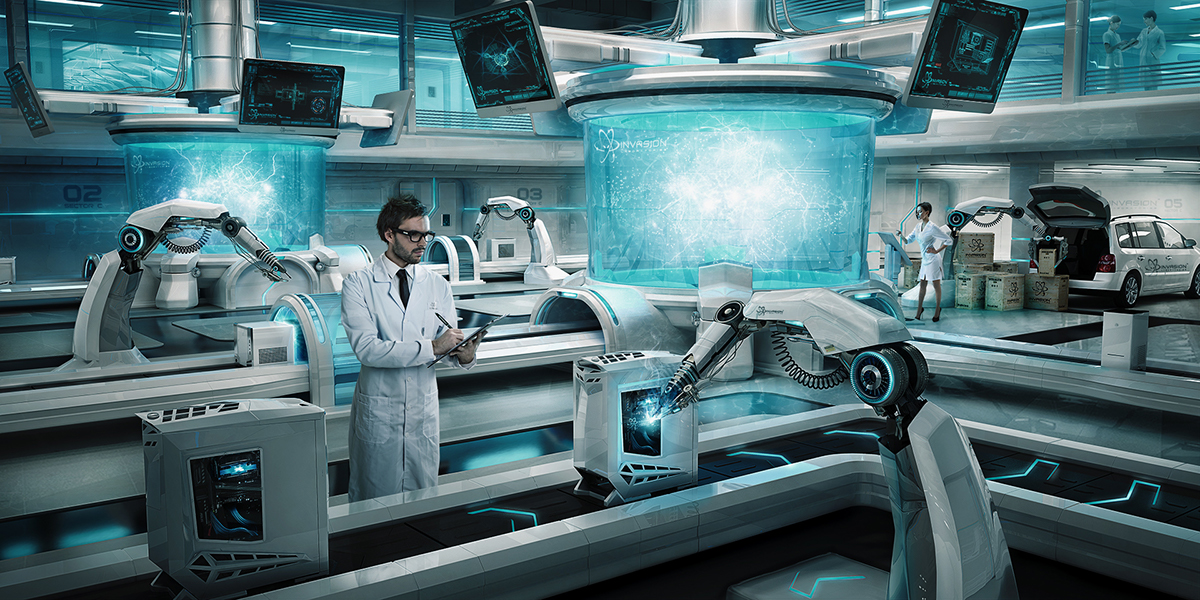
We made the image darker with corrective curves and levels layers
We are closer to the desired atmosphere.
Added a lot of detail: the inscriptions on the walls with numbers, caustics, the monitor screen and a magic glow in the tank, which creates an atmosphere of picture
before-after
Step 6
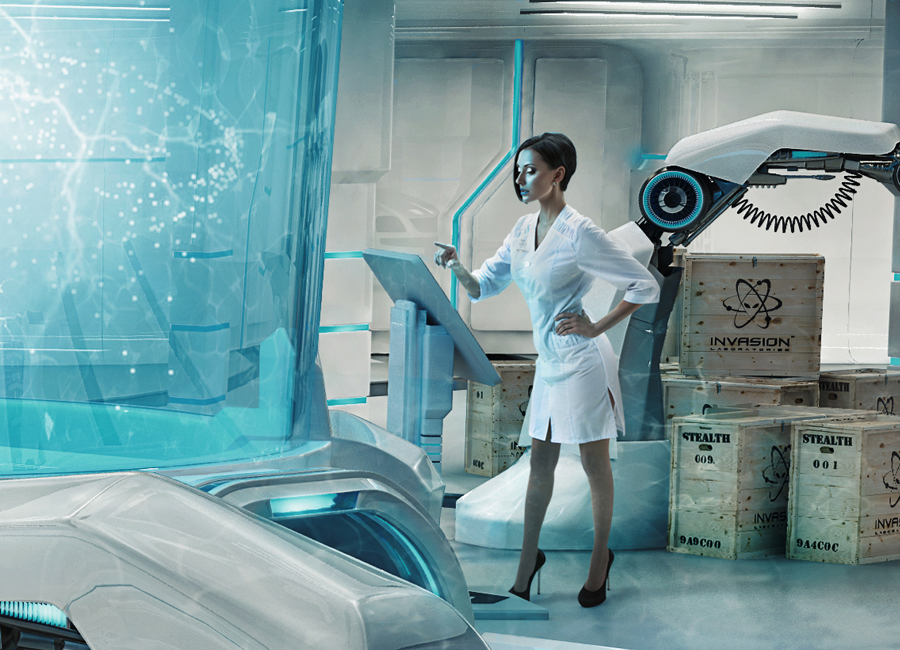
Work with photo
Small photo session was conducted for the future character of our futuristic laboratory.
Сharacters was in white robe.
We inserted them in our image.
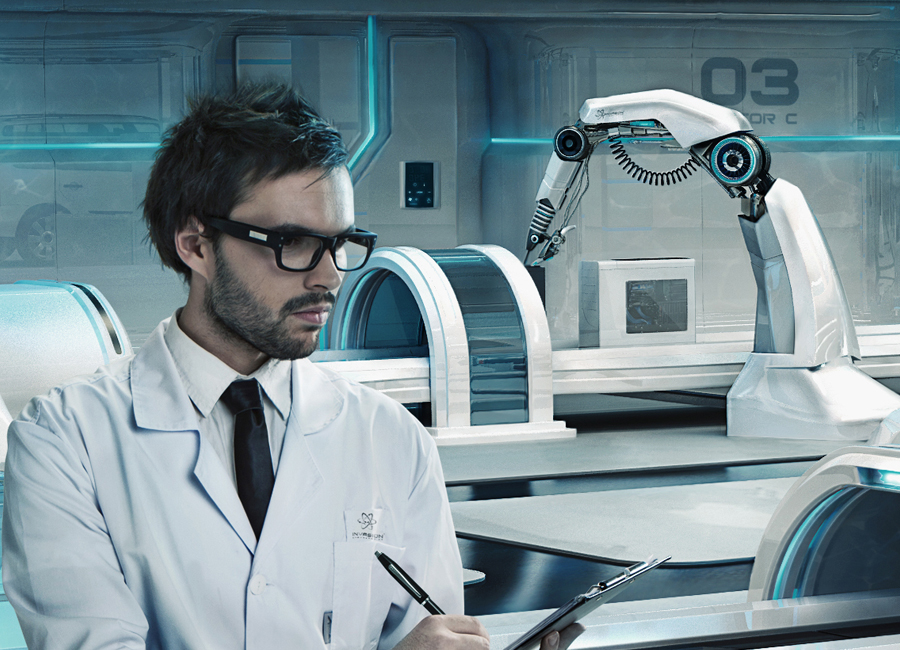
Step 7
Characters
Photos were good but they were some shortcomings.
We fixed his tie, replaced the pen, add a logo to the gown.
Then we added blue reflex to face.

Step 8
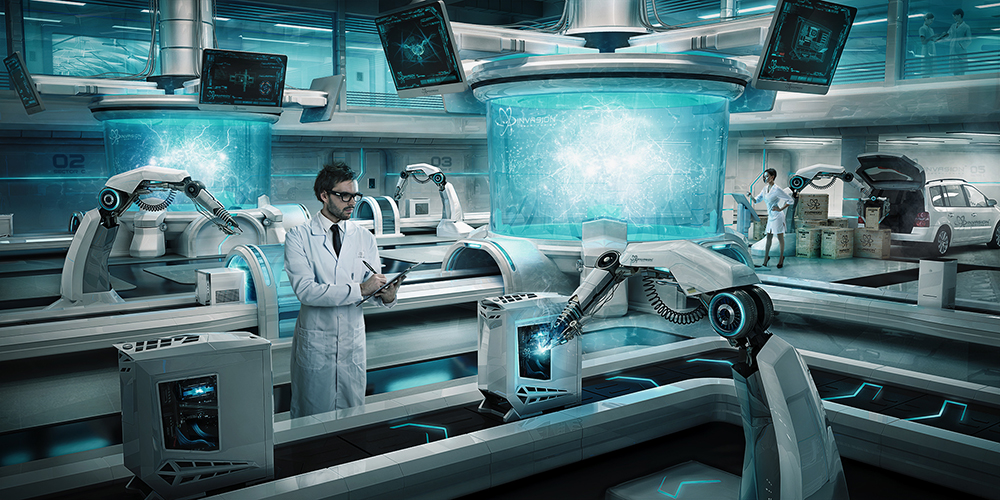
Characters in lab
Using the Color Balance adjustment layer and other corrective layers we implanted characters in our illustration.
We added shadows and reflections of the characters.
Step 9
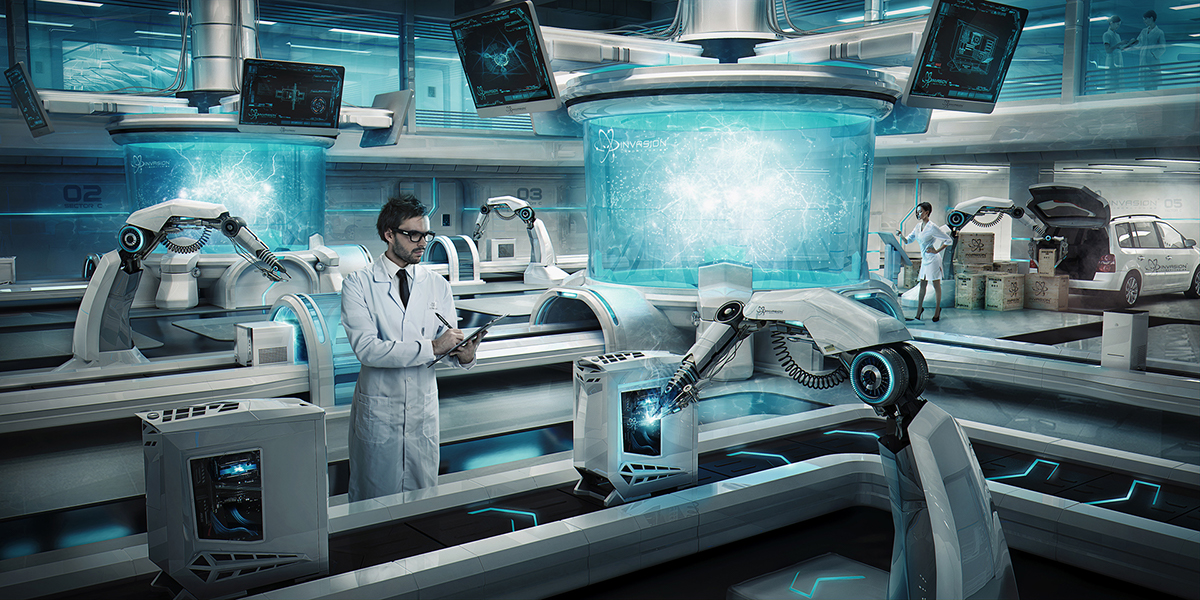
Final
We added a little bit of smoke beside the car and made the vignetting.
Vignetting makes the picture complete.
Retouching has been completed and the picture is ready!

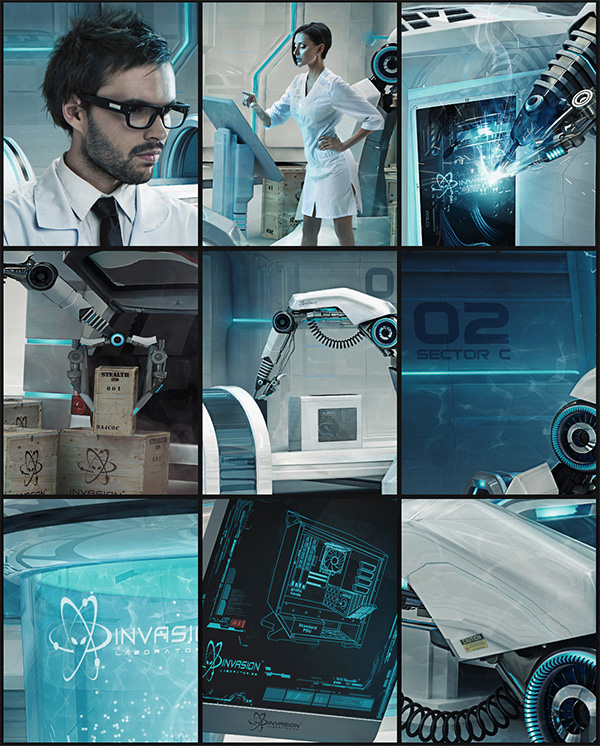
Process


