


PROCESS
Step 1: A quick sketch
To block out the final composition.
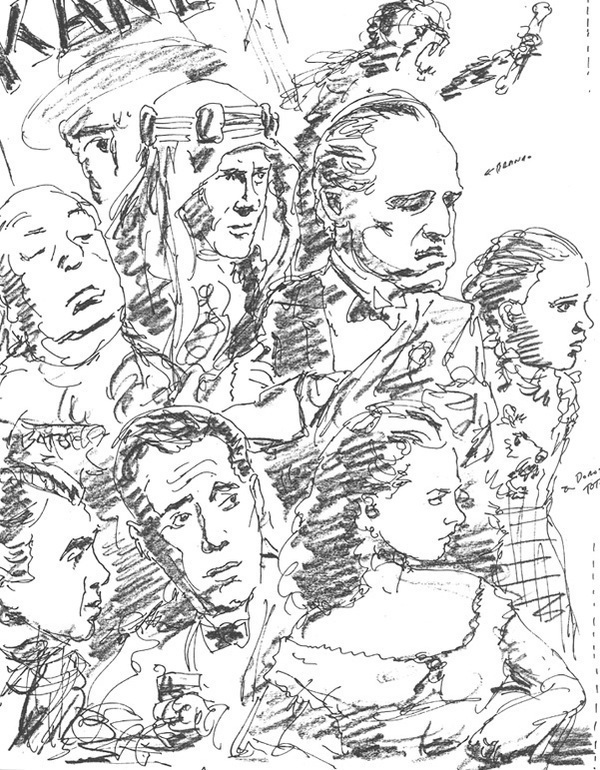
Step 2: The preliminary sketch
I don’t always go to this extreme for a rough sketch- only if the piece is fairly complex or if the client needs to see some indication of where the exact light and darks will fall. I’m not sure how I wound up doing sketches in such a Byzantine fashion, but it is a quick way to determine the overall tone.
This is a simple line drawing, done with a felt tip pen. On tracing paper- I then spray mount it onto a light toned paper. The highlights are acrylic paint. Even after this step I will still tend to “fiddle.” If I feel a hand is too small, or a figure too large I photocopy it to the proper size and just paste it in.
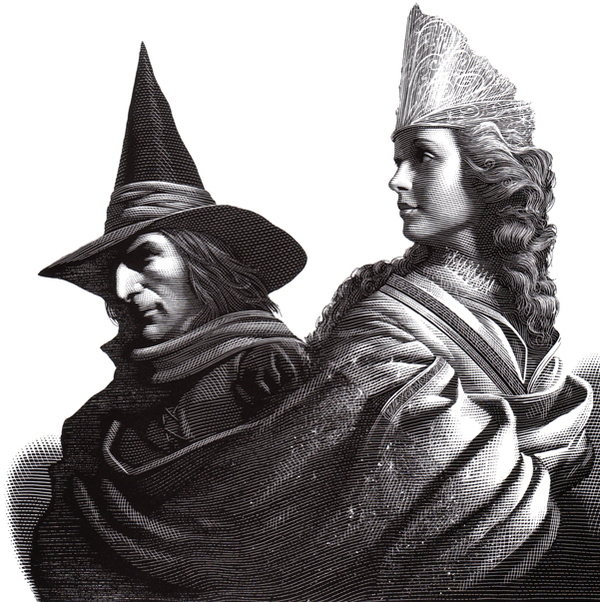
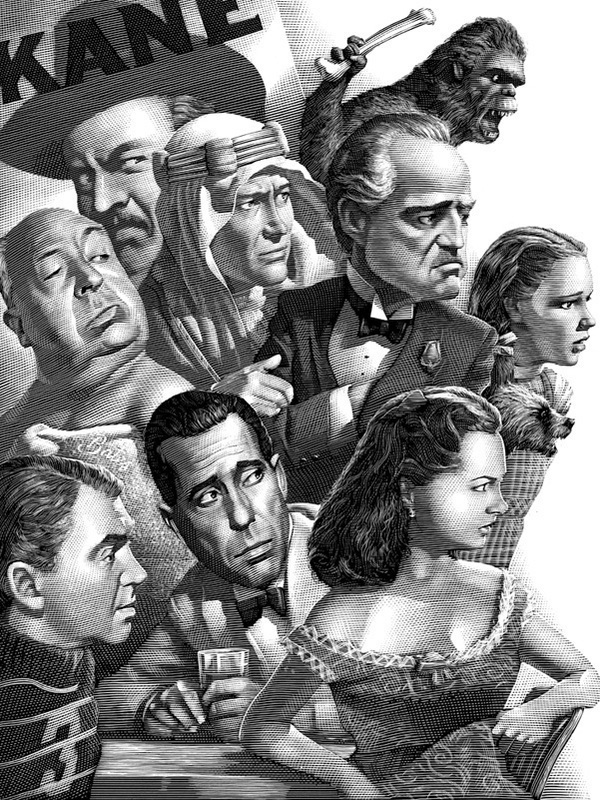
Step 3: The finished black and white.
Each drawing begins as a black square. After this, using a knife, I scratch white lines into the surface. I try to discourage clients from asking to see “the work in progress,” as at any time there will be an entirely finished head here, a hand there, all floating in a sea of black.
I tend to work size-as (this drawing is 12” high- each face being approximately 2” high.) In a drawing such as this, I find it takes a full day to finish each figure. I then have the finished work scanned and printed onto photographic paper.
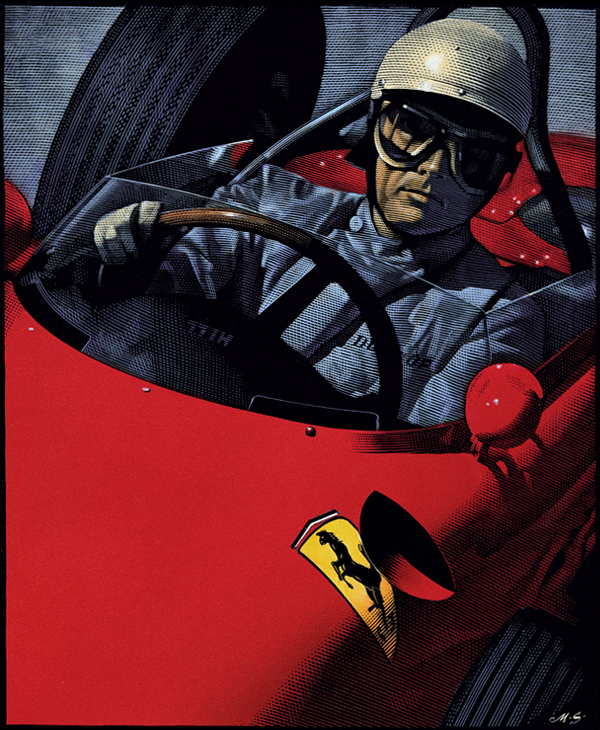
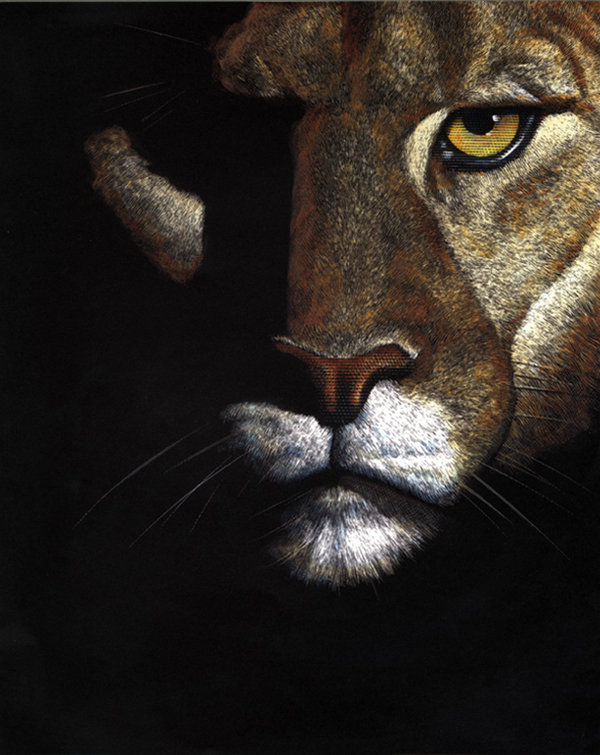
Step 4: Finished color.
A fast process, as the black and white drawing already defines the modeling. Simple flat tones of color are all that are really needed. I paint details with watercolor and then everything else with oil glazes. Sometimes I go in and smooth things out with airbrush. The final step is to paint in highlights with acrylic.
The coloring of this piece took about three hours.
Step 1: A quick sketch
To block out the final composition.
Step 2: The preliminary sketch
I don’t always go to this extreme for a rough sketch- only if the piece is fairly complex or if the client needs to see some indication of where the exact light and darks will fall. I’m not sure how I wound up doing sketches in such a Byzantine fashion, but it is a quick way to determine the overall tone.
This is a simple line drawing, done with a felt tip pen. On tracing paper- I then spray mount it onto a light toned paper. The highlights are acrylic paint. Even after this step I will still tend to “fiddle.” If I feel a hand is too small, or a figure too large I photocopy it to the proper size and just paste it in.
Step 3: The finished black and white.
Each drawing begins as a black square. After this, using a knife, I scratch white lines into the surface. I try to discourage clients from asking to see “the work in progress,” as at any time there will be an entirely finished head here, a hand there, all floating in a sea of black.
I tend to work size-as (this drawing is 12” high- each face being approximately 2” high.) In a drawing such as this, I find it takes a full day to finish each figure. I then have the finished work scanned and printed onto photographic paper.
Step 4: Finished color.
A fast process, as the black and white drawing already defines the modeling. Simple flat tones of color are all that are really needed. I paint details with watercolor and then everything else with oil glazes. Sometimes I go in and smooth things out with airbrush. The final step is to paint in highlights with acrylic.
The coloring of this piece took about three hours.


Follow me on facebook
