My logo design process
step by step progression of a design project
step by step progression of a design project
This is just a general layout of how I normally work on a logo design project. The time spent on each step can range and the steps themselves can vary depending with the job.
The creation of a logo normally progresses through the following steps -- taking in the client's info and ideas, researching and gathering inspiration, creative development, feedback, changes, feedback, changes. It is really a cooperative creation in that the client has a lot of say on the final outcome of the logo design.
Step 1: Logo Order
Step one is receiving the logo order and client input, the info my client sends me about what they are desiring in a logo design. This is called the "design brief". Sometimes with the order I receive rough sketches, photos, or links to other logos that they like. Sometimes it is just their vague idea or they tell me what feelings they are hoping the logo will capture.
Step 2: Research and Inspiration
I research the horse breed if the logo has to have a special one, looking for what physical characteristics sets it apart from other horse breeds. Research is also needed for various equine disciplines. With horse graphics frequently used in horse business logos one must also work to keep the design distinctive from the client's competition.
I do a lot of my research online but also with books, magazines, photographs, my horses, and my mind. My clients can also be helpful with their photos and/or sketched ideas.

Research is an important part of the logo design process.
Step 3: Magic of creation
I light a fire under the witch's cauldron, call in the fairies, pixies, and my friendly muse, and pull out my trusty magic wand.
I light a fire under the witch's cauldron, call in the fairies, pixies, and my friendly muse, and pull out my trusty magic wand.
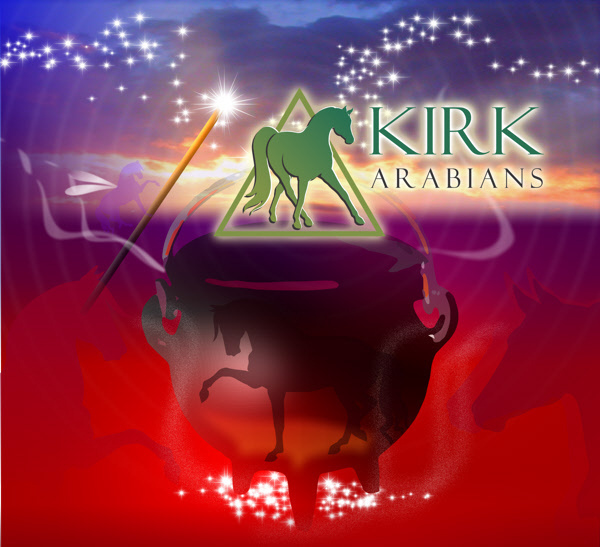
Yea right! Wish I had all this magical help. It is more like this...
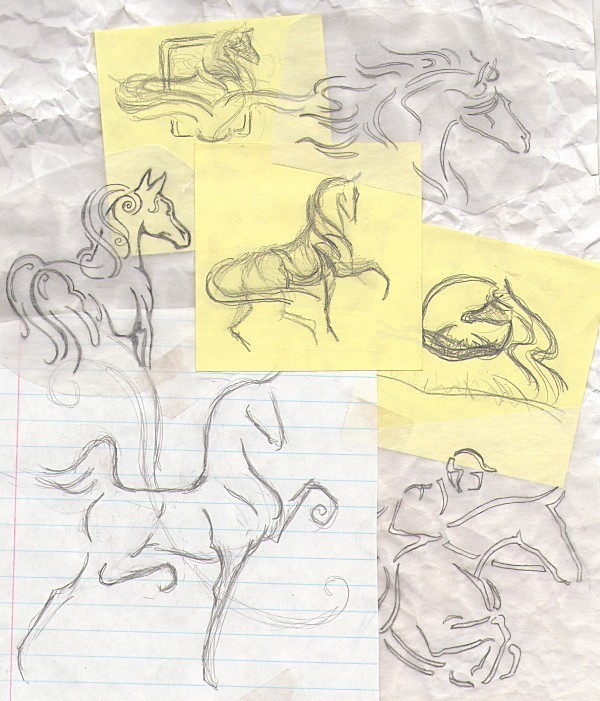
Step 3: Brainstorming Logo Development
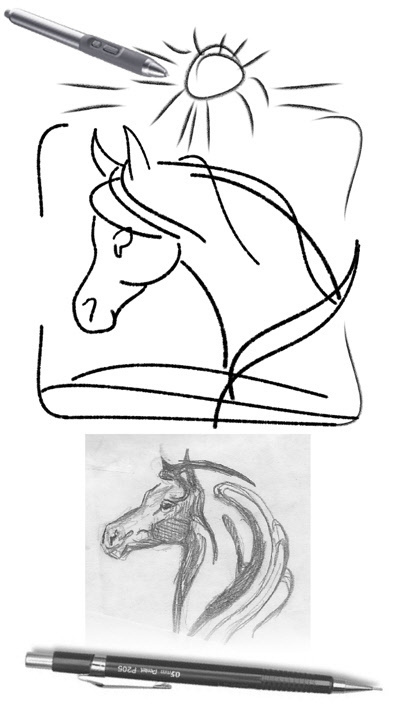
My sketching can take place on the computer screen with a digital pen and tablet or with a pencil on paper. Most of the time the sketches are small (post-it notes), very rough, and gestural and other times I will work out a tighter more finished drawing to scan into the computer. One idea roughed out can led me on to other ideas. My aim is to come up with at least four concepts that I will want to develop to finished designs to present to my client. Sometimes the design concepts come quickly and other times I feel like I am on a long drawn out treasure hunt.
"All the works of man have their origin in creative fantasy. What right have we then to depreciate imagination." -- Carl Jung
Step 3: Brainstorming Logo Development
My sketching can take place on the computer screen with a digital pen and tablet or with a pencil on paper. Most of the time the sketches are small (post-it notes), very rough, and gestural and other times I will work out a tighter more finished drawing to scan into the computer. One idea roughed out can led me on to other ideas. My aim is to come up with at least four concepts that I will want to develop to finished designs to present to my client. Sometimes the design concepts come quickly and other times I feel like I am on a long drawn out treasure hunt.
"All the works of man have their origin in creative fantasy. What right have we then to depreciate imagination." -- Carl Jung
I open and save a file in my art/draw program for each of the best design concepts that I am working on: abc-logo-1, 2, 3, etc. I add text notes, client info, and image ideas around the edges of the program's art-board when I work to keep all my helpful hints in view.
"Art is not about thinking something up. It is the opposite - getting something down." -- Julia Cameron
Step 4: Logos for Presentation
I work on the computer to flesh out (refine) the concepts in color and with the company name in a few suitable text fonts. I also make sure the logos work as one color designs and are understandable if printed small. I try to keep in mind that a logo needs to be flexible so that it can be imprinted on different items, and in different sizes to be viewable from various distances.
I find it is a good idea to take a break from designing a logo, so that when you come back, it is easier to see any design flaws that it may have and to make adjustments if needed. Flipping the designs or viewing them at different sizes also helps with this.
I post the three (sometimes more) logo samples on a web page where the client can view them. I also give them a little information about the best way to gather opinions and give me feedback on the designs that will help head us towards one final design.
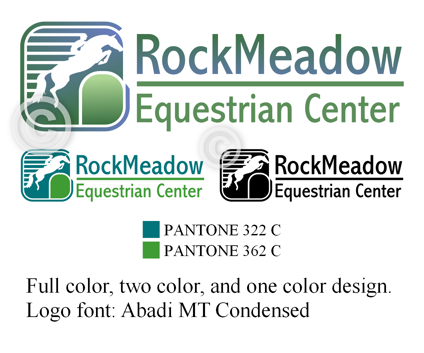
Image of a logo sample like what I would post on the web page for the client to view.
Step 5: Feedback and Revisions
With the feedback info from the client, I make the needed changes to the logo and send the revised design back to them for review. This can then lead to the client requesting more changes, but most clients settle on the final logo fairly quickly without too many calls for changes. But I have had some that asked for revision after revision until I have the logo just as they pictured it in their minds. And of course I have found some that I never could please -- thankfully they don't come along that often.
Step 6: Extra Designs
Once I receive the client's approval on the final logo design I start on any extra designs they have ordered, such as their business card and letterhead designs. Or maybe their website banner/header or site Favicon
design.

Custom website banner/header design from custom logo design.
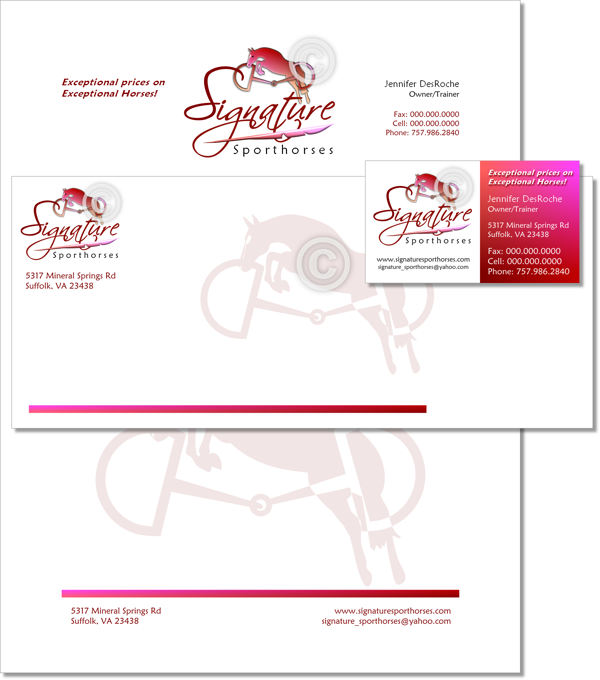
Business identity set: business card, letterhead, and business envelope designs.
Step 7: Make and deliver the logo files
I create all the logo image files for web and print use and post them online in zip files that the client can download to their computer. I can also email files straight to their print shop if they want.
Summary: This is my way, not the only way.
Every artist/designer probably has their own way of working on a design creation that differs from the next. Since we are all individuals this only makes sense. I am also open to change and may use different steps for different jobs or may try something new in the future.
"Love of beauty is taste. The creation of beauty is art." -- Ralph Waldo Emerson

Horse-Logos ~ http://www.horse-logos.com
Stand Out from the Herd!
Stand Out from the Herd!


