
Since I'll be creating perhaps two hundred or more individual 3D parts for this one, precision is a must. For this project I've elected to do much of the layout and modeling using CAD tools (AutoCAD and Inventor in this case) I'll begin by doing a rough layout and establish my major dimensions, then fill in the details. At this stage everything is still 2D line work.
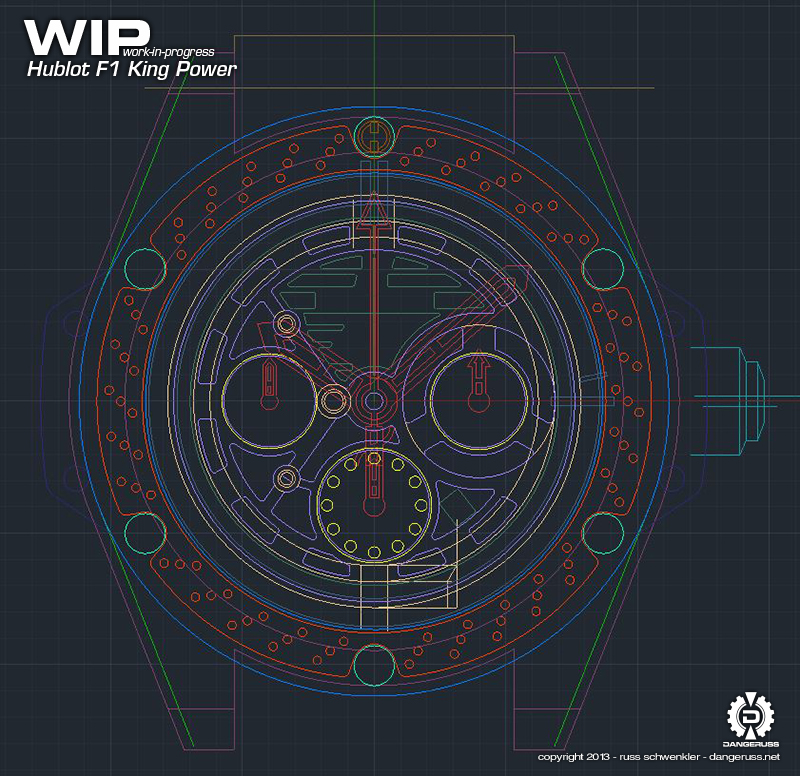
Continuing in this fashion, I'll keep adding and adjusting details while working in 2D. Things change often as I work to keep the proper proportions of all the parts. CAD really helps here as it assures that everything is concentric, gaps are even, markings are properly arrayed and so on. At this point I've got about 4 hours of effort in it

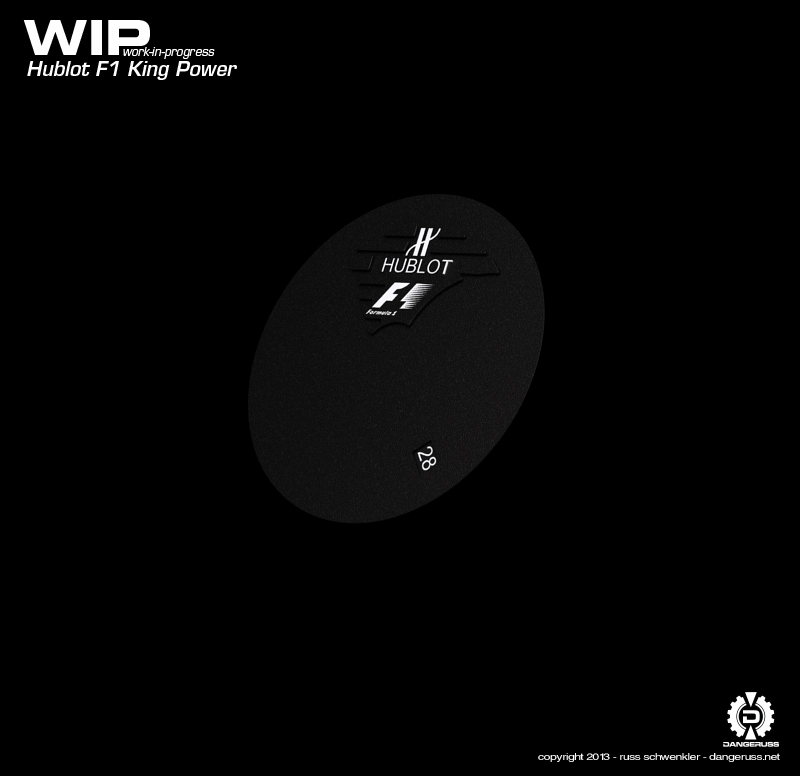
Once the basic layout is done, I can begin constructing the 3 dimensional shapes. Here is where I add thicknesses, bevels, fillets and start to position the objects in 3D space. I'll continue to create 3D bits such as the screws, and dial details as I get to them.

Once I think I've done what I need to in my CAD program(s), I export the file and import it into 3D Studio MAX. This is where I'll do most of the rest of the work. Here's I've added more details and continued on and created the remainder of the parts. Right now there are 240 individual parts. The crazy colors are just to help me differentiate the parts in the increasingly dense wire-frame views

So the geometry is pretty well done at this point, unless something needs tweaking. Now I can begin to play around and create a lighting scheme that helps create the desired depth with realistic shadows. To evaluate just the lighting, I use a default surface material to create what is known as a "clay" rendering. Next will come the surface material creation and application to the specific parts, as well as reflections and other material effects.


Putting it all together. Now I'll finish applying surface attributes to the rest of the part and make any positioning adjustments if things aren't looking just "so". I'll add any missing or extra details and give it a thorough going over before doing a final render.


All that remained were the strap and some tweaks then finalizing in Photoshop. I adjust the color balance and contrast to make the image "pop" a bit more., Fix any little fussy parts that I don't like, and make some minor adjustments to some individual parts' surfacing.
Final parts count 258 pieces. The final rendering took about 2 hours to process with all the parts included.


