
This may seem like an odd project to undertake when there are so many options for desktops and all in ones already out there but I will give you a little insight on my choices and reasoning.
I wanted the PC to be the centre of the living room but separate from my TV, where the recently announced Xbox One would be in charge. I also needed somewhere to put my 360 to allow me to continue to play my catalogue of games. On the understanding that there would at some point be a link between the Xbox one and my PC I wanted them close enough together to be useful for more than just one person and that puts both in the living room.
So here’s my reasoning
Desktops – I have been custom building PC’s for many years and the main problem I have found with desktops is the desk. It separates the PC from the rest of the living area and they cannot be enjoyed comfortably. Custom building a media centre did come to mind but running Windows 8 through my TV defeats my objective.
All in one’s – No matter how hard I tried or where I looked I couldn’t get one to fit my needs. Either the spec or the hardware of all the AIO’s available just weren’t suited to what I wanted and it also brought into play the need for a dreaded desk.
Just a little note here: I do require quite a high spec PC for work but I didn’t want it to be used just for work hence my quibbling over specs.
So how did I arrive at the coffee table idea? Well, after doing a bit of searching on custom PC’s I came across on article on lifehacker about a guy that had built a PC into a table. That was the eureka moment: “Build your own”
The machine spec was the easy part, I had known what I wanted in the machine for some time so it was just a case of doing a little research. Won’t bore you with the details now but will list out all my components at the end.
Now onto the table design; luckily I have access to some pretty decent 3d modelling software at work so did a few mock up drawings basing the coffee table around the size of the monitor. The idea was to put the PC one side and take the casing off my 360 and have that on the other side and have them both on show under glass. This led to a whole string of design questions and decisions that needed sorting out but in the end I went with the final design for the following reasons.
· Functional. Can use either the PC or the 360
· Allows great ventilation
· Keeps components safe from spillages
· Allows me to easily upgrade and maintain

Ok so now for the build and I realised three things pretty quickly.
First thing I realised was – I had no tools and no workshop.
After putting out a request for quotes, waiting a couple of weeks, chasing and getting no responses I realised that I was going to be on my own with this one.
On a positive note though, I got to buy power tools.
Second thing – Measure twice, cut once. Some things aren’t as advertised, sizes you drew up to may well be different to the actual product.
Third thing – buy the right tool for the job. While a big piece of wood isn’t that expensive in the grand scheme of things it’s still an expense I could have avoided.
They say you live and learn and for my first attempt at any sort of woodwork in nearly 20 years I didn’t do too badly.
So after lots of marking out, then realising that the monitor was smaller than I drawn, some quick maths and some more marking out I started cutting up my table.
Mistake number one – don’t know why but for some reason I thought cutting straight into a main piece of project wood after not having done any woodwork since school was going to be a good idea. I had scrap areas I could have practiced on!
What should have been a straight cut, wasn’t. So I moved onto curved cuts which fared much better.
More confident in my abilities with the jigsaw I moved on and finished the rest of the cutting fairly happy with what I had done.
Only after did I realise two mistakes which fell into the measure twice category.
Back to the store for more wood.
With the top and bottom cut out it was a case of working out where everything was to go, marking it up and cutting it out.

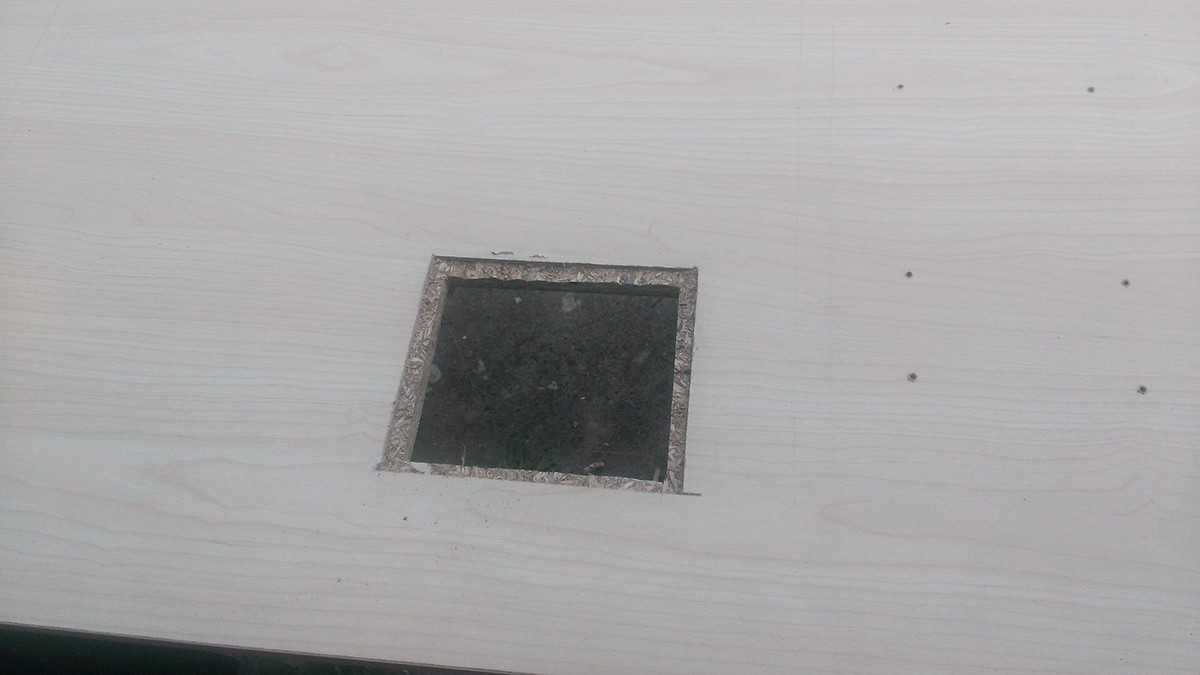
Power supply fan hole, cut in base and routed to provide a slot for it to sit in. Added in holes for motherboard stand-off screws


Next up was routing the edge for the monitor to sit on.


I also routed a 2mm deep hole for all of the legs to sit in. Was obviously a lot more work but the perfectionist in me thought it would be a nice touch. You'll notice that one of the legs has a hole in for the power cable. Didnt want a mess of wires going back to a wall socket

Built up the box for the middle, the front part needed some minor adjustments so that it could hold the front panel stuff and I left the back shorter as an air gap that lined up with the vents on the monitor when its laying flat.

Added some brackets for a bit of extra strength. And also routed a channel for the side mesh to sit in.

All coming along as planned. Mesh was a pain to bend but got there eventually.


Time to start putting the PC together.


Okay so this is an broken xbox 360 motherboard. I wont be switching it over to a working one until the Xbox One is released. You might also question the gap in the mesh and the fan over the gap. This was however the easiest way i could think of of maintaining the pc & 360 in the future. With the glass tops sealed in to avoid any accidents with liquids and the whole of the top section screwed down, all i have to do is remove the fan and can easily get my hands in and any parts out.

Almost ready to go. Glass on order for the two sides and also needed some extension cables for HDD and blu-ray.


OK. Time to hit you with the PC Specs
Motherboard: Asus Sabretooth 990FX
CPU: AMD FX-6300 3.5Ghz 14MB Cache RAM:
Crucial Ballistix Sport Memory 32GB DDR3 1600Mhz
Video: Sapphire 7870 GHZ OC Edition 2GB GDDR5
Storage: Seagate 2TB Barracuda in Hot Swap Drive Bay
PSU: OCZ ZX Series 1000w Gold modular
Cooling: 4x 230mm Thermaltake Blue LED Silent Fans
Control: AeroCool Touch 2000 4 Channel LCD Touch Panel Fan Controller
Extras: Xbox 360
Monitor: Acer 23" ips touchscreen.
Finally, after 3 days of work, IT LIVES!!!

Glass arrived made to measure and with a little bit of adjustment to the edges of the table top It all fitted well. Added some edging strip to hide any exposed wood and it's all completed. The tinted glass makes the neons slightly less garish but it still lights up the room quite nicely for long nightime working and gaming sessions.
Fast forward to November 22nd and it was time to strip the old Xbox 360 down and connect everything up properly.
Disclaimer - Taking apart your Xbox 360 will invalidate its warranty and is not recommended under normal circumstances.
Turning on the Xbox 360 is as simple as holding down the Xbox button on the remote and switching the input on the monitor from DVI to HDMI

I added a small rack on some runners for controller and headphone storage to keep them near to the Xbox.

Relocated Xbox 360 CD drive.

PC Blu-Ray underneath.

Ive been using the PC almost daily since around August and the set up works incredibly well. Everything I need is right there in front of me in a larger than life experience. I can work, play and consume media in comfort and with ease.
With the addition of the Xbox One and its smartglass features, linking everything in my living room is seamless and there for all the family and friends to use.

Ive had quite a few people ask about having tables made for them so have decided to take commissions. Designs are only limited to the area available and PC specifications but can be tailored to suit almost any space.
Practicality, usage and enjoyment are the driving factors in any design.
If you would like more information on commissions or have any queries on your own builds, if i have inspired you with mine, please give me a follow on twitter and send me a message.


