
After the completion of the first series of illustrations (Animal Behaviour) an interview was given in InPrint magazine, and whilst talking to the editor it was suggested to be a good idea to make a process movie, showing how these images are made.
This project is the result of this process. A combination of both live action and time lapse footage showing the full process undertaken in pencil through to digital final form.
The subject of the movie is the first in a second series of Animal Behaviour prints (and book) that starts with this, the first; "No Place like Home".
The following frames are time lapse shots from the drawing process and digital process.
In all the whole piece took some 20+ hours to complete.
All prints are available for purchase at my online store!
This is the full video of the process.
(not available in the States, due to music content)
This is the full video of the process (USA version).
SCREEN CAPTURES
The process started over 5 days previous. The initial part of the process was to create the basic form of the composition.
The idea for this image was to extend the previous idea formed in "the Sneaker".
The only other creature that seemed appropriate was the hermit crab. Mainly as it lives in a container housing too.
The original concept was to have it in a show again. However, this didn't deliver the necessary humour that these images had formed.
After some thought it popped into play, the notion of it living in a can, and the can would be an empty 'crab meat' can.
This was the starter point for the composition.

The good thing about the initial concept process (once the idea has been sort) is that the process of drawing can be quite fast and easy. This is due to the need to create a little freshness in the drawing, and maintain the life in the drawing.

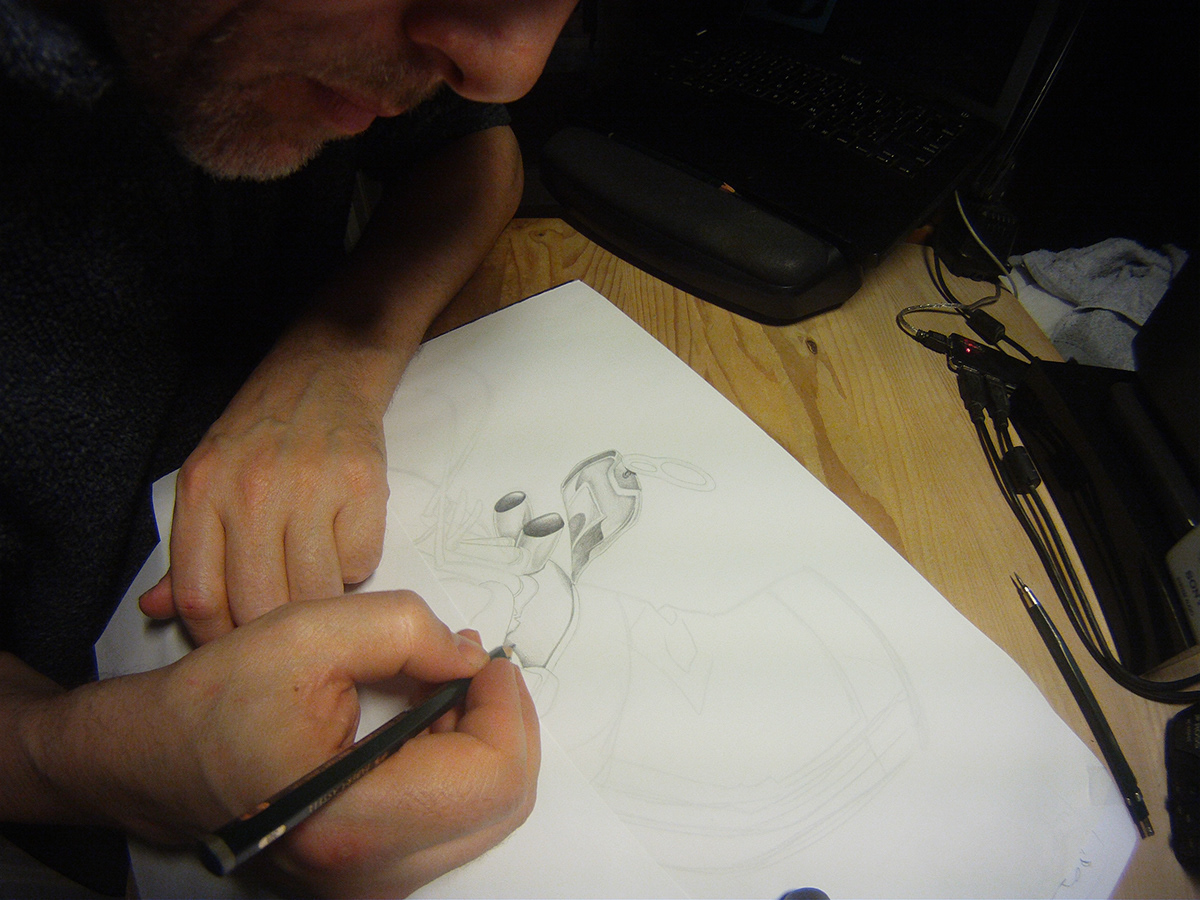
The second stage is to render out the composition. This is done via means of placing the initial rough under a piece of layout paper. This helps the light tracing that is achieved with the HB pencil. Once this has been done, a 3B lead is taken and the long process of rendering the image in full shading begins.

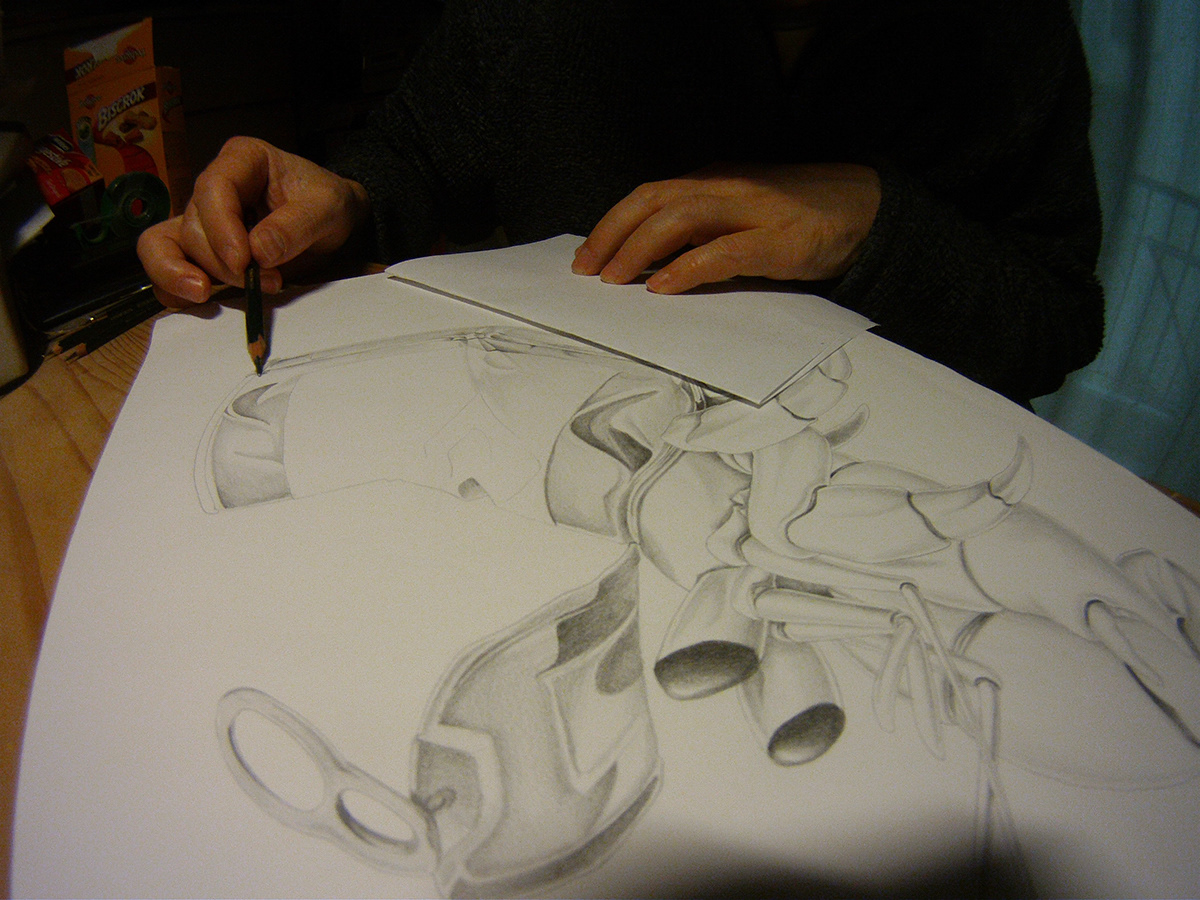
To help avoid smudging, there is a piece of A4 paper placed over the main drawing. The hand is then placed on this and used as a shield from the soft pencil lead underneath.

It's very important to understand that when doing any kind of pencil work, that the artwork should be rotated to produce the correct angle on the line being drawn. Your wrist has a natural arch, so it should be utilised.
Using a combination of pencils to render the final image. The line and dark areas are drawn with a Faber-Castell HB self-propelling pencil, Where are the main shading is completed using the Faber-Castell 3B lead, traditional pencil.
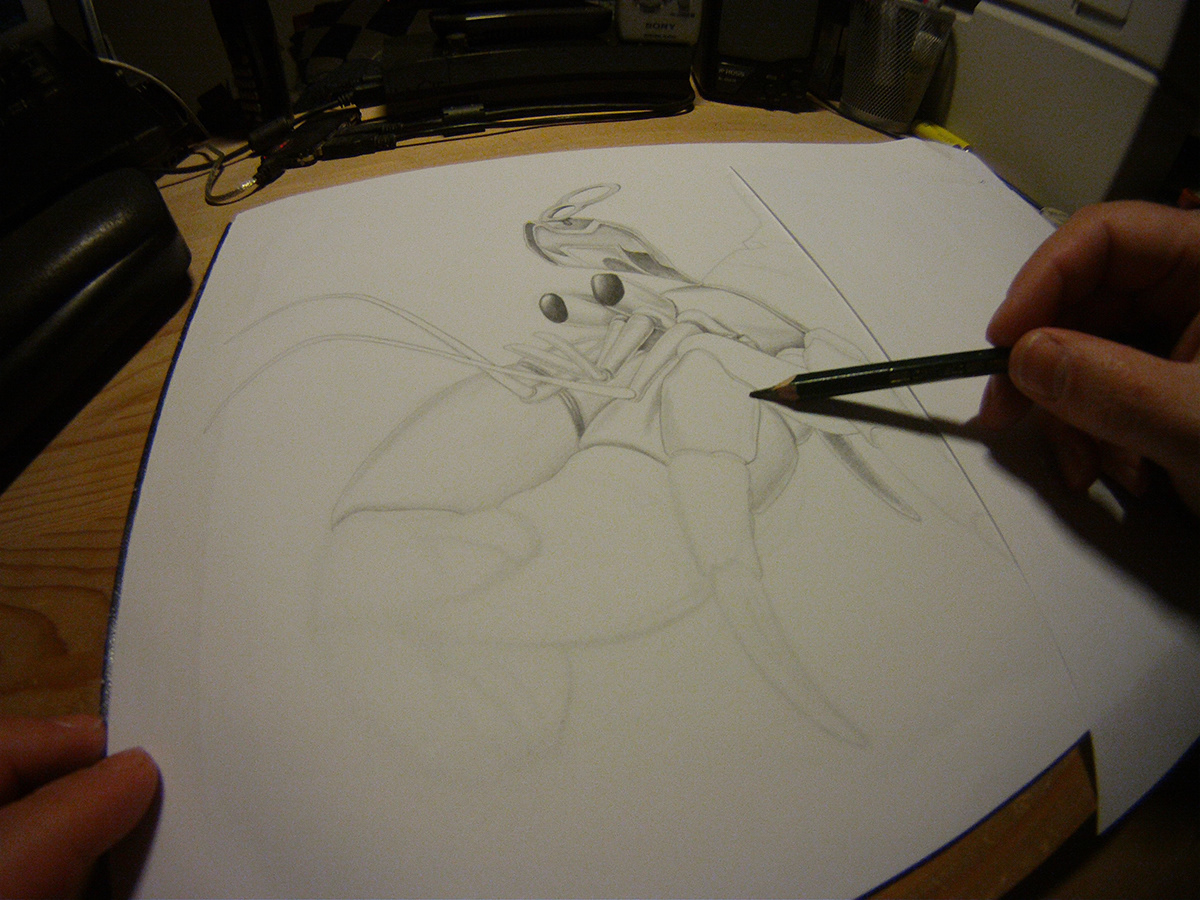
The angle of the pencil is also important to get the correct affect. To avoid a point and getting more even shading the pencilshould be held in a less traditional writing fashion, and more like shown in the image above.

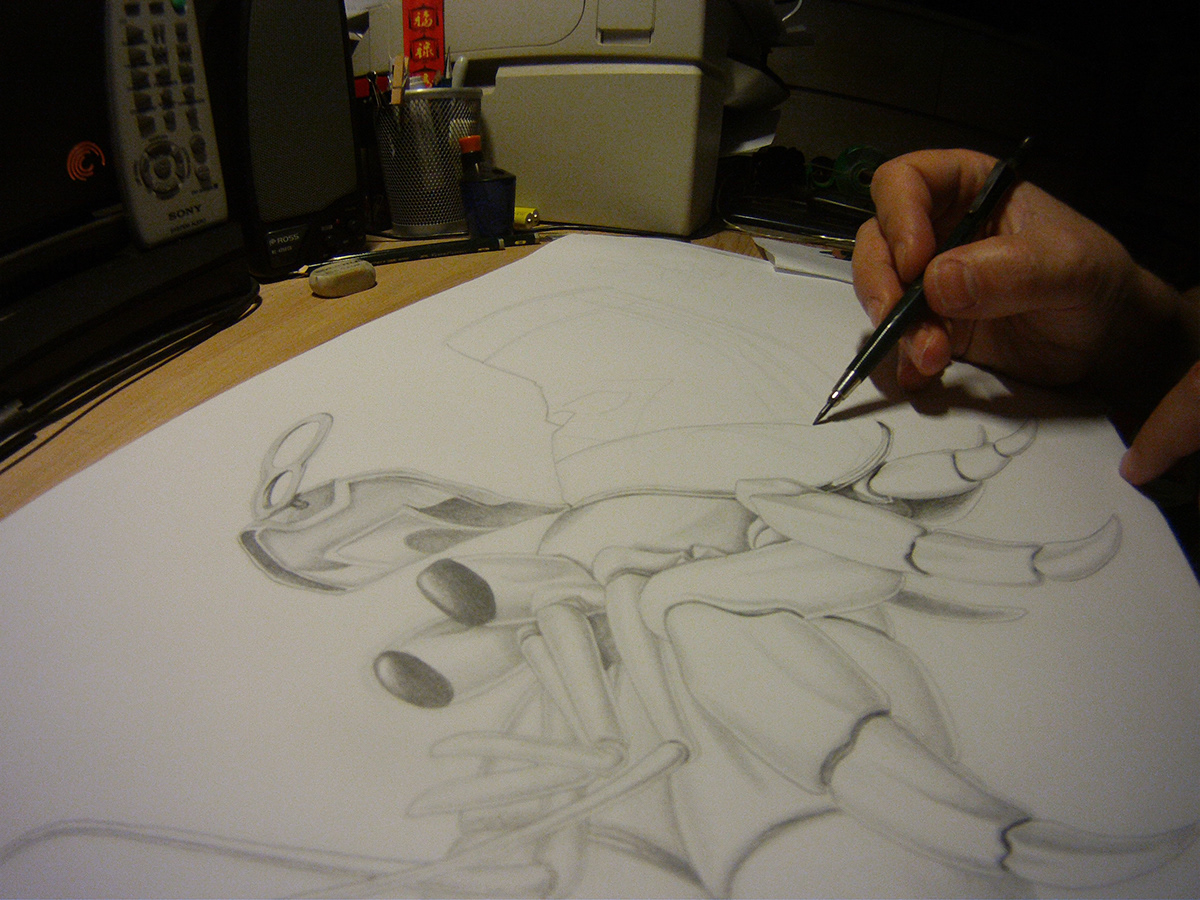
It's a slow process! Upto 16 hours for some pencil renders.


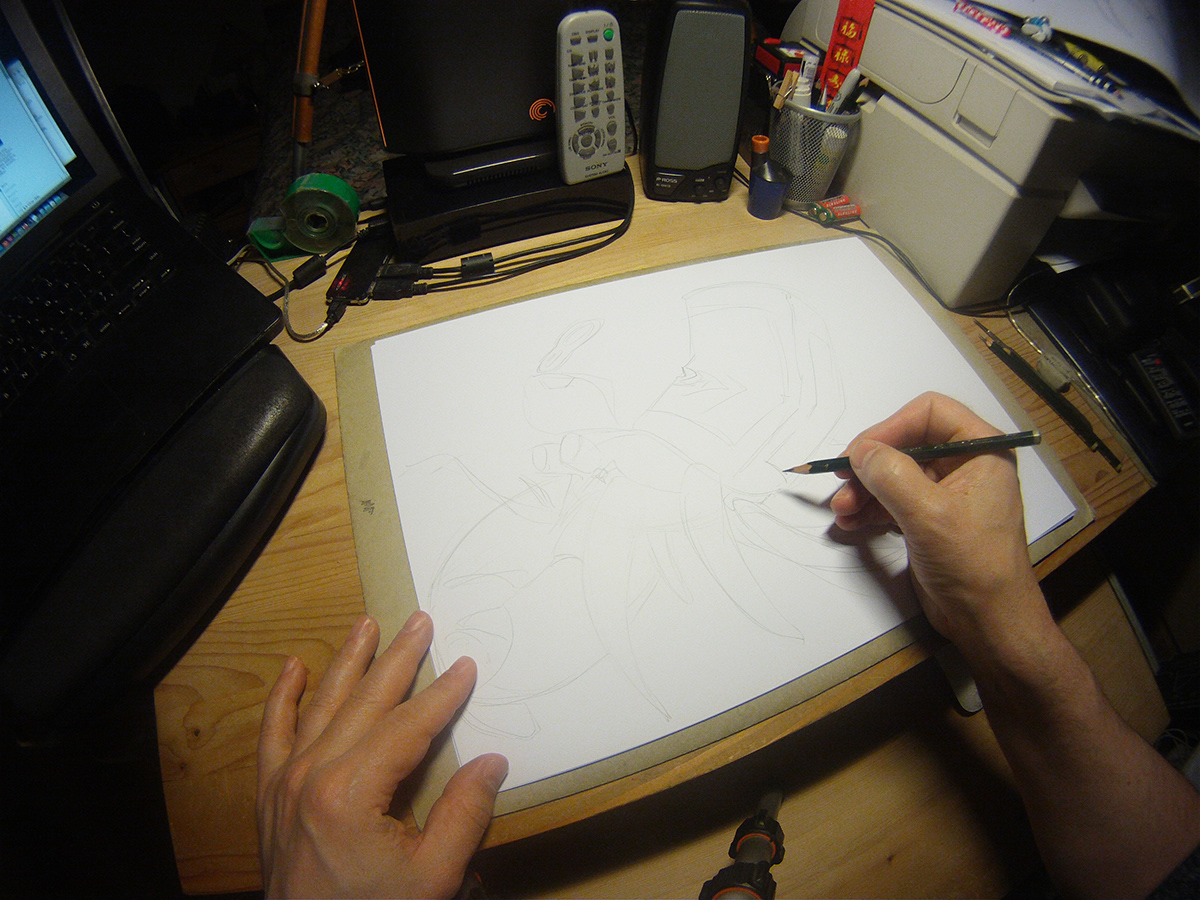
The artist, Rob Snow, at work at his desk. Using a reference image on the computer to get the necessary effect on the can.
The pencil render comes to a close and is then scanned in, and put into Photoshop.
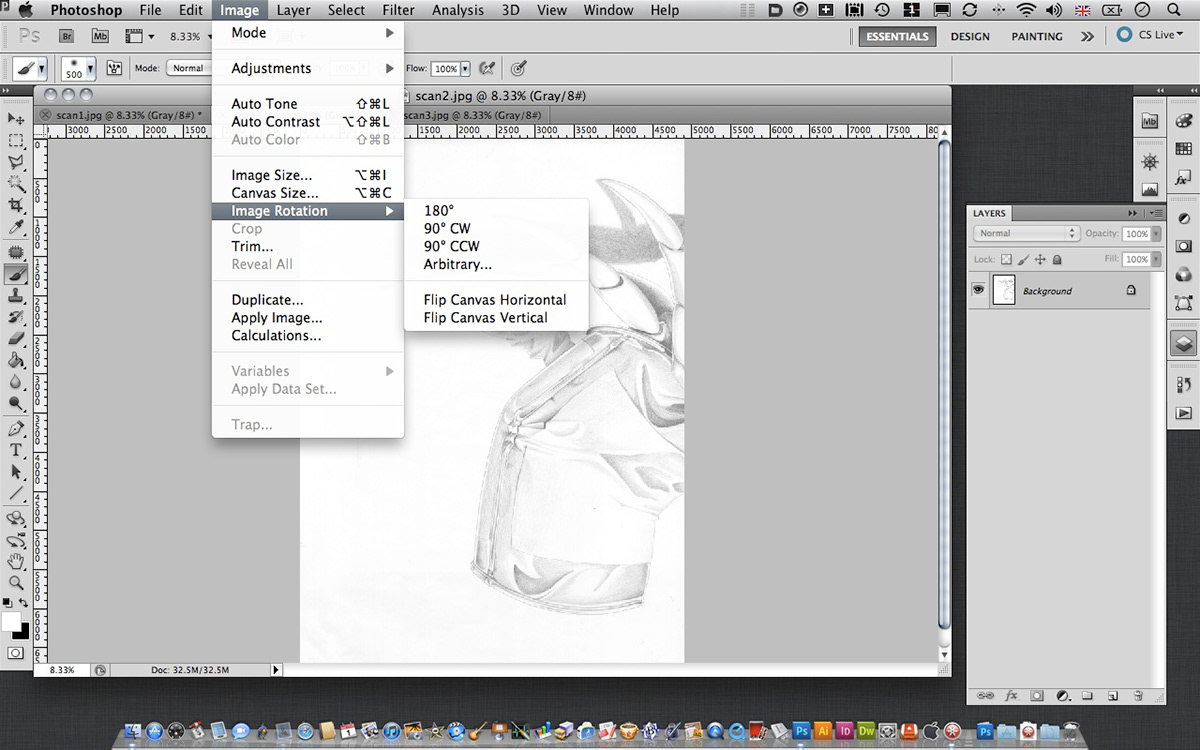
As the scanner is A4 and the artwork is A3, the image has to be brought into the computer and patched together. Some time is taken to modify the join area and to negate any dirt artefacts that may arise from the scan process.

The first job at hand, is to place in the base colours. This is achieved after a white masked area of the main form is made. This is used to speed the individual masking process.
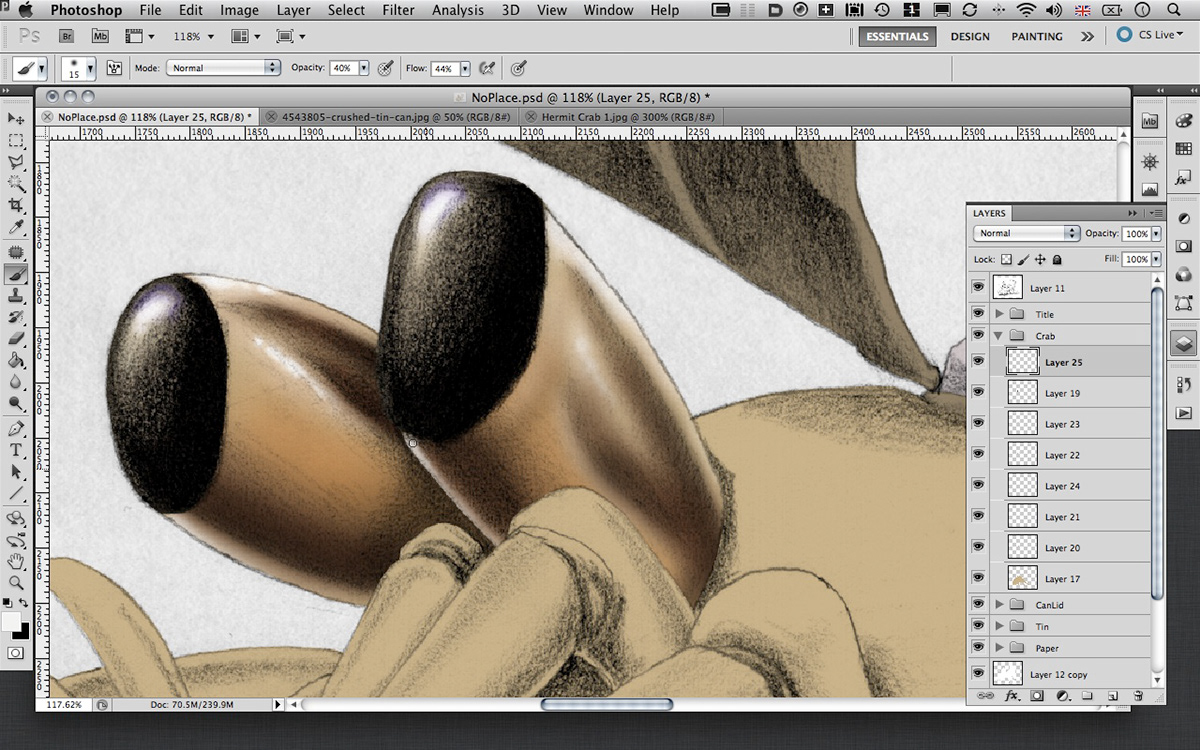
The first thing that is approached with all artwork involving a face, is to get a correctness with the eyes and face. If this doesn't work, then the artwork will fail.

Slowly the artwork is built up on separate layers (just in case of mistakes), and in grouped areas for specific items.
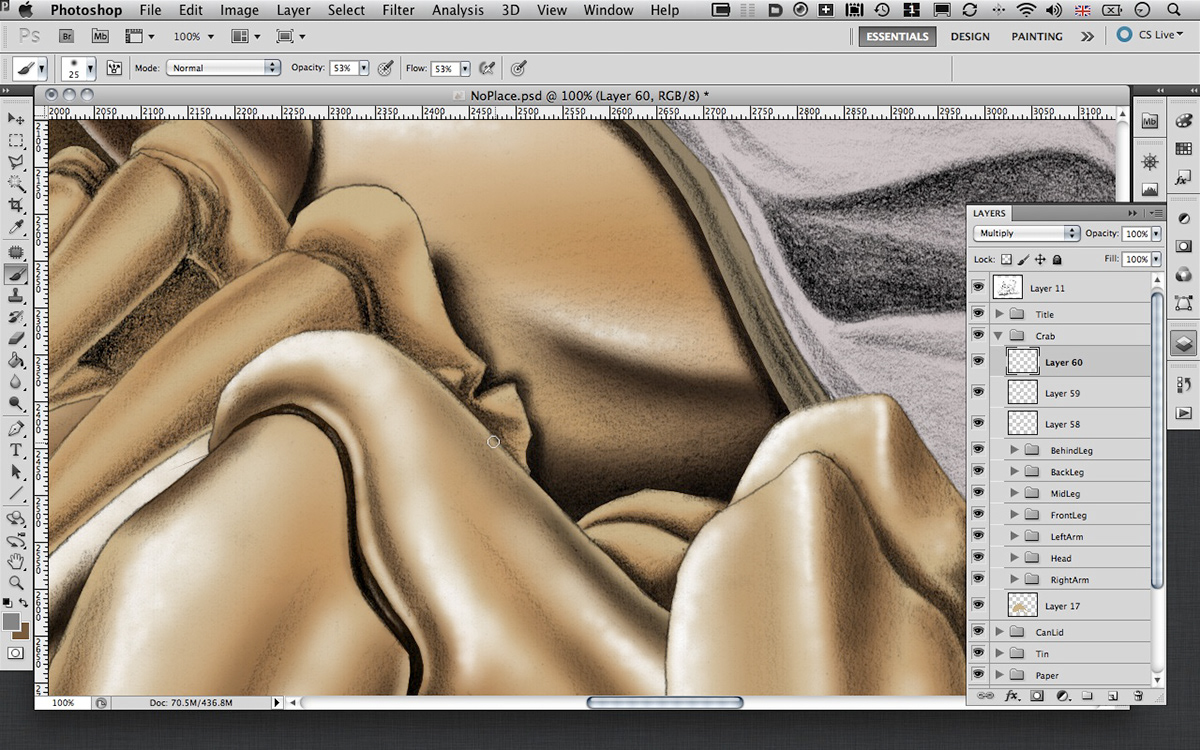
They tend to be layered according to shading, highlighting and other details. One of the functions of separate layers occurs when large amount of colours all need a blended shadow. this is achieved with a top layer that is placed on "multiply" and a neutral grey is used to create the shade.
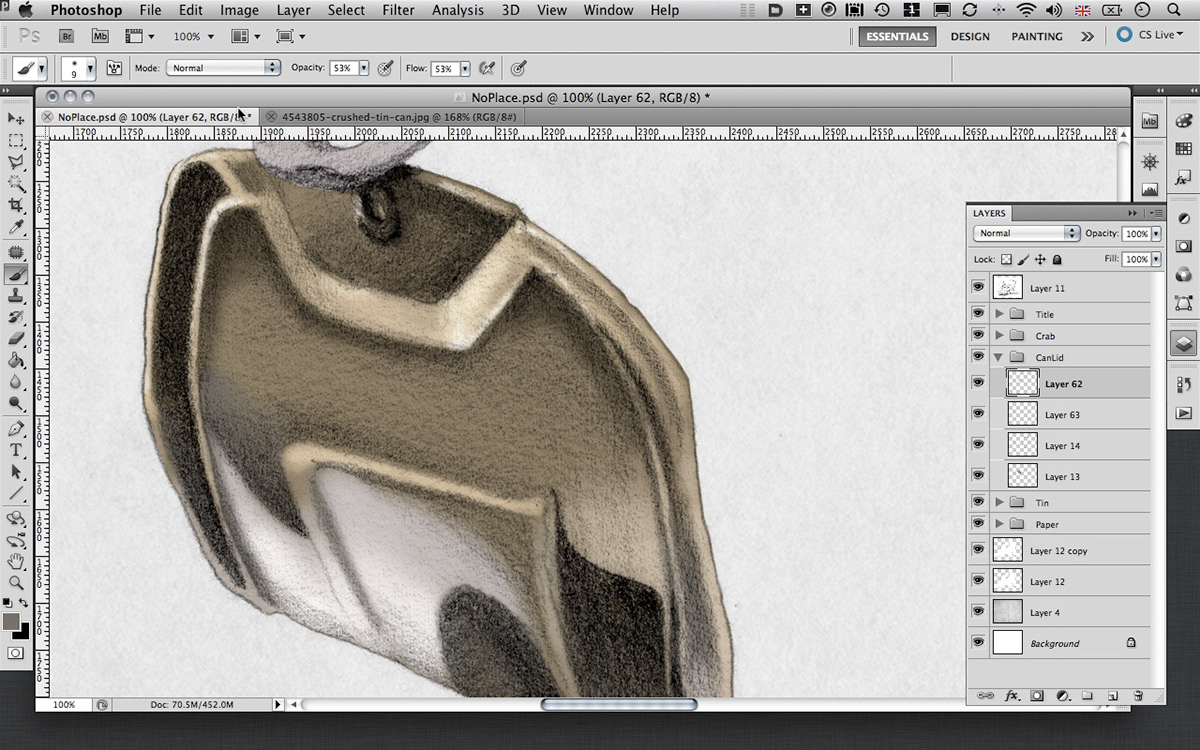
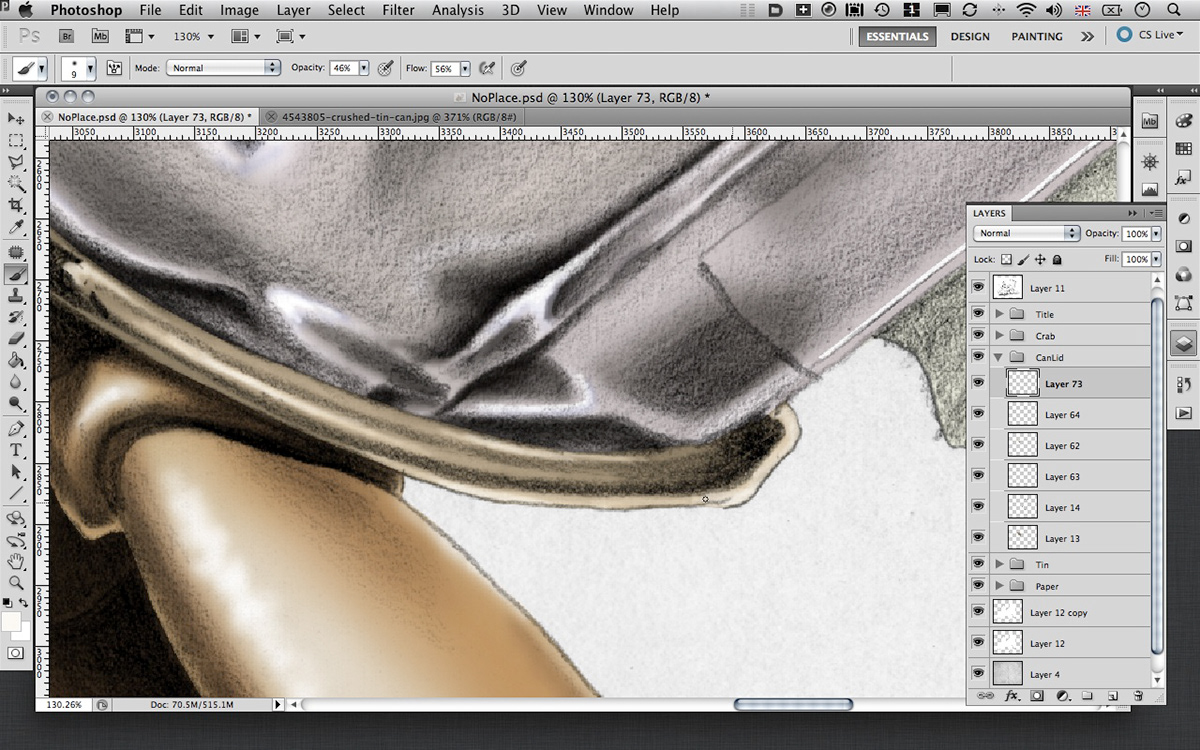
Once the animal is complete the housing is attempted. Using reference photos to get the correct metallic look.

Over many hours the artwork takes form.
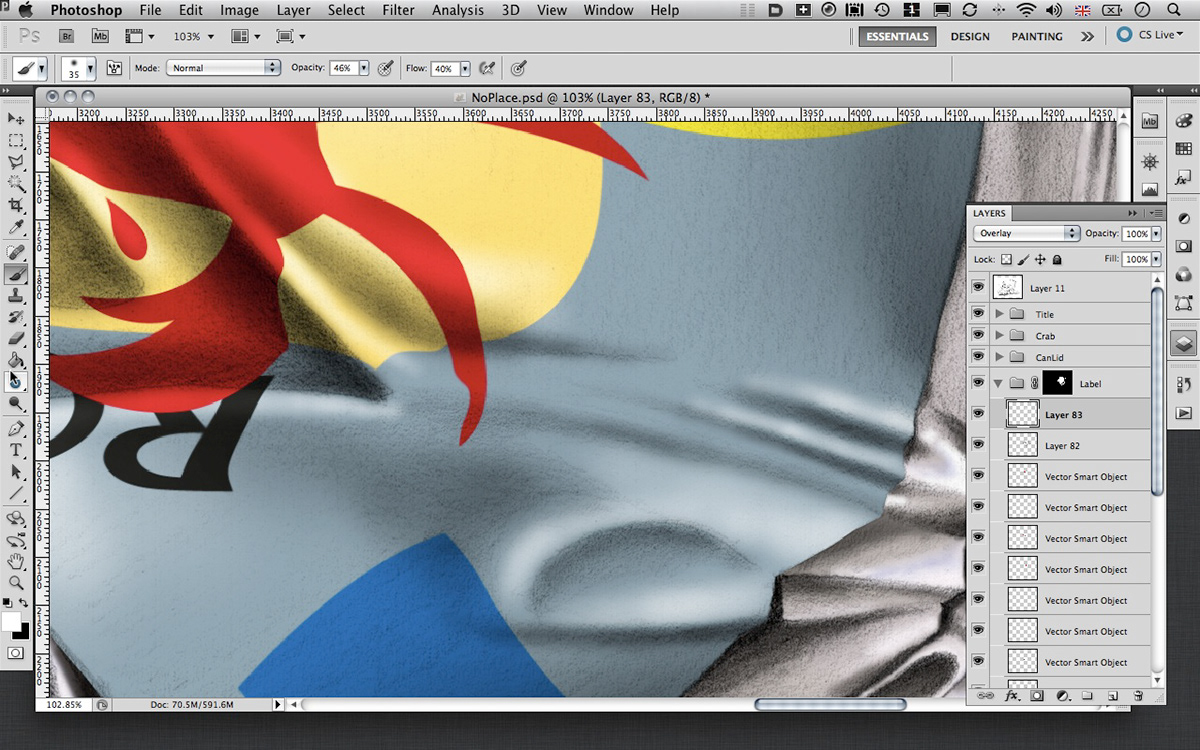
The final aspect for this composition is the label. As it required a lot of detail, it was first achieved in illustrator, and each element was brought in as a smart object and then manipulated in this fashion.
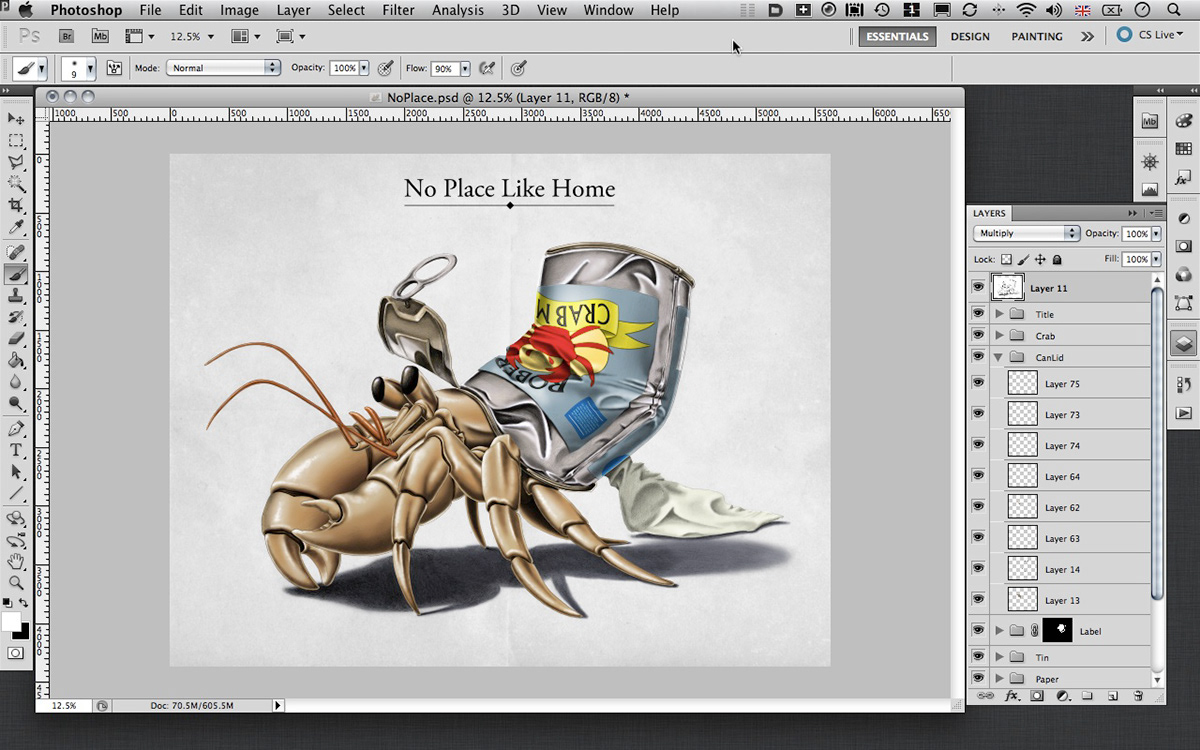
In the case of this artwork, after some 16 hours the final piece is complete.